
Brioche is very popular right now, but if you still haven’t found time to learn all those new brioche terms (brk, brp, sl1yo, etc.), you can try fisherman’s rib in the meantime.
Fisherman’s rib is similar to brioche because it creates a textured fabric that’s thick and squishy.
This stitch elongates the knit stitches in certain spots so that they take up two rows instead of just one, giving the stitch some extra texture. The stitch is reversible, too, so it’s nice for accessories like scarves and cowls.
Traditionally, fisherman’s rib was used as one of the stitches in a fisherman’s sweater. The stitch was perfect for these sweaters since they make the fabric thicker and warmer — exactly what a fisherman needs on those windy days and nights!
If you know your knits and purls but haven’t had time to learn brioche, try this rib in the meantime!
Fisherman’s rib knitting stitch tutorial
Here’s a quick rundown of what we’re going to do:
Multiple: 2 stitches
Setup Row: Purl all stitches.
Row 1: *P1, K1 into stitch below; repeat from * to last stitch, P1.
Repeat Row 1 for pattern.
For this tutorial, I’m using Plymouth Baby Alpaca Magna in Tiffany. This color in particular is discontinued, but there are lots of other amazing colors still available.
Step 1: Cast on
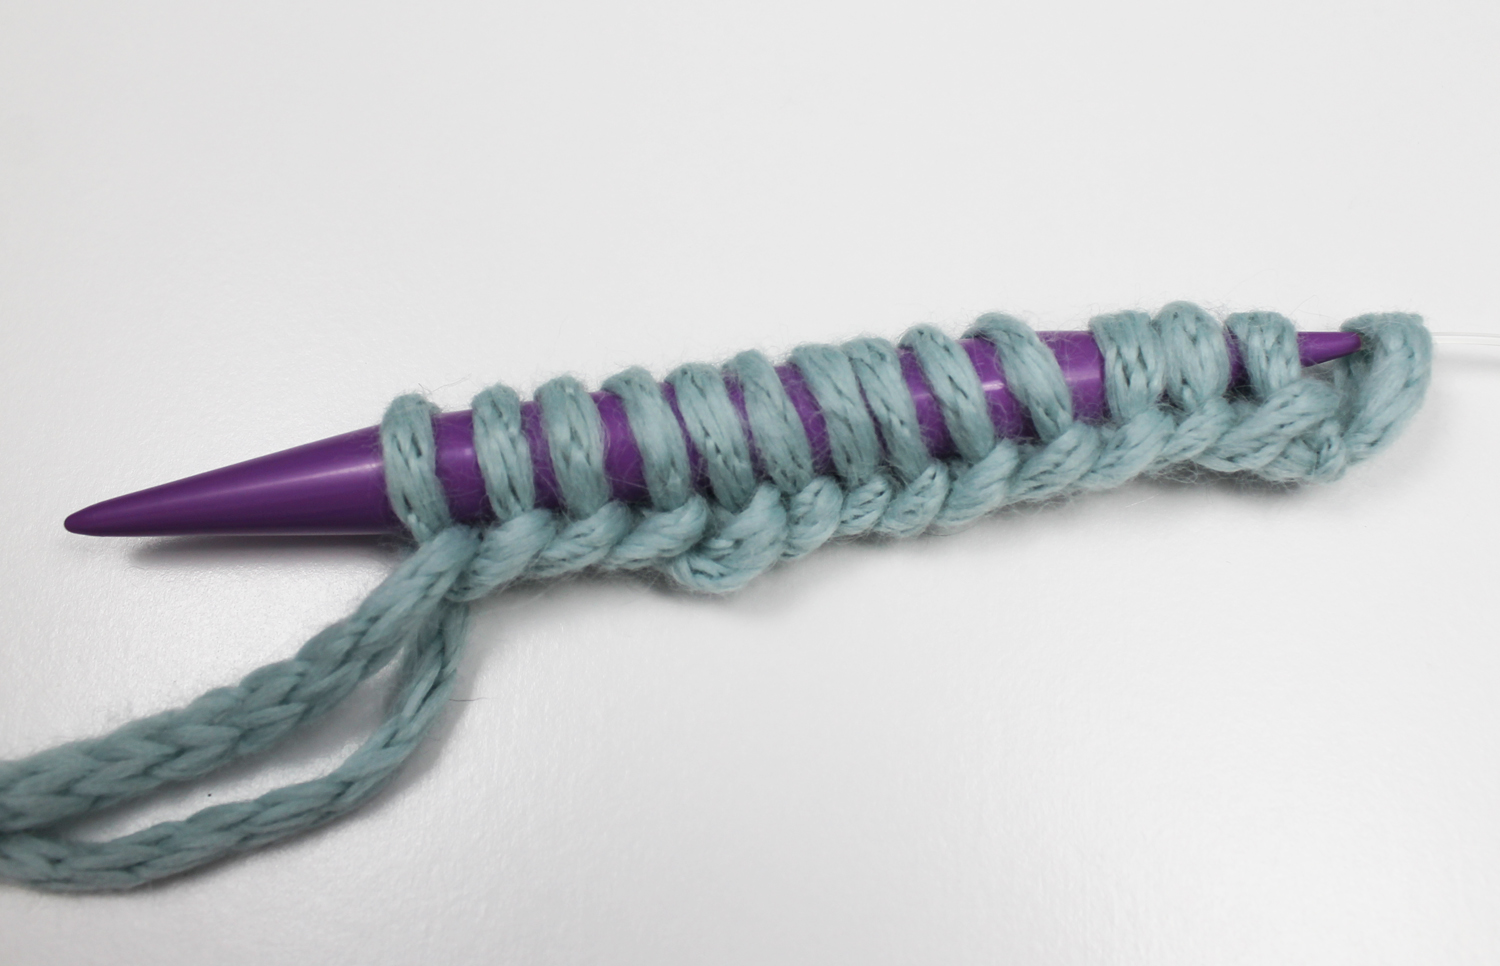
Start by casting on a multiple of 2 stitches. Here, I cast on 14 stitches.
Step 2: Set-up row
Purl the first row. This just gives us a set-up row so we’ll have some knit stitches to knit into. (You’ll see how that works in just a moment!)
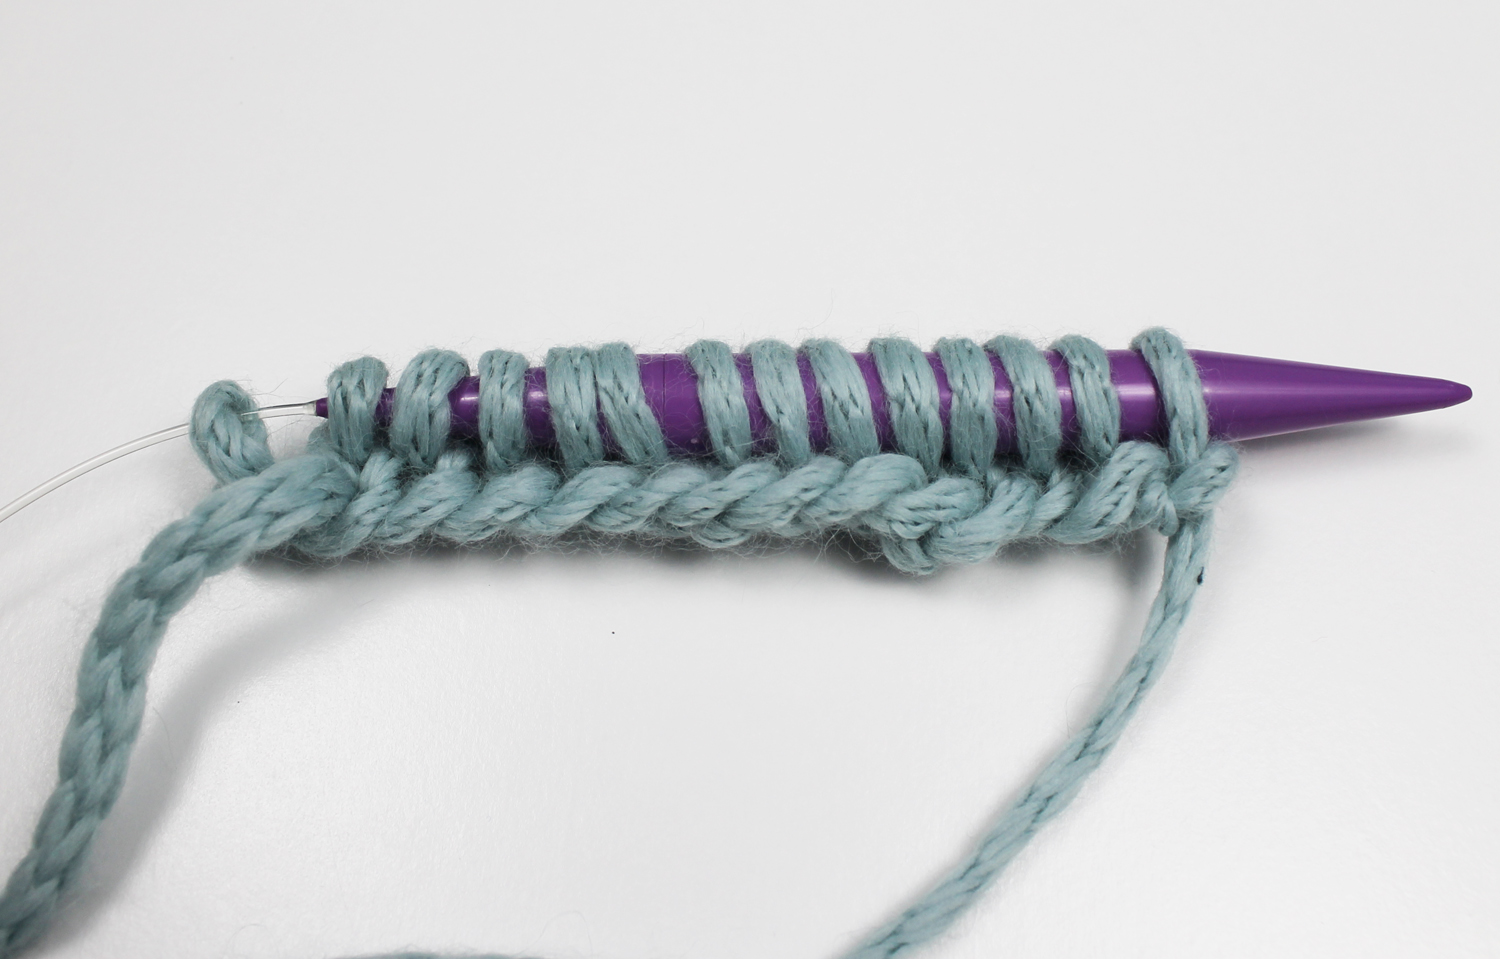
Step 3: Purl 1
On the next row, purl the first stitch.
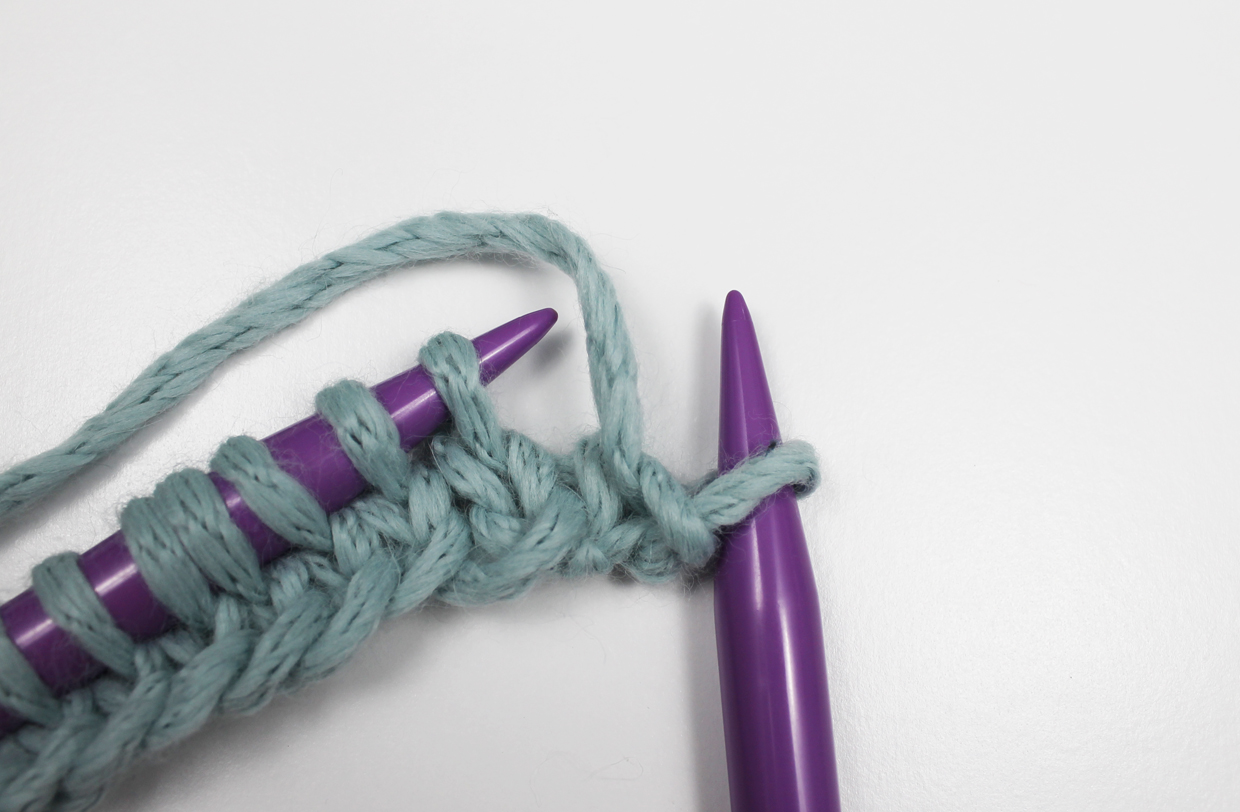
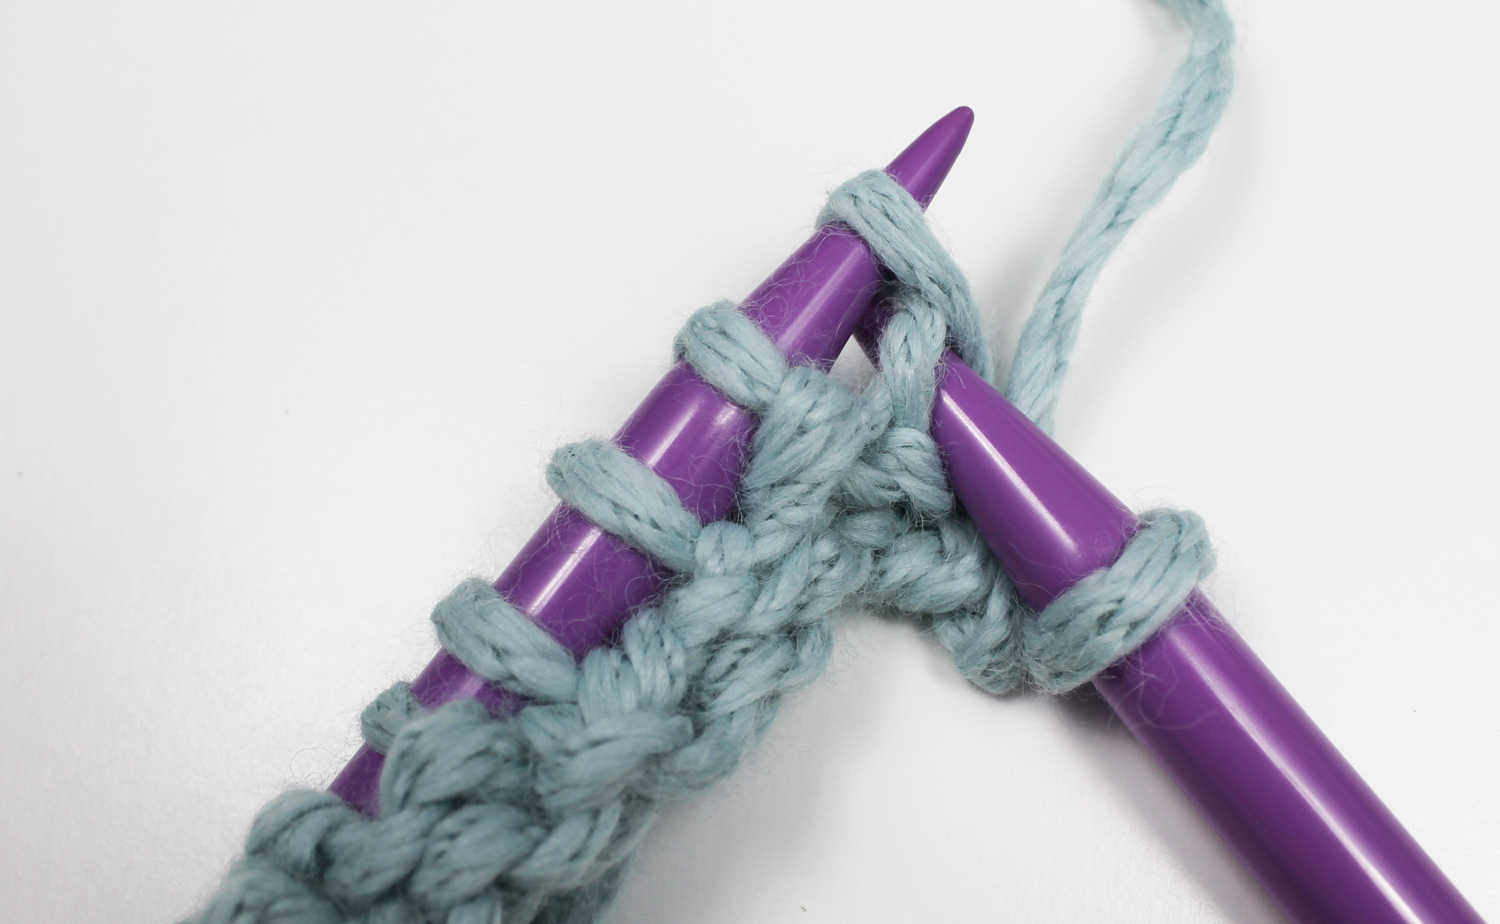
Step 4: Knit into the previous row
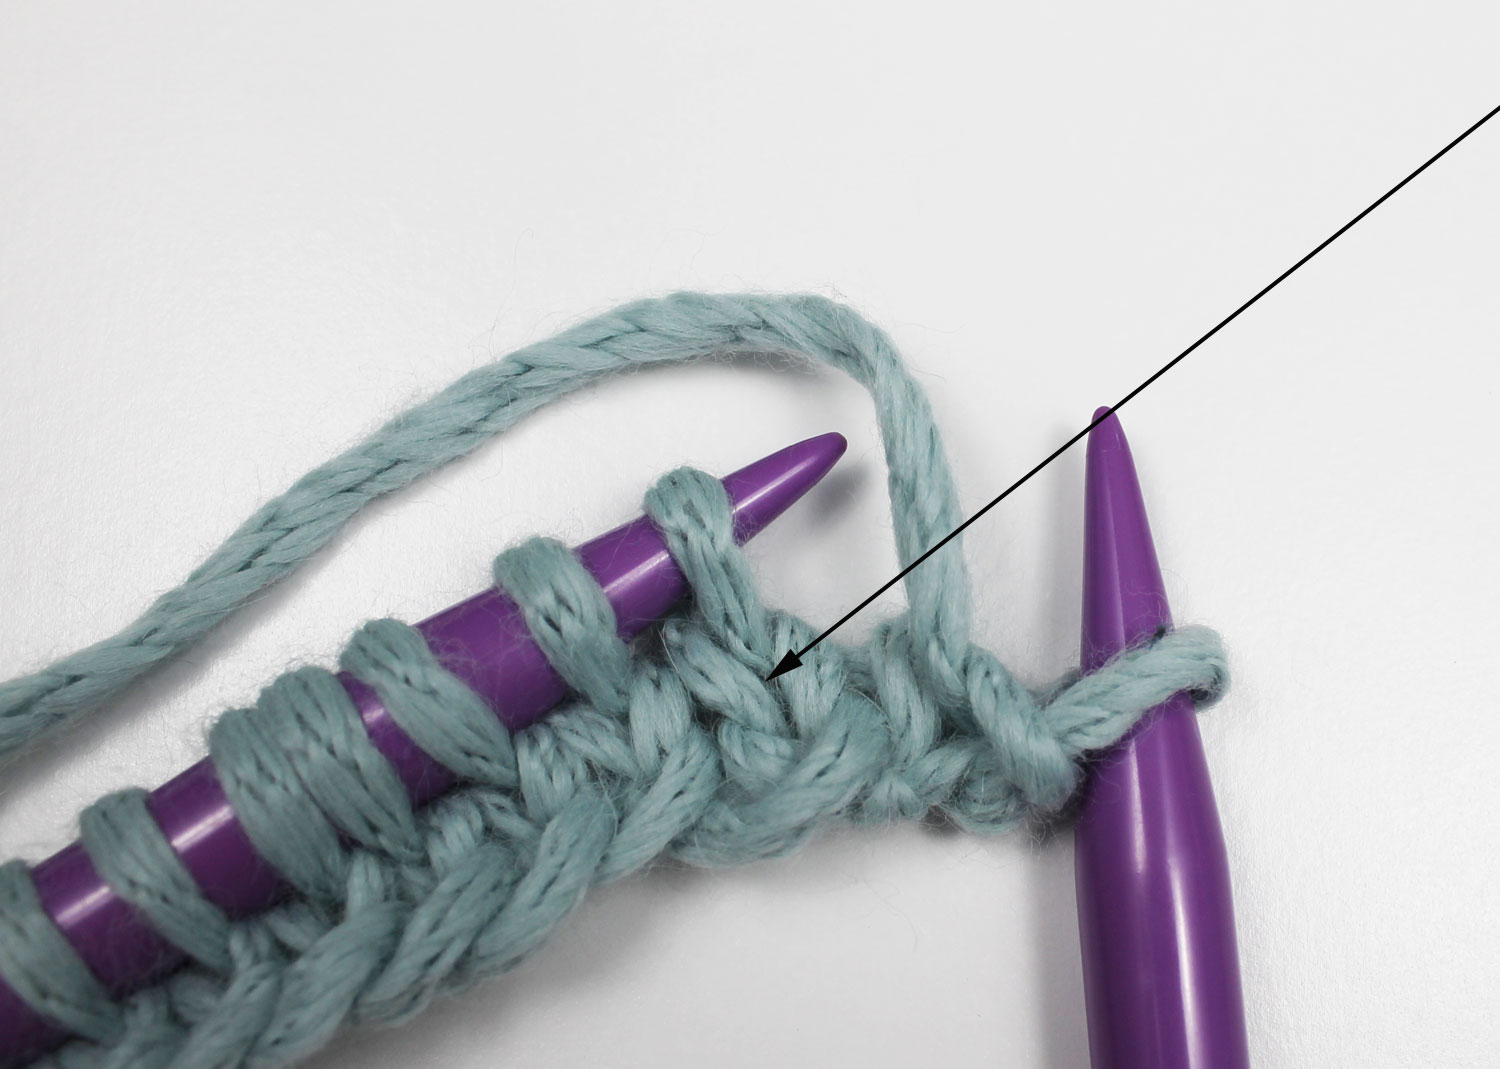
Check out how each knit stitch forms a little V. You may even want to pull your work out just a bit so you can find that V the first time. The row below the current row is that first set-up row of knit stitches that we made, and we’re going to knit into the center of the knit stitch in that row. (The arrow above is pointing into the center of that V.)
Insert your needle into the center of the V in the next knit stitch of the row below. (Notice you’re not inserting it into the stitch that’s sitting on the needle; you’re inserting it beneath that stitch.)
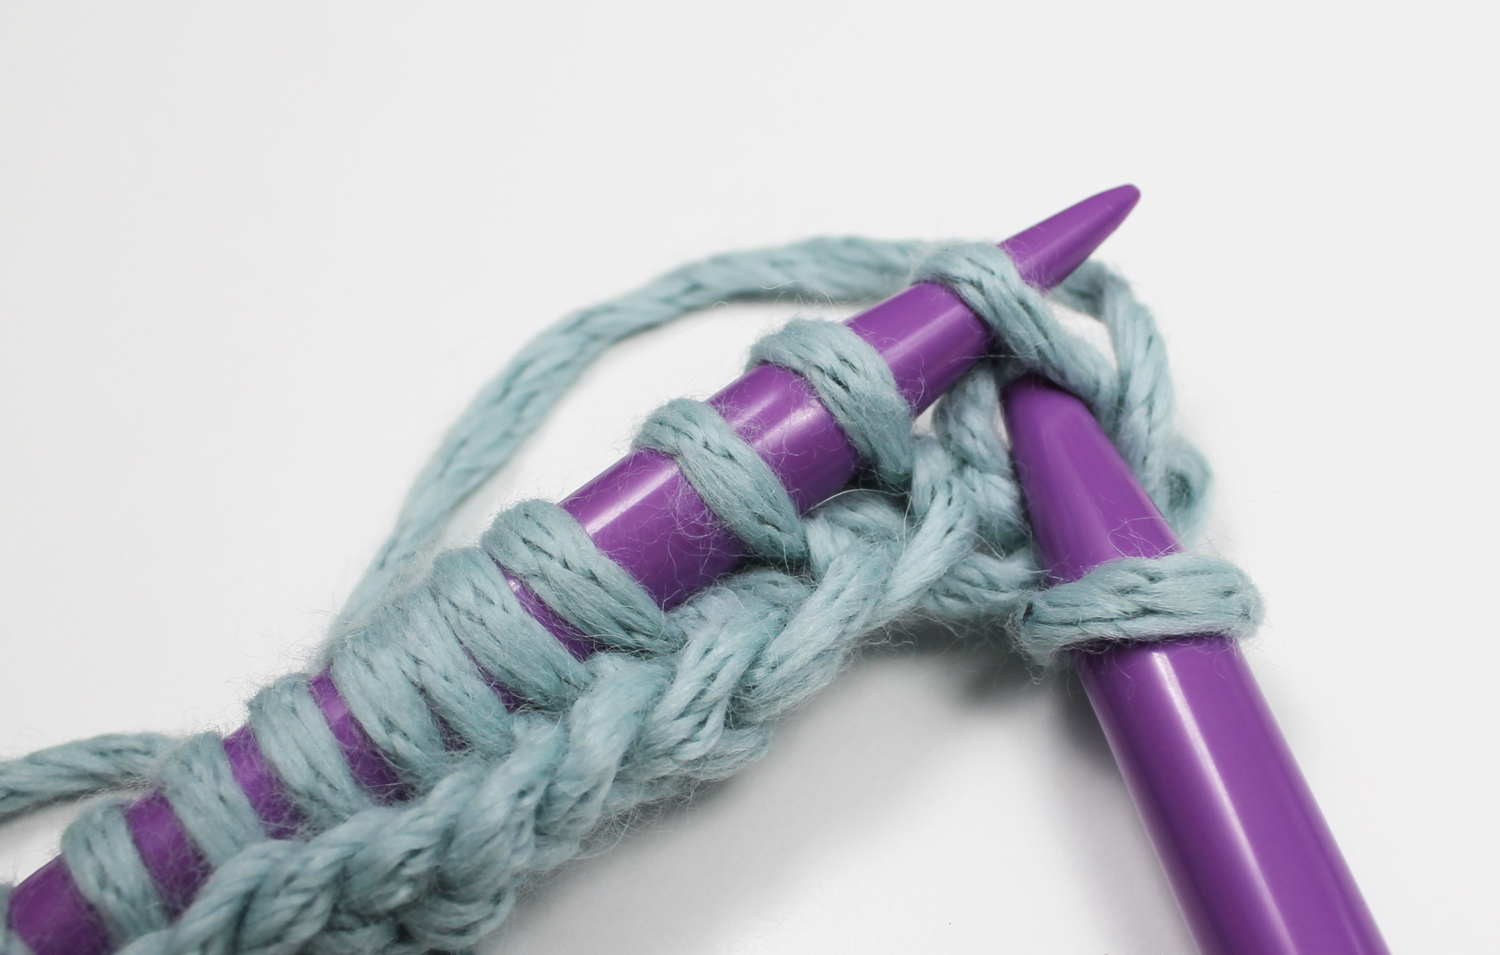
Work a knit stitch just like you normally would, wrapping the working yarn around the needle and pulling it through.
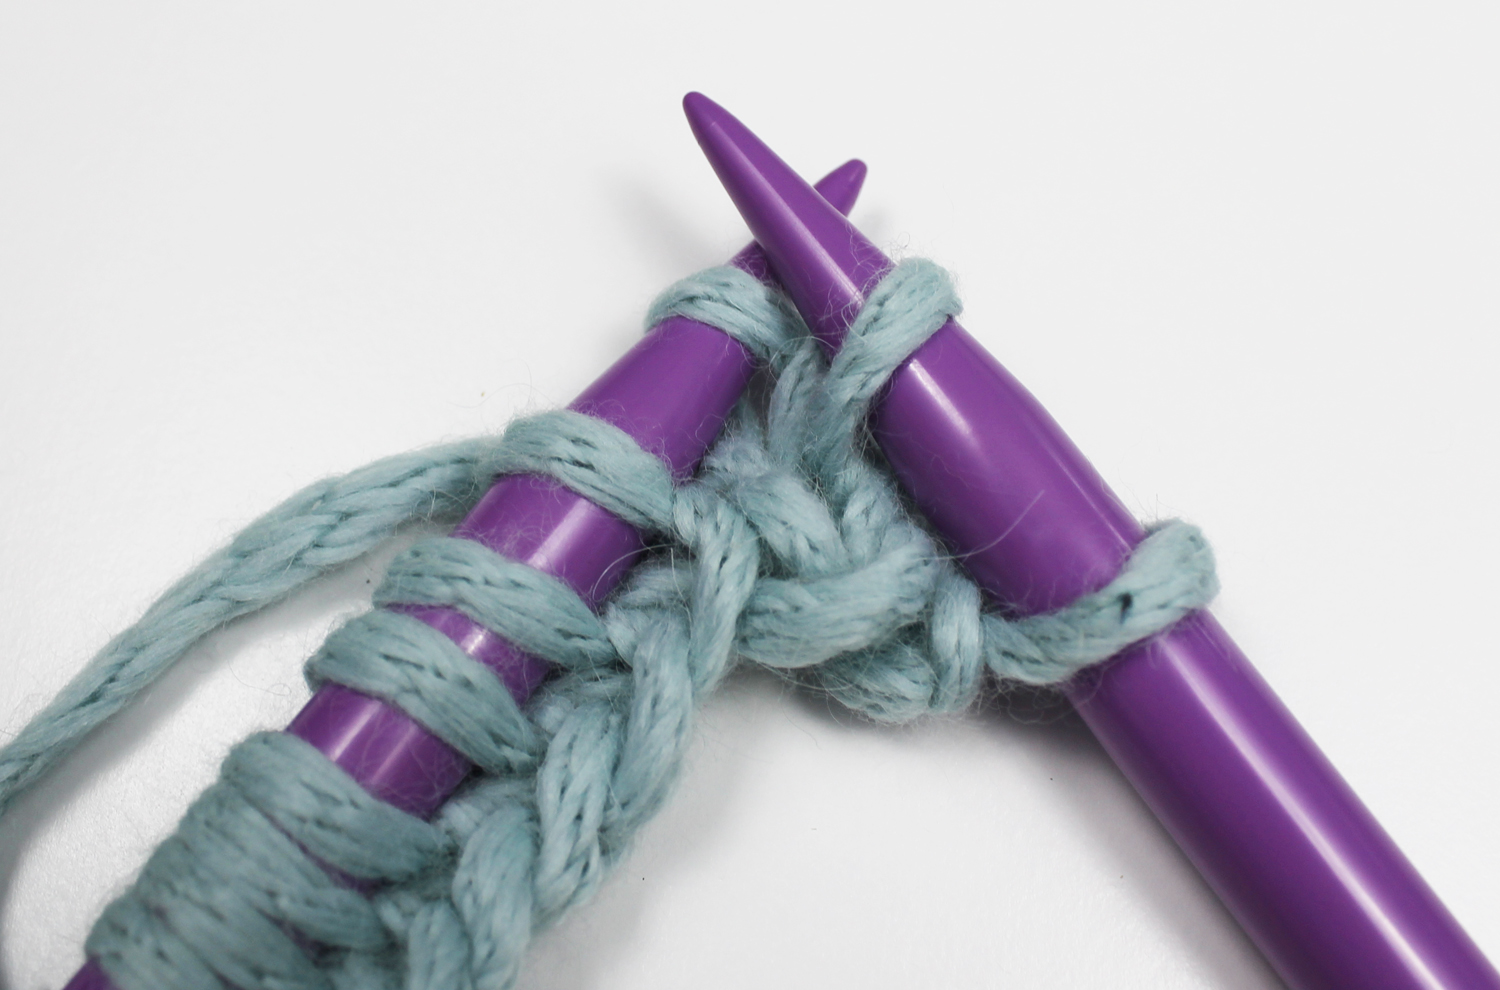
Now drop the stitch from the left needle. Even though we didn’t work that stitch, it’s OK to drop it because we’ve created a new stitch on top of it that’s going to extend over two rows. Nothing will unravel, so don’t panic!
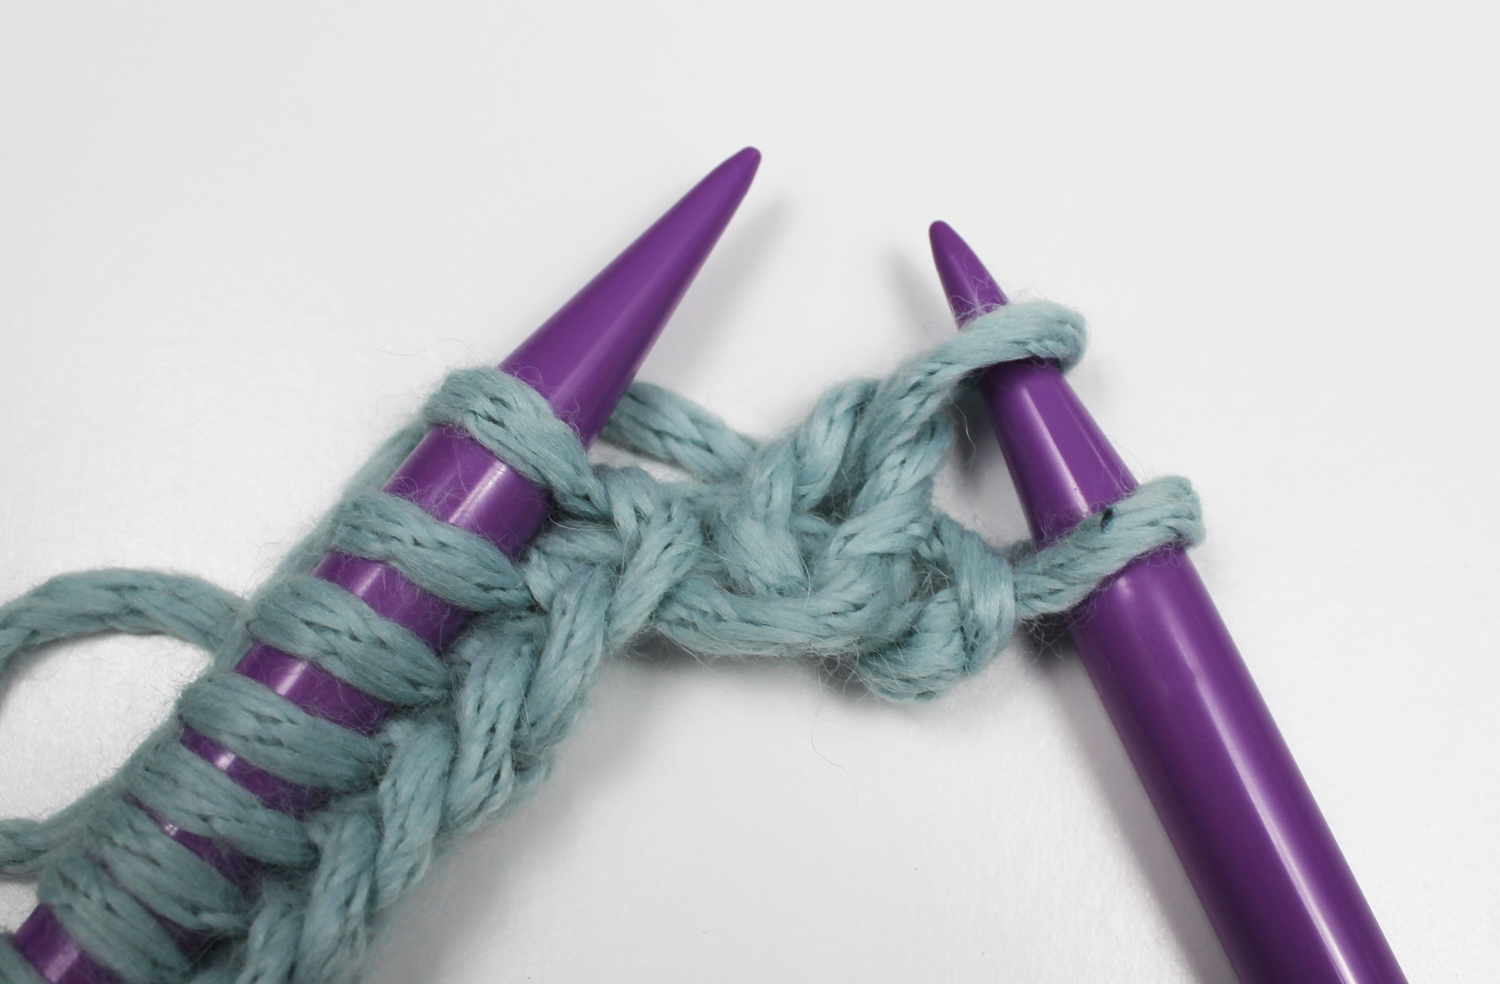
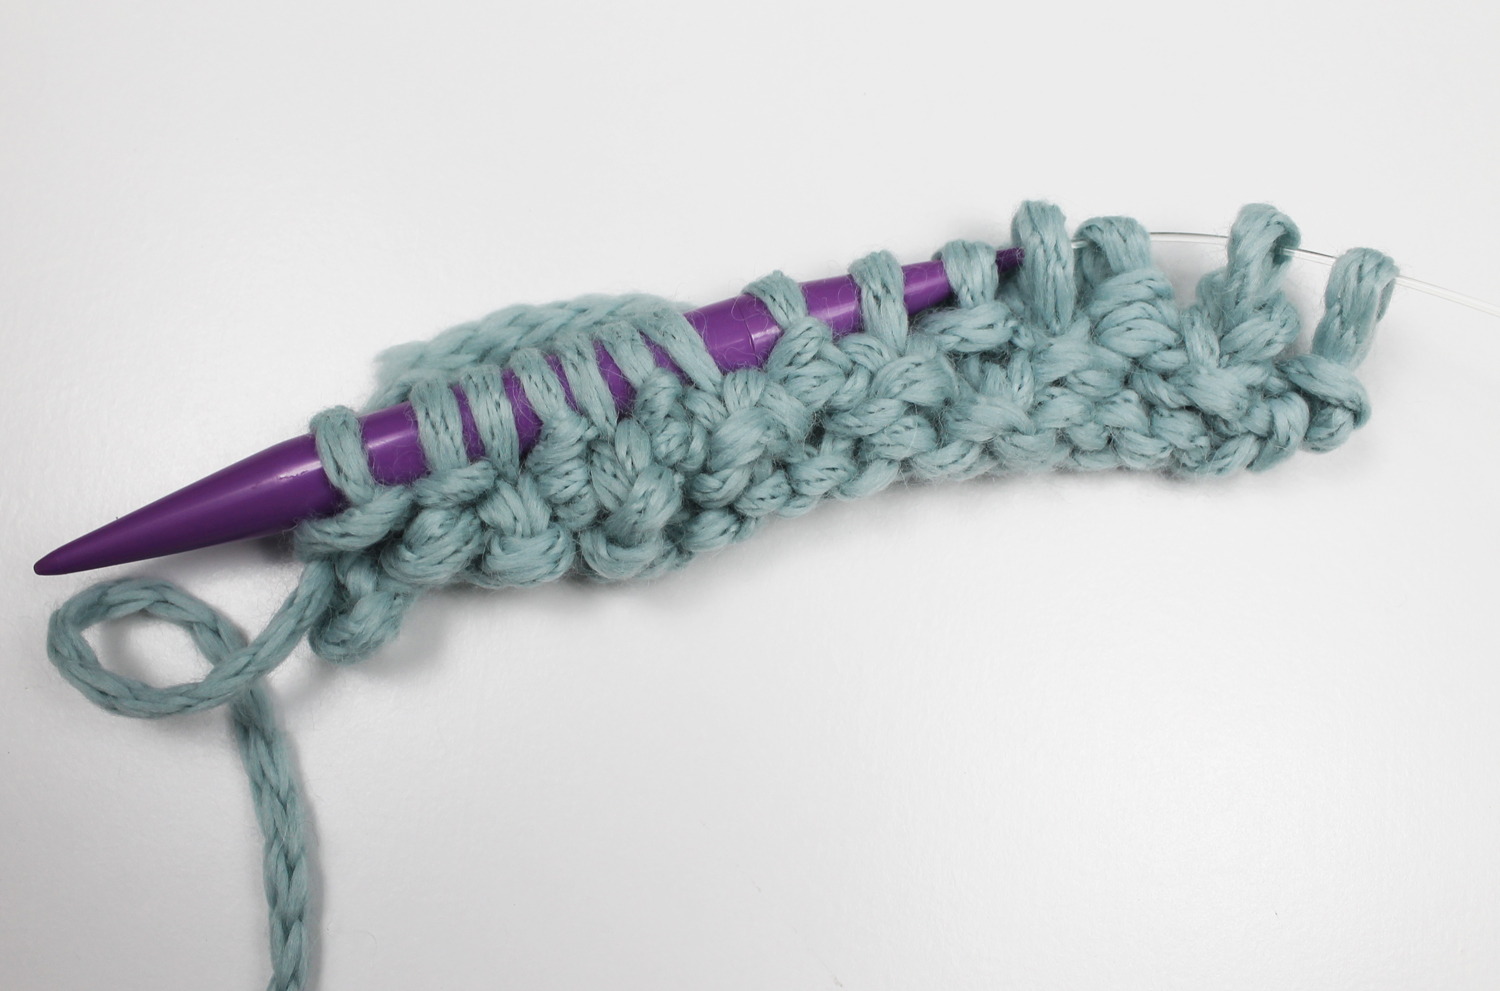
Step 5: Repeat across the row
Repeat the *P1, knit 1 into stitch below* across the row until you reach the last stitch, then purl the last stitch.
Step 6: Repeat for the next row
Now we’re ready to work a new row. This row works exactly the same as Row 1:
Purl the first stitch. Knit 1 into the stitch below. When you’re knitting into the stitch below, you’ll see that now we have two rows of stitches below our working row. Be sure you’re inserting the needle into the row below the stitch that’s sitting on the needle, rather than the very first row.
Repeat the *P1, knit 1 into stitch below* across the row until you reach the last stitch. Purl the last stitch.
You’ll notice as you work across that when you come to a knit stitch, you’re knitting in the stitch below it; when you come to a purl stitch, you’re purling it. Fisherman’s rib is very much like regular rib in that way. It’s super easy to read your knitting without having to remember where you are in the row.
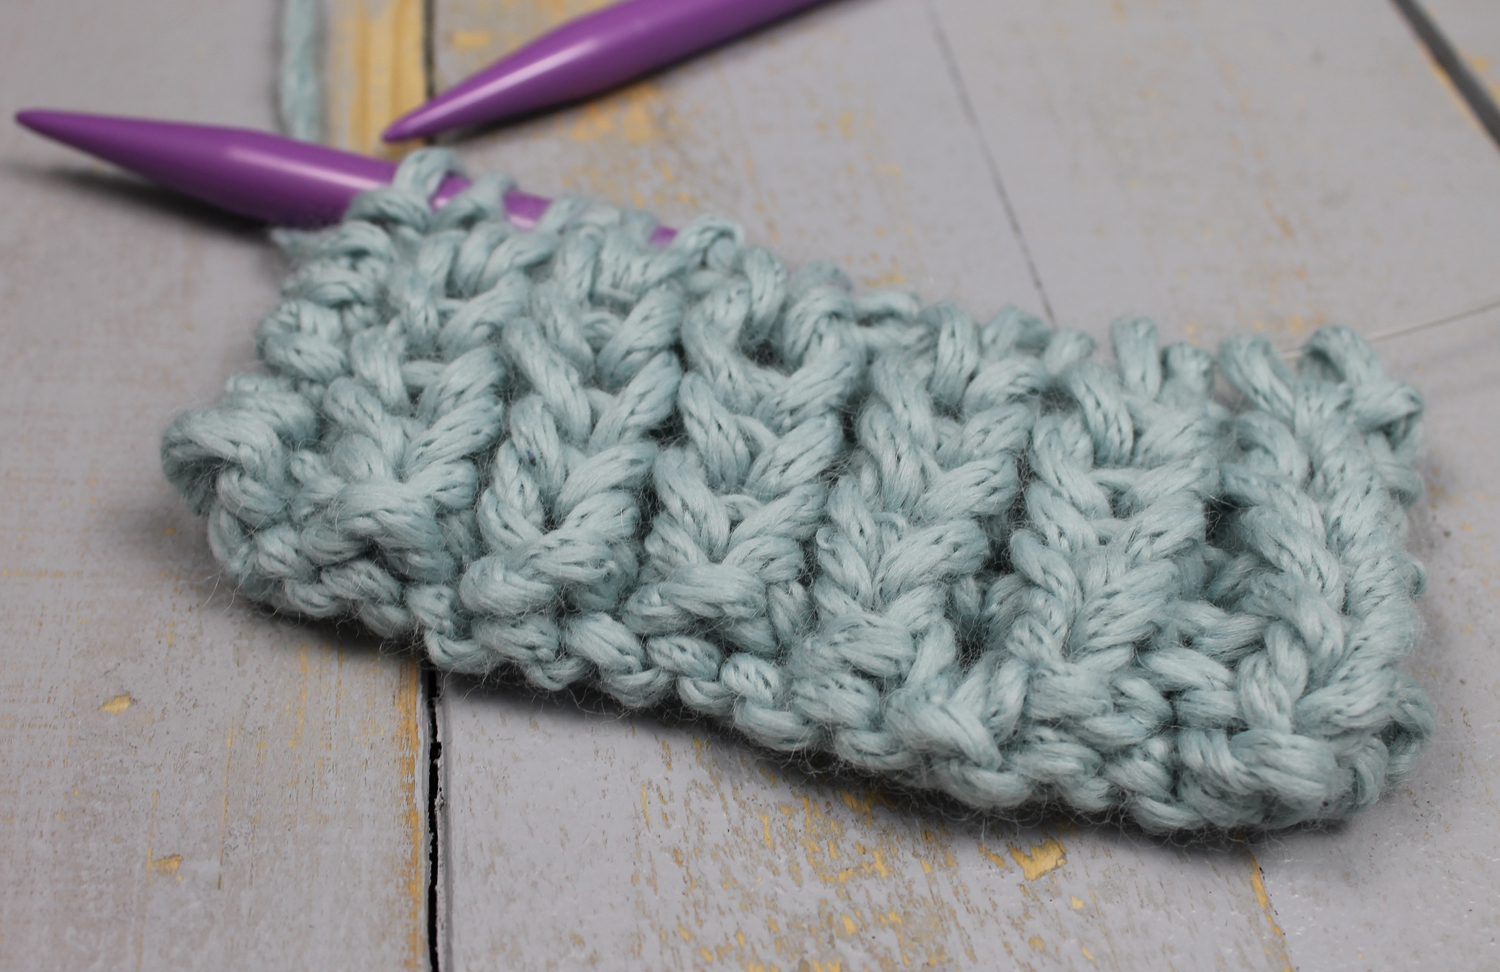
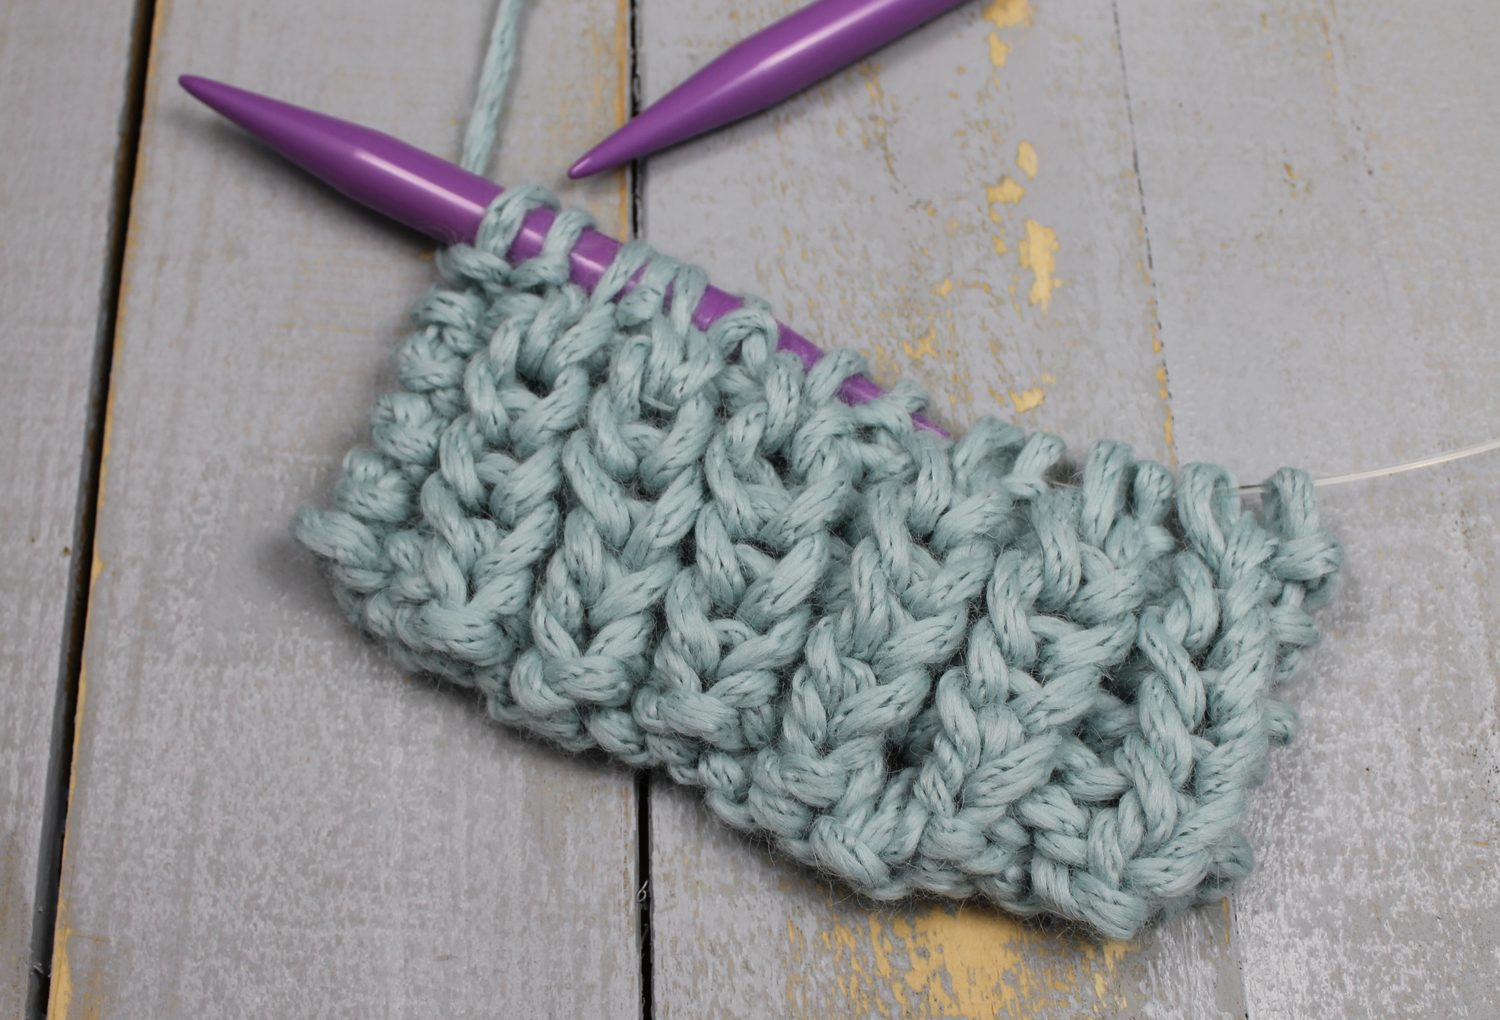
Step back and admire that super squishy texture. (Oh how I wish you could reach in and feel my swatch!) Consider incorporating fisherman’s rib into your project, perhaps even substituting regular rib for fisherman’s rib.
How do you inc and decrease in fisherman knit rib
the best! try it with malabrigo RASTA! unreal.