
Learning how to use embroidery templates is a skill every embroiderer will find useful. Templates help with design placement, they allow you to audition the design before stitching, and prevent a lot of guesswork (and disasters).
I’m not sure about you, but I have an issue when trying to eyeball design placement, and it is too late to change things once it is stitched. Fortunately, templates help put the embroidery where you want it the first time.
Let’s learn how to use embroidery templates.
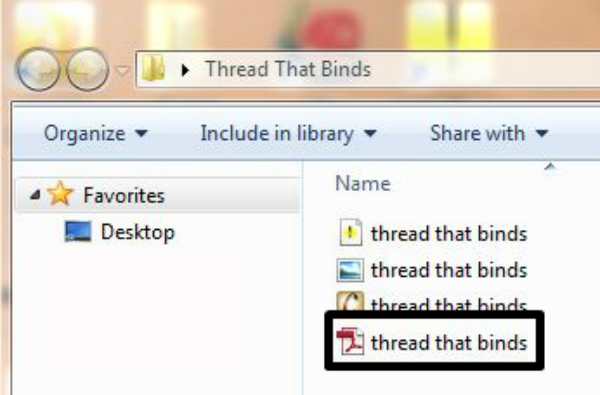
Image via Debbie Henry
Locate and print the template
Usually, the template is included as a PDF file.

Image via Debbie Henry
Be sure to print the template at 100 percent instead of “Fit to page.” Double click to open the file. If it does not open, you may not have Adobe Acrobat software on your computer. If not, download it here for free.
Photos via EmbroideryLibrary.com
Position the template
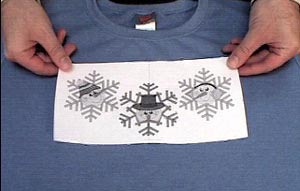
Trim close to the design area to eliminate excess paper. Keep the crosshairs at proper north-south orientation on the piece you are embroidering and move the template around on the fabric or garment until you are happy with the location. Placement guides show where embroidery should be positioned for various garments and linens.
Get the Embroidery Placement Guide here.
Get the Embroidery Placement Guide for Infants, Toddlers, and Children here.
Mark crosshairs on the fabric/garment
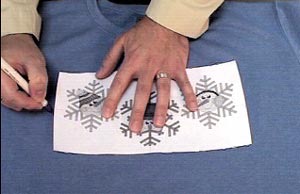
Pin the template in place. Use a water-soluble or air-soluble marking pen (test first on an area of fabric that will not show) to mark four crosshair locations on the fabric or garment you wish to embroider.
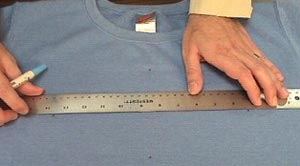
Remove the template and draw horizontal and vertical lines connecting the crosshair marks. Now, the item will be easy to center in the hoop. Alternately, some embroiderers prefer to use the pinned template to help them hoop the item them are embroidering.
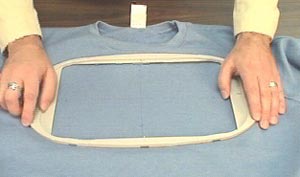
Center the fabric/garment in the hoop
Using the appropriate stabilizer, align fabric or garment crosshairs with hoop centering lines and you are ready to stitch. If crosshairs do not line up correctly with the hoop guides, hoop again.

Share tips, start a discussion or ask one of our experts or other students a question.
No Responses to “Everything in Its Place: Using Embroidery Templates for Design Placement”