
Watercolor painting and embroidery. Both great art forms. But have you considered a mash-up? (Bear with us here!) Hey, it works for the most unlikely musician pairings, and it will work here. In fact, adding thread to a watercolor work will definitely add a robust new dimension to your work — a unique sculptural effect that will draw admirers.
Embroidered Watercolor Painting
Level: Easy
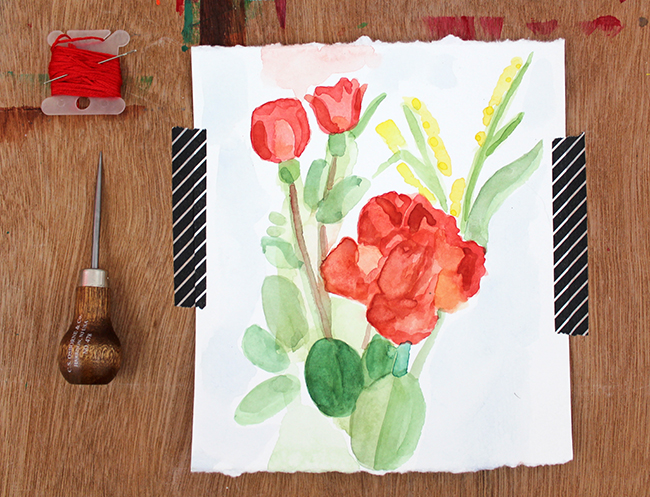
What You Need
Instructions
1. Begin Your Watercolor Painting
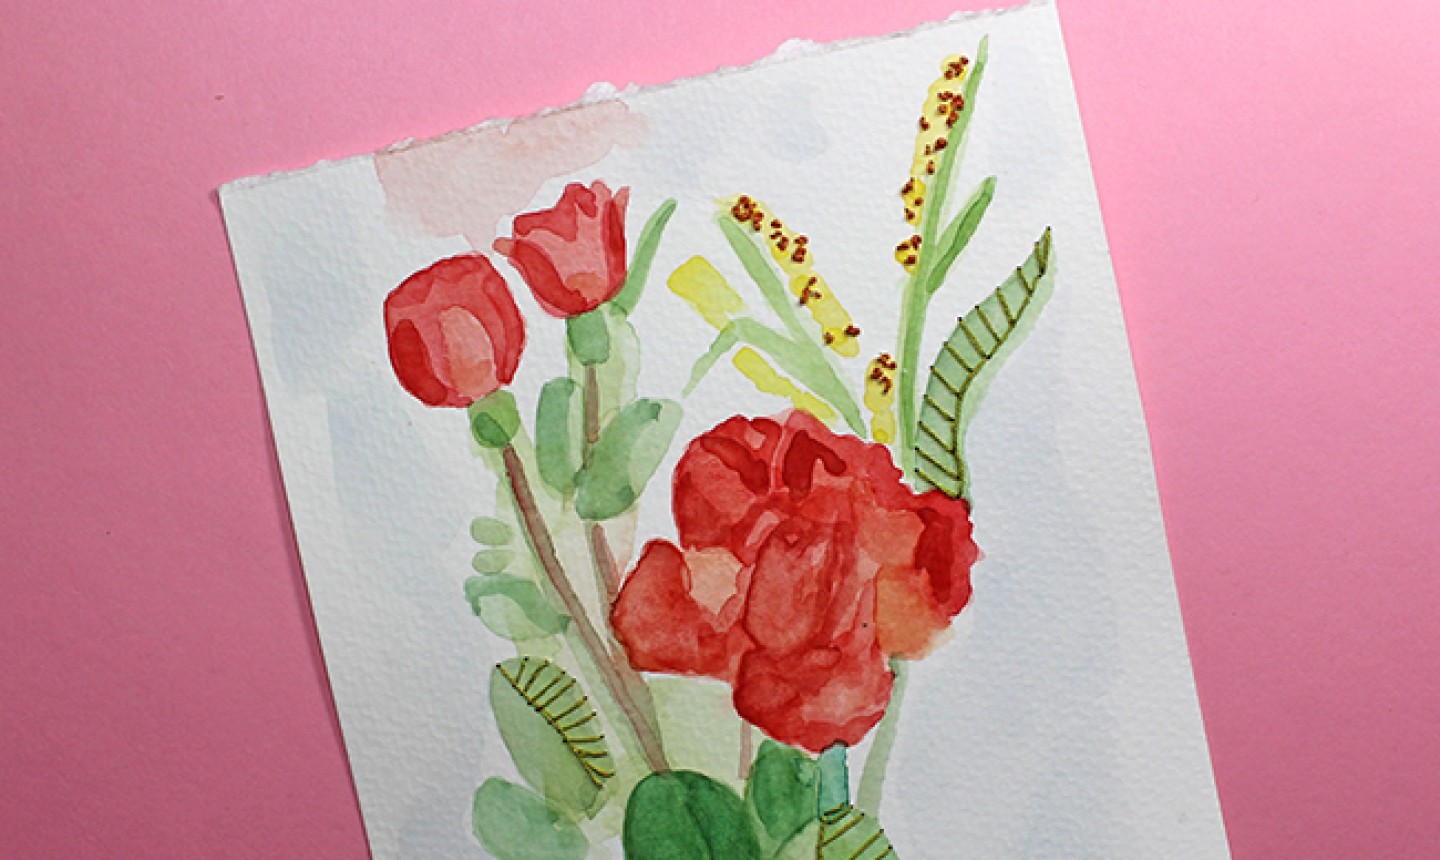
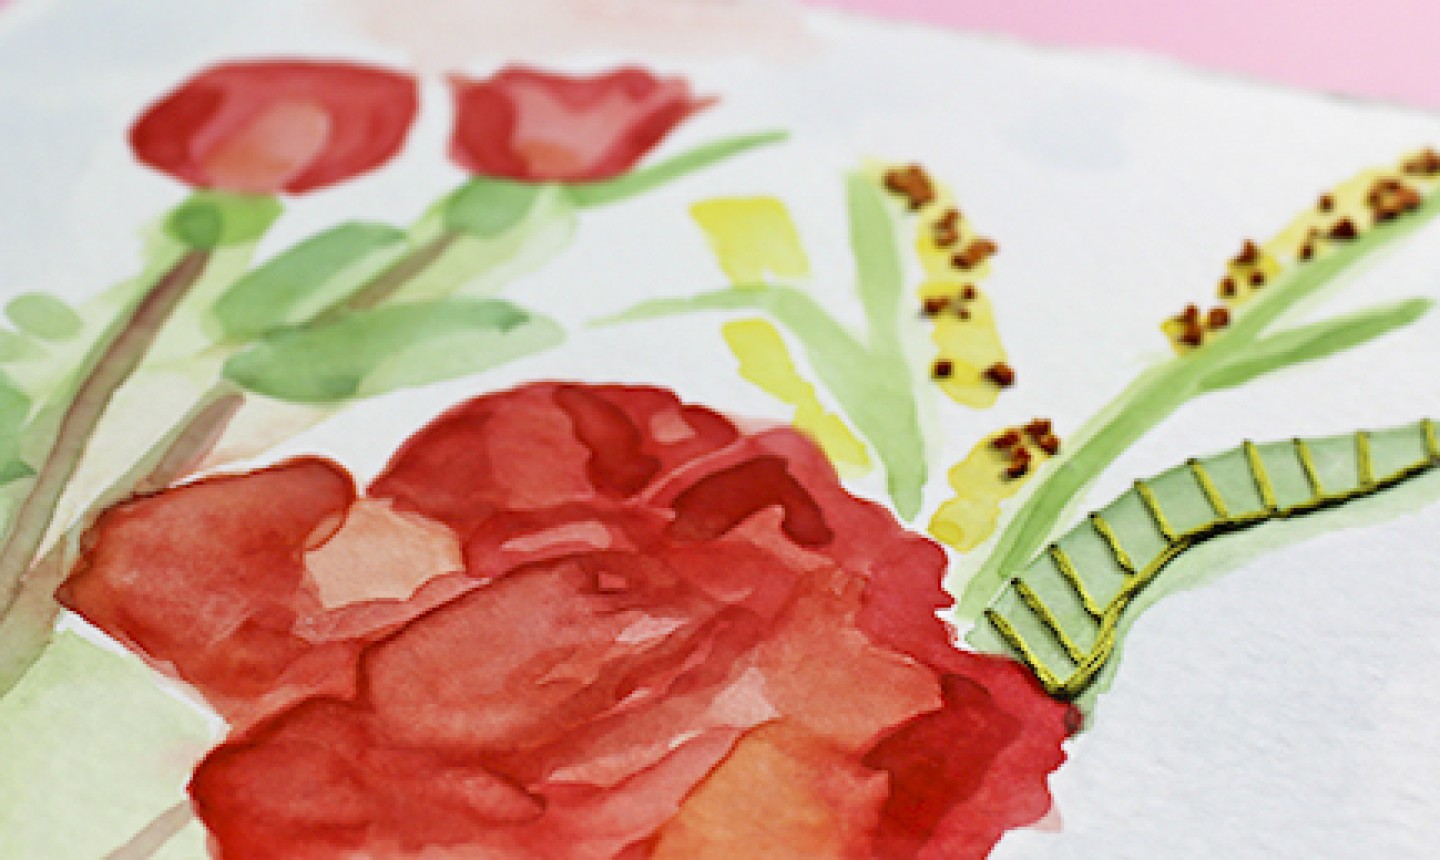
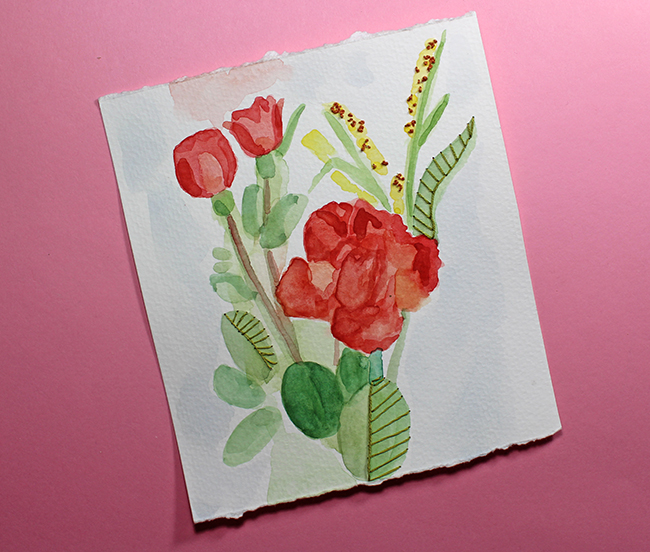
When you’re deciding what to use as a subject, keep in mind that for this project your best picks will be something with a lot of texture, or plenty of small details that could be enhanced by embroidery. We chose flowers.
If it’s your first time combining these techniques, go for mostly painting with just a dash of embroidery. For instance, leave out some details — the recurring veins on a leaf, for example, or the length of a flower’s stamen. The places where you painted simplified colors and shapes are areas to later embellish with thread.
2. Select Your Favorite Thread
Once you’ve let your paint fully dry, it’s time to start stitching. Select a few colors of thread and a needle. To punch holes into your paper, you’ll also need another needle or an awl.
3. Plan Your Stitches
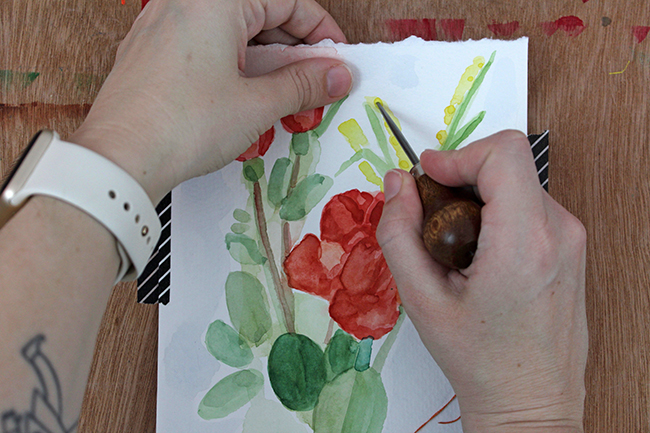
The main way that embroidering on paper is different than when you use fabric: It’s not that forgiving … meaning, you’ll see every little poke you make. Because of this, it’s best to plan out where you’ll be stitching and the holes you’ll use.
Using a pencil, make tiny dots on your painting where you are going to sew. Avoid drawing the dots too close to one another.
Once you’re satisfied with the pattern, begin sticking all the holes in your paper with the needle or awl.
4. Stitch Dot to Dot
Start by threading the needle and bringing it through each of the holes you made during the last step. Be delicate when you hold the paper — it doesn’t bend and stretch like fabric, so any creases or folds will show up later.
Start with just sewing lines of thread between the dots. Once you get used to sewing on paper, try some of your favorite hand embroidery stitches. We used simple backstitch and French knots, though they can be a little tricky on paper so work carefully.
When done, tie a knot in the back and tape the thread down if need be.
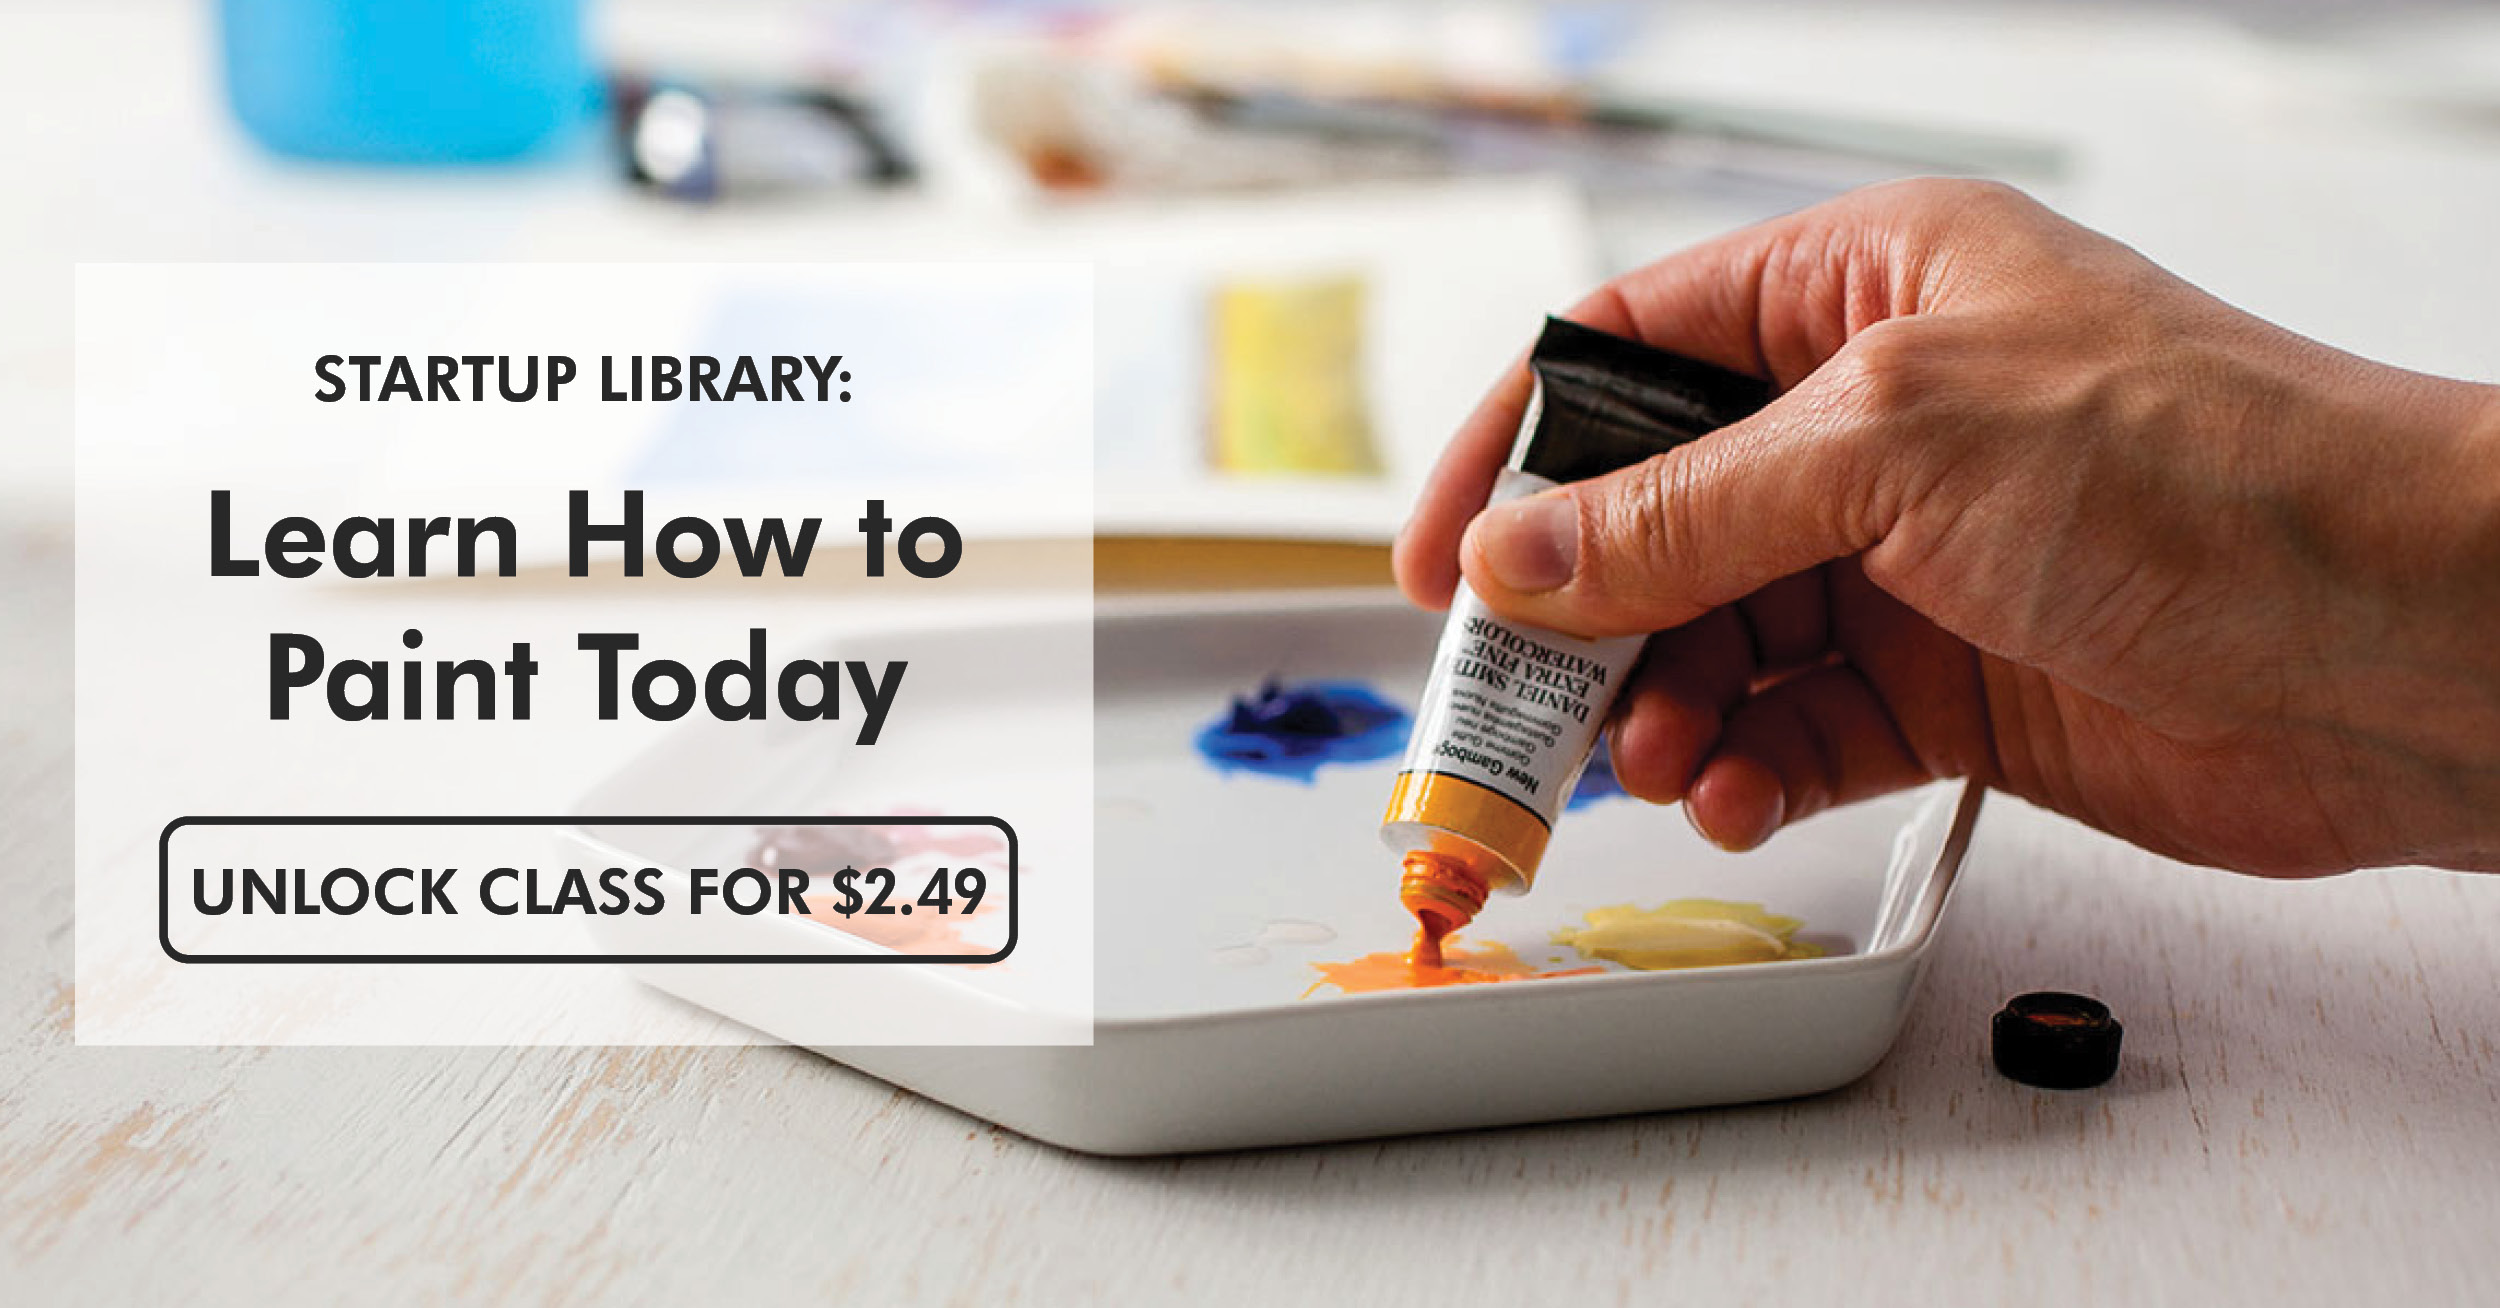
Looking to get started with watercolors? Check out the class Startup Library: Watercolors below!
Inspiring!