
You know that pencil that’s sitting on your desk? It can be used for much more than just scribbling notes on paper. Graphite is a classic tool that’s perfect for many types of drawing. Today, I’m going to show you a tutorial for some graphite drawing techniques.
I’ll demonstrate how to add surface texture.
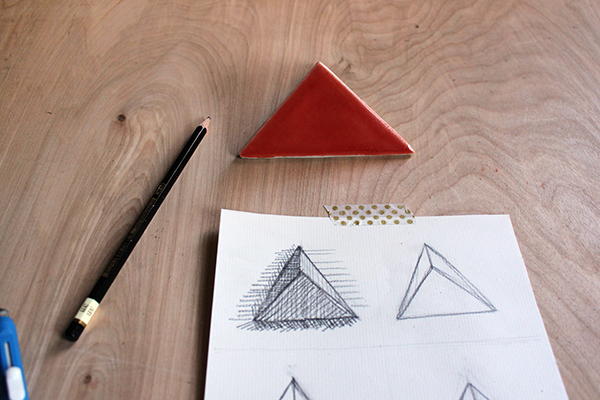
Pick out a small object to draw. I really enjoy drawing from life, and it will give us a good basis for comparing how the same object can look really different depending on what type of texture you use. I’ve chosen a ceramic triangle because it’s easy to replicate with a minimal amount of detail.
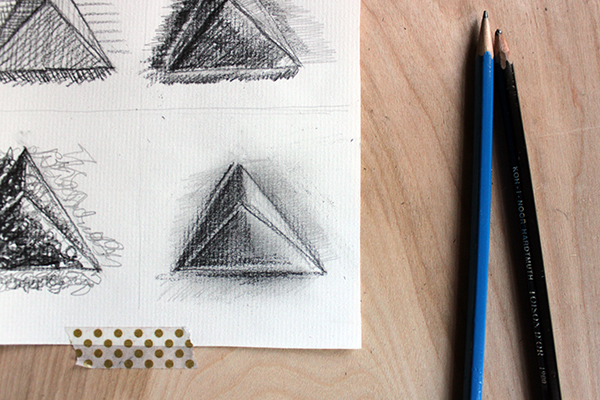
Here are some of the tools I’m using for this tutorial. I’ve labeled them below.
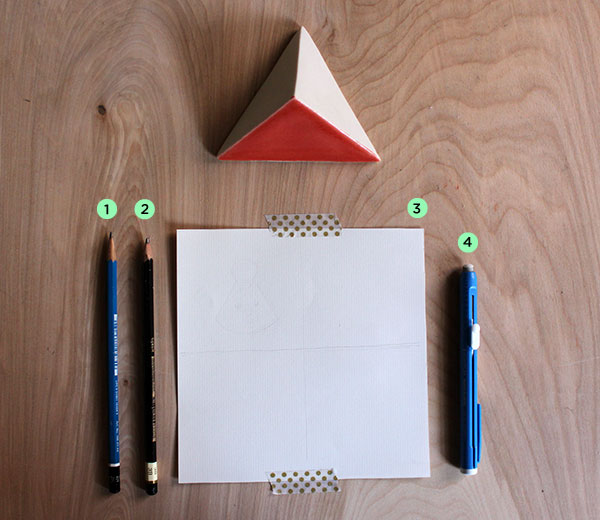
- H pencil: An “H” pencil is a harder graphite. I wouldn’t recommend this for shading and is best for light areas and outlines.
- B pencil: The “B” signifies a softer graphite and is perfect for making strong, dark marks. 8B is the softest and therefore darkest lead. Here, I’m using 3B.
- Paper: You can use any paper you wish. I’m using drawing paper by Strathmore, but for this exercise, you could use copier paper if that’s all you have. My surface is a little toothy, meaning that a slight texture is going to show through. You might want to try something that’s smoother.
- Eraser: This can come in all forms, so chose your favorite.
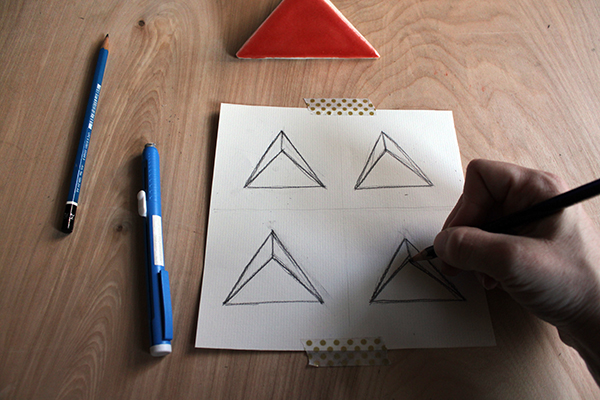
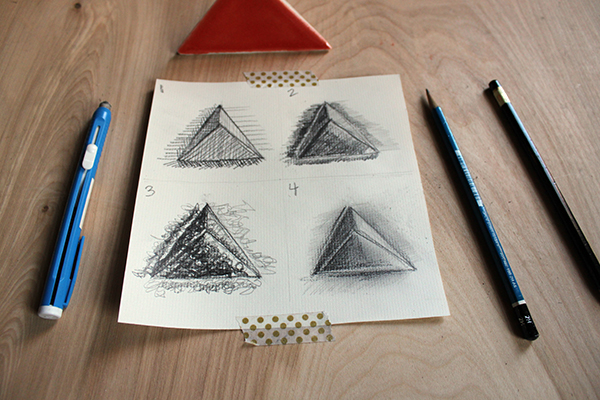
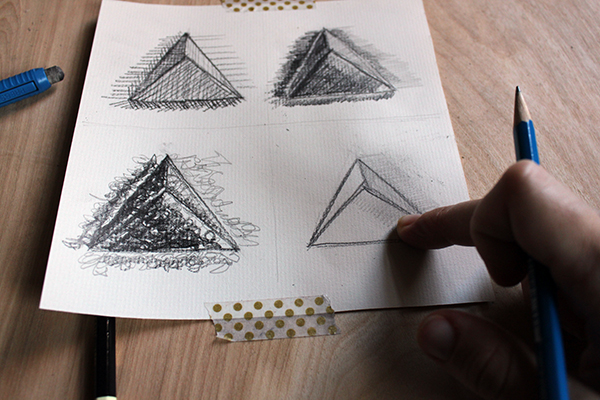
We’re going to try four different ways of creating texture. So, we’ll first need to reproduce the object several times. Draw it on the same piece of paper for easy comparison later.
Technique #1: Crosshatching
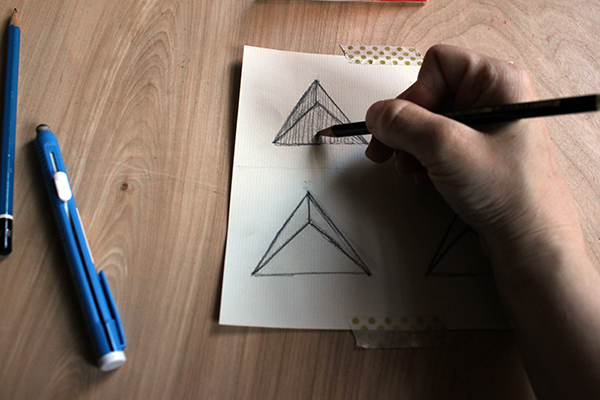
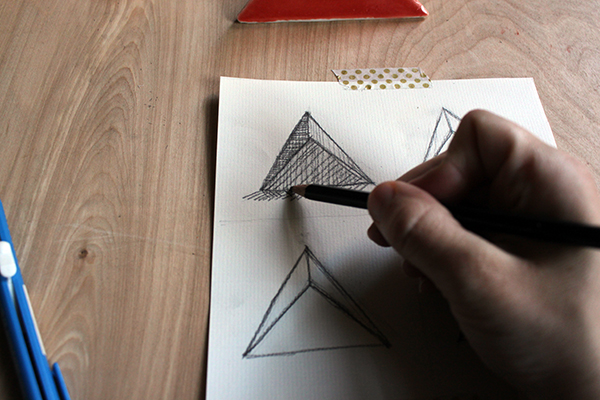
Crosshatching is a popular technique that you’ll find throughout all drawing media. It’s popular for pen and ink but works well with graphite, too. Start by drawing lines in one direction (they should be straight-ish). Once you feel like you’ve made enough marks, go over them in the opposite direction. Vary the distance in between lines to shade and add tonal depth. Because of the tiny crosses, it will give your object a patchy look to it.
Technique #2: Short, directional marks
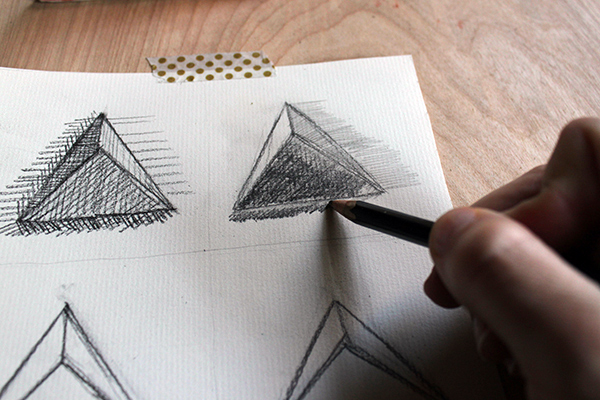
If you ever want to draw hair, you’ll most likely use a variation of this technique. Using your lighter, “H” graphite pencil, start by pressing lightly and running your pencil continuously across the page. Pick it up from time to time and keep your strokes visible. You can vary the length and angle of your marks to contour the image. Once you’ve filled in the lighter areas, take your “B” and do the same thing with it, this time concentrating on only the heavily shaded areas.
Technique #3: Squiggles
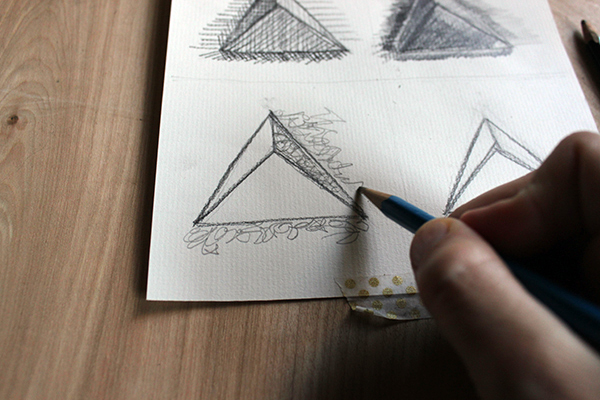
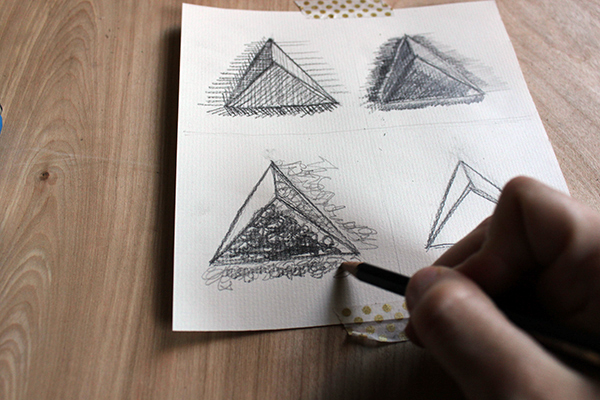
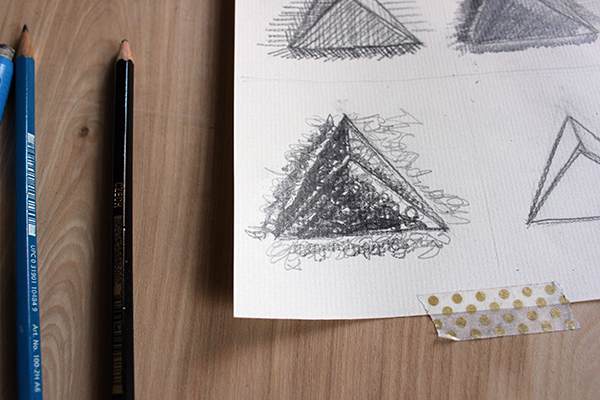
It’s time to go crazy! The squiggle technique is the perfect way to exercise freedom with your pencil. Using the process that you did for the directional marks, start by twisting your wrist with your “H” pencil to produce the type of lines you’d see on a Brillo pad. Switch to the softer graphite pencil after the lighter areas are filled to give more tonal definition. The more dense the squiggles, the darker the shape will appear. Have fun layering them, too!
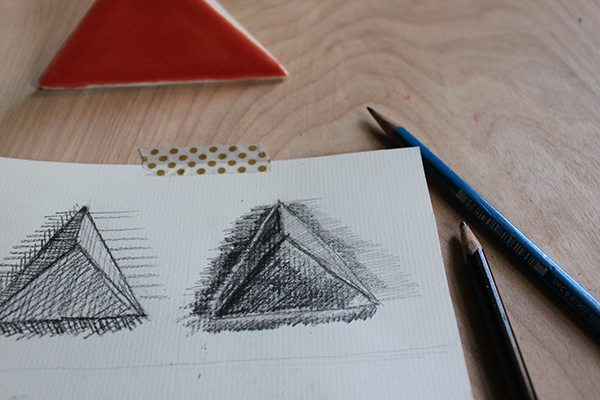
Technique #4: Smooth shading
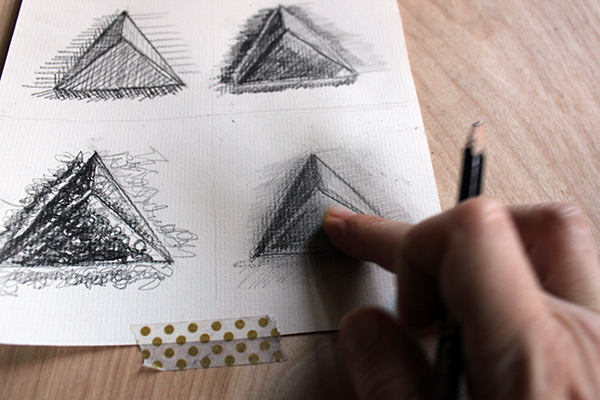
With this last technique, be prepared to get a little messy. Use the harder lead in the lighter areas (as we’ve done with previous technique) to achieve an overall color. Now, take your finger and blend it into the paper. Use your “B” graphite pencil afterwards and shade the rest of the object. Again, combine the tones. You’ll probably want to go back in and layer the graphite and blend it again. Repeat the process until you’re satisfied. Once you have a smooth, even surface, take your eraser and clean up any messy edges or smudges. Then it’s time to wash your hands!
No matter what you illustrate, at least one of these graphite drawing techniques will be helpful. Not all textures are appropriate for everything you draw, but by learning different ways of creating them, you’ll be ready for anything!
Better Drawing With Perspective

Learn how to draw scenes with lifelike space and dimension.Get My FREE Guide »
Share tips, start a discussion or ask one of our experts or other students a question.
No Responses to “4 Graphite Drawing Techniques That Create Texture”