
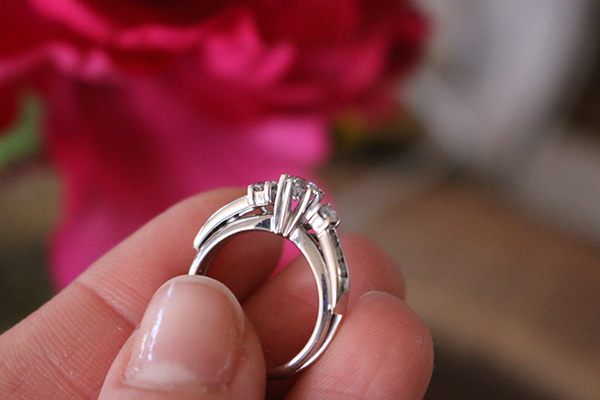
If you are interested in making your own jewelry, you’ll also like it to be clean! Here’s my homemade budget-friendly DIY jewelry cleaner! It’s super simple and easy to make at home.
With all the daily chores and other messy things in our lives, we find that our wedding bands and other jewelry can get pretty funky. I used to take my band every few months or so to a jeweler to get cleaned, but life got busier and now we have other priorities.
This DIY is budget-friendly and made with items that you likely already have at home.
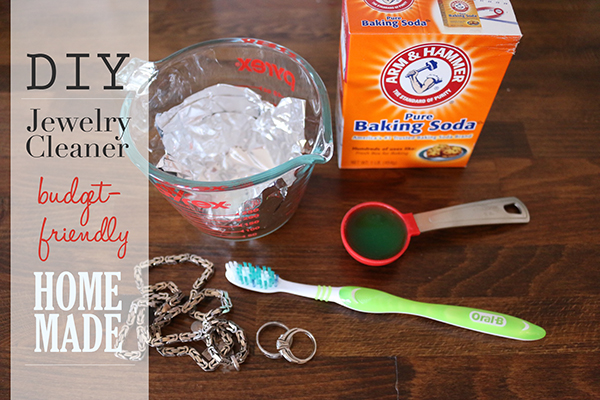
Materials:
- 1 tbsp. salt
- 1 tbsp. baking soda
- 1 tbsp. dish soap
- 1 cup water
- Aluminum foil
- Small bowl
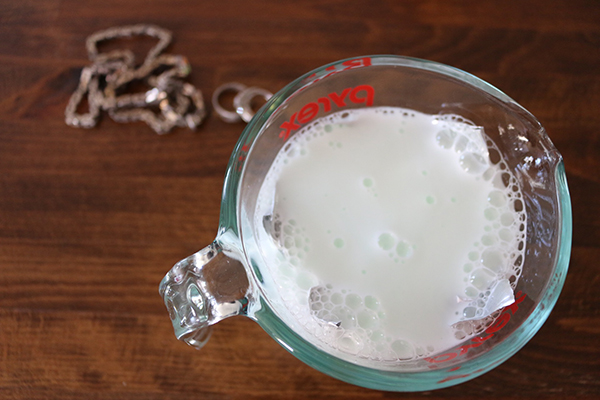
Step 1.
Heat your water in the microwave for 1-2 minutes. While it’s heating up, cut your foil to fit roughly into the bottom of your bowl.
Step 2.
Pour the hot water into your bowl.
Step 3.
Add 1 tablespoon of each ingredient into the bowl, and stir with a wooden spoon, chopstick or any other tool you have on hand.
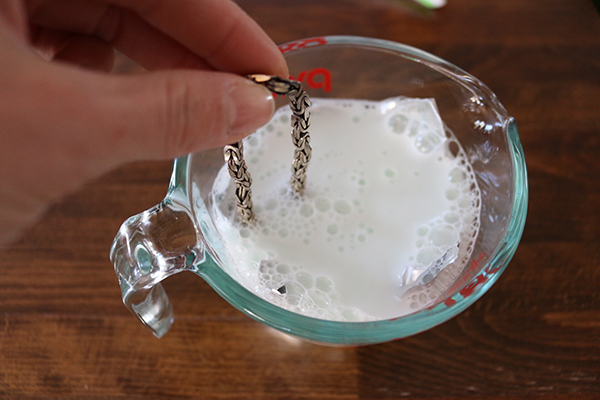
Step 4.
Before you proceed with step four, make sure to read about how to clean oxidized, antique and brass-plated jewelry. You also want to be careful with real pearls, opals and any other soft gemstones. Read about what is safe to clean here.
Now, drop in your rings, necklaces, bracelets, bangles and earrings and let them soak away. Typically 5-10 minutes should be enough time to loosen the dirt.
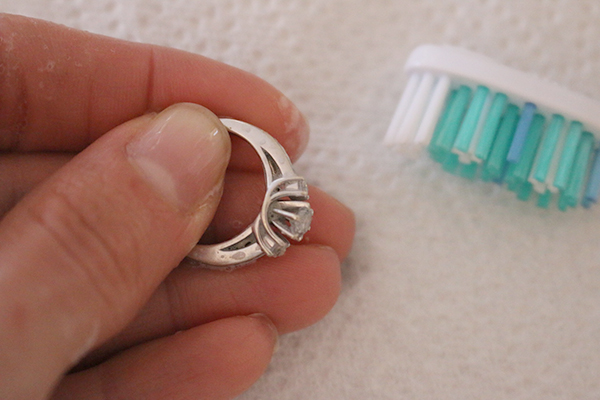
Step 5.
If you have a wedding band with lots of settings, or a necklace that has big chains, use a soft toothbrush to get in between the openings. Don’t use too much pressure, the bristle could scratch your stones if used on the softer gems.
Step 6.
Once you have cleaned the jewelry piece, you can rinse it with cold water and tap dry it with a soft cloth.

Hope you enjoyed this tutorial.
Share tips, start a discussion or ask one of our experts or other students a question.
No Responses to “Simple 6-Step DIY Jewelry Cleaner”