
Supplies you’ll need:
- Halloween patterned paper
- Solid-colored card stock
- Halloween themed pencils
- Die or punch measuring roughly 3″ x 2″ in size
- Craft knife and cutting mat
- Foam adhesive squares
- Halloween stamps or printable images
- Markers or colored pencils
- Various circle and scallop circle shaped punches

Step 1:
Choose some fun Halloween patterned paper to use as your base for the pencil topper. Cut the paper using your manual or electronic die cut machine. If you don’t have a die cut machine, you can use a punch, or try tracing and cutting out a favorite shape or circle.
Step 2:
Lie the base of the pencil topper on a cutting mat. Use a craft knife to cut two 1½” slits into the shape, roughly ¼” from the top and bottom of the shape. These slits will create a slot for the pencil to slide through.
Step 3:
Stamp your favorite Halloween image and greeting onto some white card stock and color in using markers or pencils. You can also print images or greetings that you find online for this step.
Step 4:
Use a circle punch to punch out your stamped image. Punch additional circle and scallop circle shapes from assorted colors of card stock. Adhere these circles on top of each other for added dimension and a more finished look. The punch sizes used here are 1-3/8″ and 1-1/2″ circles and a 1-3/4″ scallop circle.
Step 5:
Slide your pencil through the die cut piece. Add foam adhesive squares on either side of the pencil.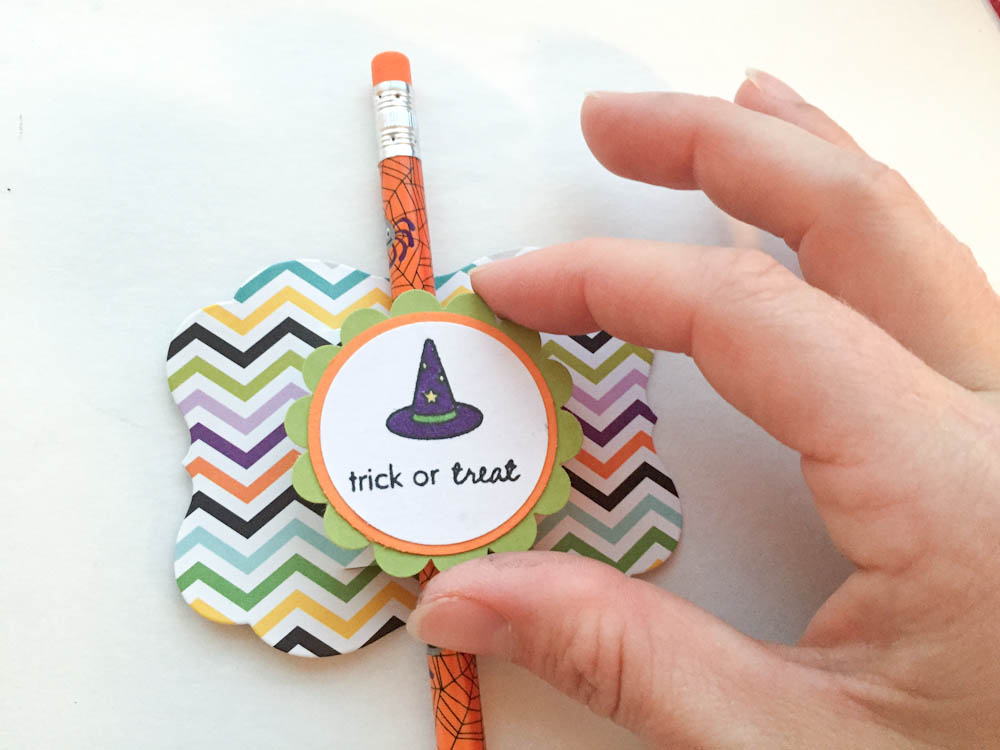
Step 6:
Adhere your stamped Halloween image to the foam squares, pressing firmly on each side. Slide the pencil topper into desired position.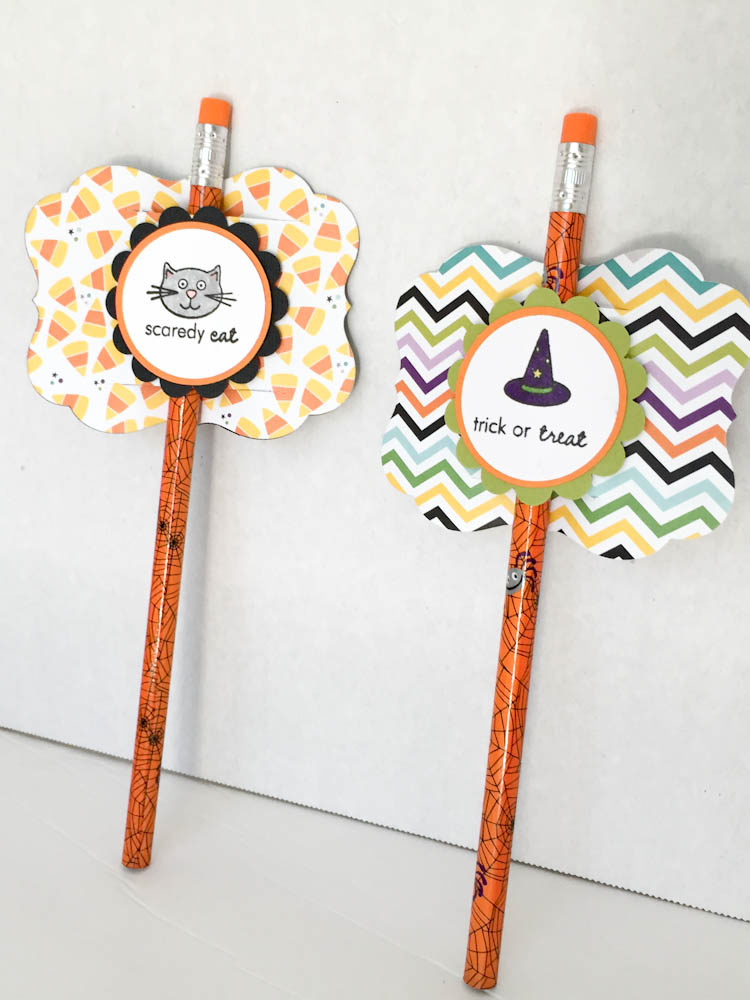 Tip: For a fun way to personalize this project, have your child write a note on the back of each pencil topper before handing out to their friends and classmates.
Coloring With Copic Markers

Get the most from your Copics with essential techniques and tips!
Share tips, start a discussion or ask one of our experts or other students a question.
No Responses to “Make A Halloween Treat That's as Sweet as Candy”