
The gold foil trend is spreading like wildfire. I’ve seen it everywhere from clothing to home decor to papercrafts.
Today I’m excited to show you how to gold foil with a fun card making tutorial! The best part about DIY gold foil printing is it can be done in minutes at home and will cost you a fraction of what you would spend using professional printers.
DIY gold foil printing tutorial
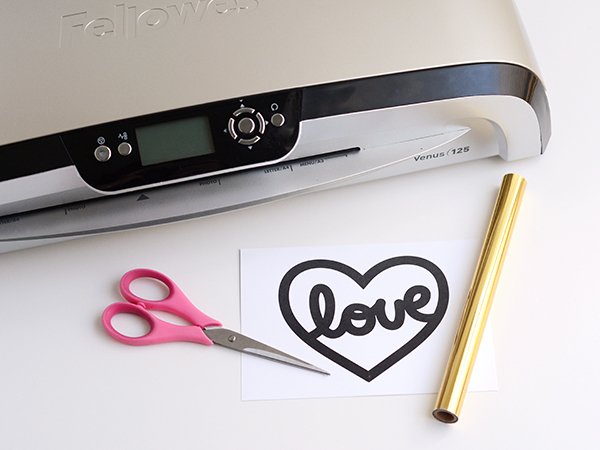
Supplies you’ll need:
- Laser print templates
- Laminating foil
- Laminator or iron
- Text weight paper
- Scissors
Directions:
Step 1:
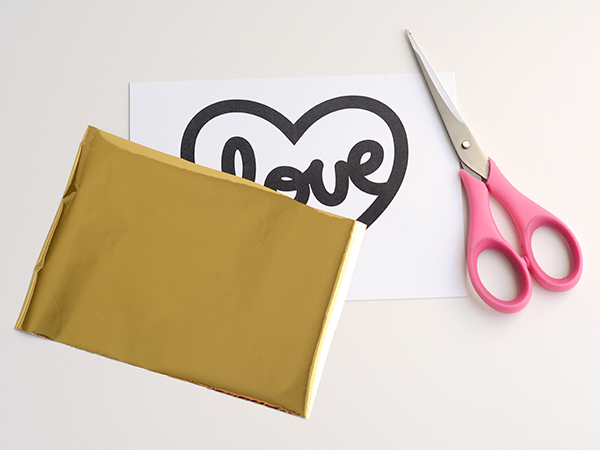
Place laser print with design face up. Cut a piece of laminating foil to cover the entire printed area.
Step 2:
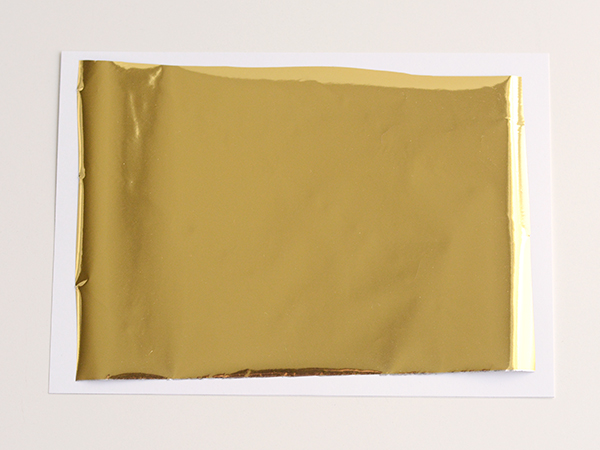
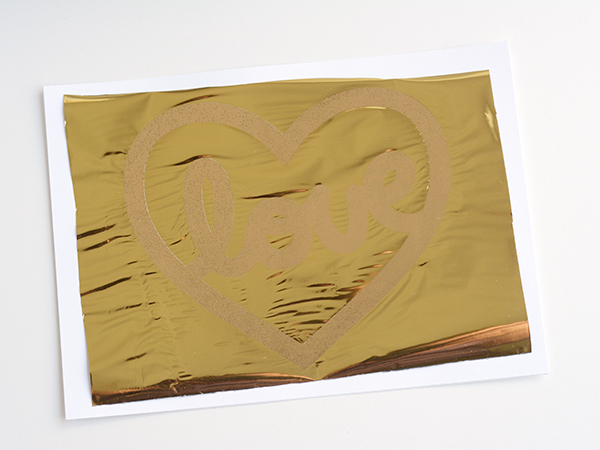
Place gold foil on the printed design with the gold side up.
Step 3:
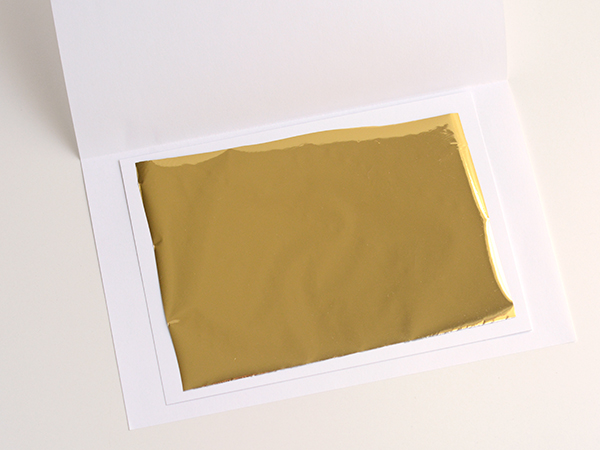
Keep the foil in position and place it in between a sheet of text weight paper folded in half. Card stock is too thick and won’t allow the gold foil to get hot enough to adhere to the printed design.
Step 4:
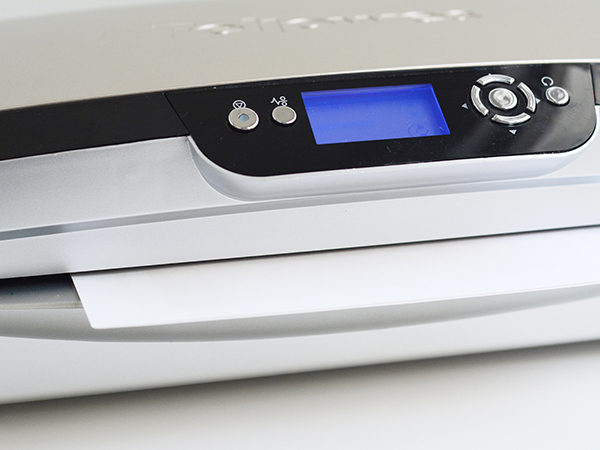
Send the paper through the laminator, folded end first.
If using an iron, place on a hard surface and press down firmly on the paper for about 30 seconds. Make sure to iron over the entire area of the printed design inside the paper. You may have to test out different times with your iron. Be sure to protect the hard surface you are ironing on with a thin cloth, while still keeping the surface firm.
Step 5:
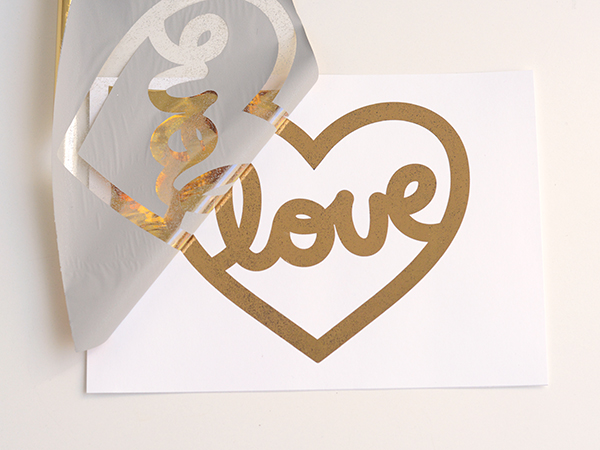
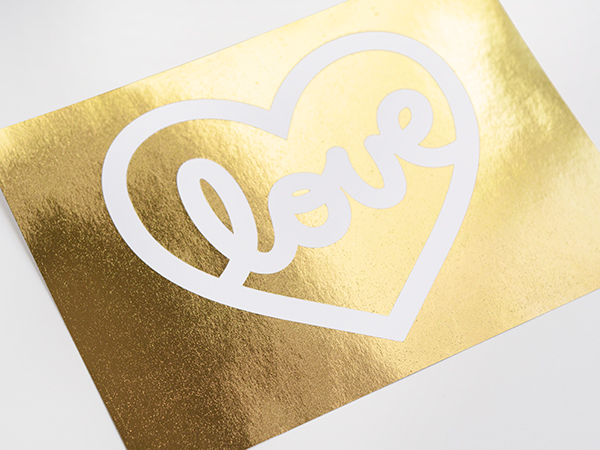
Now’s the fun part! Peel off the gold foil to reveal your design.
That’s it! Easy right?
Why do u need a laser print?
Great easy process. Thanks. I will be trying this soon.
Can you use a regular laminator that is used to laminate copies of menus or charts etc.?
Can you use a Thermofax machine?