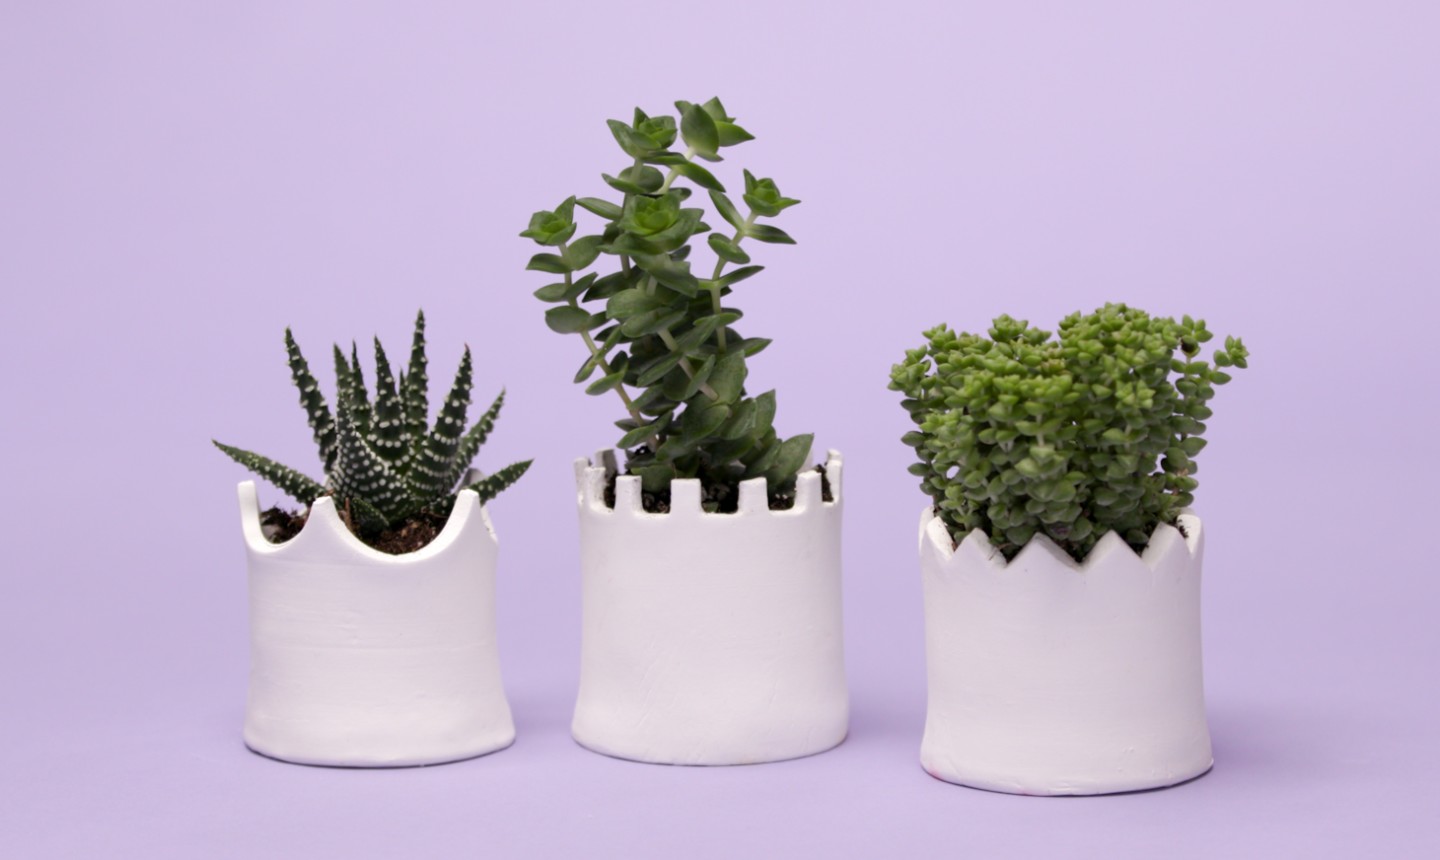
If you’re a plant parent, you’ve got to have the very best home for your botanical offspring. These DIY clay planters are easy to make and personalize for your style — and you probably have most of the supplies you need already lying around your house (no fancy pottery wheel or kiln required here!).
DIY Clay Planters
Level: Easy
What You Need
- Air-dry clay
- Rolling pin
- Ruler
- Knife
- Sponge
- Bowl
- Paper clip
- Pliers
- Clay tool for scoring
- Clay tool for mixing and applying slip
- Paper towels
- Sandpaper
Instructions
1. Roll it Out
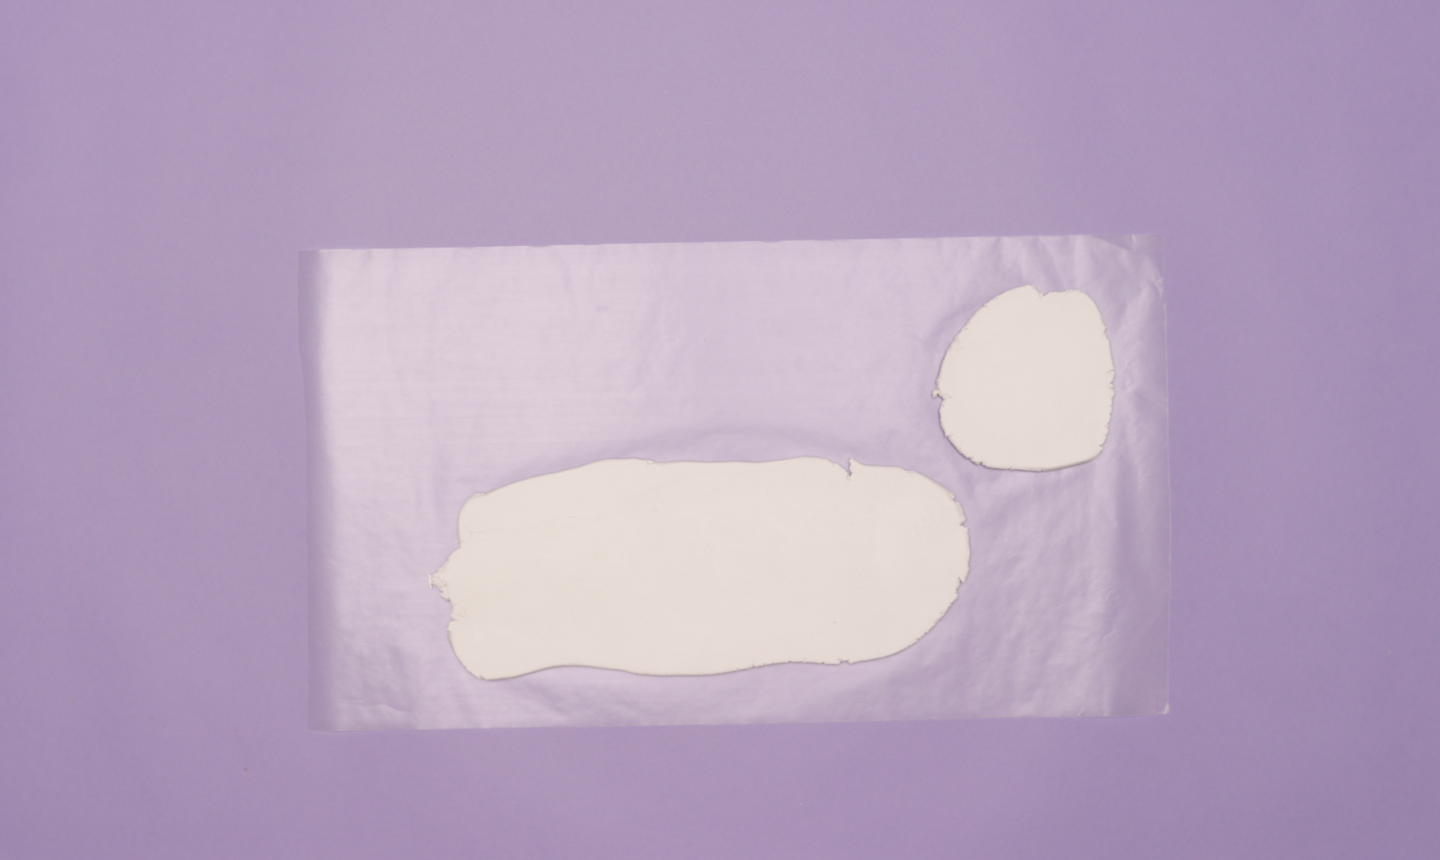
Form the clay into a large log and roll it flat using a rolling pin. Then grab some more clay, shape it into a ball, and roll it out into a flat circle.
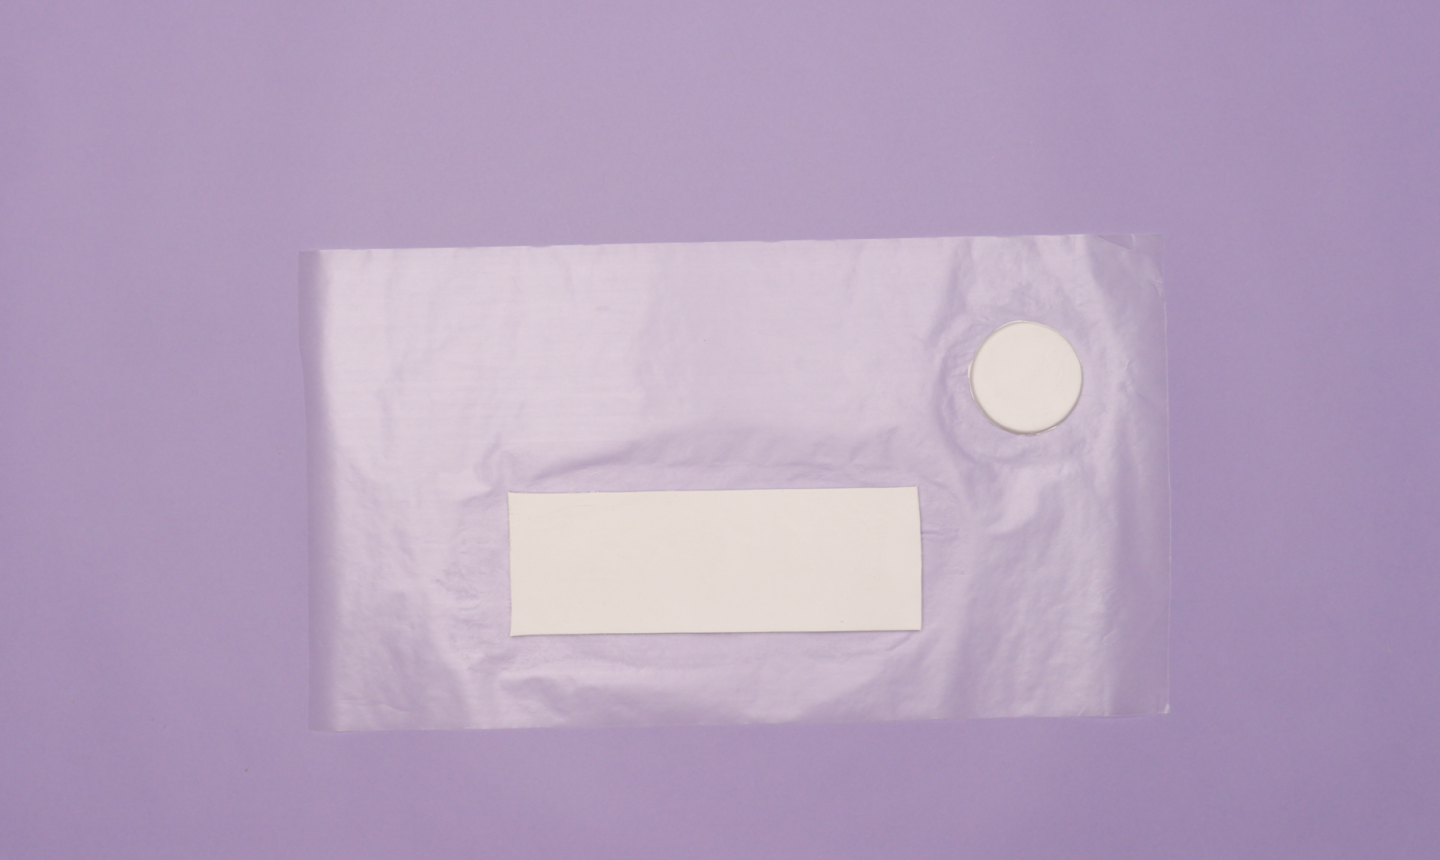
Use your knife to cut a 3″ x 10″ rectangle of clay from your large slab. Then press a cup or small bowl into the rolled-out circle to shape the planter’s base.
2. Design and Detail
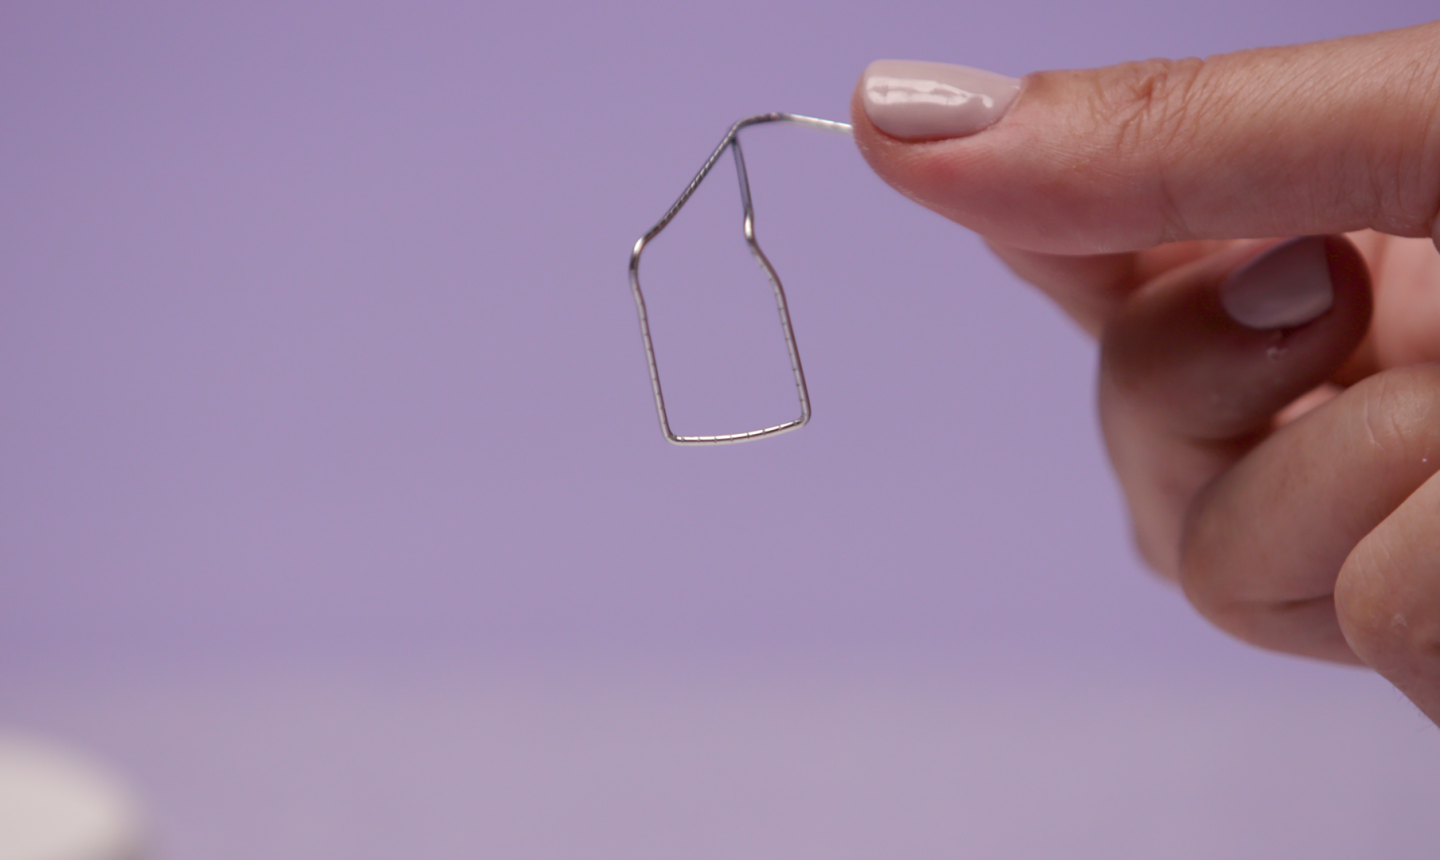
Twist a paper clip into a squared U-shape with your pliers.
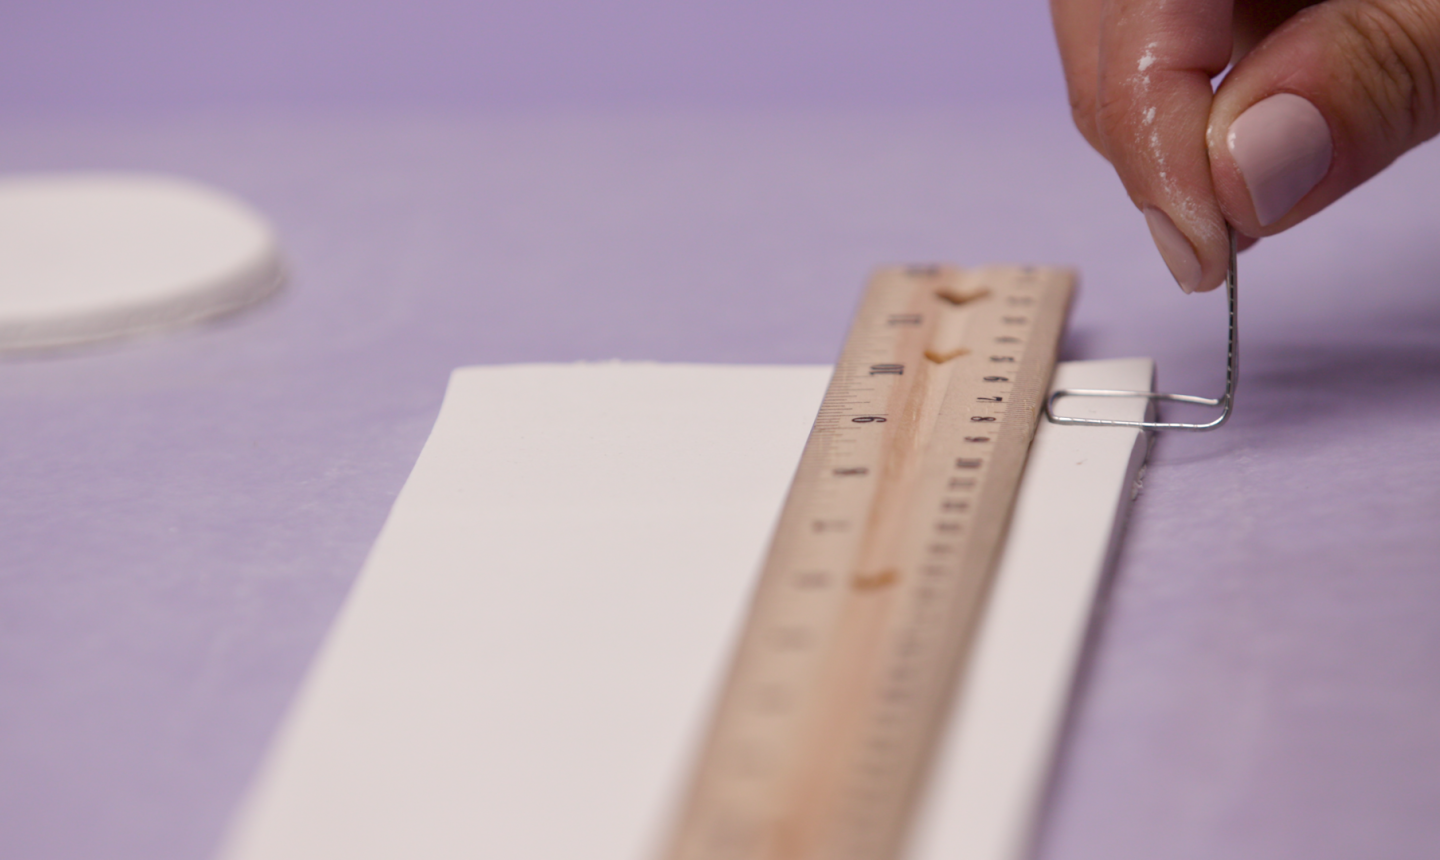
Place the ruler across the clay rectangle, about an inch from the bottom edge. Press the paper clip into the clay slab to cut away a portion of the edge.
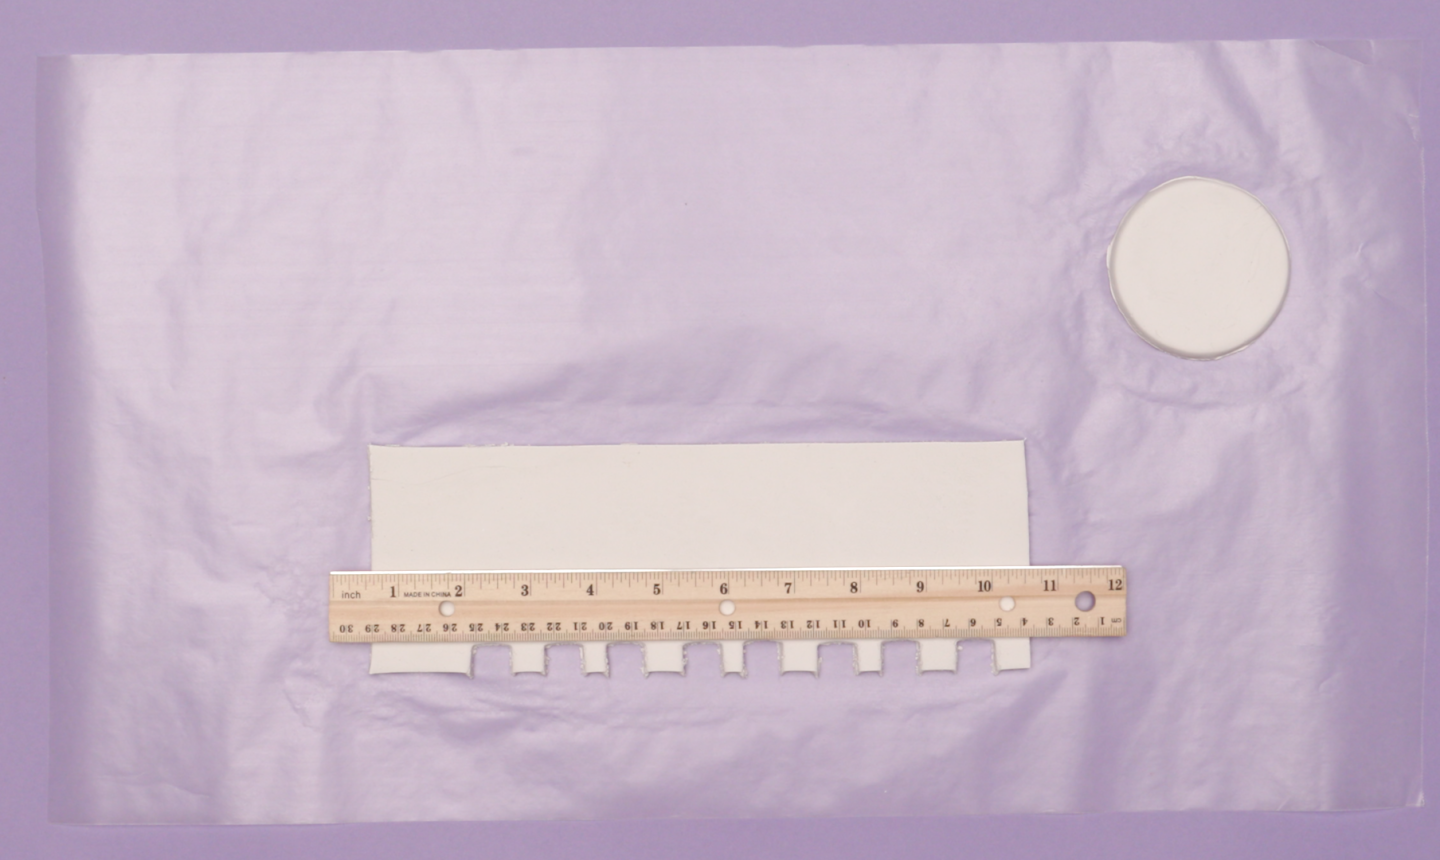
Repeat this cutting step along the length of clay. This will shape the pattern around the top of the planter. Don’t worry about making it perfect — a little variation makes it cooler.
3. Make it Smooth
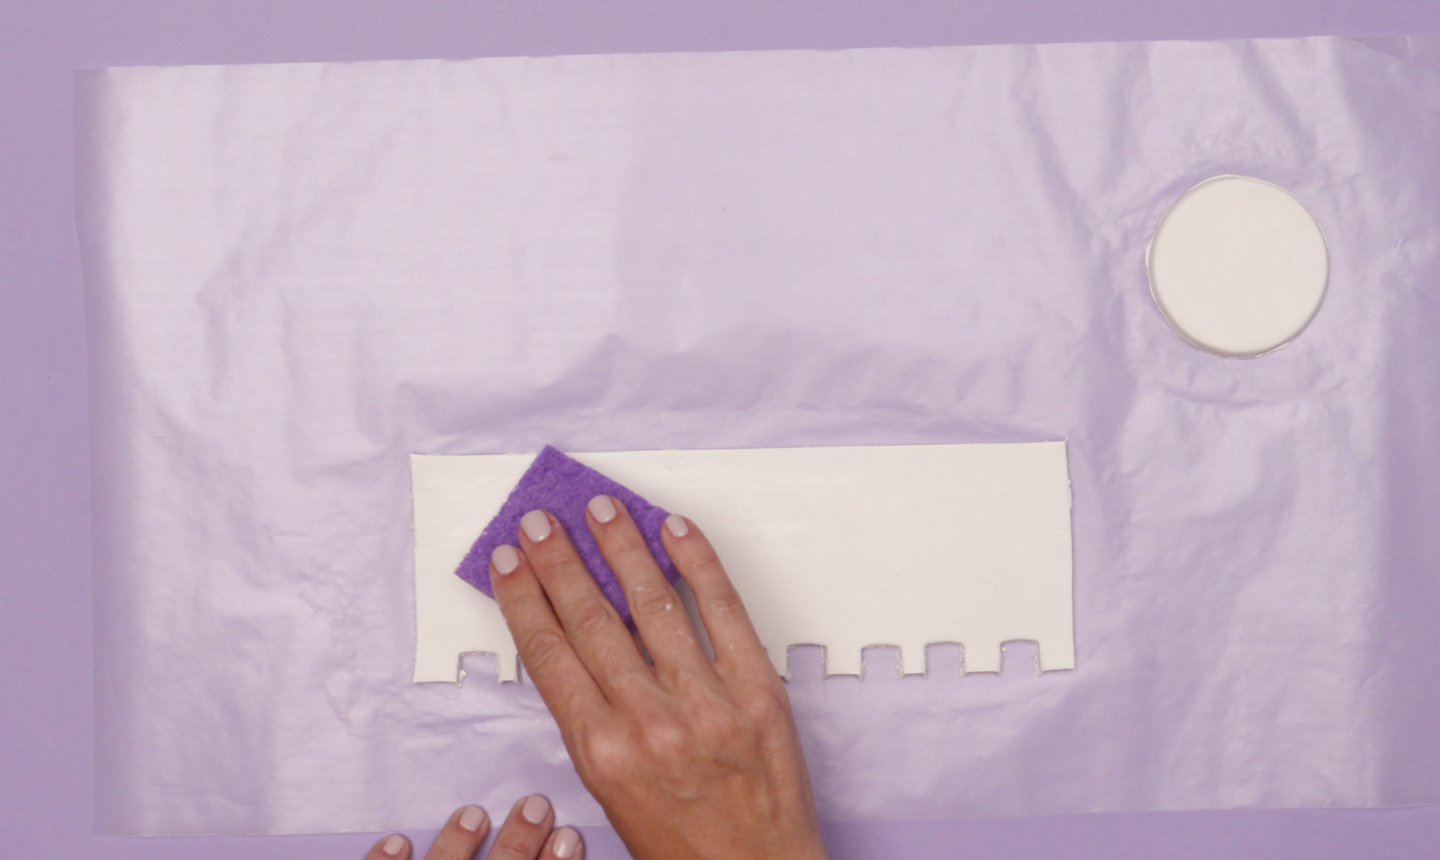
Carefully run a wet sponge across both sides of the slab to smooth out any rough edges in your clay.
4. Score
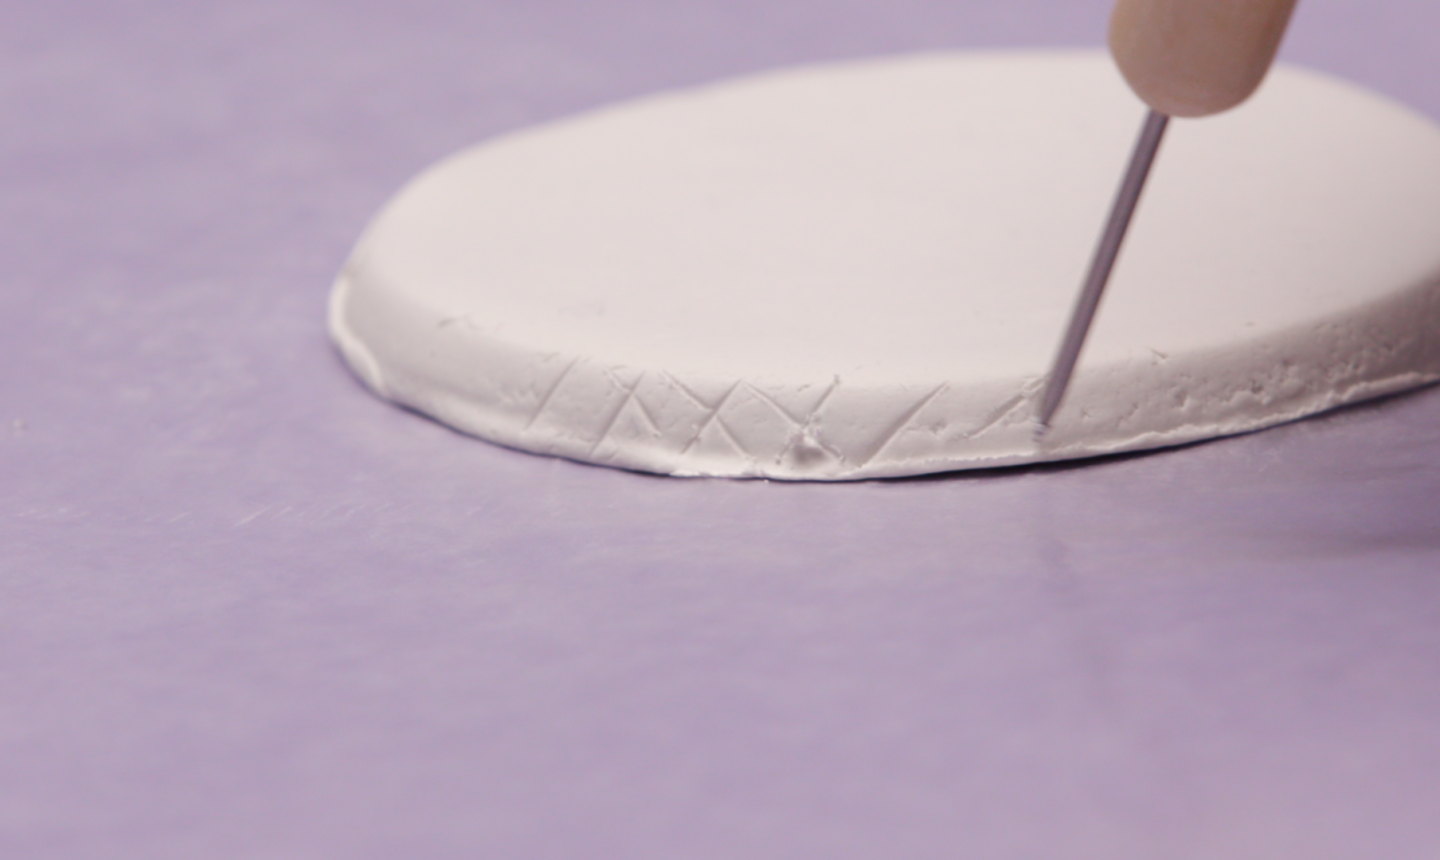
Use a clay tool to score both the slab and circle where the two pieces will be joined: score the slab on the end opposite from your cut-out design, and score the base around its perimeter. Scoring the surface will help the pieces join more solidly when you shape your planter.
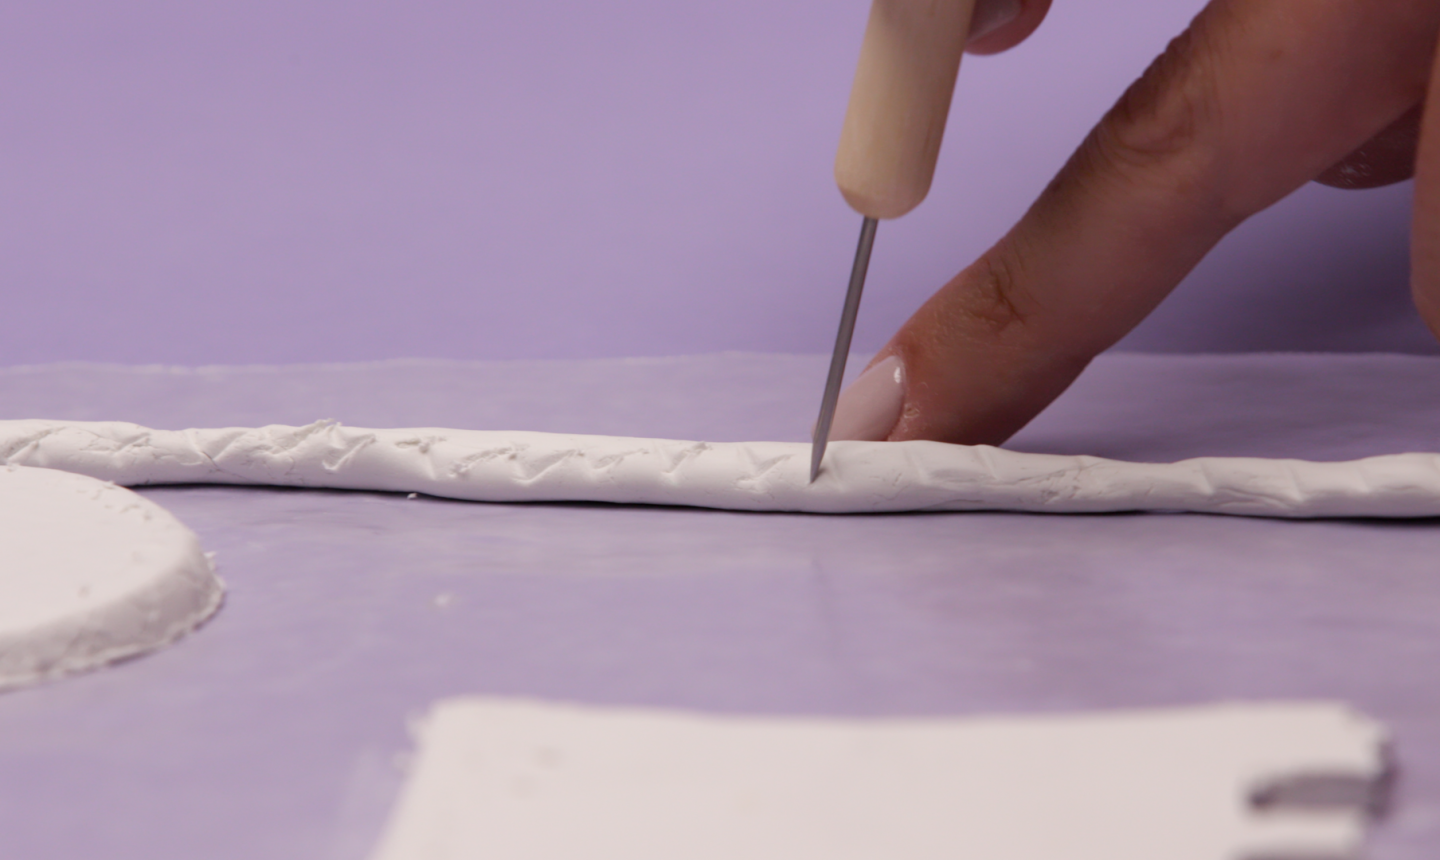
Roll a length of clay between your hands so it looks like a skinny rope. When finished, it should be the the same length as the clay circle’s perimeter. Score one side of this piece as well.
Pro Tip: If you don’t have a clay tool for scoring, any sharp, fine object will do. You can even use your paper clip.
5. Mix Up the Slip
In a bowl, mix a marble-sized chunk of clay with a few tablespoons of water to make slip. This mixture will help join all the pieces of clay.
6. Put It All Together
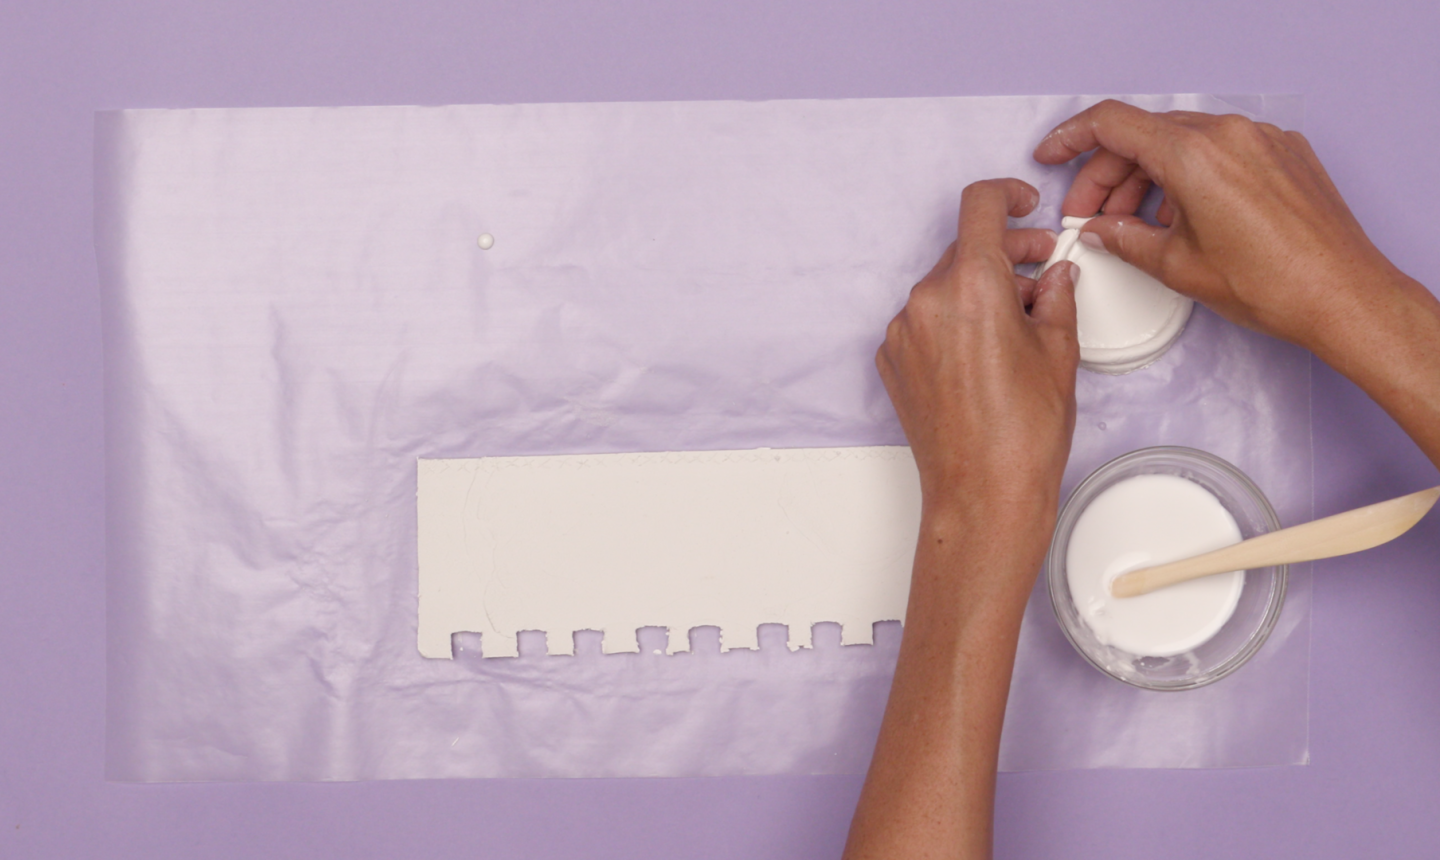
Apply slip around the top of the circle (not on the scored outside edges) and on the scored side of the skinny clay rope. Lay the skinny piece on top of the circle, scored side down.
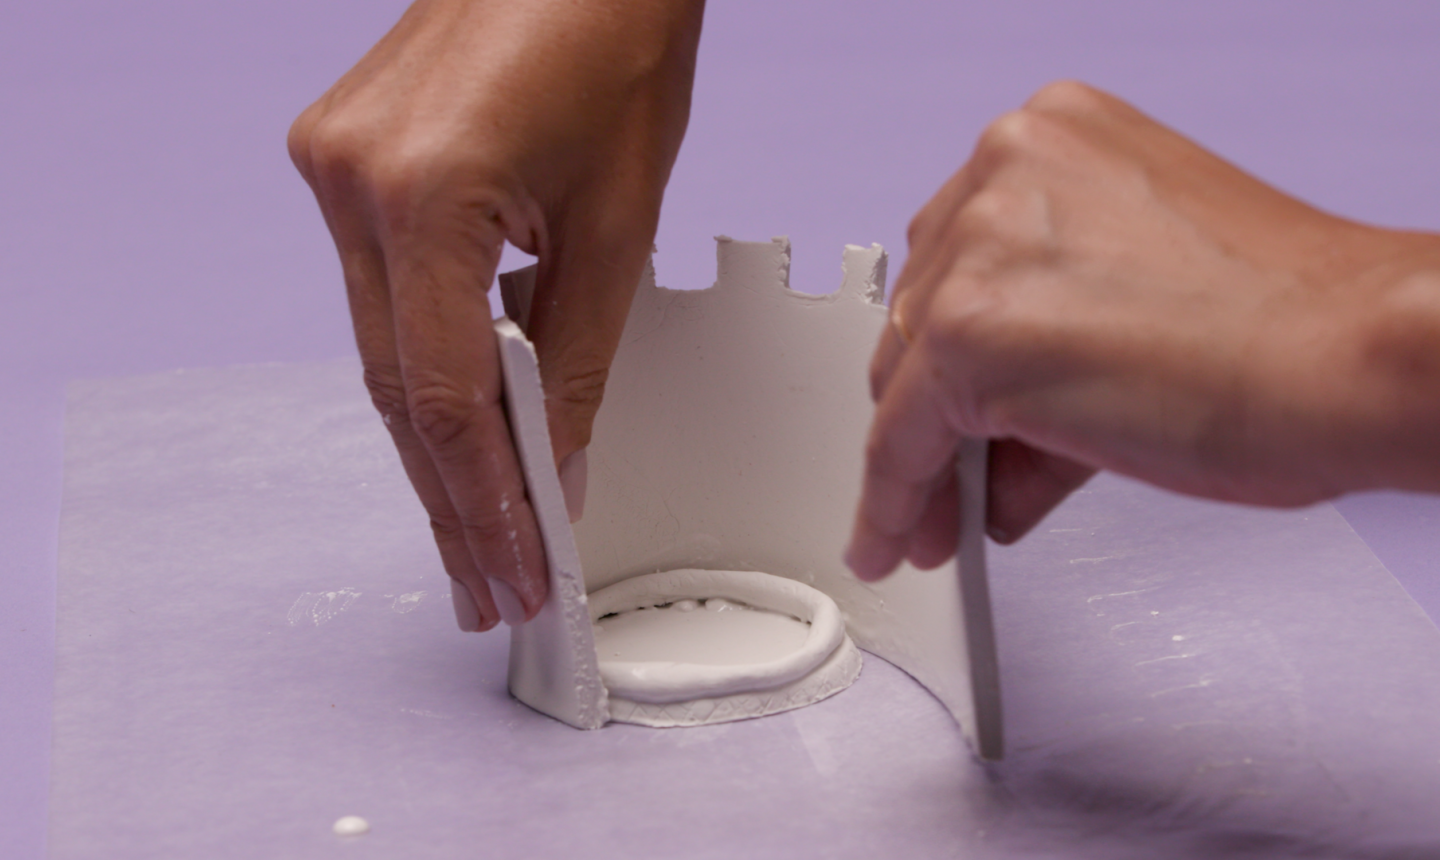
Add slip onto the slab’s scored edge. Then carefully pick up the slab and wrap it around the circle, bringing the scored sides of the circle and slab together.
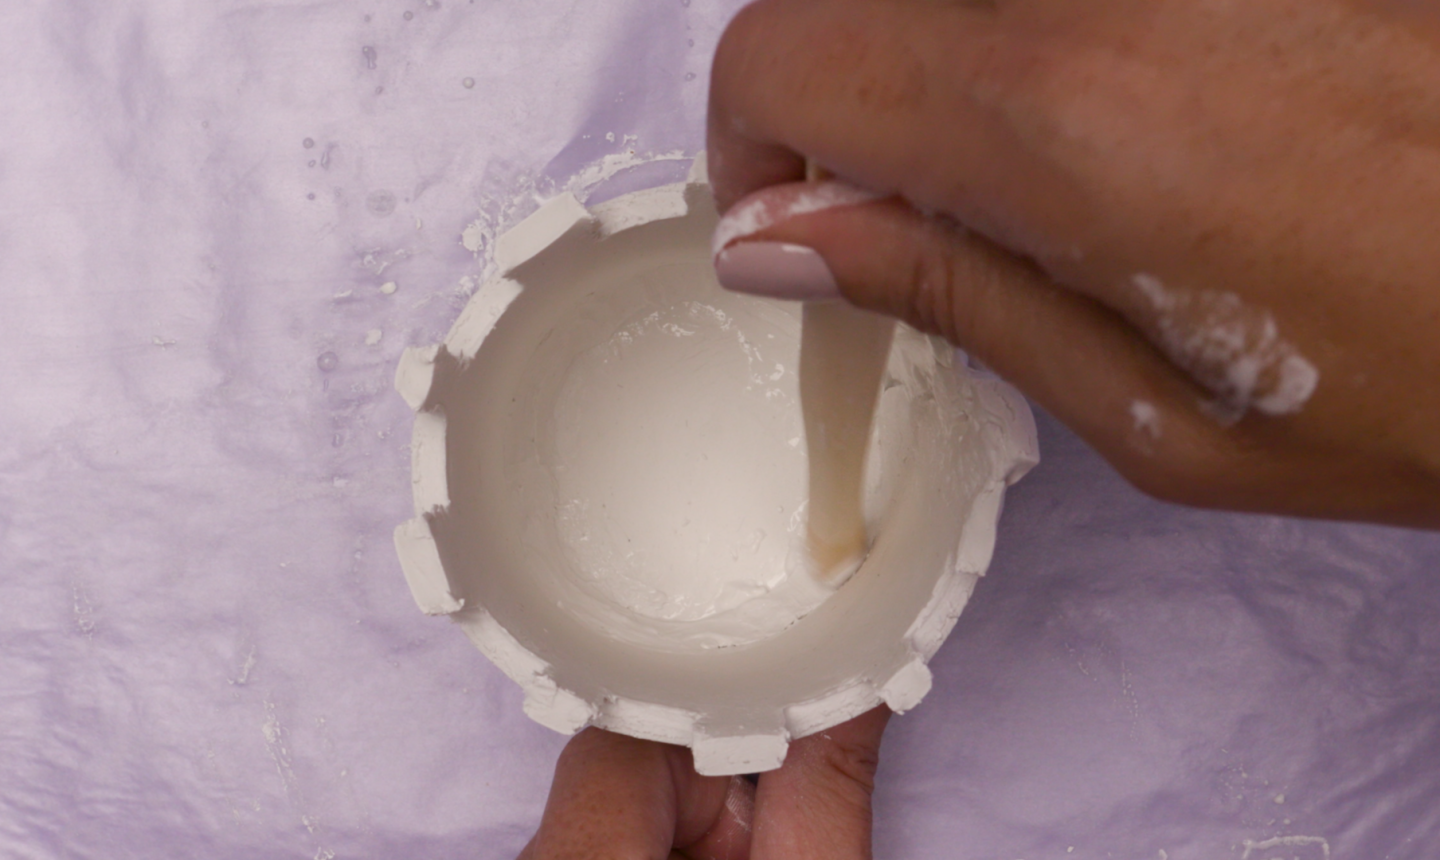
The edges of the slab should overlap slightly, so press them together with your fingers to seal them. Blend the skinny piece of clay between the base and slab, filling the seams to make the planter solid.
7. Let It Dry
Once the clay is blended together, clean up any rough areas to perfect the planter. Then bunch up a few paper towels and stick them inside so the planter keeps its shape as it dries. Set it aside until it is dry and solid to the touch.
8. Final Touches
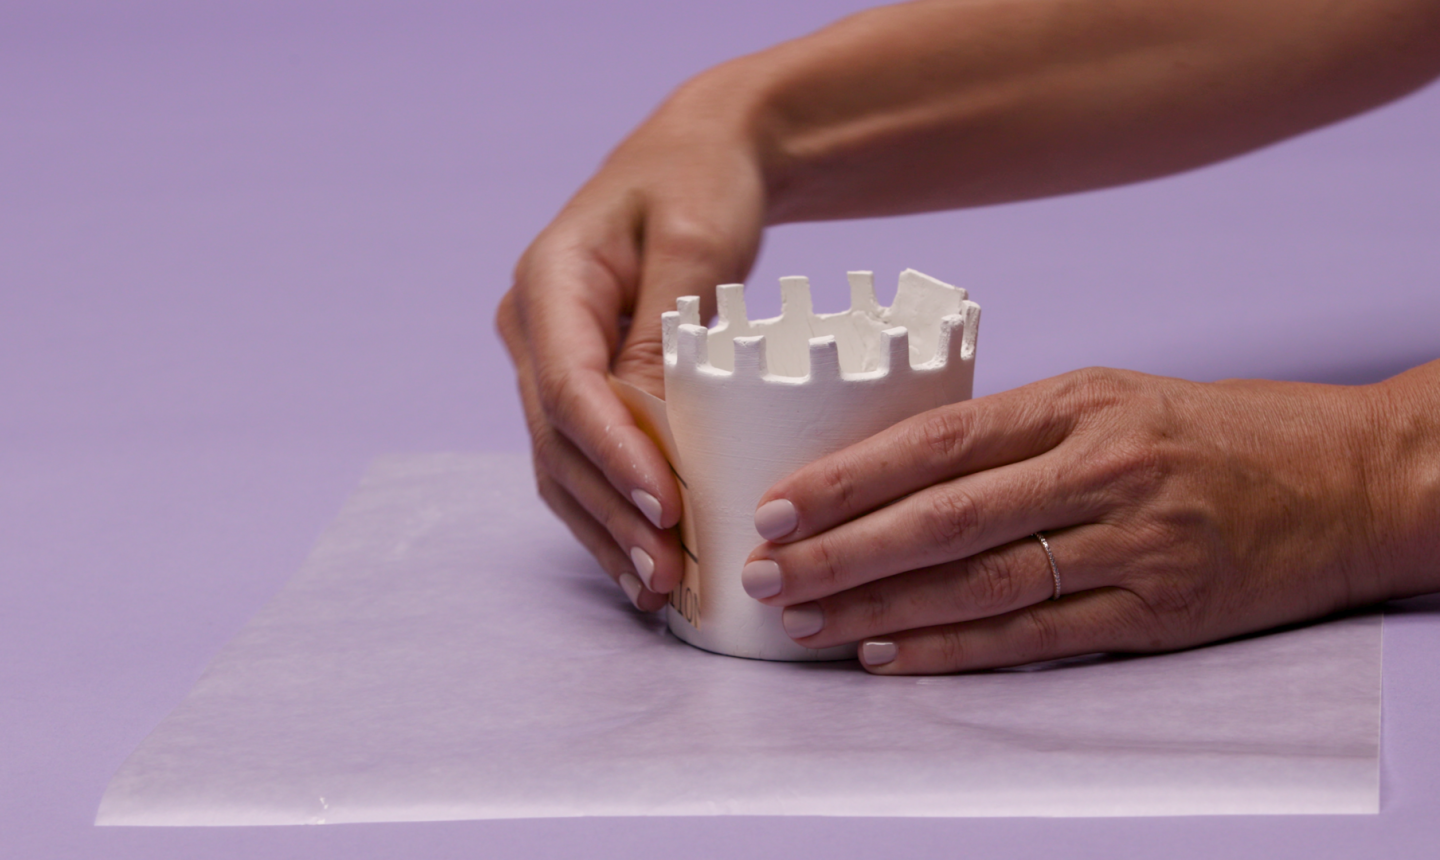
If small cracks or flaws form as your clay dries, you can easily use sandpaper to smooth ‘em out.
Now you’re ready to plant!
Pro Tip: These decorative planters aren’t meant to be filled directly with soil and watered on the reg. To keep your planter always looking A+, place your plant and its original pot inside. That way, the planter will stay dry and your plant will have a cool, cozy cover. Or you can keep it simple and use faux plants in place of real.
Mix it Up
You’re definitely not limited to this square design created with a paper clip. Feel free to use other common household items to shape your planter however you like it.
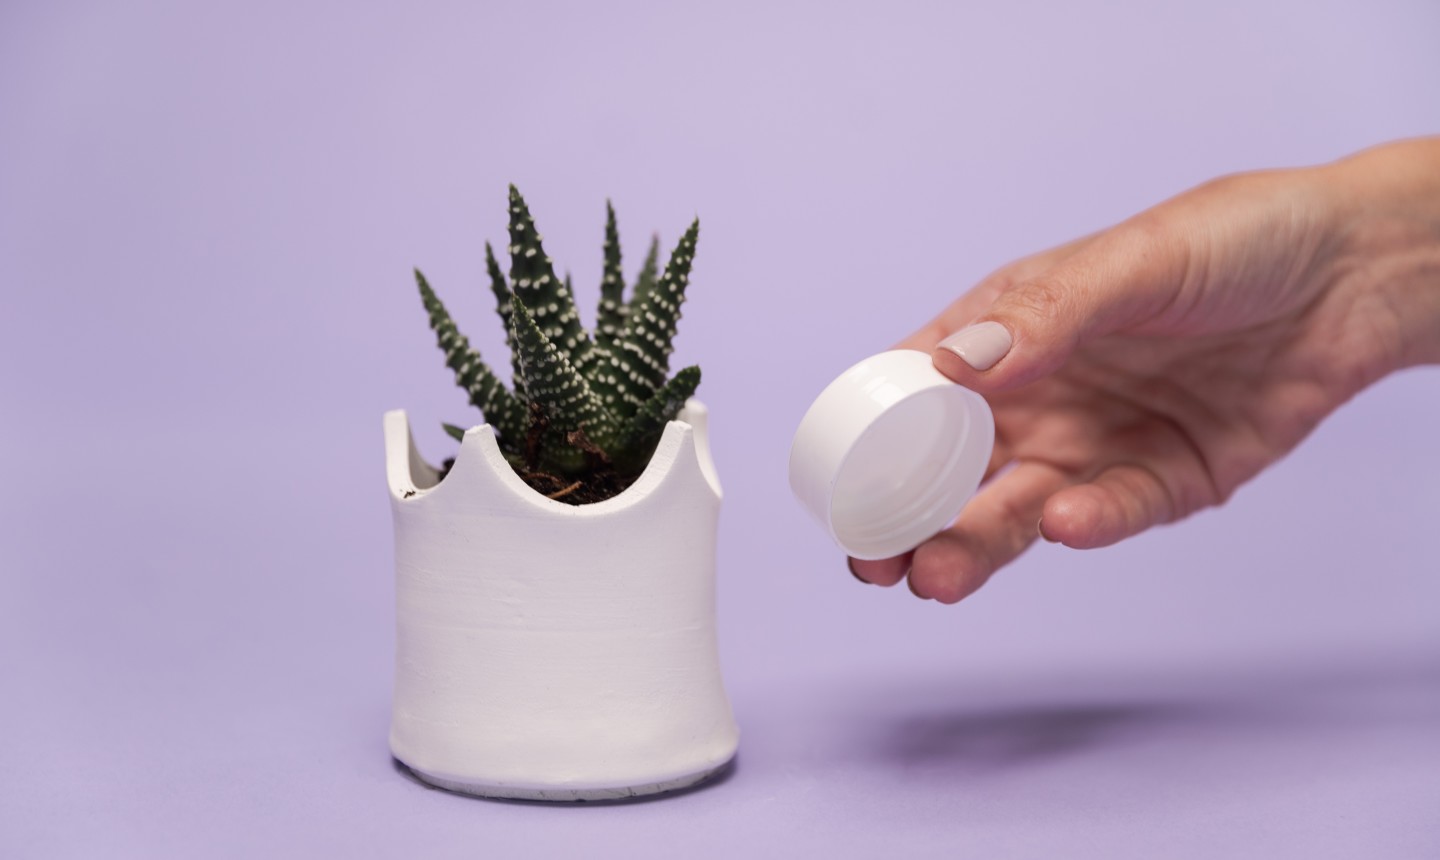
Use a cap to cut out large half-circles.
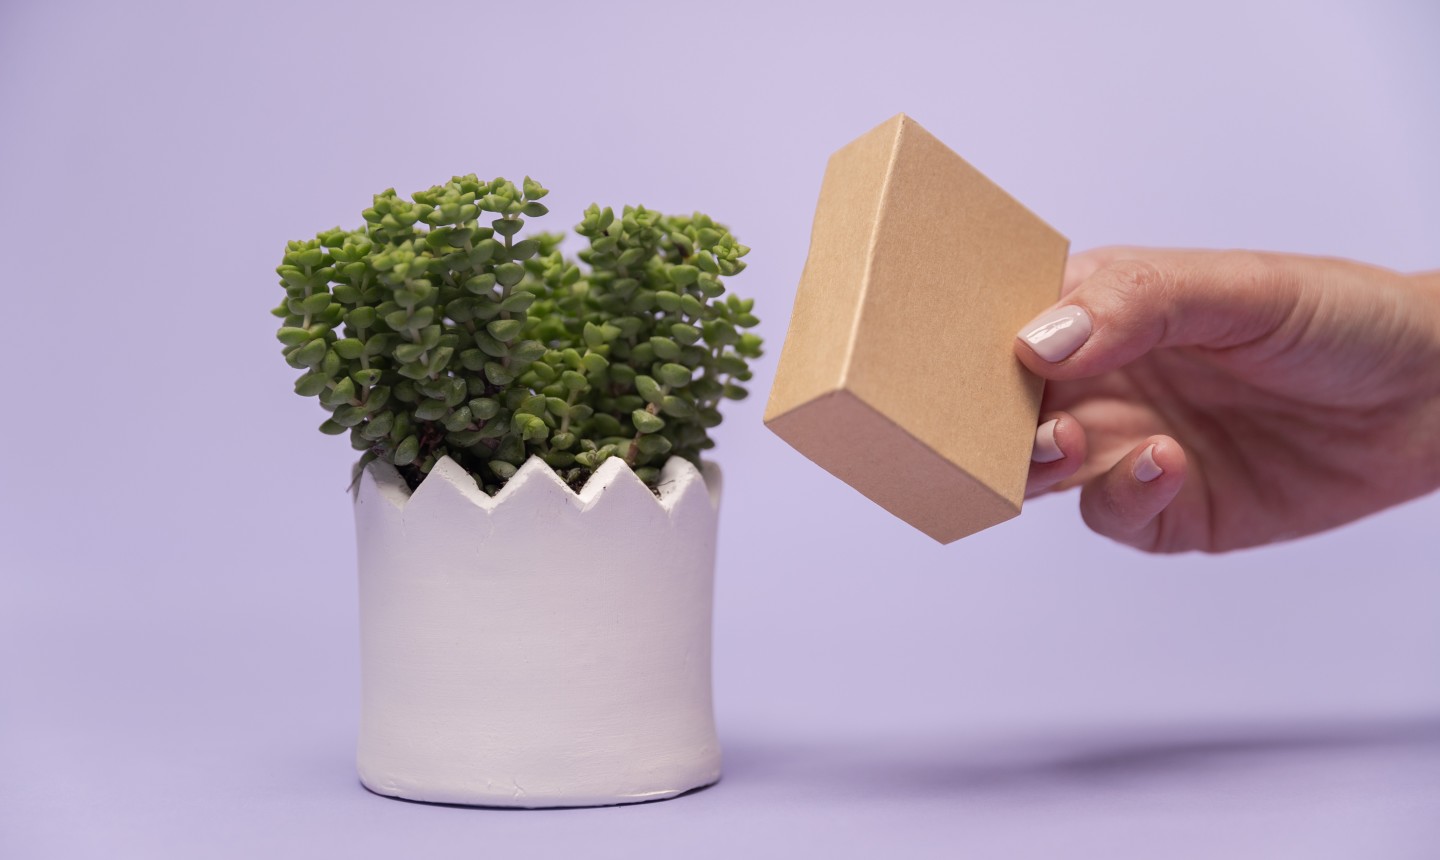
Or press the corner of a box into your clay for a funky zig-zag effect. Play around with different designs and create a planter all your own!

Looks simple and great.
Fun but can it be made waterproof? so I can plant directly into it??
Great activity and a lot of fun.
Neat and easy thing to make. And I need easy!
I will definitely try this.
Never heard of Air Dry clay. Will definitely have to try it. Thank you for sharing.
Love this I am going to try it. Thank you!
Looks like fun.
will try. more please