
Are appliqué and cutwork interchangeable? To some extent, they are.
Cutwork and appliqué are very similar in their techniques. Cutwork takes fabric away, while appliqué adds fabric to the design. Where cutwork has a stitch outline for a cutout area, appliqué has placement stitches to show you where to add fabric. You cut fabric away inside the stitch outline for cutwork and cut around the outside of the tack-down stitch to remove excess appliqué fabric. Both embroidery techniques end with satin stitches for a beautiful finish.
 Photos via Debbie Henry
Let’s create cutwork appliqué designs!

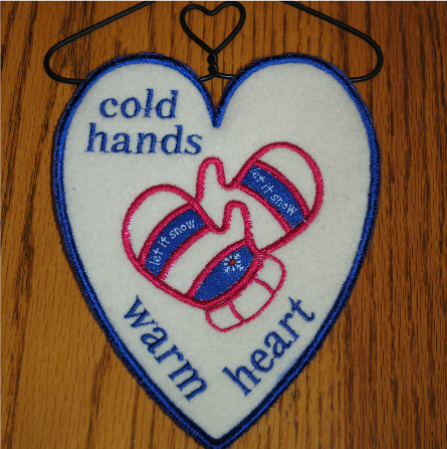
I first saw the term “AppliCut” used by Pat, the Avid Embroiderer, and it certainly applies here. I am using two different designs by Dakota Collectibles: a heart appliqué as a base with a mitten cutwork design on top. Instead of cutting out the cutwork areas (shaded in yellow), I added coordinating “Let it Snow” fabric appliqués.
Adjusting the design files
I resized the heart appliqué design to fit in a 240 x 150 hoop and made it wider and shorter. After adding the mitten cutwork design, I used editing software to eliminate the holly leaves and berries, add the wording, and combine the files.
Need a refresher on editing embroidery designs? Check out these Bluprint classes: Elements of Design Editing and Embroidery Software Essentials.
Get the Mitten Cutwork design.
Get the Large Heart Appliqué design.
This design will end up as a freestanding cutwork appliqué. Hoop a medium-weight tear-away or a water-soluble mesh stabilizer. Sticky-back stabilizers work really well for projects of this type. Otherwise, spray a temporary adhesive on the back of your fabric and finger-press it in the hoop.
Like any appliqué design, the first stitch is a placement stitch followed by a tack down stitch. After the tack down, carefully trim fabric away close to, but outside of, the stitch line.
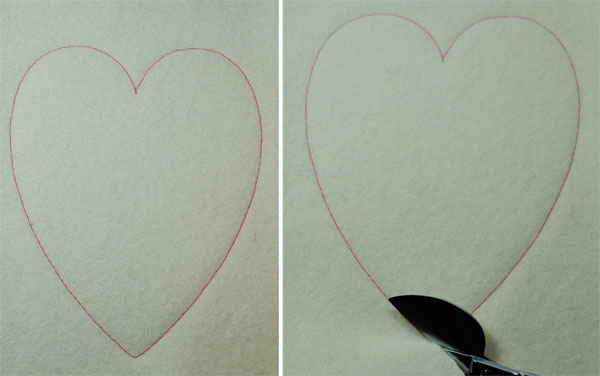
Creating a fussy cutting template
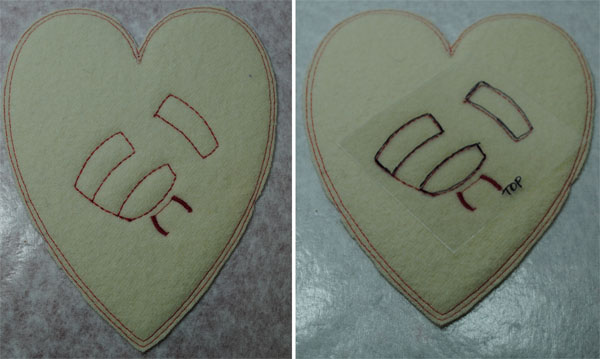
I ran the stitch sequence for the three cutout areas. Normally, I would cut away the fabric inside the stitch lines because it is a cutwork file. For this design, I am going to treat the stitches as placement stitches for my cutwork appliqué.
Because I want certain wording of my fabric to show in the appliqué, I am going to create a window template. When fussy cutting appliqué, templates ensure that the exact parts of the fabric you want to show can be isolated within the satin stitches.
With clear quilter’s template plastic on top of the placement stitches, I carefully traced around the stitch areas with a permanent marker, then carefully cut away all of the plastic inside the lines, creating a stencil. Marking the word “top” on the plastic keeps me from tracing reverse images on my appliqué fabric, which would not line up properly on the design.
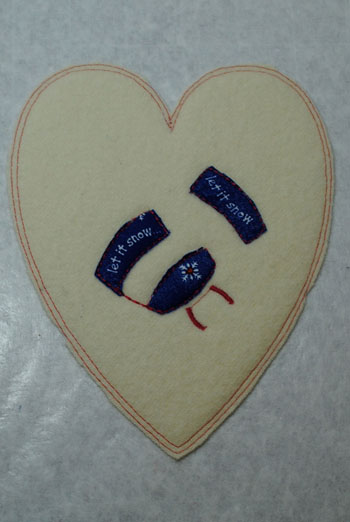
I can easily move the template over the fabric until “Let it Snow” is positioned just right in the cutout window, then draw around the inside of the template with an extra fine-tipped pen. The other two appliqué pieces are traced the same way and all are cut out.
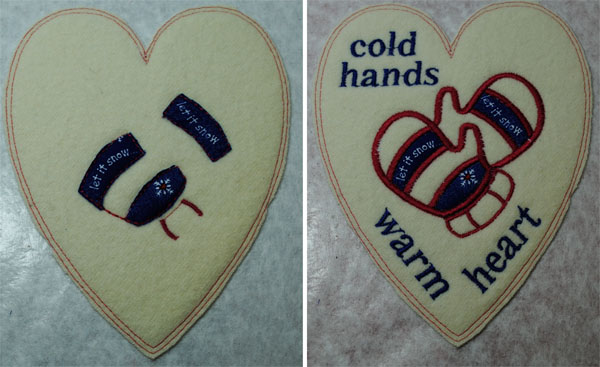
Temporary adhesive is sprayed on the back of each appliqué piece (away from hoop and machine) and then then they are finger-pressed in place within their respective placement stitches. Run the tack-down stitches and continue stitching the design.
Adding the backing
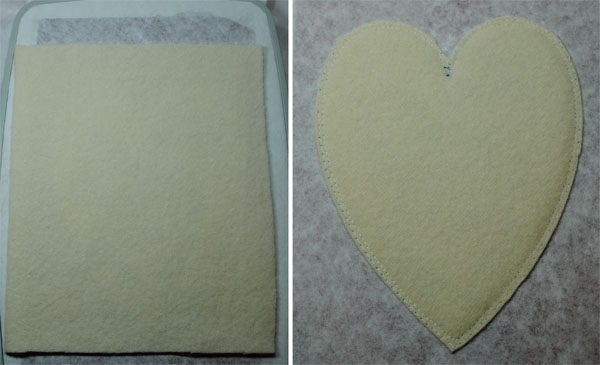
Because I want to display this piece, I will add a back to the heart before the final satin stitch sequence. I cut a piece of felted wool larger than the outline of the heart, sprayed it with temporary adhesive (away from the hoop and machine), and finger-pressed it to the back of the hooped stabilizer. Then, I ran the tack-down sequence for the heart again, removed the hoop from the machine and clipped away excess fabric. After the hoop is back on the machine, the final satin stitches are run.
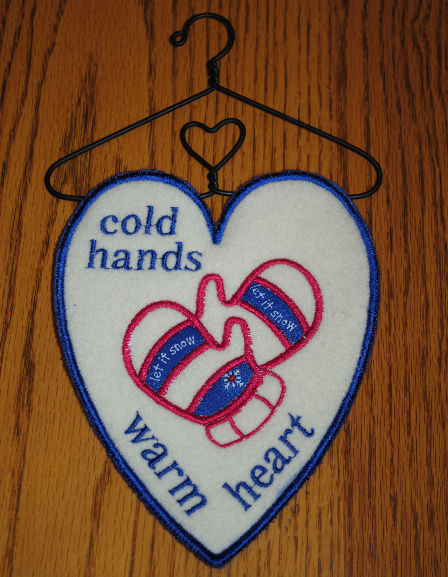
The result is a unique and beautifully finished, freestanding “AppliCut” design. Attach it to a hanger and display!
Share tips, start a discussion or ask one of our experts or other students a question.
No Responses to “Adventures in AppliCut: Creating Cutwork Appliqué”