
Photo via A Quilting Life
Follow this quick and easy tutorial to make continuous bias binding.
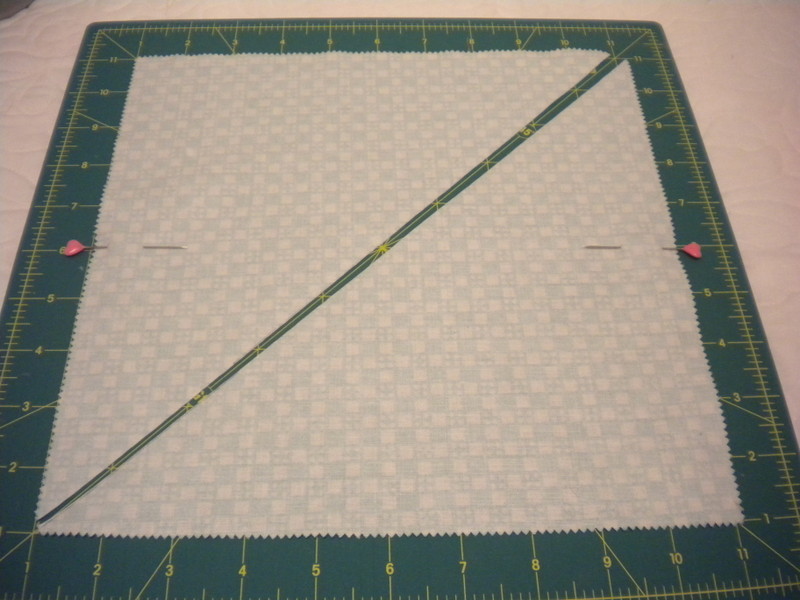
Step 1:
Cut a square piece of fabric. The larger your square, the more continuous bias binding you’ll be able to make. Place a pin at the center left and at the center right side of the fabric square. Cut the square on the diagonal once. Be careful not to stretch or pull the bias edges.
Step 2:
Take the two triangles and place them right sides together, matching the pins from step one.
Step 3:
Sew a seam along the edge where the pins are. Press the seam open, again being extra careful not to stretch or pull the fabric. Using an acrylic ruler and a fine pencil, mark lines the desired width of your binding on the wrong side of the fabric.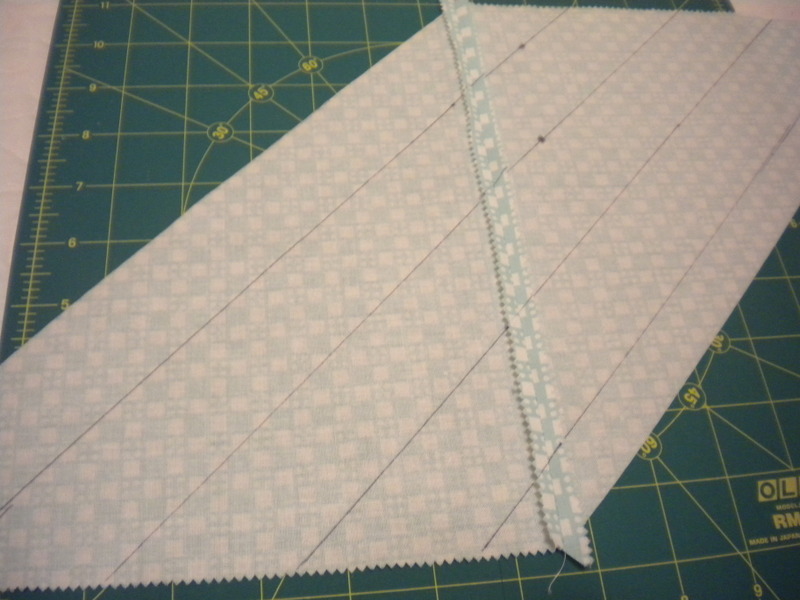
Step 4:
Create a tube by bringing the top and bottom of the piece of fabric together. Match one side of the fabric with the first drawn line of the other side. The tube will be “off set” along the other edge. Sew the top and bottom of the tube together and again press the seam open.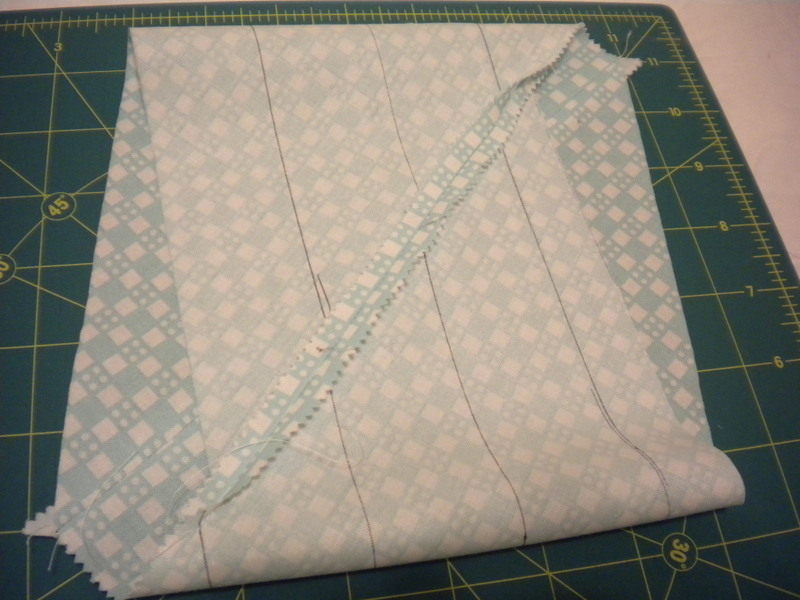
Step 5:
Using a good pair of sharp scissors, start cutting at the uneven or “off set” end of the tube using the drawn lines as a guide. You will cut the entire tube apart and have a continuous strip of bias binding. Then, beginning at one end, press your continuous binding strip in half, wrong sides together, until you have pressed the entire length of the strip. Be careful when handling your bias binding strip, you don’t want to stretch or pull the strip.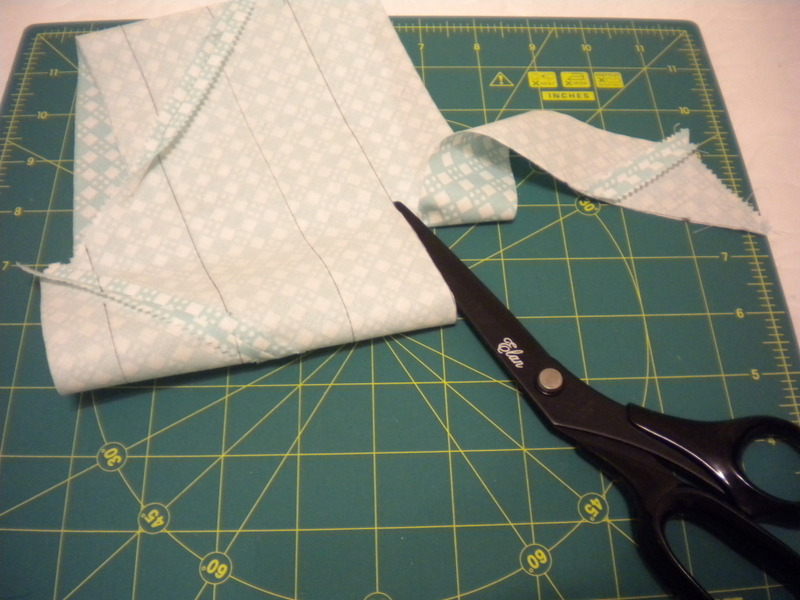
One Final Note:
To figure out how much continuous bias binding a particular square of fabric will make, simply multiply the sides of the square by each other and then divide by the width of your binding strip to determine the measurement of your binding strip. If you have cut a 25” square and are making 2” wide binding, multiply 25 x 25 to get 625, then divide by 2. Your square will make approximately 312.5” of continuous bias binding.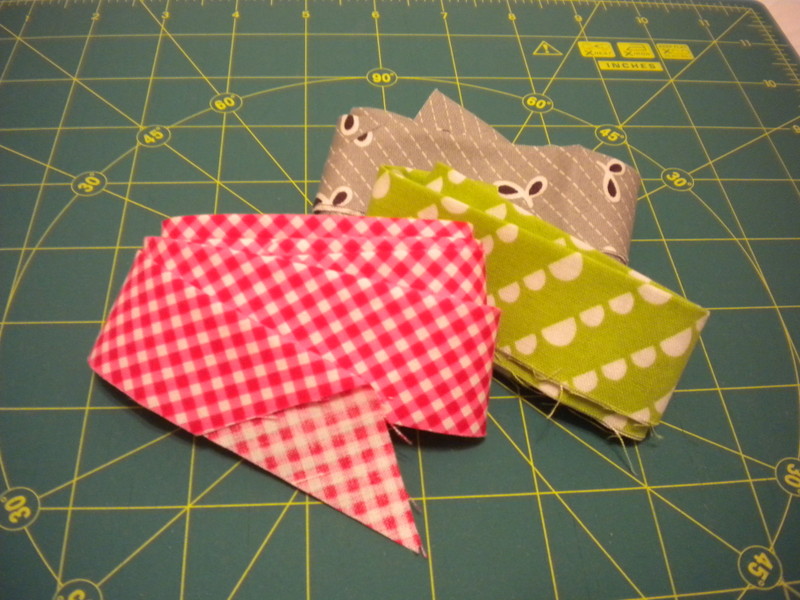
There you have it, an easy method for making continuous bias binding with just a few simple steps!
I need to know how big to cut the original square in order to make a specific number of inches to bind my quilt. There is a formula to figure this out so that you're cutting a square the proper size to begin with. I want to see someone use that formula to get the required continuous binding. Seriously, this ought to be a part of this lesson. BTW I'm a subscriber since 2016.