
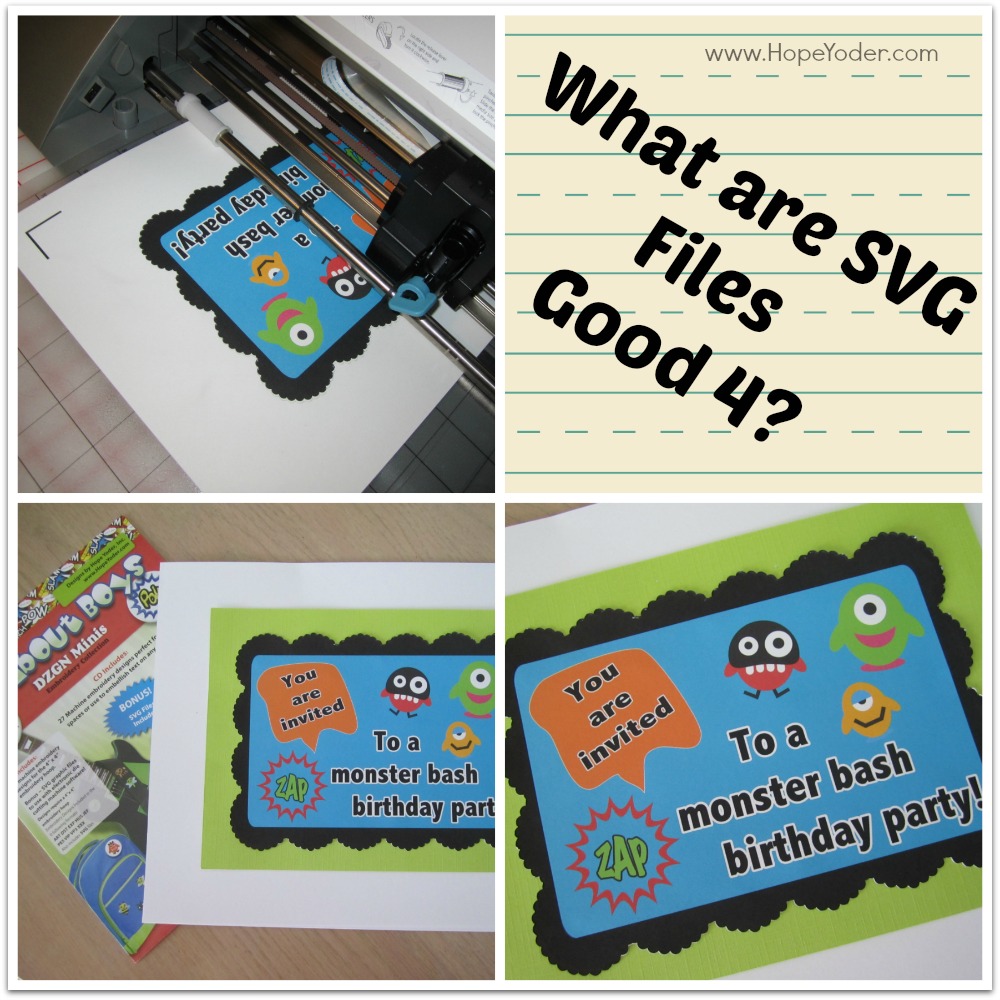
Have you ever heard of SVG files? SVG stands for Scalable Vector Graphics, a file format commonly used in the scrapbooking word.
Some machine embroidery collections contain SVG files. You can use these SVG files and your die-cutting machine to create some fun paper crafts, from scrapbooking supplies to DIY party invitations. I just love when you can use something in several different ways, especially when you can use mixed media.
Here’s how to use SVG files from machine embroidery for paper crafts:
Materials Needed:
- All About Boys DZGN Minis Embroidery Collection
- Cardstock
- Inkjet printer
- Silhouette CAMEO machine
- Silhouette Studio Designer Edition software
Creating the blank card:
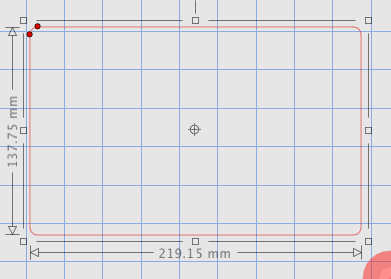
Step 1:
Open Silhouette Studio Designer Edition software.
Click on the “Draw a Round Rectangle” icon. ![]()
Draw a rectangle using your mouse. The size doesn’t matter at this point. Make the rectangle big enough so you can see it. After the card is created and grouped, you can resize it to fit inside of your print area.
Step 2:
With the rectangle selected, open the fill color window. ![]()
Add a color to the rectangle.

Step 3:
Create a text bubble by either drawing the shape using the freehand tool. ![]()
Or, purchase one in the Silhouette store.
Step 4:
Add text using the text tool. ![]()
Then add a color or outline to the text.
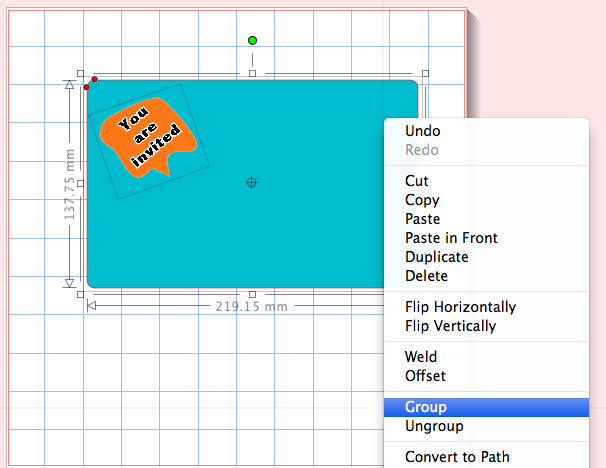
Step 5:
Arrange the items on the card as desired. Then, select all and right-click. Select “Group” to group all the items together so you don’t accidentally move them as you add more elements.
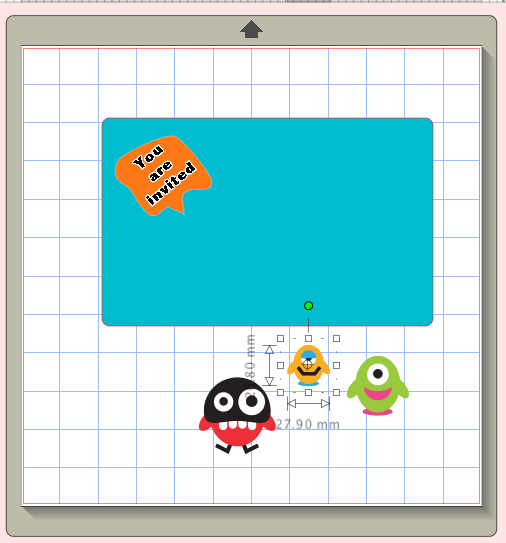
Step 6:
Open the SVG folder from the All About Boys Mini DZGN Minis CD and open Monster1; Monster2 and Monster5.
Step 7:
Next, you will want to add more text “to a monster bash birthday party.”
Select the fonts style you would like. ![]()
And add a fill color. ![]()
Step 8:
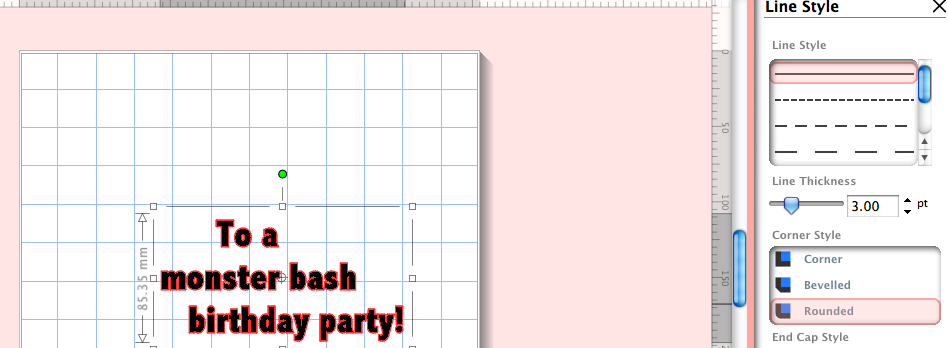
To outline the black letters as shown with a white outline, open the Line Color Window to select a color. ![]()
Then, select the Line Style Window to add the desired thickness. ![]()
Step 9:
Next bring in a the “Starburst” SVG file from the All About Boys Mini DZGN CD, and change the color to red. ![]()
Step 10:
Open the “Zap” SVG file from the All About Boys Mini DZGN CD, and center it inside of the starburst. Once it’s centered, select both elements and right-click/group to keep them from shifting.
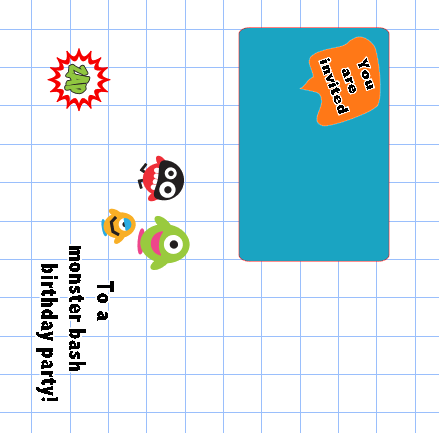
Step 11:
Select each image and arrange it on the card as desired. If an element accidentally is placed behind an element so that you cannot see it, right-click on the element and change the orientation to “Bring to Front.”
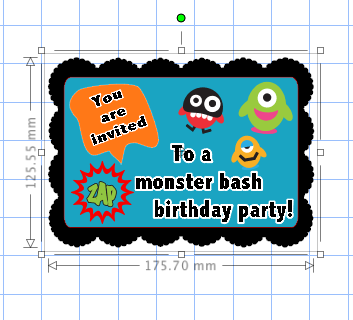
Step 12:
Once you have everything arranged as desired, select all, right-click and group all the elements to avoid shifting.
Step 13:
Purchase a rectangle frame from the Silhouette store and size the frame so it is bigger than the card.
Fill in a color and select all, and then select the “Align” window and then select “Center.” ![]()
Select all, right-click/group.
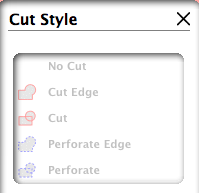
Step 14:
Check the cut window to make sure only the outer edge of the black frame will cut. If other items show a red cut line (such as text), un-group the elements so you can select the element that needs to be changed and select “No Cut.”
Step 15:
Select “Open Page Tool” and select 8.5” x 11”. Notice the design is too big, rotate the file and resize it to the desired measurements.
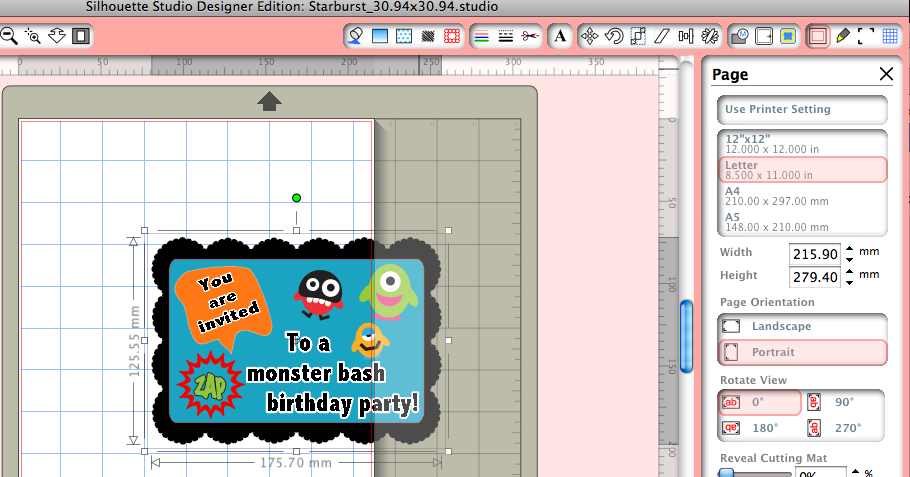
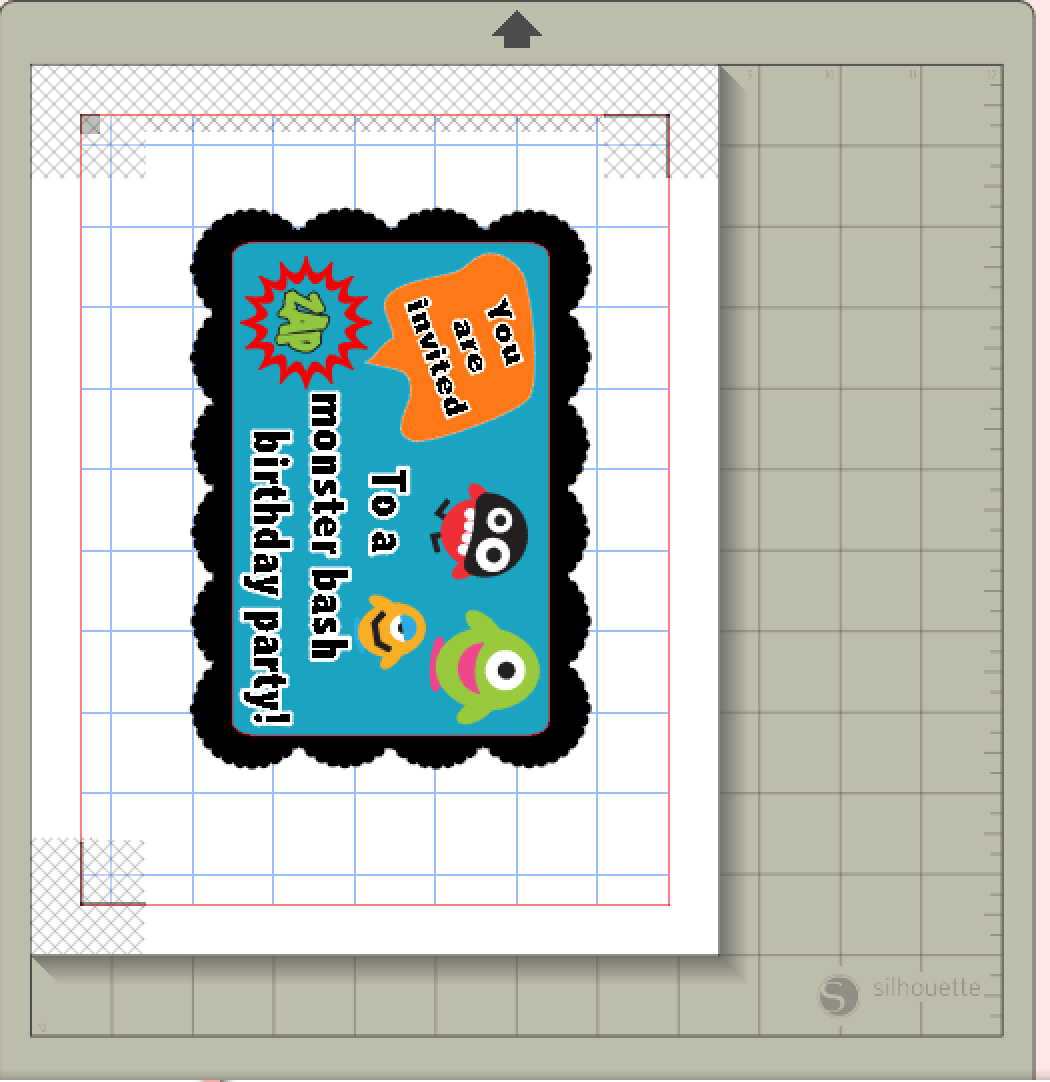
Step 16:
Center the design and then open the “Registration Marks Tool” window to make sure the card is not inside of the registration marks on the page screen.
Step 17:
Save the file to your library.
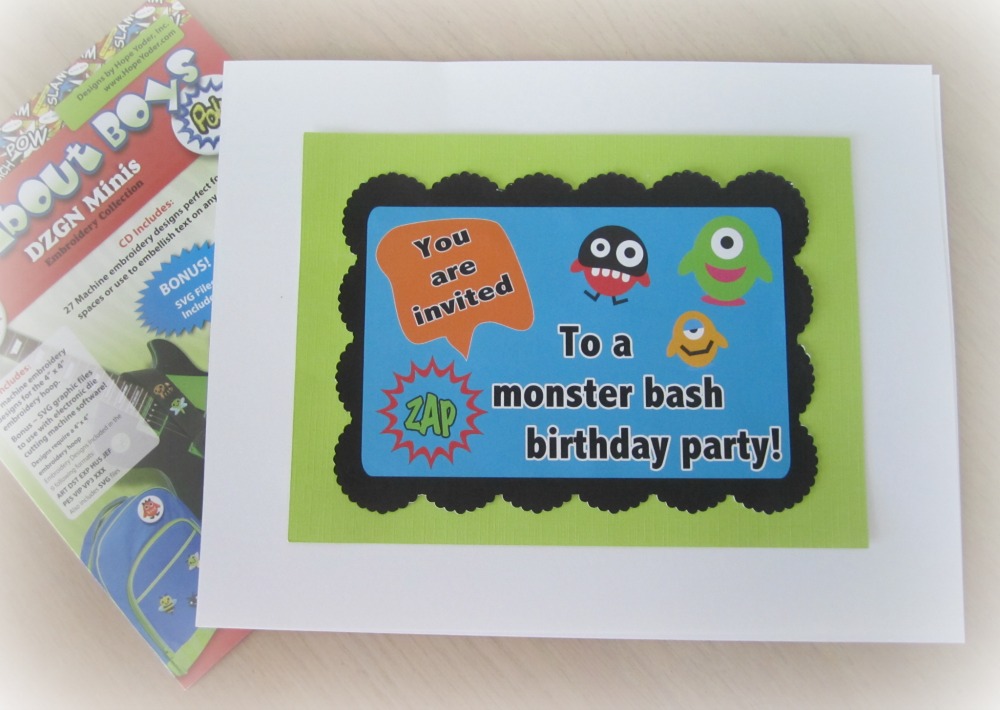
Step 18:
Place cardstock in your printer and use the “Send to Printer & Send to Silhouette” icons to print and cut your card. ![]()
Looking for more mixed media ideas? See our post on how to embroider a word cloud. Or, want to use something unexpected with machine embroidery? How about making a wooden embroidered monogram?
Come back to the Bluprint Blog on Wednesday to learn how to machine embroider appliqués with the e-stitch.
Share tips, start a discussion or ask one of our experts or other students a question.
No Responses to “Combine Scrapbooking with Machine Embroidery”