
Colored pencils sometimes have the reputation of being meant for kids, but they’re a powerful tool for drawing. You get the same control as you do with graphite, but have the chance to infuse color into your composition.
Learn how to use this tool for realistic colored pencil drawings.
A big advantage of colored pencils: layering.
One of my favorite things about colored pencil is the ability to layer. This is great – it allows you to layer color and create richer, more saturated hues.
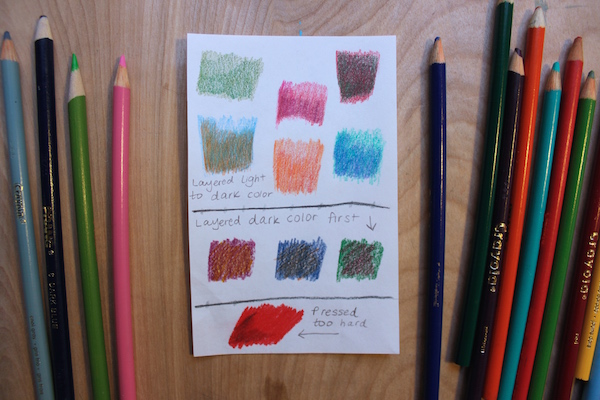
Here are a few types of color layering. Note how dramatically it shifts the look and feeling of a hue.
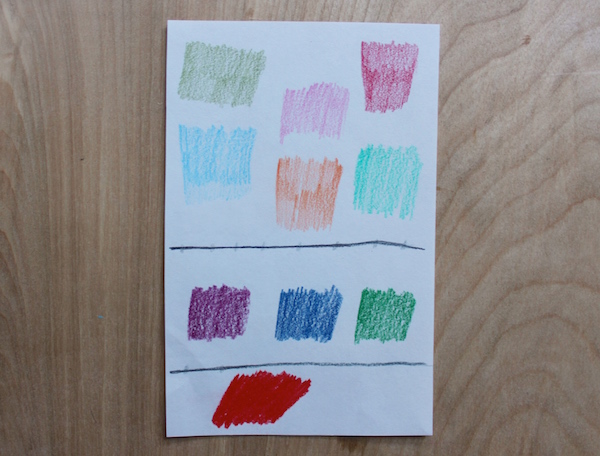
Tips for colored pencil layering:
- Always start with the lighter of the two colors. Start with a yellow, for instance, and then add a purple over top. Otherwise, you won’t be able to see the lighter-colored pigment.
- Make your marks in even strokes with light to medium weight. Colored pencils are waxy, so if you press too hard, it’s too shiny (and slick) to cover with another hue.
- Don’t be afraid to build up your layers slowly. You can easily apply three or four layers to a create a whole new color. Just remember to keep a light hand.
- Using a black colored pencil can make your shading appear flat. To achieve a similar, richer effect, layer a complementary color.
Complete a drawing with this colored pencil technique.

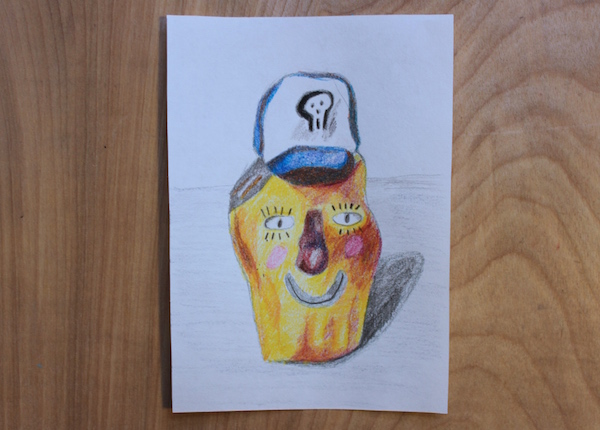
I created a colorful drawing by layering pigments on top of one another. First, however, I started with a sketch. Instead of using my graphite pencil, though, I went for a light-toned colored pencil. This soft gray is one that can be easily masked with other colors.
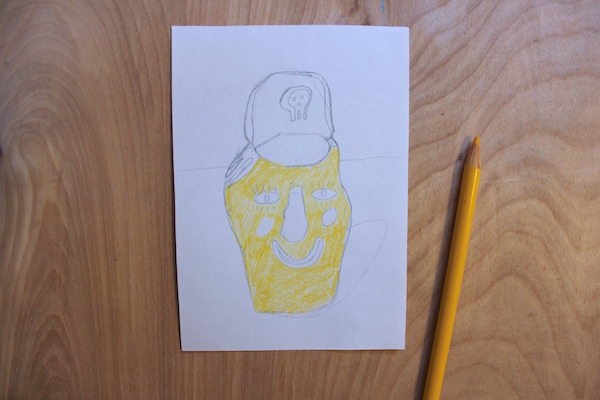
As with all sketching, getting this step correct is crucial. Don’t be afraid to fiddle with the drawing until you get it right. After all, it’s harder to fix things once you’ve already started to apply color.
What about erasing, though? Erasing a colored pencil line is a little tricker than regular graphite, but it can be done. There are special colored pencil erasers, but you can also just use a regular eraser. You might have to erase for longer, though. Don’t press too hard when you erase, or there’s the possibility of tearing the paper.
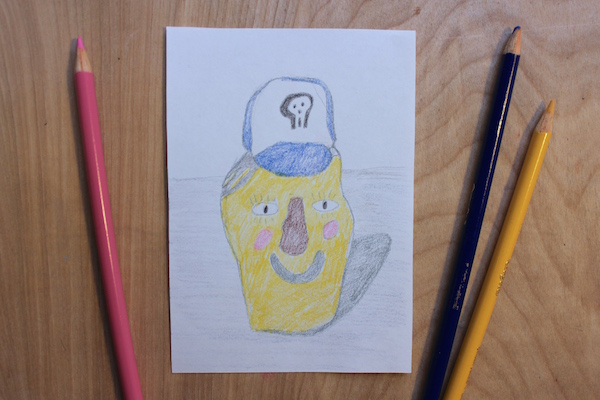
After my sketch is done, it’s time to apply the first layer of color. Remember, this is the lighter pigment, and I selected colors with the knowledge I’m going to blend other colors with them. I applied a soft, even layer with uniform marks.

At this point, my drawing lacks dimension and form. That’s OK, though! The next step is to add that second layer of color. For shading, I’ve applied complementary colors (like blues to the yellow body). I also used some similar hues (such as brighter yellows with paler yellows) to enhance color, too.
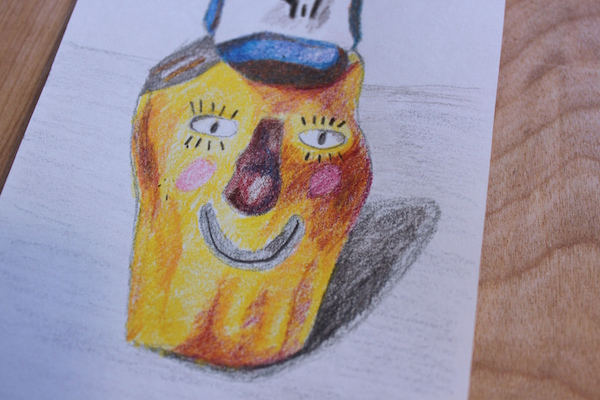
I finished this drawing much like any other artwork; I continued to add layers of color until I was satisfied with the form and dimension.
Have you ever made a colored pencil drawing before?
Creating Realistic Waterscapes in Mixed Media

Gain the skills to create lifelike waterscapes in mixed media.Get My FREE Guide »
Share tips, start a discussion or ask one of our experts or other students a question.
No Responses to “Learn to Layer Hues for Realistic Colored Pencil Drawings”