
Here’s a tutorial on how to work up this fun and easy crochet stitch.
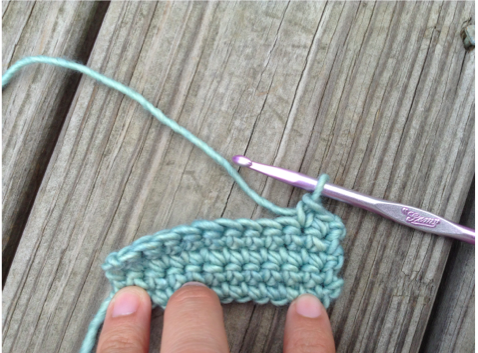
Step 1:
Single crochet to the stitch where you want your picot to begin. Chain 3.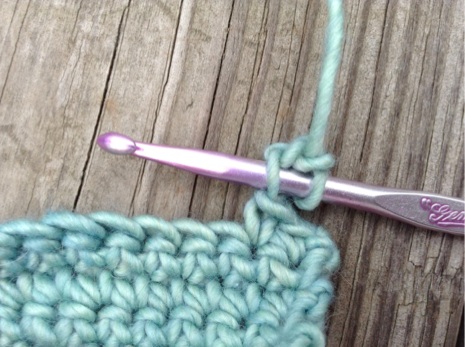
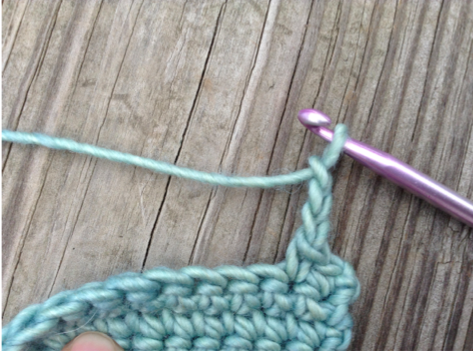
Step 2:
Place hook through 3rd chain on hook.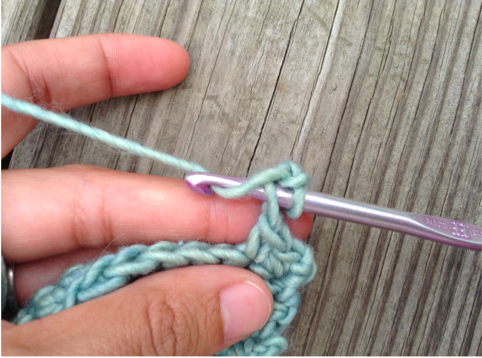
Step 3:
Yarn over.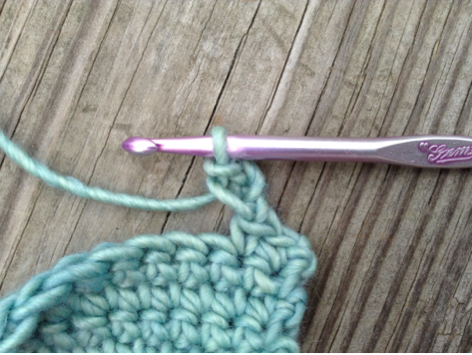
Step 4:
Pull loop through hook.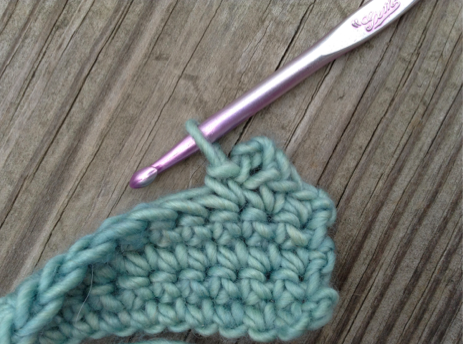
Step 5:
Single crochet in next stitch. Continue working your picots at the desired pace. Here I worked two single crochets between each picot stitch.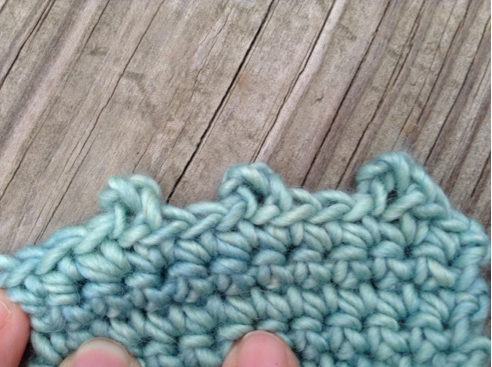 It really is as simple as that! You can vary the size of your picot by increasing or decreasing the number of chain stitches you do. However, depending on the weight of yarn you are using, too many chain stitches may look floppy and too few may not be noticeable.
Check out Crochet: Beyond Rectangles with Linda Permann to learn more crochet techniques and create and adorable baby sweater.
It really is as simple as that! You can vary the size of your picot by increasing or decreasing the number of chain stitches you do. However, depending on the weight of yarn you are using, too many chain stitches may look floppy and too few may not be noticeable.
Check out Crochet: Beyond Rectangles with Linda Permann to learn more crochet techniques and create and adorable baby sweater.
Share tips, start a discussion or ask one of our experts or other students a question.
No Responses to “Crochet Thursday: Bordering With Picots”