
Do you love mini quilts, but aren’t sure how to bind them?
Depending on the size of the mini, you can sew a regular quilt binding or you can follow my tutorial below to create a single fold 1/8″-wide binding. This is the binding I used to finish my Mini Churn Dash quilt, below:
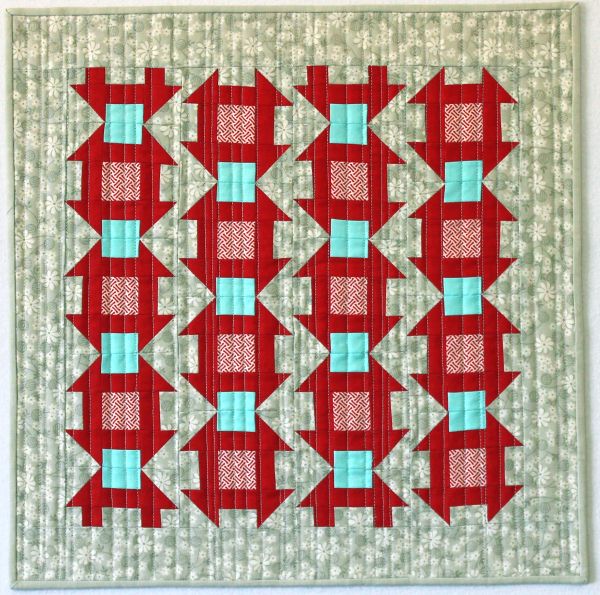 Mini Churn Dash Pattern Available by Bluprint Member Christa Quilts
Step 1. Cut and join single-width binding strips
Add 10″ to the perimeter of your quilt and cut enough binding strips to this length by 1 1/4″. For example, my quilt is 15″ x 15″ so the total length needed is 70″ (15+15+15+15+10).
I will cut two strips 1 1/4″ x 40″ long and join them together into one long piece. Sew the seam on a 45-degree angle to distribute the bulk and trim the beginning tail at a 45-degree angle to start.
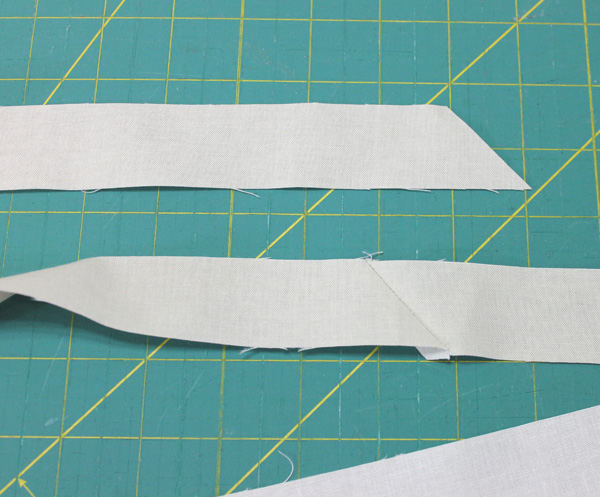
Note: the picture frame doesn’t capture the entire strip, but it is one continuous piece!
Step 2. Attach the binding strip
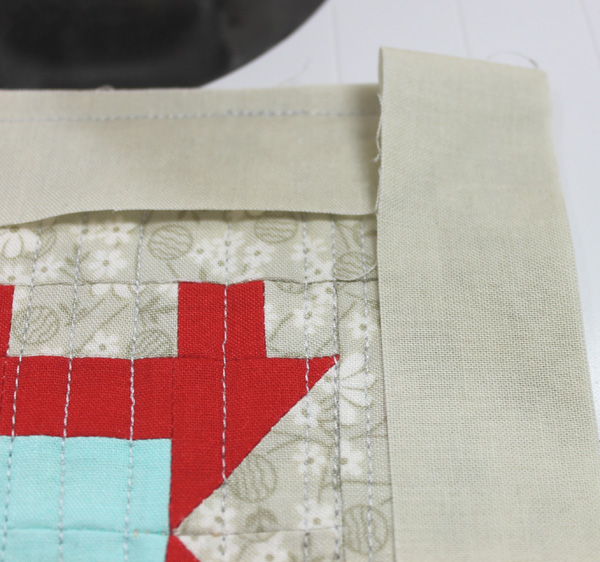
Leaving a few inches of unsewn binding tail, attach the binding to the front of the quilt, right sides together. Use a tiny 1/8″ seam.

When you get to the corner, stop sewing 1/8″ from the edge of the quilt and sew off at a corner.
Flip the binding strip up, parallel to the edge of the quilt. Bring it back down on itself, even with the edge of the quilt. The excess bulk in the corners will create a pretty miter on the front.
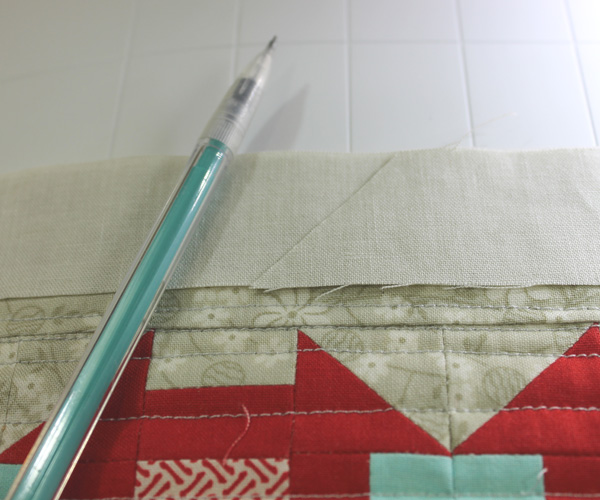
Continue sewing all four sides of the binding, stopping a few inches away from the end. Place the beginning tail (the one with the cut angled end) on top of the ending tail and mark a diagonal line on the ending tail where they meet. Cut 1/2″ away from this line, which will give you seam allowances for both ends.
Join this seam and continue attaching the binding to the front of the quilt.
Step 3. Secure the back
Press the binding away from the front of the quilt to create a crisp fold. Bring the binding strip to the back of the quilt and fold it in half along the length of the binding, meeting at the edge of the quilt. Fold it in half again, this time covering up the raw edges of the quilt. Secure in place with binding clips.
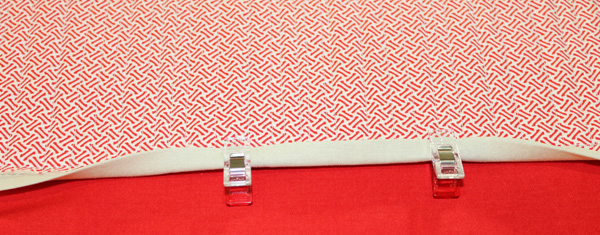
The front of the quilt will have a very narrow binding edge. This keeps the binding in scale with the rest of the miniature quilt.
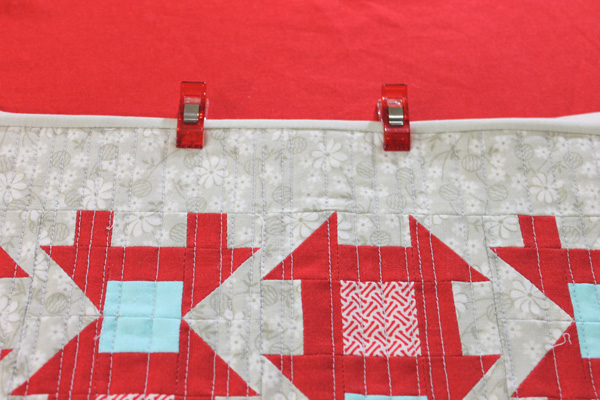
Secure the edges of the binding with clips and finish sewing the binding to the back of the quilt by hand. For detailed pictures of the hand sewing, please see my original binding tutorial.


am new to patchwork what do you use for filling thank you