If you don’t want mitered corners or if your quilt is finished with a curved edge, bias quilt binding is ideal for its ability to gently stretch around the edges of your project. Bias binding looks especially nice with fabric that’s printed with stripes and plaids.
What is bias quilt binding? The diagonal or 45-degree angle of woven fabric is also known as the bias grain. By cutting along the bias, you can capture a fabric’s natural stretch in order to easily sew around corners. Alternately, straight-grain binding is cut from selvage to selvage, and works fine for quilt binding with mitered corners.
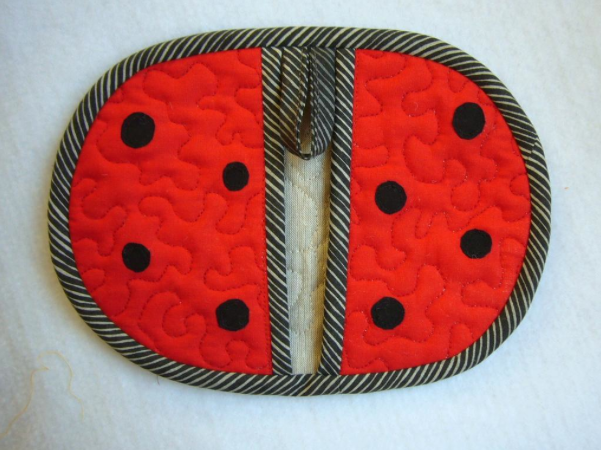
Fly Little Ladybird Pot Holder by 3patch uses bias binding around the curved edges of the oven mitt.
So, how do you make it?
Pieced Strips Method
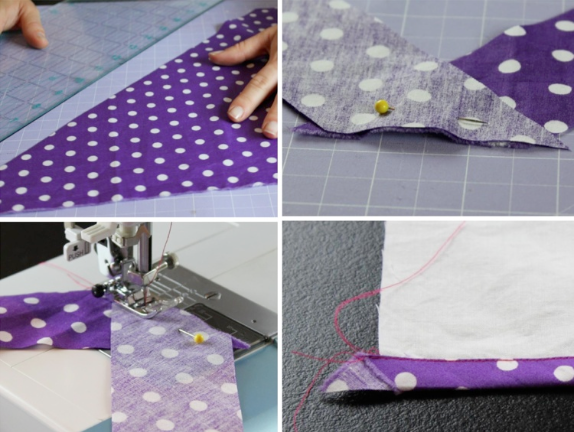
The most straightforward way to make bias quilt binding is to cut fabric along the 45-degree angle and sew together strips from end to end to make one long piece. The Continuous Bias Binding Tutorial utilizes this method, for which you’ll need an iron, sewing machine, fabric a ruler, and sewing pins. One drawback of this method is the effort it takes to sew together the ends of the bias strips accurately. When you’re working with long bias strips, it’s especially common to flip one the wrong way and sew on backward on accident.
Fabric Tube Method
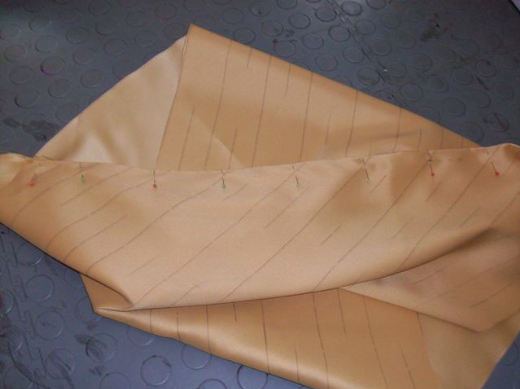
By cutting a large parallelogram of fabric and marking diagonal lines, it’s possible to skip the end-to-end stitching of bias strips in pieced strips method above. In the fabric tube method of making bias quilt binding, the quilter offsets the drawn lines by one and sews together the parallelogram into a fabric tube along the pinned edge. Later, one continuous line is cut in a spiral around the tube. One drawback to this method is that the continuous binding must be cut with scissors, so it is not as quick or precise as cutting strips with a rotary cutter and ruler.
Fabric Tube with Rotary Cutter Method
This method merges the best aspects of the previous two. Pat Bravo shares her continuous bias binding tutorial on the Art Gallery Fabrics blog. By creating a fabric tube and cutting on drawn lines, you can follow this method to rotary cut continuous bias binding. Just follow the diagrams and remember to leave several vertical inches of the tube uncut, which you’ll later offset with diagonal cuts across the rows. For step-by-step photos of this method, visit Craftsy instructor Yahaira Ferreira’s blog, Bitter Purl. She also includes a helpful chart that shows you how much fabric to cut for your quilt binding.
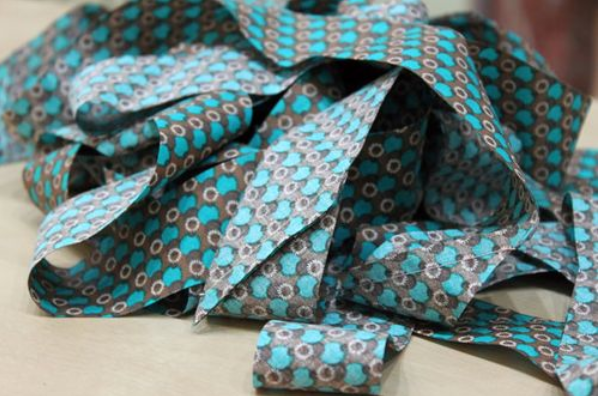
Although each of these methods creates a long strip of bias binding, there will still be a few visible seams where the fabric was pieced together. To make the seams lie flat in the finished binding, press them open with an iron before folding the binding in half lengthwise.
Binding Curves
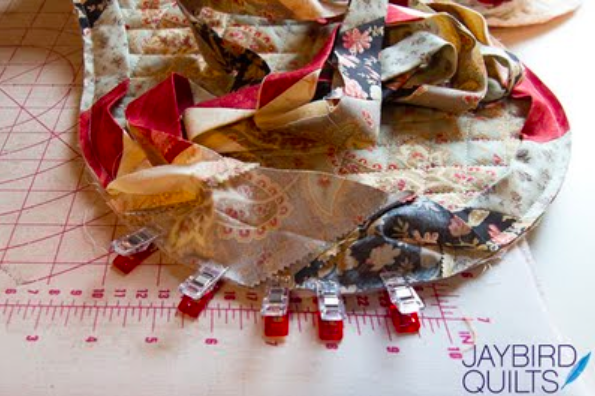
Make a scrappy bias binding from leftover fabric strips with this tutorial from Julie Herman of Jaybird Quilts. Julie also shares a great tutorial on how to bind curves by using plenty of clips, sewing pins, and a walking foot on her sewing machine. Tip: Use a strip of blue painter’s tape to mark a 1/4” guide on your sewing machine to help guide you as you stitch on quilt binding.
Do you prefer straight-grain or bias quilt binding on your quilts? Check out more on quilt binding here.
Keep coming back to the Craftsy blog for eye-catching machine quilt patterns you don’t want to miss!

Share tips, start a discussion or ask one of our experts or other students a question.
No Responses to “Bias Quilt Binding: Three Ways”