
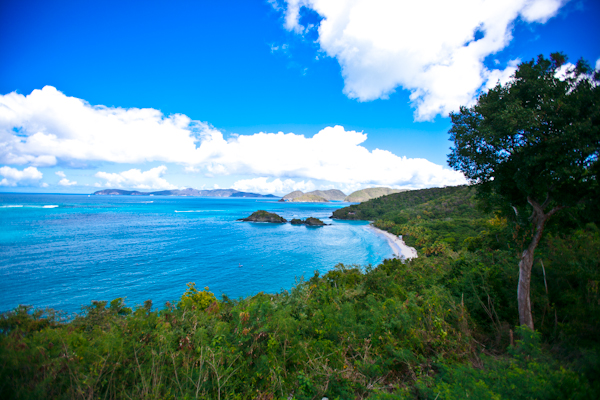
There is nowhere I would rather be than at the beach! Having spent my formative years in Southern California, much of my photography learning was done at the beach, since that was really the focal point of my hometown.
Beach photography can be challenging because of the bright sunlight, the harsh elements and changing conditions. Done right, it can be very rewarding and give you some photos that you will want to frame — to show how much you love the beach, too!
Here’s how to get the most out of your camera at the beach.
1. Mind the time of day
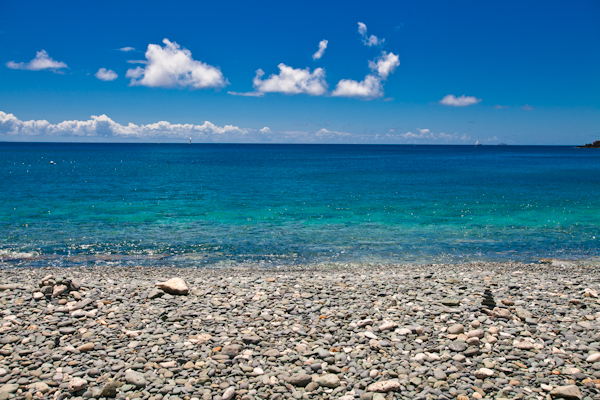
The beach can look very different at different times of day. If you are on the East or West coast, the sun is either rising or setting over the water, and you may get very strong warm tones or very strong cool tones early and late in the day. I think this is the best time for photography because it is when you get the wild colors and painterly tones in the and on the water. During the middle of the day you have to battle hard shadows and sometimes very bright conditions.
2. Bad weather can be good
Don’t cancel your photo safari to the beach because of bad weather! This can be the best time for photography. Cloudy skies, big surf and rough seas can be very interesting situations to make a compelling photograph with feeling and emotion.
3. Overexpose
If you are working on a very nice day without a cloud in the sky, consider purposefully setting your camera to overexpose. The light meter in your camera is trying to pull out as many midtones as it can, so on a bright day it will make the light parts of the image look darker than they should. To compensate for your fooled light meter, use the exposure compensation function on your DSLR and set it to +1 or +2 depending on how bright it is.
4. Filters are your friend
Filters can come in very handy at the beach. First of all, you should have a UV filter on your lenses no matter what for protection. At the beach, UV filters will keep the sand and salt from scratching your lens and make it easier to clean condensation on the front element. Polarizing filters are great for reducing glare on water. If you are shooting toward the water, the polarizing filter can give you more saturation colors and crisper images.
5. Defend against the elements
Speaking of salt and sand, besides using a UV filter, try to keep the elements off of your camera. Try not to change lenses if it is a windy day or to operate your camera with wet hands. The beach is not a friendly environment for electronics and you are bound to mess up important components without care.
6. Avoid harsh shadows
The beach is an ideal place to hang out when it is bright and sunny, but proves to be a challenging situation for photography. Bright sunlight overhead produces harsh shadows on faces. If you are set on getting high quality photos of your family at the beach, consider bringing a flash or reflector to compensate for the dark shadows. If the sun is low enough, position your subjects so they are backlit and do not have shadows on their face.
7. Get in the water
This is counterintuitive if you are trying to keep your camera clean and dry, but for the adventurous types, getting in the water can give you a unique shot. This new perspective is exciting for the person viewing your photos because they can sense the element of risk in dragging gear out to sea. If you have the means, a waterproof housing can get the shot while protecting your equipment.
8. Look for wildlife
Beaches can be very wild places and the local animals can be awesome subjects. Depending on your location, you could see whales and dolphins, sea otters, sea lions, seals, exotic looking birds, starfish and fish, if it’s safe to swim. Find out ahead of time what kind of wildlife to expect and when they are most active during the day.
Share tips, start a discussion or ask one of our experts or other students a question.
No Responses to “Perfectly Picture Paradise With 8 Beach Photography Tips”