
Did you know that the ballpoint pen can be a great tool for drawing? This often-overlooked writing utensil doesn’t bleed like a felt-tip pen and doesn’t smudge like a pencil. But, you can still apply the same techniques that you’d use with graphite in your drawings.
Let’s learn a ballpoint pen drawing technique for everyday drawing.
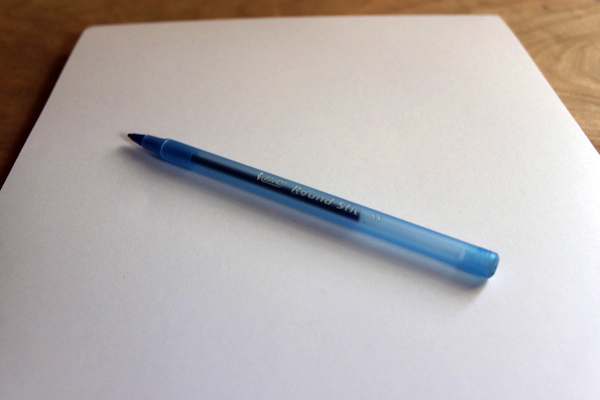
As always, let’s take a quick rundown of the tools I use when I draw with ballpoint pen. It’s really basic, which is one thing that’s so great about this technique — you likely have it already laying around your home or office. And if you need to buy one, the nearest drugstore is sure to have many choices. Here, I’m using blue ink, but black, red, pink or any other color is fine. My paper comes from a drawing pad that’s ideal when working with pens and ink.
Let’s start with something familiar.
If you’ve done any drawing before this, you’re probably well-versed in the different types of techniques, especially hatching and crosshatching. Good! Because that’s what we’ll use today. A combination of the two along with layering will give us the desired effect for shading and volume.
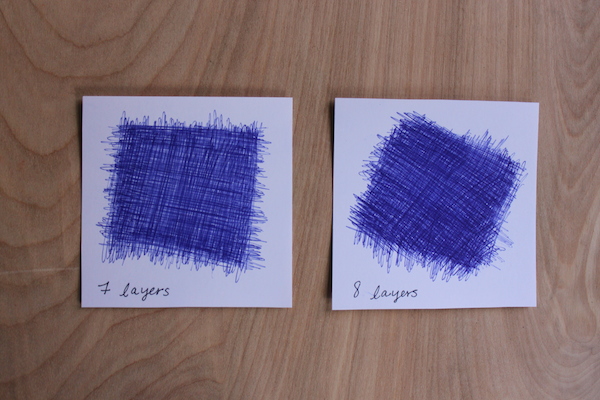
There is one markedly different thing about ballpoint pen, and it’s one that many people love: you can layer ink. Depending on how hard you press, it’s possible to have varied tones based on how many times you crosshatch back and forth. I’ve done a small exercise that shows what it looks like when I have two, three, four and up to eight layers of pen on my page. Let’s take a look below.
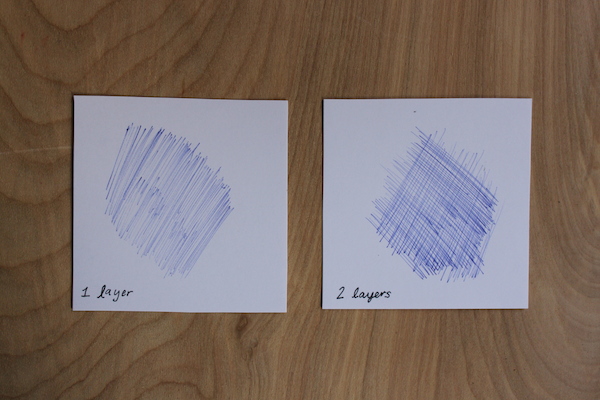
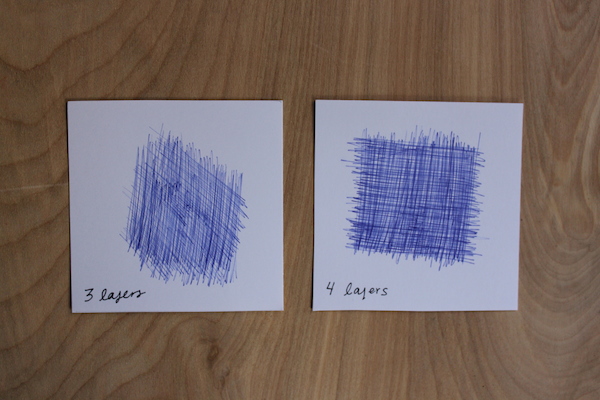
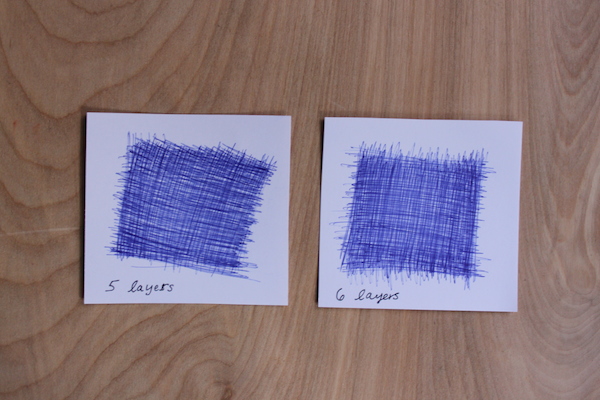
You can see how things really start to change between the third and fifth layers of ink. And by the eighth, you’ve got a nice dark area perfect for deep shadows. While this is a gauge that works for me, it’ll probably look different for you because you’ll hold the pen a certain way and apply a different pressure to the paper.
Imagine if you changed ink halfway through and layered a red ink overtop of the blue. You’d have a purple-looking color. That’s just another advantage of ballpoint pens!
The exercise in practice
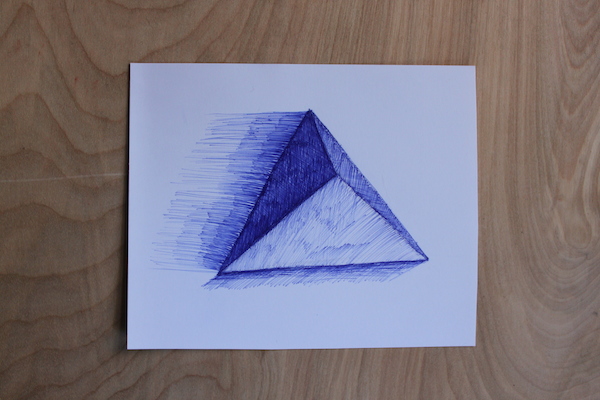
Now that we’ve seen what it looks like to layer cross hatching, here’s how it it appears in practice.
I drew a triangular object and added shading to it. You can see that with some simple shading I was able to convey the feeling of volume. One side has a very dark shadow. To offset this, I used only a single layer of ink that conveys light hitting the triangle. Notice that direction, like in all hatching and cross hatching, is important. This helps describes the plane of your object.
To show that this thing is sitting on the ground, I angled those marks differently. If you’re drawing a puppy, for instance, you’ll want to shade in the direction of its hair to help convey a sense of form. Remember that you can’t blend the pen, so you’ll still see a lot of the lines that you make.
The nice thing about drawing in ballpoint pen is the tip. It allows your hand to roll effortlessly over the paper. No wonder so many people swear by it, and why there are so many incredible ballpoint pen drawings out there!
[box type=”shadow”]
Make your illustrations unique! Gain the skills to bring your vision to life in unique works of art with pen, ink & watercolors in Mixed Media: Pen, Ink & Watercolor with Matt Rota.
[/box]
Share tips, start a discussion or ask one of our experts or other students a question.
No Responses to “Office Supplies as Art Tools: Learn a Ballpoint Pen Drawing Technique”