
Adding trim to a garment is an easy way to spruce up an old favorite or make a simple construction more detailed.
Here are tips for choosing and attaching trim to your sewing project:
Choosing trim
There are several different types of trim: bias tape, braid, cording, lace, piping, ribbon, rickrack, ruffles and tassels. Most big-box fabric stores should have a decent selection of trims available by the yard, or you can order online for better variety. Don’t forget you can make your own bias tape, piping and ruffles!
Your choice of trim depends on the style of garment:
- A Peter Pan collar looks so stylish with a little bit of added lace, and an evening dress might demand a row of sequins along the skirt.
- Bias tape in a contrasting color looks great on the edges of sleeves, button bands and around necklines.
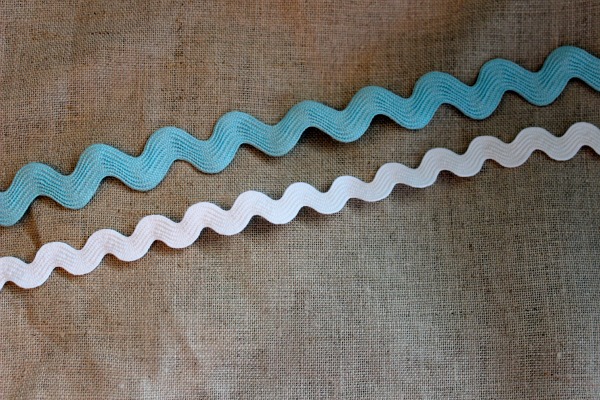
- Lace and rickrack come in an almost endless array of colors and widths, and are extremely versatile trim options.
- Piping and braid go well with jackets and outerwear.
Whatever you choose, try not to go too overboard. Stick to one type of trim.
Vintage trims can be a fun design element to incorporate if you’re fortunate enough to stumble across a stash. Be sure to also check out my tips for sewing with vintage fabric.
Trim placement
Most trim additions will be easier (and in some cases, necessary) when you’re still in the construction phase of sewing your garment. You’ll be happier with your final garment if you are able to neatly hide the raw edges of the trim in the seams.
Regardless of when you’re adding the trim, be sure to play around with the placement of trims such as rickrack and lace before making any final decisions. Trim will effectively draw the eye to that particular area of the garment, so make sure that’s where you want the eye to go!
Attaching the trim
Most trims can easily be basted or pinned to the garment before being sewn on.
Another option is to try a fusible spray adhesive, which will turn anything into a fusible product. Spray it on your trim, wait a few minutes, then fuse it to your garment using an iron. (You might want to practice this first before trying it on your finished garment.) Then, sew the trim to secure it.
Bias tape can be a little tricky to work with. For help, see our tutorials for two different methods for attaching bias tape to a neckline here and here.
If you’re interested in learning about additional methods for adding bound edges to your garments, you’ll enjoy Lynda Maynard’s Bluprint class Sewing on the Edge: Finishing Techniques.
Share tips, start a discussion or ask one of our experts or other students a question.
No Responses to “All the Trimmings: Adding Trim to Garments”