
Highlights and shadows can make all the difference in your photographs. There are so many options for manipulating them to add depth to your pictures to achieve a completely different feel, even just during post-processing.
Learn how to apply actions in Photoshop to get the best final results.
Highlights:
Highlights can be added through a variety of actions that all give a different feel to your image. This one little action is a secret that can change the game: In “selective color” you can specifically choose colors that you want to alter. For example, you can soften your whites by lessening the white content. You can also make the whites much brighter by filling the white content of the white scale. In the first picture you see that the whites are brighter and more highlighted with this effect adding more dimension. With the same action I took away some of the whites and desaturated the image giving it a softer, flatter feel.

Shadows:
Shadows can be handled in many ways as well. If you refer to the images above you can see that the image to the left has darker darks as well as whiter whites. An application in Photoshop that I use to enhance the blacks is the same method I mention for the whites. You can pick the color black in “selective color” and either darken the blacks or lighten them. You can accomplish similar effects in shifting the highlights and shadows by using the “contrast” slider as well as using the “curves” effect. I love using “curves” because everything you do affects another part of the picture simultaneously. That way you can work with your choice of how dark to make the shadows and how light to make the highlights based on how they look together.
You can find these tools under “adjustments layers”. If you click the half dark and half light circle icon you will be given a list of these actions that you can apply.
Adding darks to your image will often times give you more clarity, contrast and drama. This effect it will also make the image a little harsher. If you are trying to soften the look you can flatten the shadows in “curves” by dragging the bottom left shadow curve higher up. If you refer to the above images again you will notice that the right image has more “flat” darks. Experiment with curves and you’ll find out exactly how you like your shadows and highlights on your images.

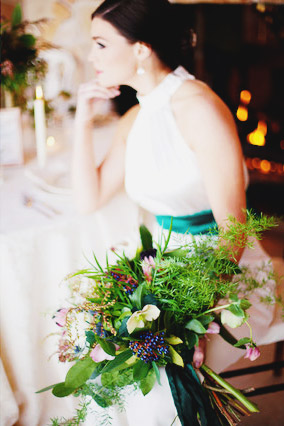
This picture is an example of a solid dark black but very muted highlights. It is hard to distinguish the detail in the black because the highlights were taken out of the image for a softer look.
I highly recommend trying out adding darker blacks and whiter highlights and vice versa. You’ll find out what you like your pictures to look like and it might even change the way you shoot tomorrow! You never know. There are so many post-processing possibilities.
[box type=”shadow”]
Find out how to use even more post-processing techniques to improve your shots and create the polished, professional look clients want guided by industry expert Chris Grey in the online Bluprint class Commercial Photography: Taking Product Photos That Sell.
[/box]
Share tips, start a discussion or ask one of our experts or other students a question.
No Responses to “Highlights and Shadows: Top Tricks for Adding Depth in Photoshop”