
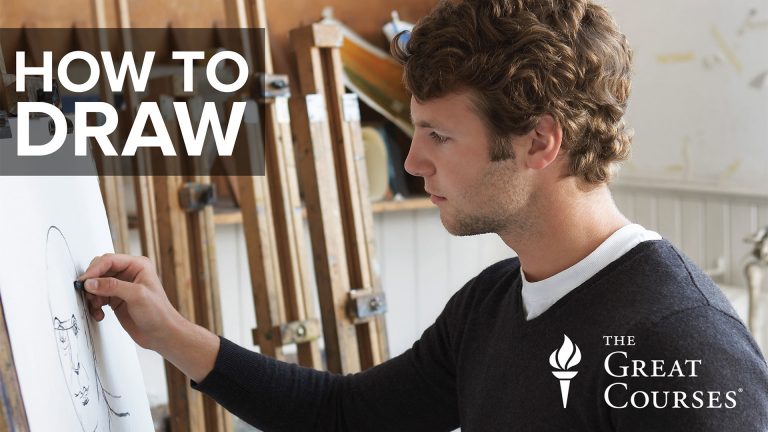
Portrait Sketching
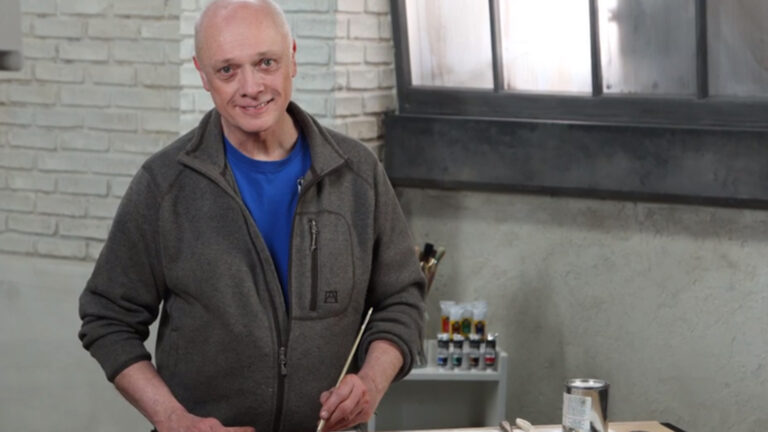
Stuart Loughridge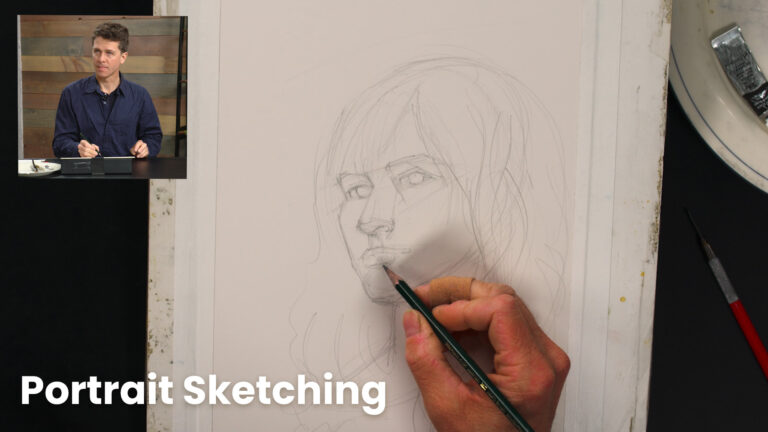
Class Preview
1:34:30
- In-depth Instruction; over 95 mins
- On-demand video access anytime
- Bonus downloadable PDF resources
- Access to class Q&A
- Available for purchase: $39.99
Introduction and Supplies
3:30
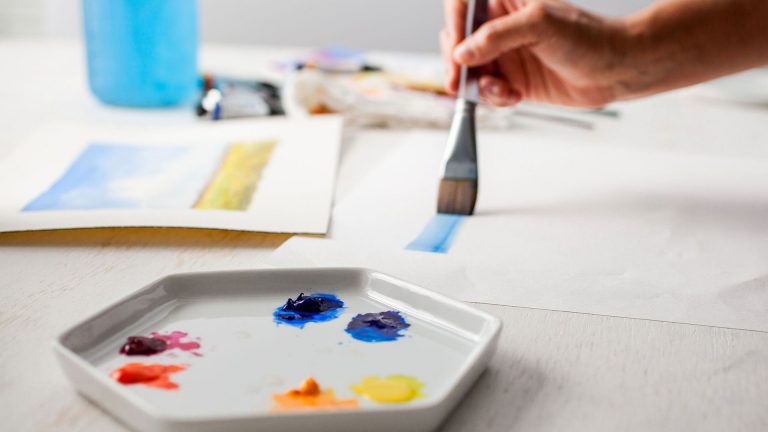
What supplies do you need to create simple, quick, but beautiful portrait sketches? Stuart Loughridge covers all of the materials he uses in his three-step process using graphite and watercolor. He explains what paper he uses to draw on, what graphite pencils he uses and the differences between them, his eraser, as well as all the materials he needs for the wet watercolor media- brushes, palette, paint, utility knife, and paper towels. He also likes to have sketch paper on hand to the side to take quick notes. Note taking sketches are very quick and small. He shows examples of some of these sketches that he had previously done of landscapes, though the principles are the same for portraiture. Watch and learn to gain some great insight into how to use simple materials to create compelling portraits.
Starting the Portrait
18:00
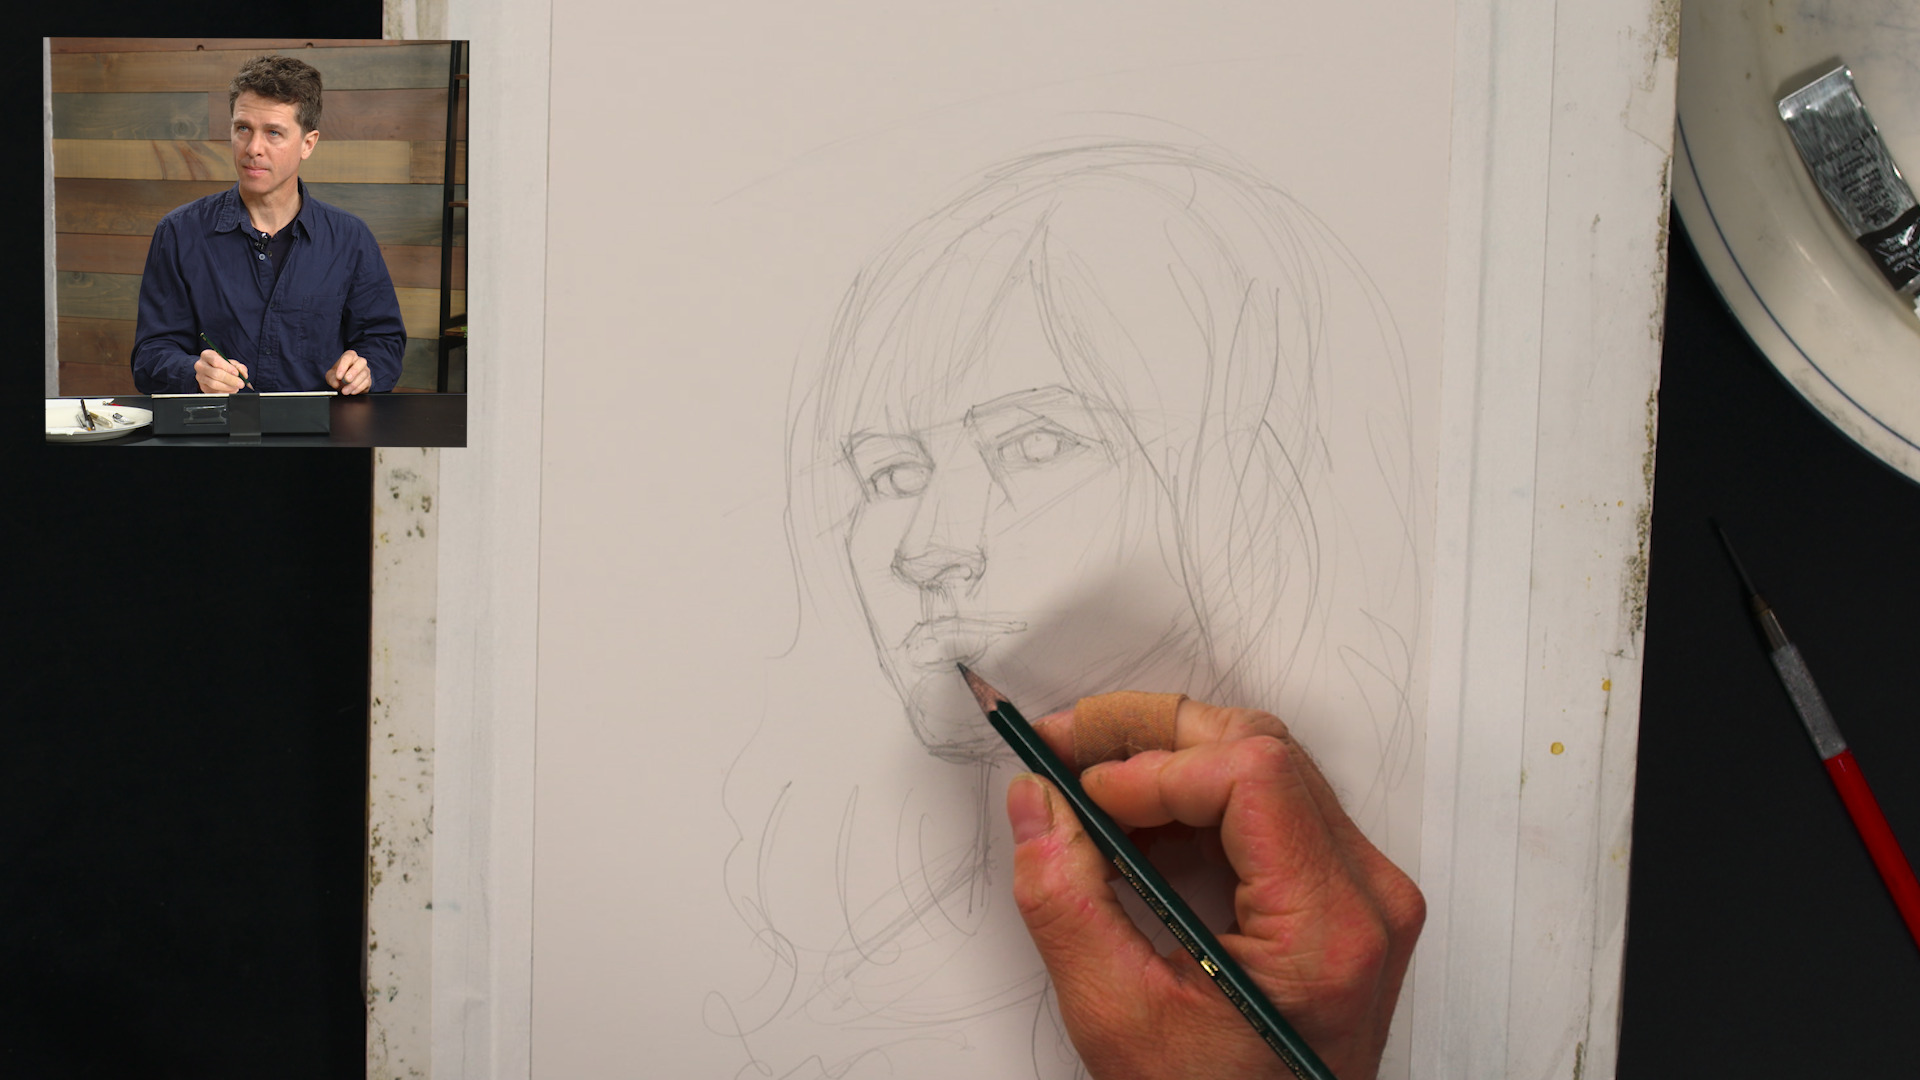
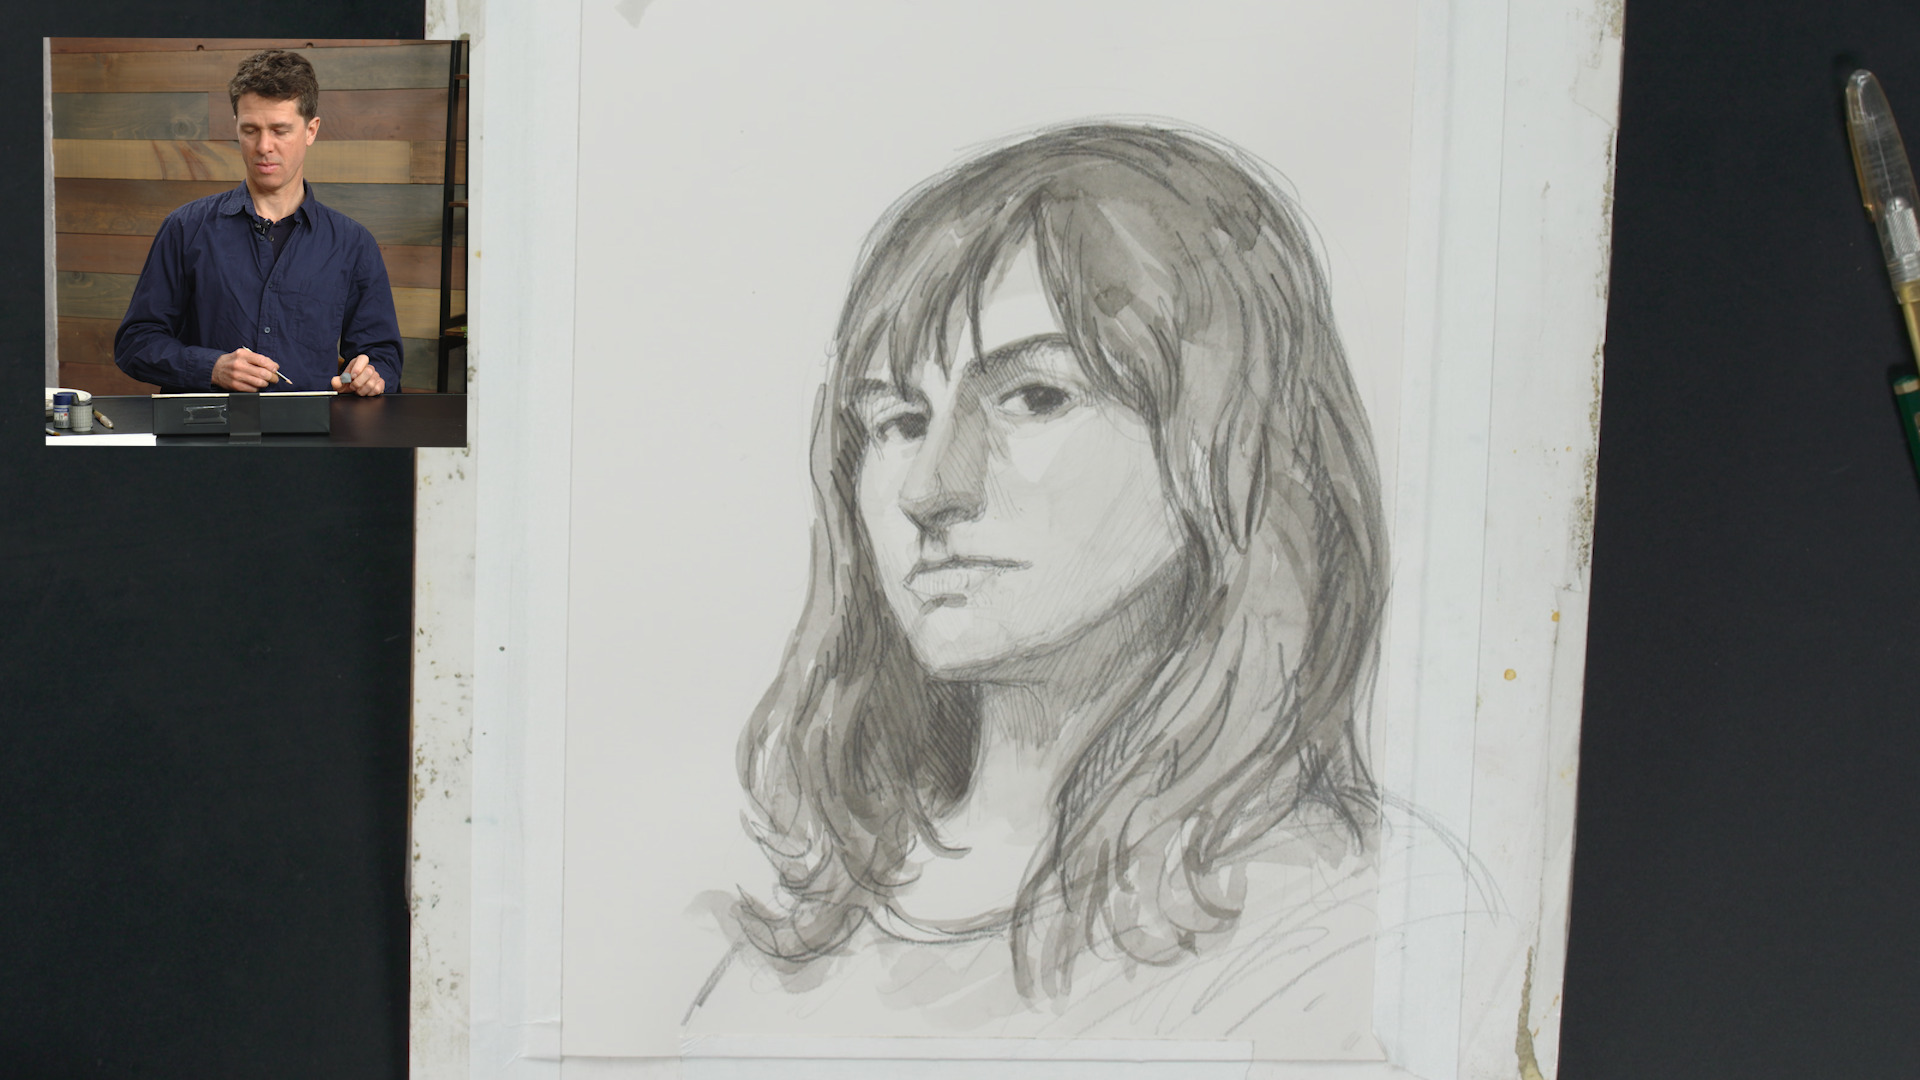
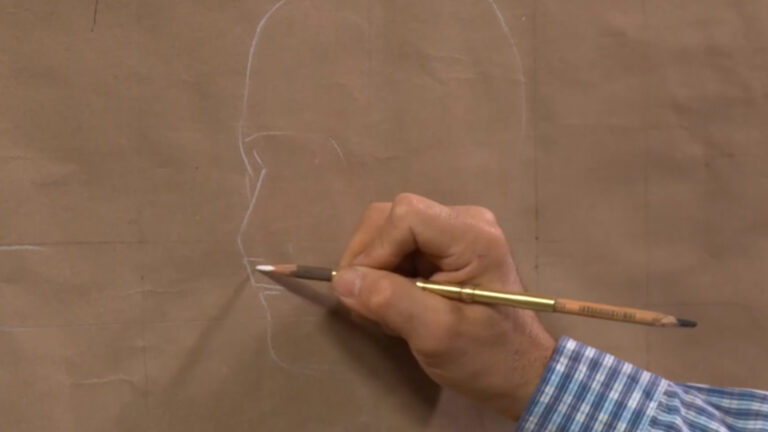
Let’s get into it! This process is meant to be quick, so don’t worry so much about the accuracy and focus more on the gesture of the portrait. Stuart Loughridge starts out with his F graphite pencil, drawing a basic oval and simple lines for the placement of the eyes, nose, and chin. He shows the triangle of the features to help place them more accurately quickly. He works very rapidly but ensures the tilt of the portrait is correct before breaking the simple shapes down further. He explains how all his measurements for the placement of the features are based on one point- the point in this particular drawing is the intersection of the eye socket and the bridge of the nose- and is careful not to move or alter that point throughout this first step so that he has a constant measurement to come back to. Stuart shows how to use your pencil to measure the model and how to drop quick lines on your drawing to make sure that major points of interest line up properly. As the structure of the portrait comes together quickly within the first 20 minutes, be sure you and your model take a break. Your model will need to rest from holding still for so long, but you will need to let your eyes rest for a few minutes so that you can come back fresh and be able to determine if there are any glaring issues with the structure you just laid down. So, sit back and get ready for the next step.
Portrait Watercolor Stage
26:30
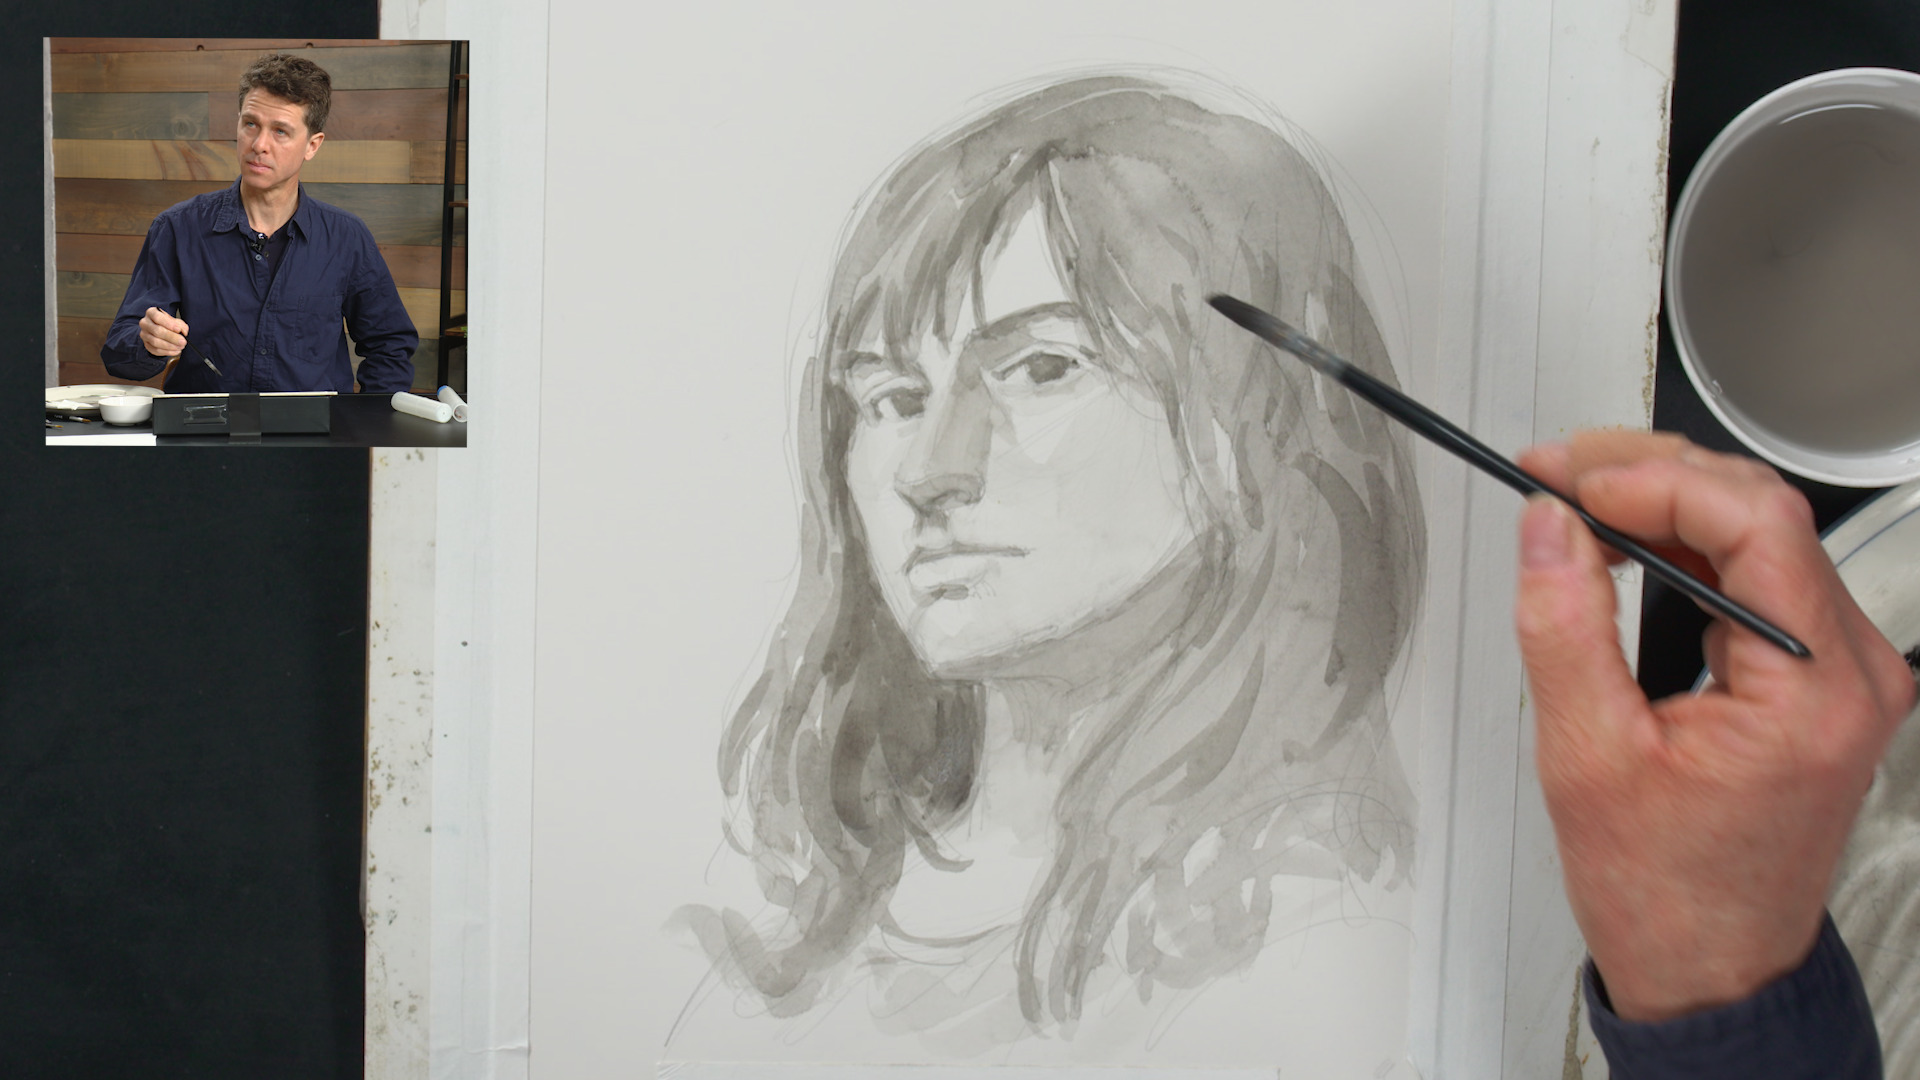
As you come back from your well-deserved first break, reevaluate the drawing in its current state. You may want to clean up any lines that you do not need with your eraser and check the overall structure, ensuring the basic triangle of eyes, nose, and chin line up properly. Once you’re satisfied with the pencil structure jump right into the watercolor. Again, this is not about accuracy, but more liveliness of the piece, so don’t get too caught up in any particular area. Stuart grabs his black pigment with a mop brush and lots of water, working in the darker half tones of the portrait, and laying down some basic, simple value. Though he is still working quickly, he is working carefully so as to not lose the drawing he established underneath. You may want to use a larger mop brush to cover bigger areas of value before the water dries on the paper. Try not to fuss too much over a decision, though, to keep the freshness of the piece intact. Keep in mind that because watercolor is a transparent medium all of the values you establish will be lighter than they are in nature.
As the washes of value dry you will be able to go back over with some glazes to clean up and clarify the information. You will be able to be more specific with contours and planes of structure, getting more and more specific within the general shapes you had previously established.
Now, take a second break to let the watercolor dry before you come back with the final stage in the process.
Final Stage
26:00
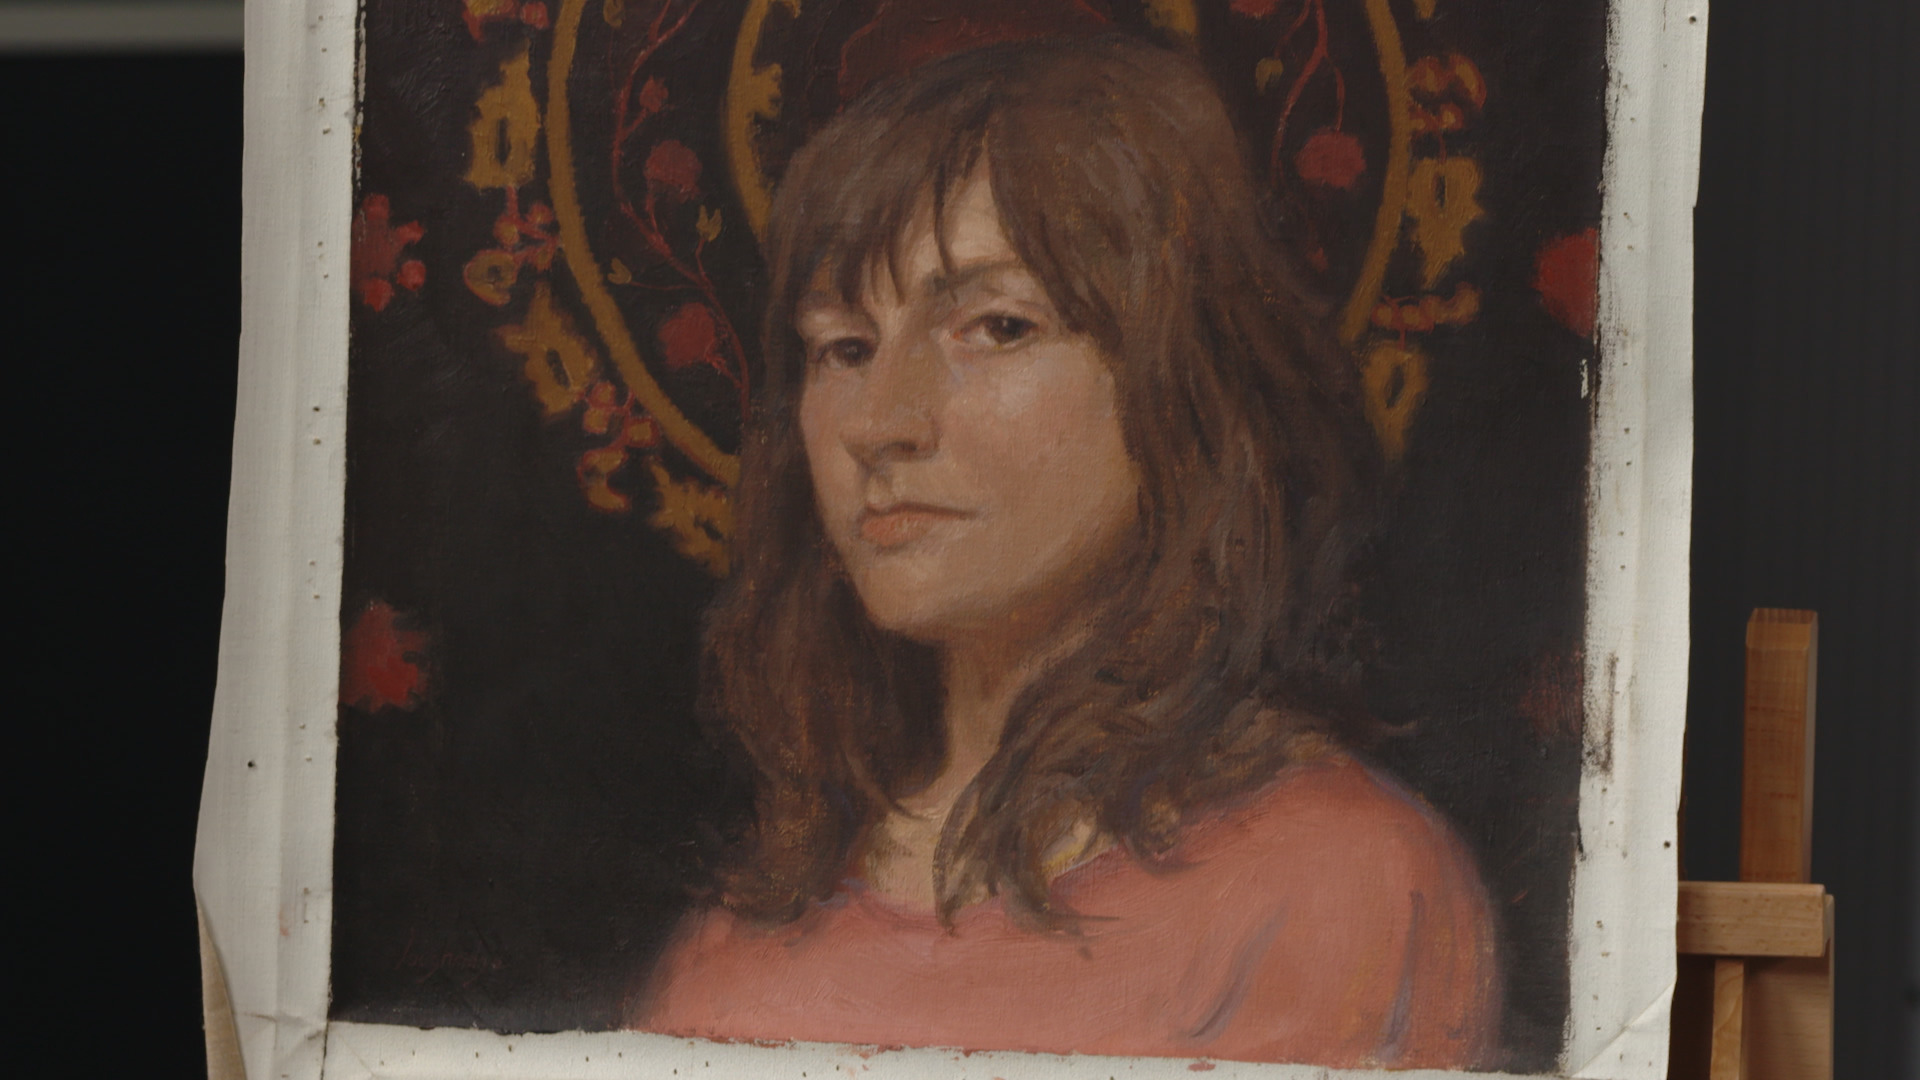
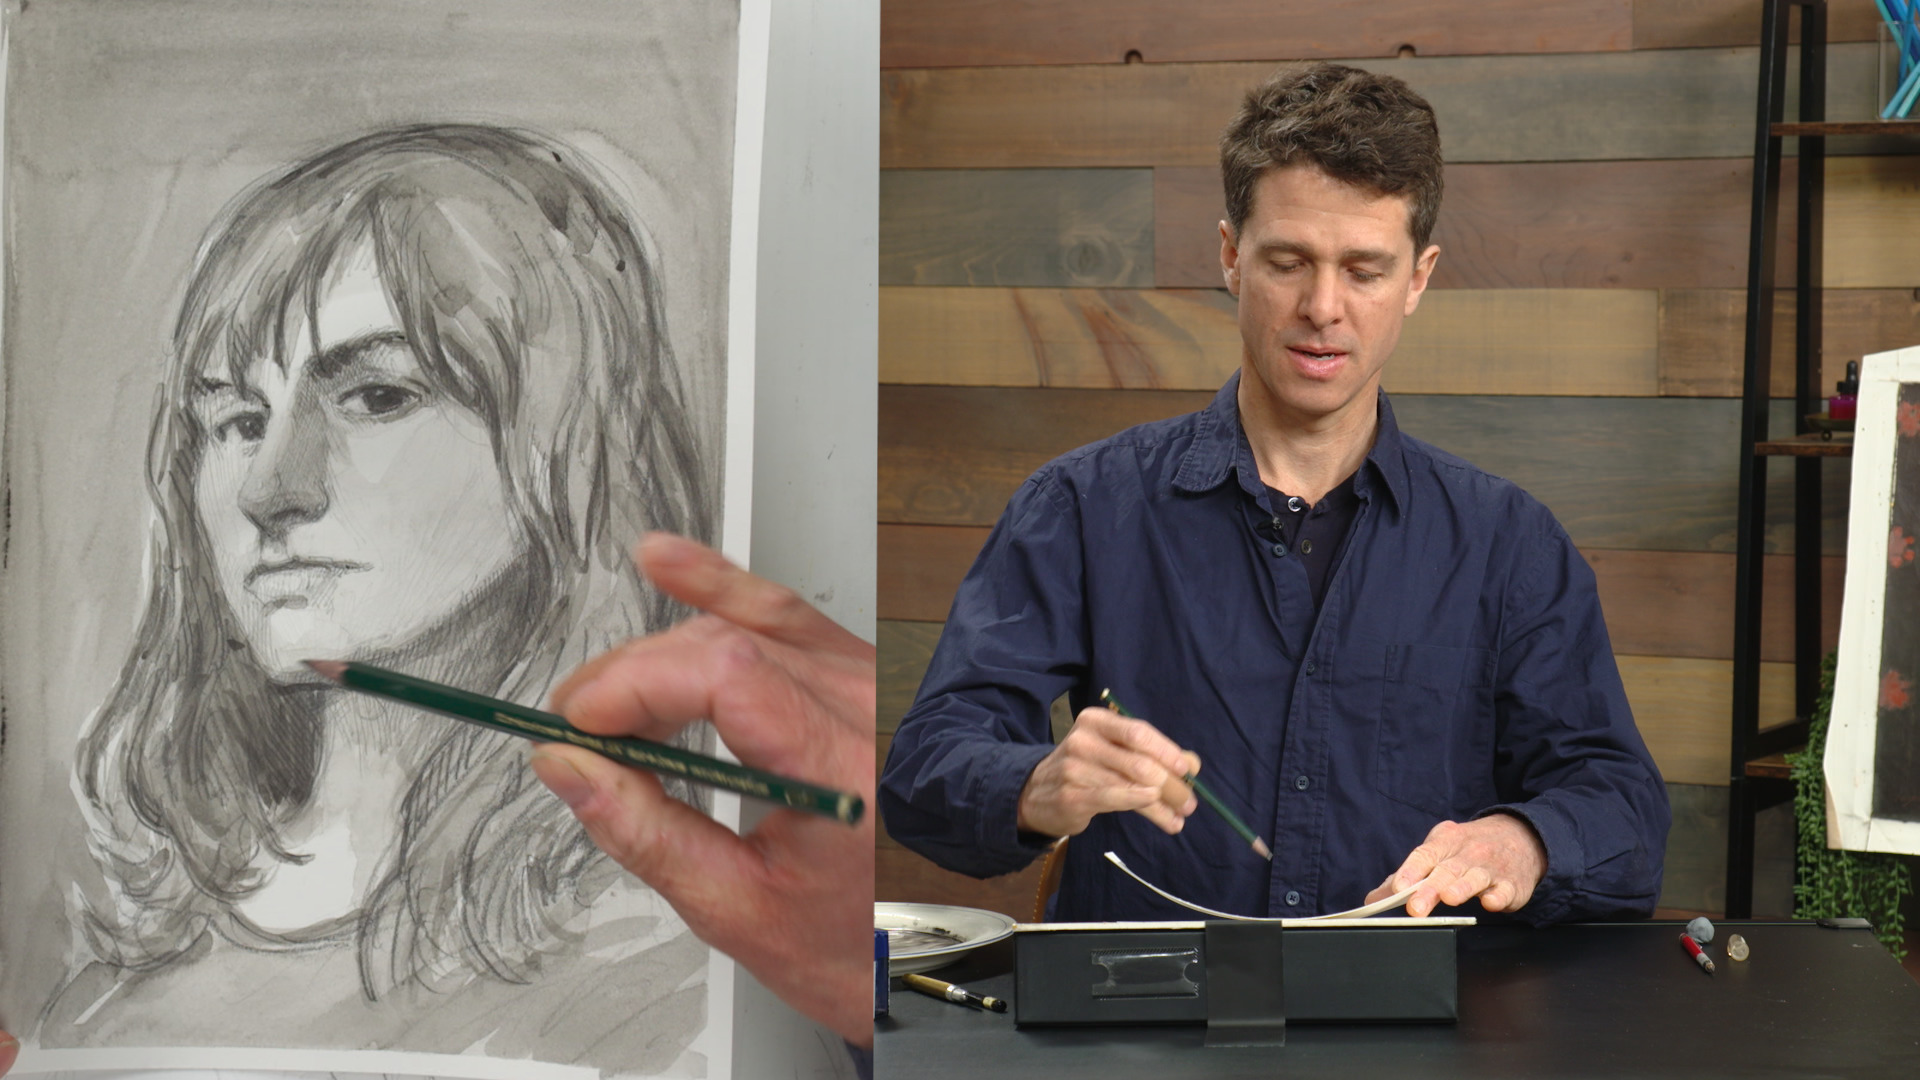
The pressure is on to finish this piece! After your second break take a moment to, again, reevaluate any drawing errors. You can start to correct them with the 4B pencil, and a fine watercolor brush dipped in water to act as an eraser for the pigment. The hot press paper is far more forgiving than cold pressed, so it will allow for corrections even at this stage. Stuart describes how he approaches correcting his drawing while still progressing the drawing forward. Still, though, do not take too long on corrections as time is valuable with a live model in front of you. If you need to you can take notes for further corrections in the future without the model. Switching over to the 4B pencil Stuart demonstrates how to get into very specific contours and line work, strengthening the overall structure, movement, and interest. The form starts to pop out with minimal work. Now, with the 7B graphite you can darken the values even more in areas that really need it. Areas like throughout the hair and the cast shadow of the chin. The darker value also adds some beautiful accents throughout the piece. To finish rounding out the shapes and form you may want to pick up your F pencil again to add any final subtle values and form. At this point the time with the sitter is coming to an end, so be sure to take any additional notes needed to continue working on the piece away from the model.
Finishing the Portrait
20:30
After a time away from the portrait you created and the model, or reference used, you may want to come back to the piece to correct or enhance areas that may need it. Stuart dives back into his drawing by correcting small drawing errors with both graphite and a bit of watercolor. The graphite smudges easily when watercolor is layered on top, so he prefers to use the pencil more at this stage. With slight adjustments done throughout the portrait both form wise and value wise he decides to add value to the shirt and background. These areas were far less important while the model was present, so now is a great time to address it. Continuing to bring down slight dark accent lines brings out form and shapes that would otherwise be lost. And on the opposite end of the value scale a utility knife can pull out some highlights by simply scraping the paper.
Now with the drawing finished, Stuart shows again how his quick gestural lines in the very beginning laid the foundation for the final piece. With a model sitting for you for no more than an hour, having quick references to get the most important information down is key. Remember, this is an expressive portrait and is not focused on complete accuracy. It’s more about the play of the layers of graphite and watercolor within the piece and the interest that it creates. So have fun and get some friends and family to sit for you to start developing your own portfolio of beautiful portraits!
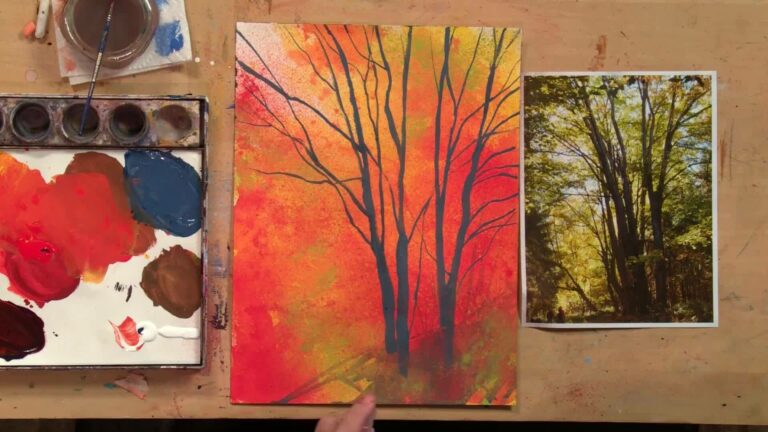
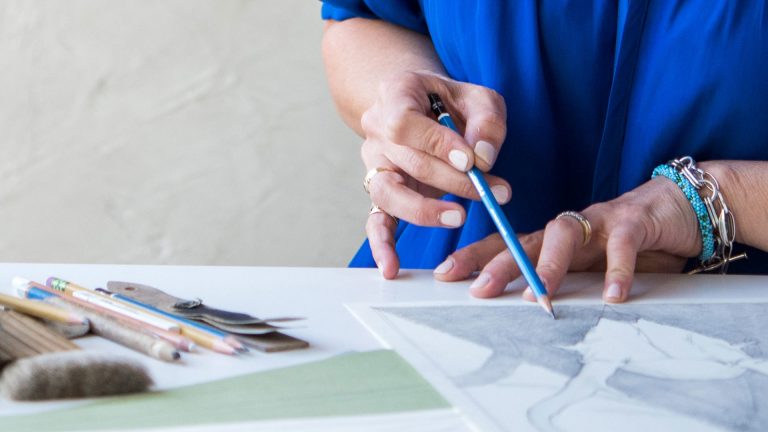
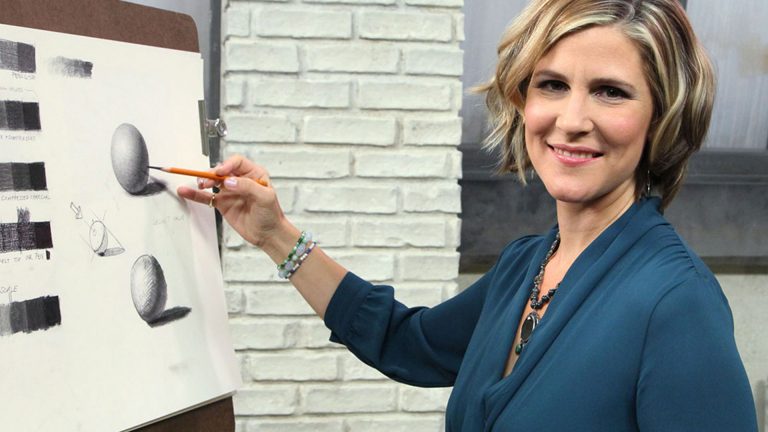
Join master artist, Stuart Loughridge, as he develops a beautiful portrait sketch through a process that he breaks down into three easy to manage stages and materials. With readily available materials like graphite pencils and watercolors, he will show you how to layer each medium on top of each other to create depth and interest. It’s a quick way of portrait sketching, each stage roughly taking 20 minutes or so, that allows you to not only travel easily with the materials but build up a portfolio of portraits of family and friends in no time. Stuart will take you through each stage slowly and methodically as he explains his decision-making to take a complex subject like a portrait of a young woman into easy to manage lines and values. Follow along as you get ready to start creating your own beautiful portraits!
Stuart Loughridge
Stuart is an artist based in St. Paul, Minnesota. As a studio painter he works with oil paint and watercolors, primarily painting landscapes. In addition, he is a devoted printmaker and is well-known for his etchings.
Bonus materials available after purchase
What is the “Purchase” option all about?
If I’m a paid Premium or Gold Member of Craftsy, do I need to purchase the Class to have access?
How do I know what the Class covers?
Do I have to be a Member of Craftsy to purchase a Class?
How do I “Purchase-to-Own” a Class?
How do I access/view my Class?
Is there a limit on the times I can view my Class?
Can I view a Class on my tablet device or mobile phone?
How do I get access to the Bonus Materials for the Class?
How does the Class Discussion benefit work?
Can I print out Class Bonus Materials?
Are there any system requirements to view the Class video content?
Can I get a refund if I don’t like the Class?
Explore classes by Stuart Loughridge
You may be interested in


Premium Membership
Unlock exclusive member content from our industry experts.
- 24/7 Access to Over 2,000 Premium Classes and Hundreds of Instructional Videos Across 20+ Categories
- Extensive Library of Downloadable Patterns and Recipes
- Stream and Download Classes Anywhere with the Craftsy App
- Share Your Membership with up to 3 Friends or Family Members
- Access to Ask the Expert Program
- Admission to Exclusive LIVE Streaming Virtual Events
Unlock exclusive member content from our industry experts.
- 24/7 Access to Over 2,000 Premium Classes and Hundreds of Instructional Videos Across 20+ Categories
- Extensive Library of Downloadable Patterns and Recipes
- Stream and Download Classes Anywhere with the Craftsy App
- Share Your Membership with up to 3 Friends or Family Members
- 2 Full-Length Classes to Keep in Your Account for Life
- Access to Ask the Expert Program
- Admission to Exclusive LIVE Streaming Virtual Events
Gold Membership
$449 Value
Get everything included in Premium plus exclusive Gold Membership benefits.
- 24/7 Access to Over 2,000 Premium Classes and Hundreds of Instructional Videos Across 20+ Categories
- Extensive Library of Downloadable Patterns and Recipes
- Stream and Download Classes Anywhere with the Craftsy App
- Share your Membership with up to 3 friends or family members
- 8 Full-Length Classes of Your Choice to Keep in Your Account for Life
- 10 Patterns, Guides, or Recipes of Your choice to Download to Your Devices
- 20% off Purchase-to-Own Classes in the Craftsy Shop (Select Classes Only)
- Access to Ask the Expert Program
- Exclusive GOLD LIVE Virtual Events
Purchase Class
Purchase class and add to your personal library with on-demand video access.
- Enjoy on-demand video access to this content anytime, anywhere for the one-time cost below.
- You won’t lose access, with or without an active current Membership
Portrait Sketching
with Stuart Loughridge