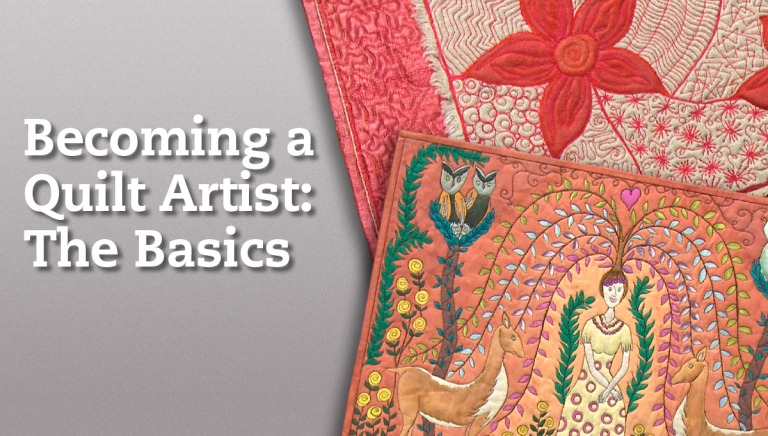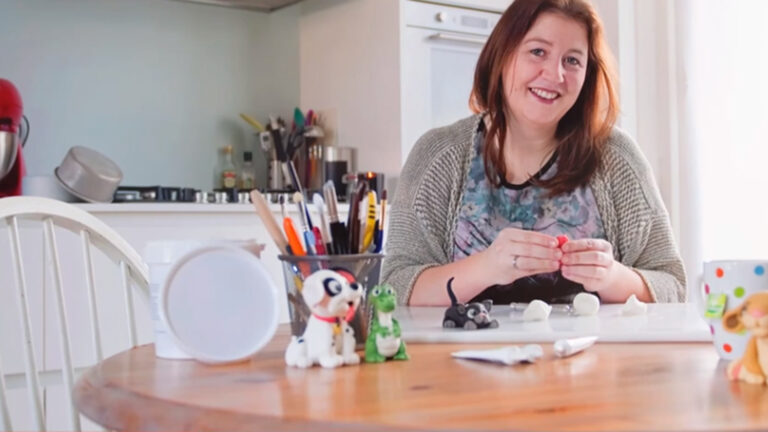
Don’t just dream it. Make it.
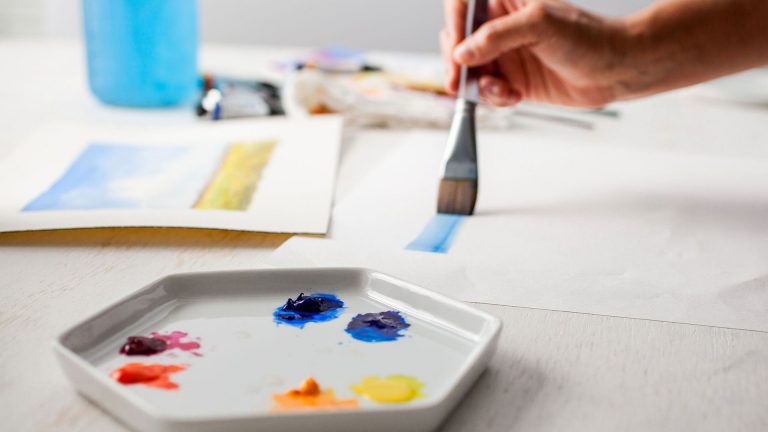
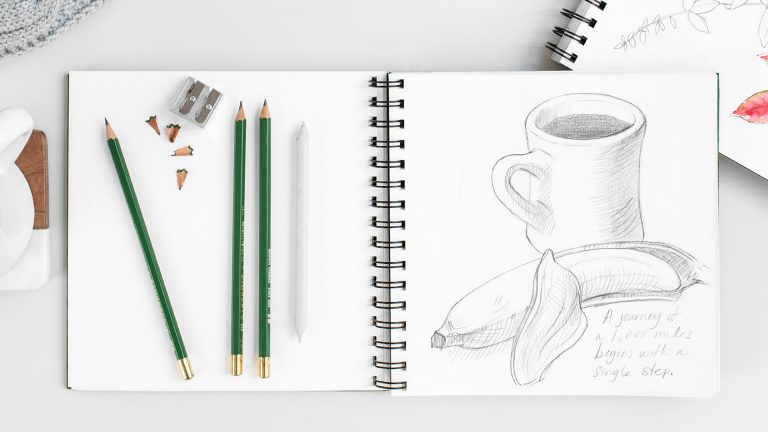
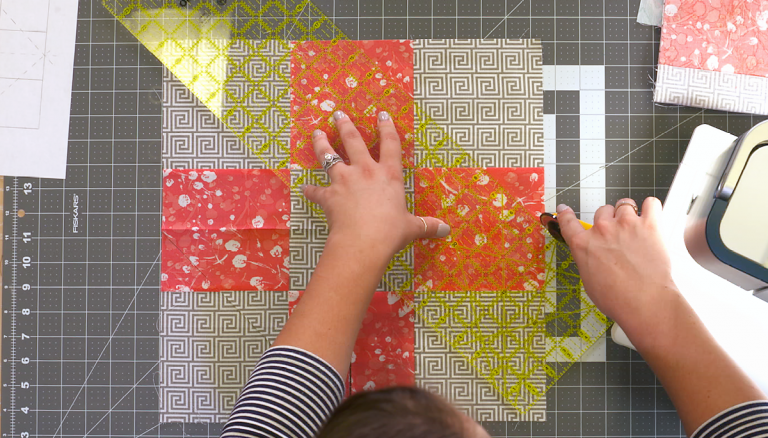
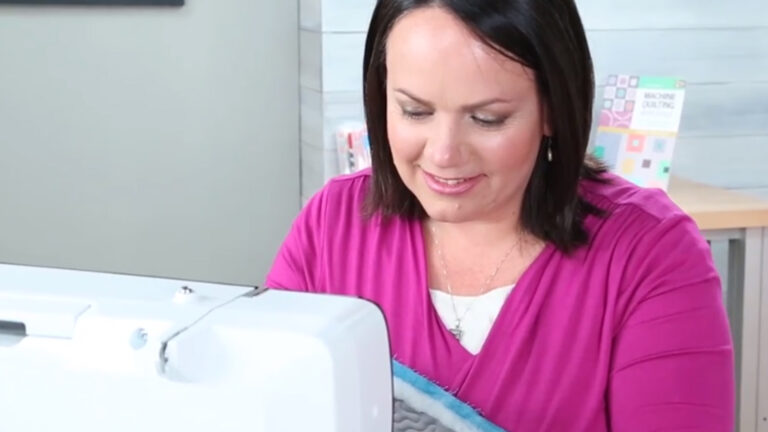
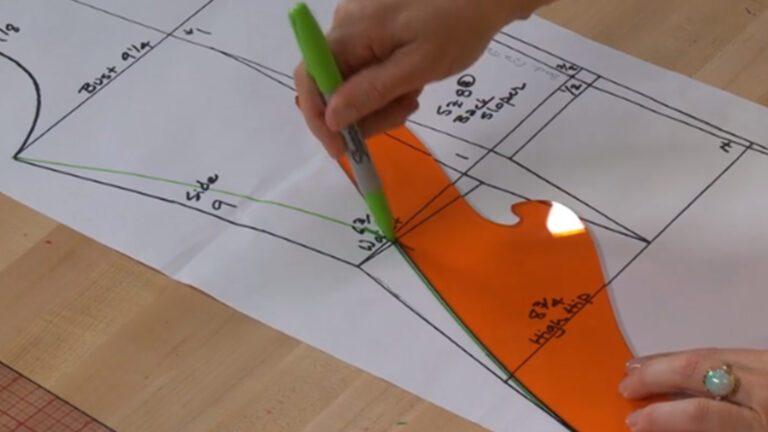
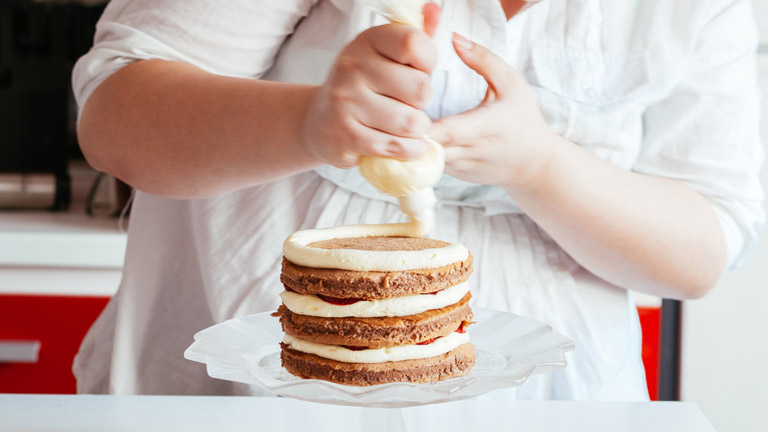
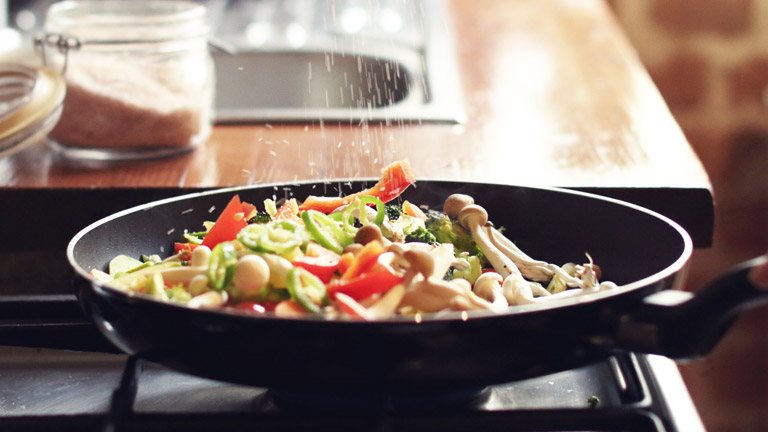
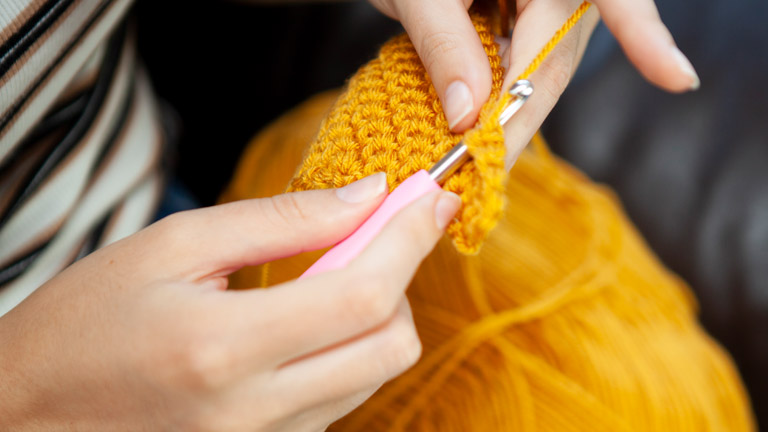
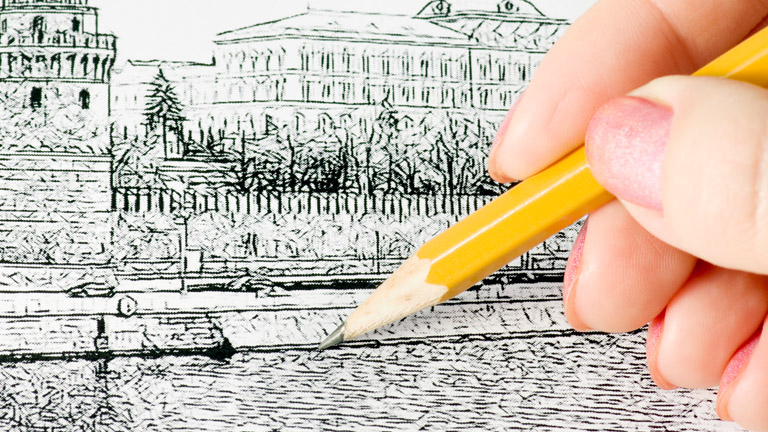
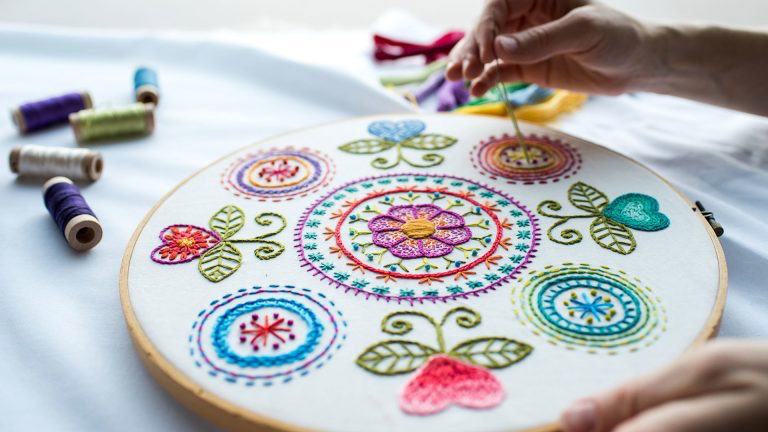
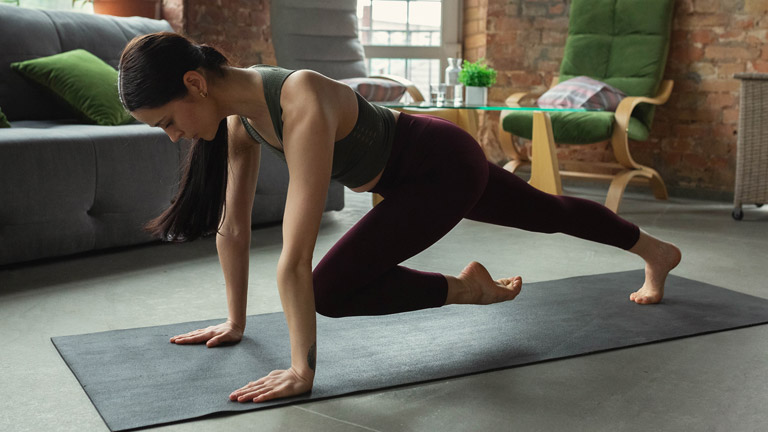
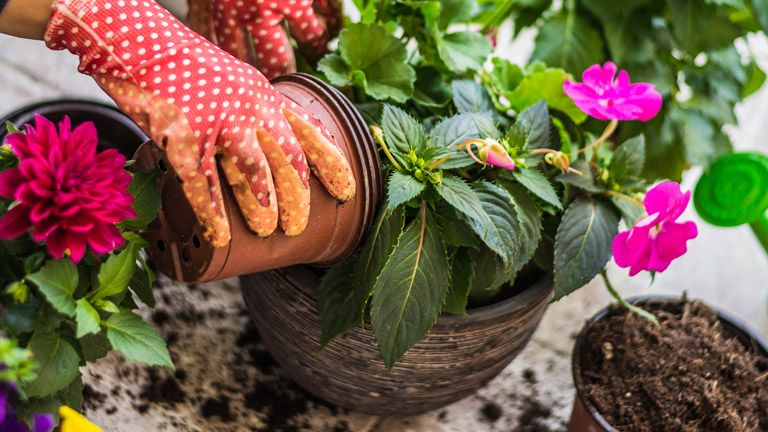
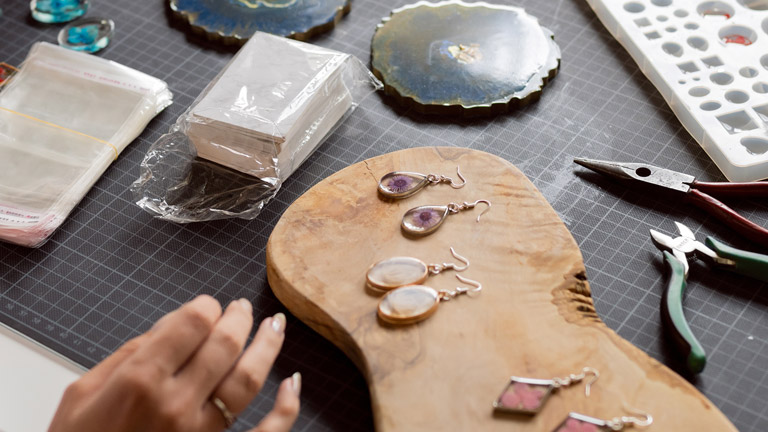
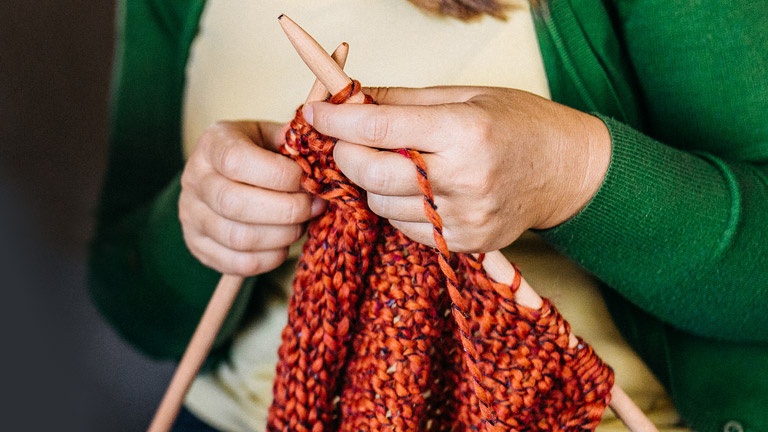
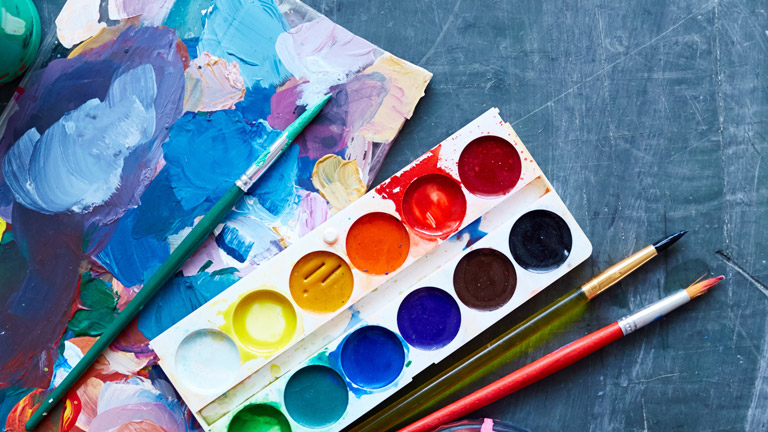
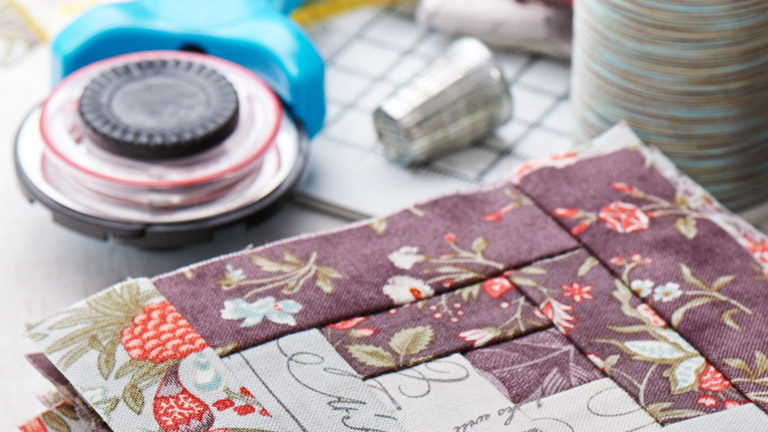
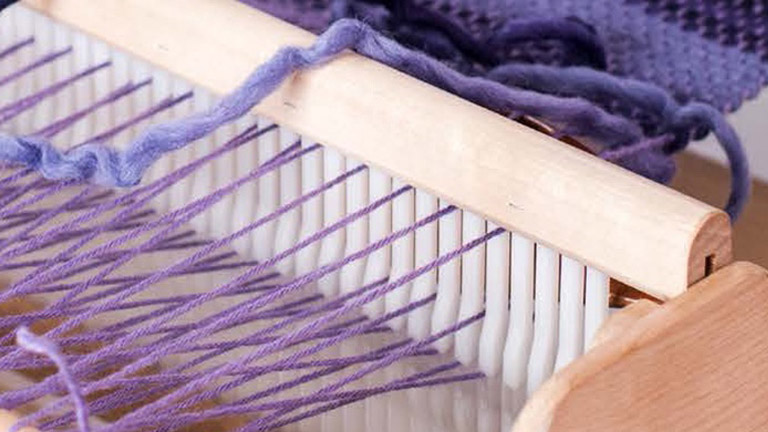
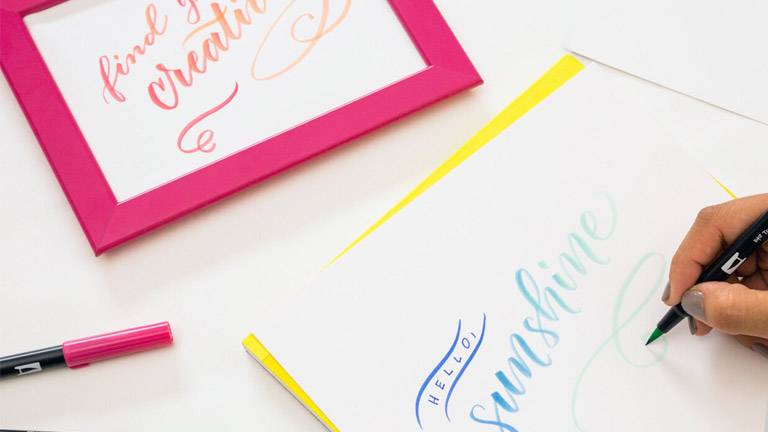
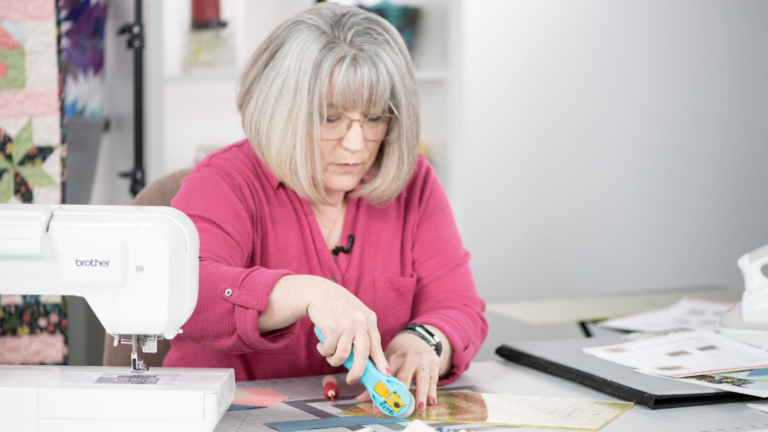
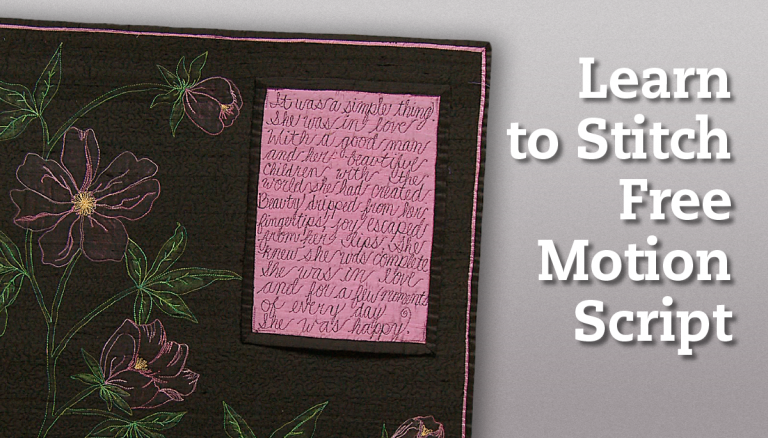
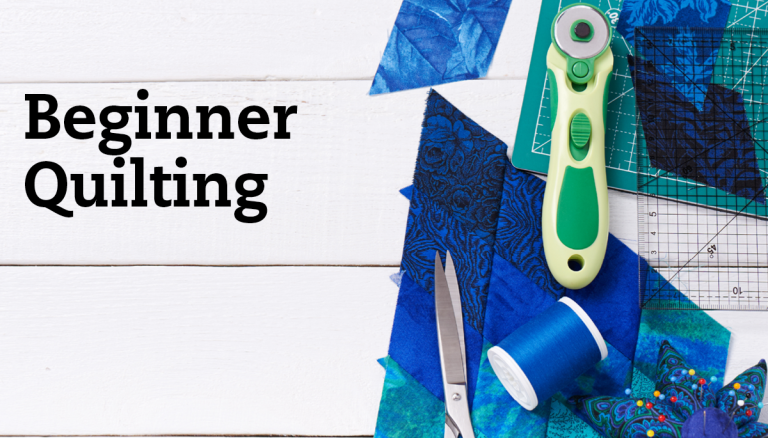
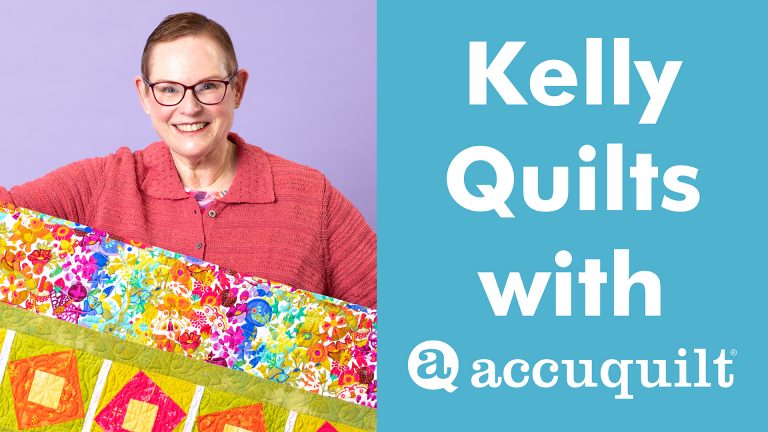
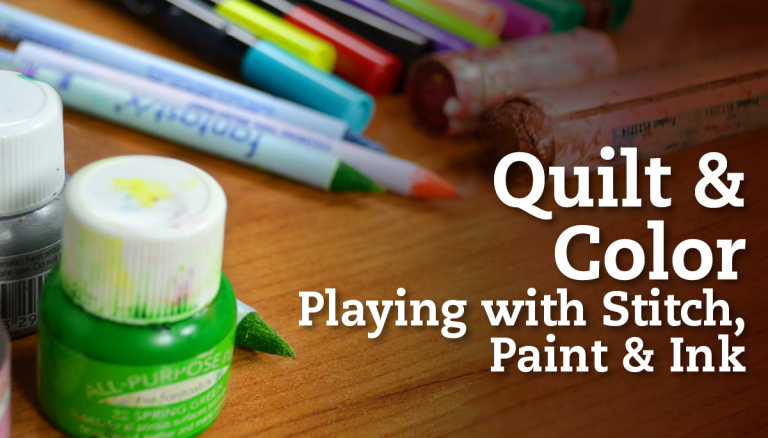
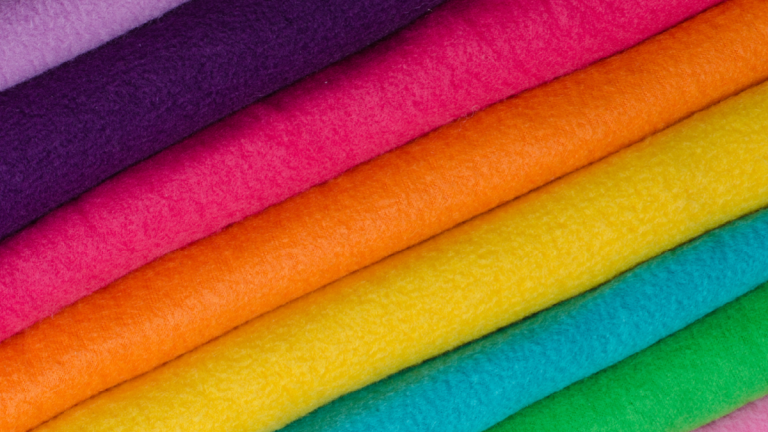
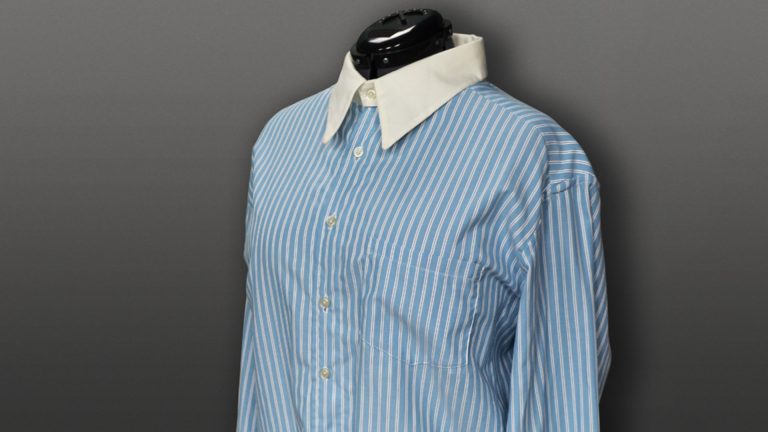
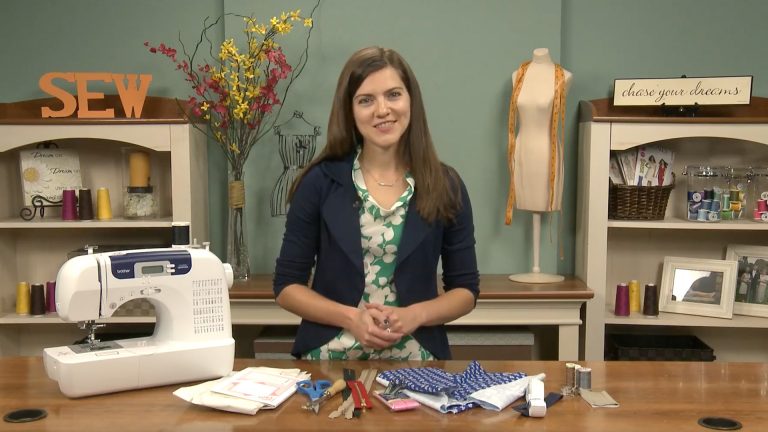
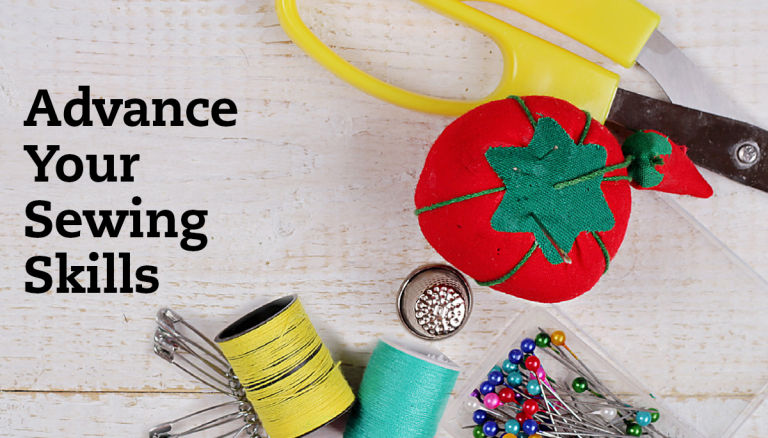
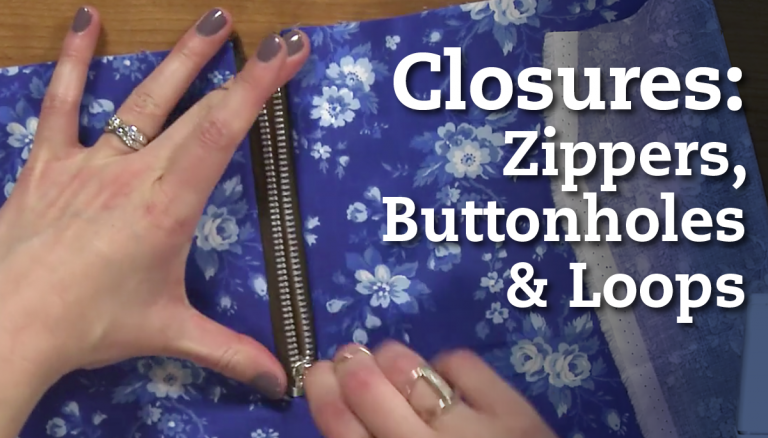
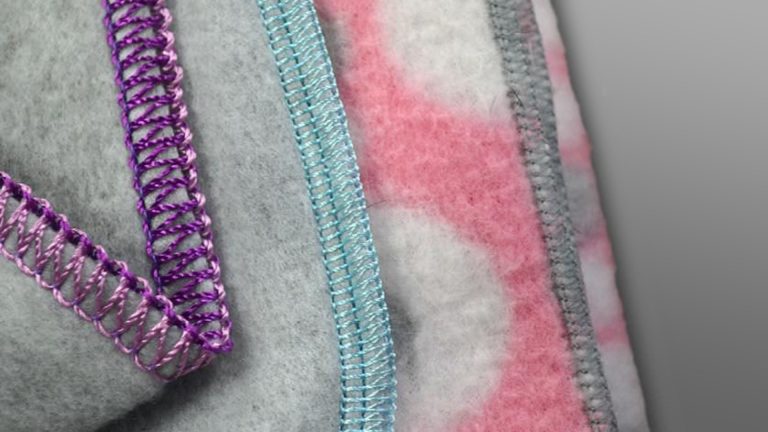
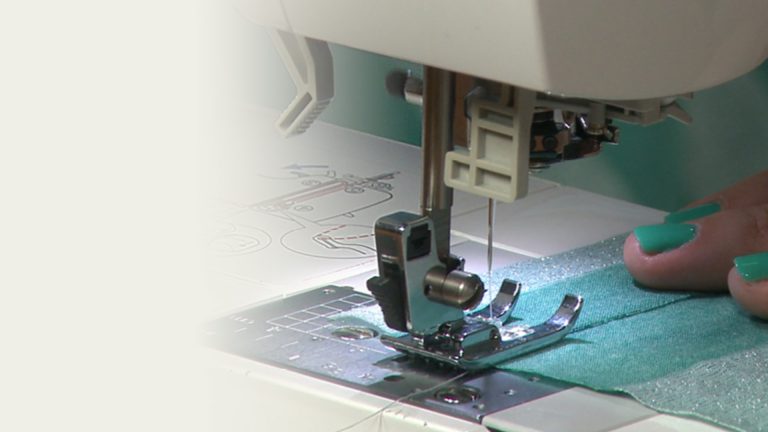
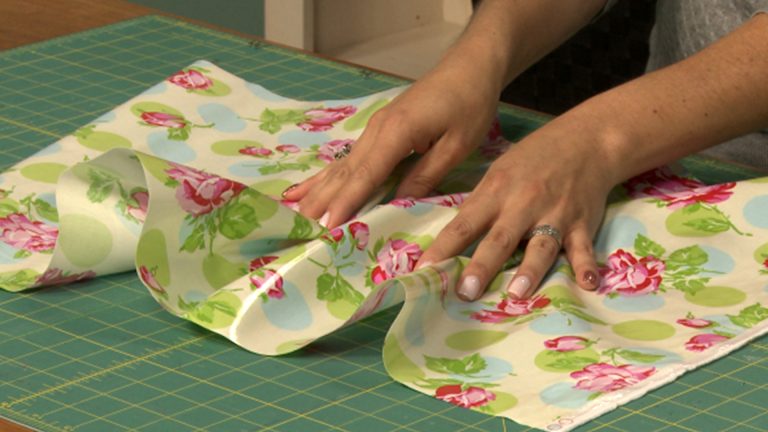
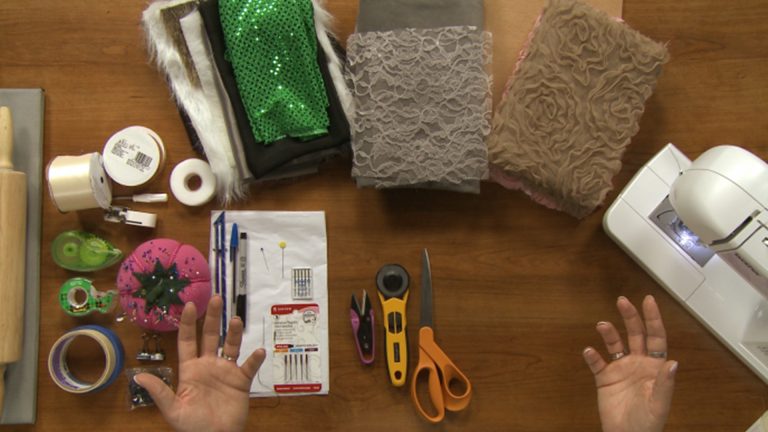
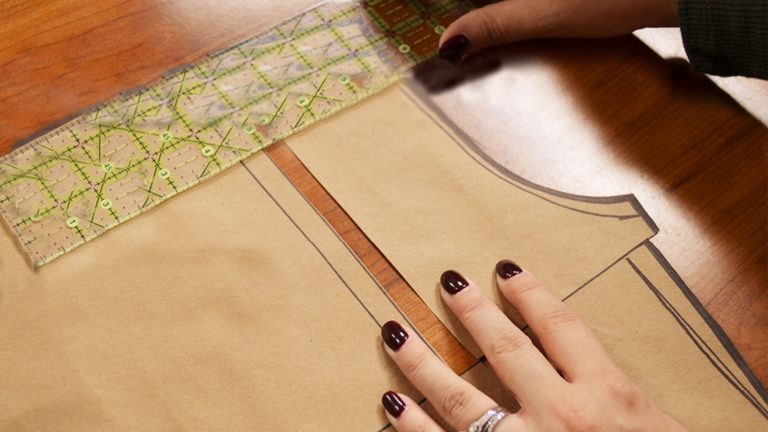
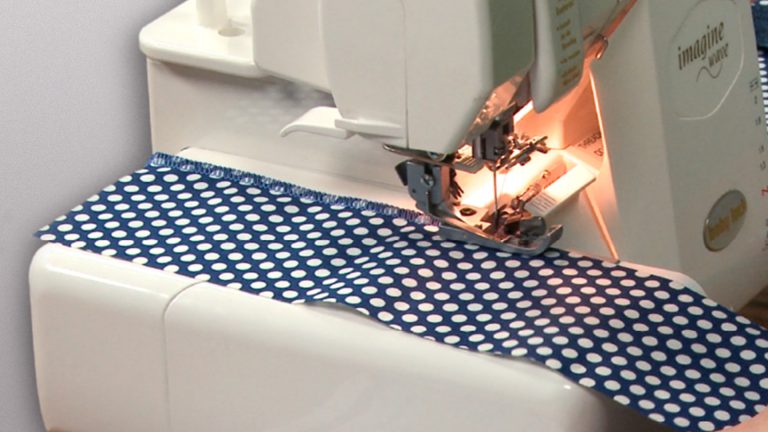
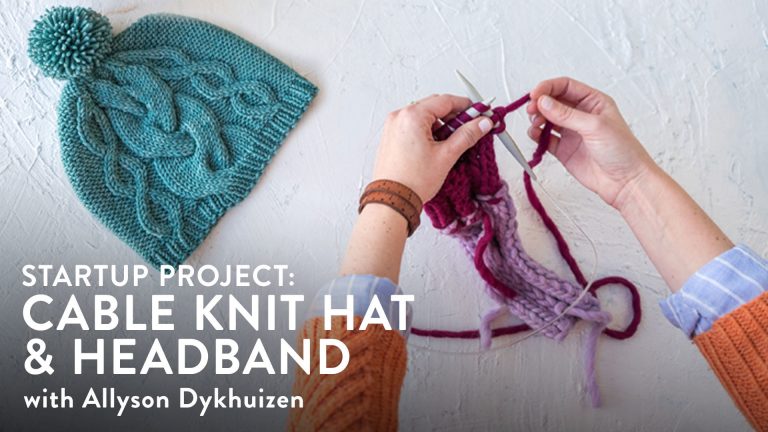
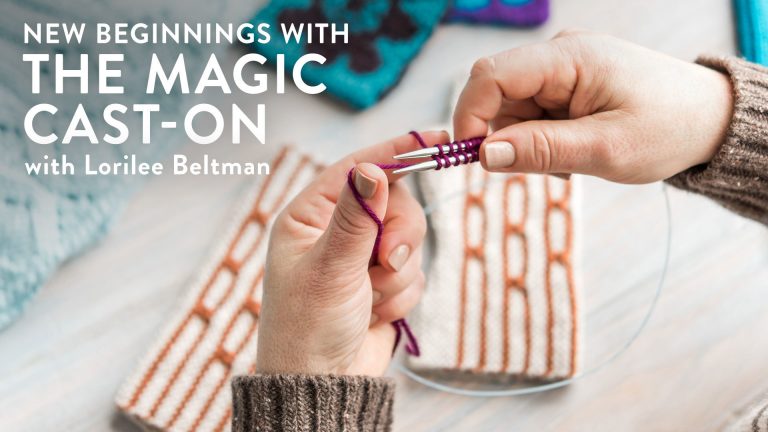
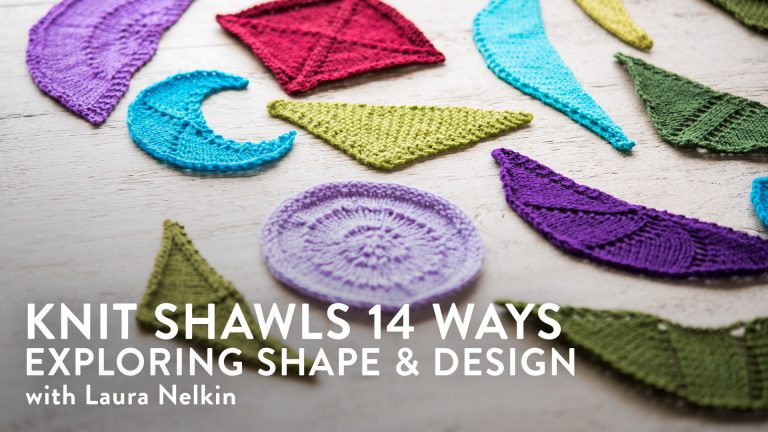
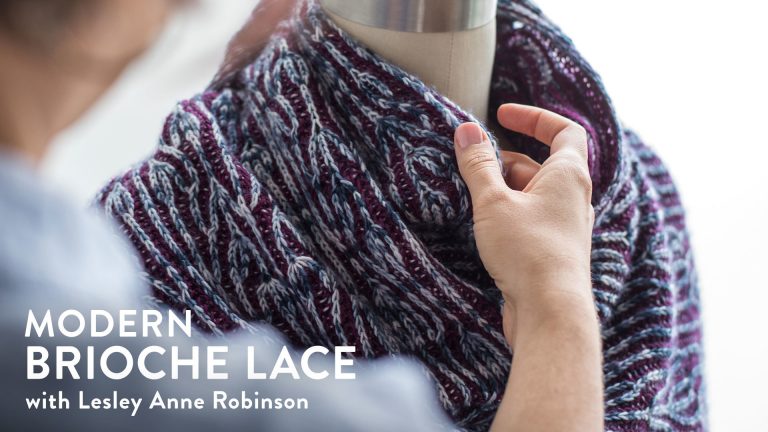
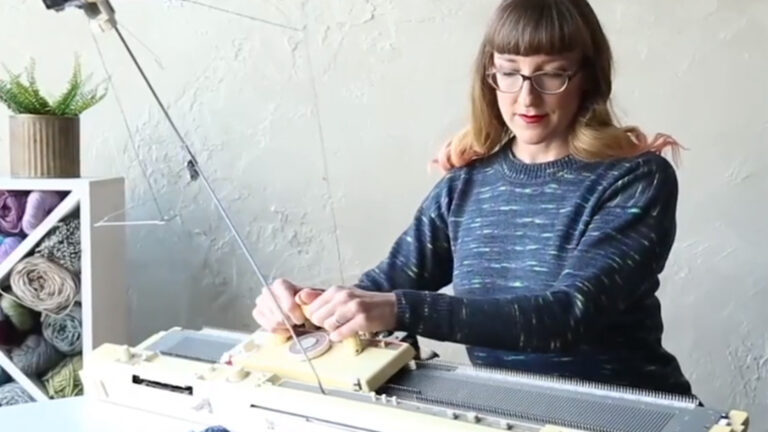
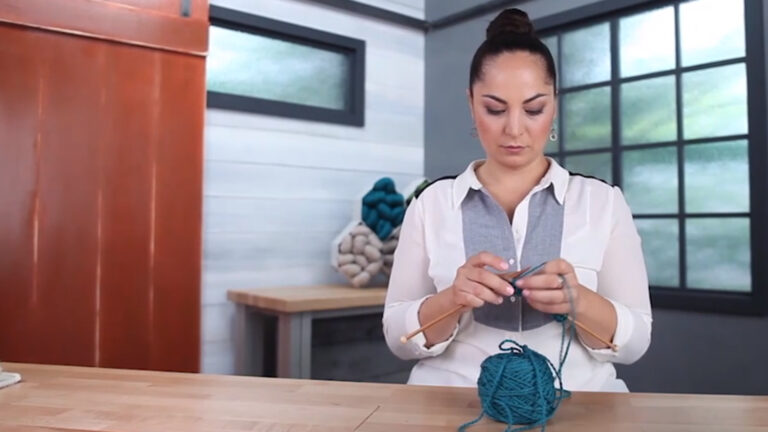
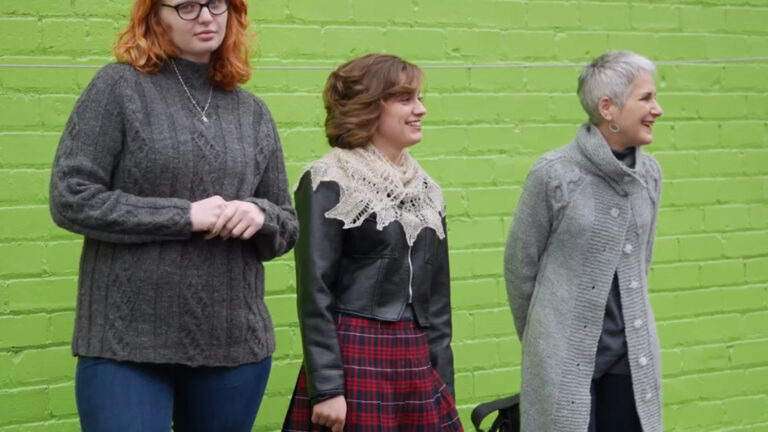
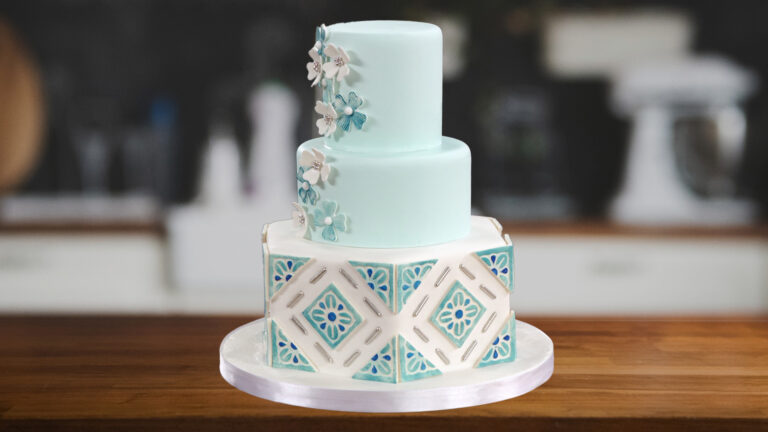
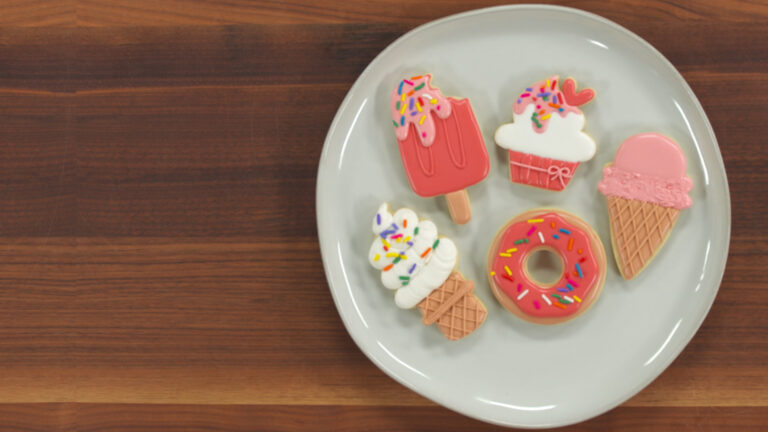
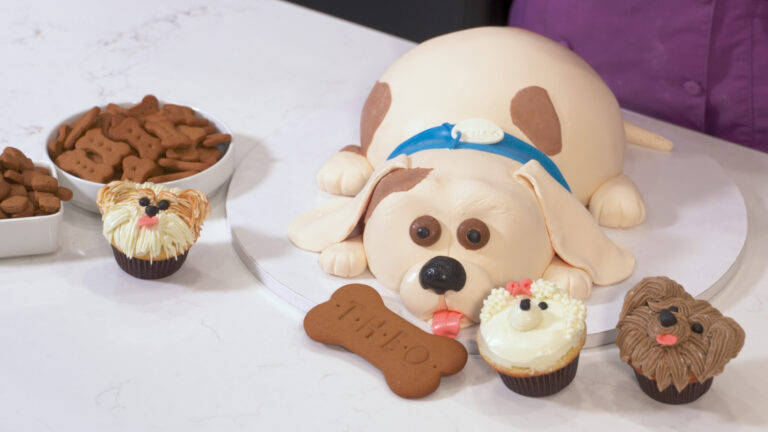
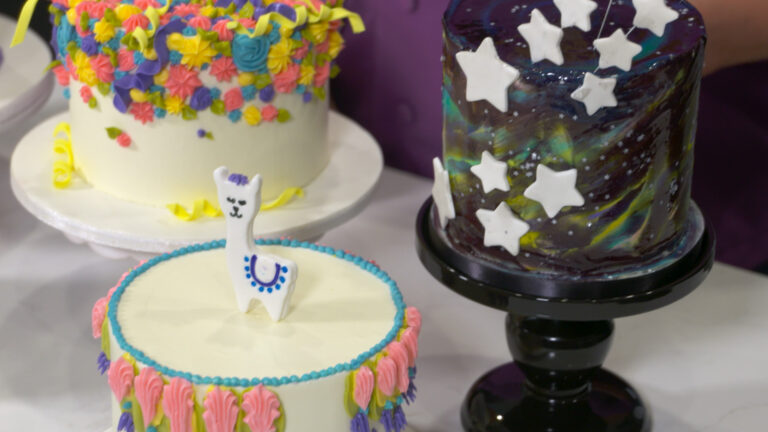
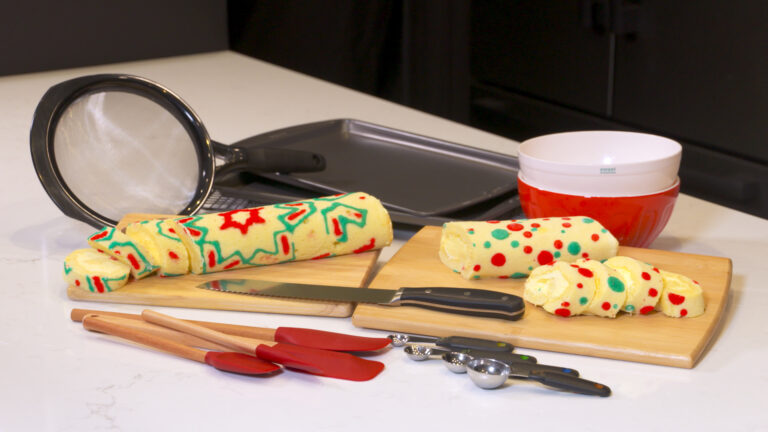
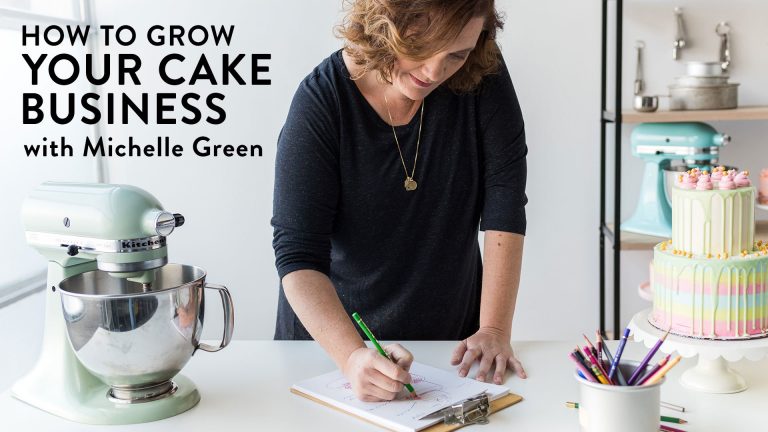
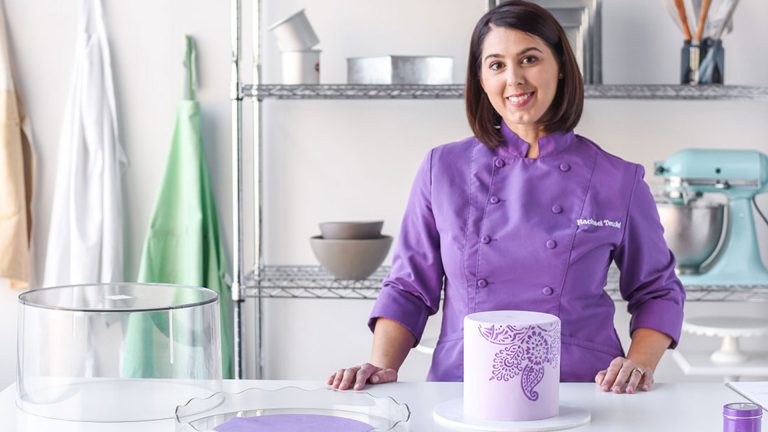
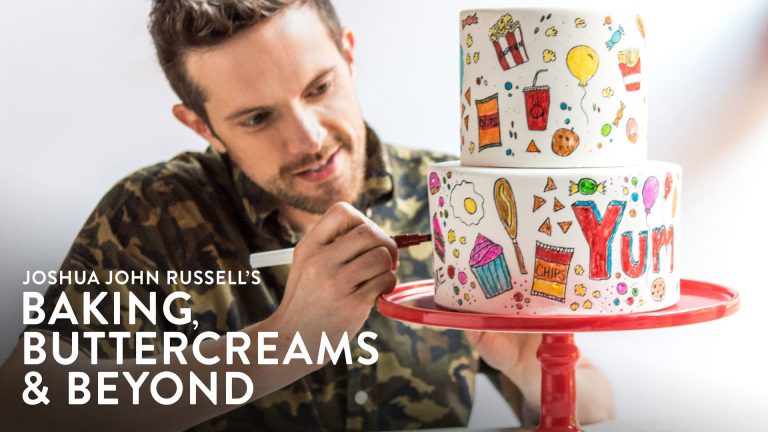
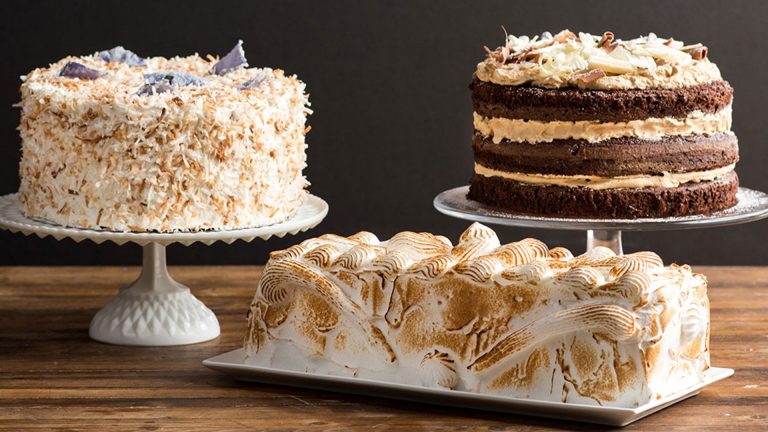
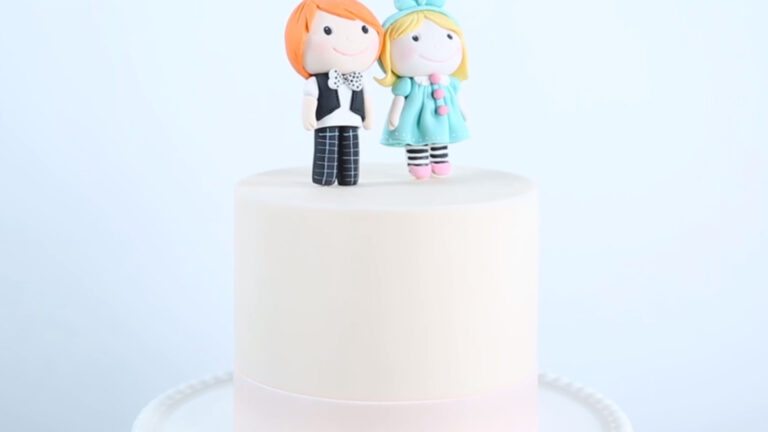
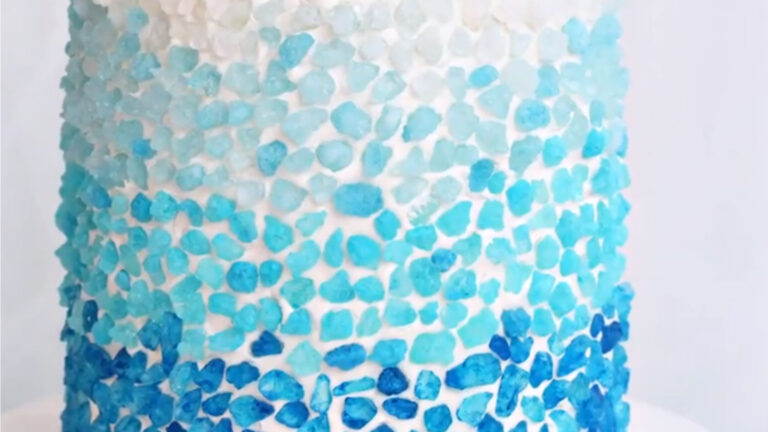
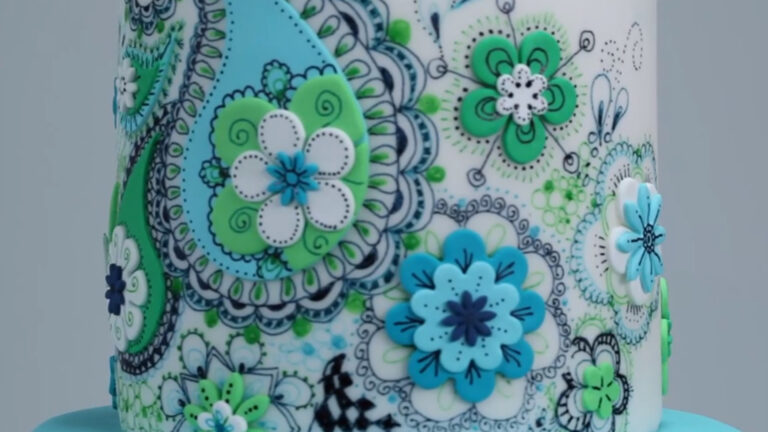
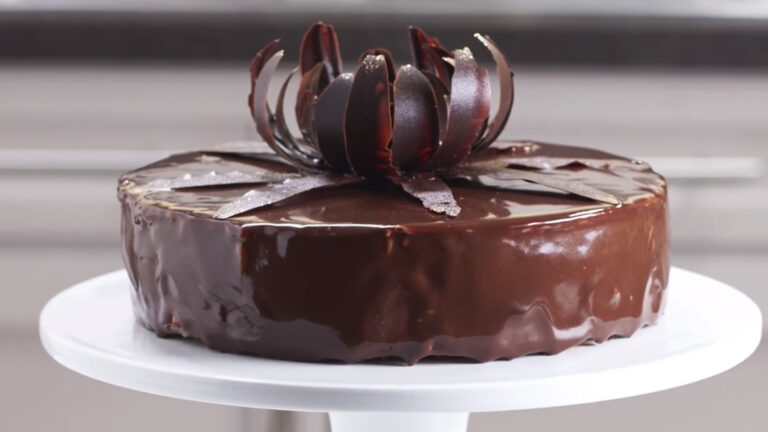
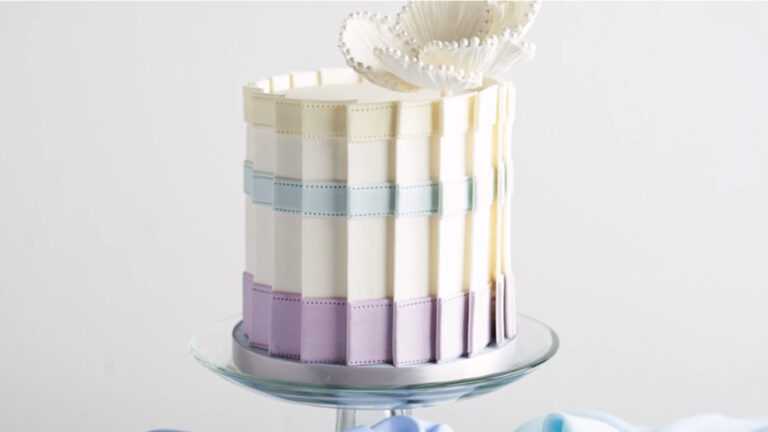
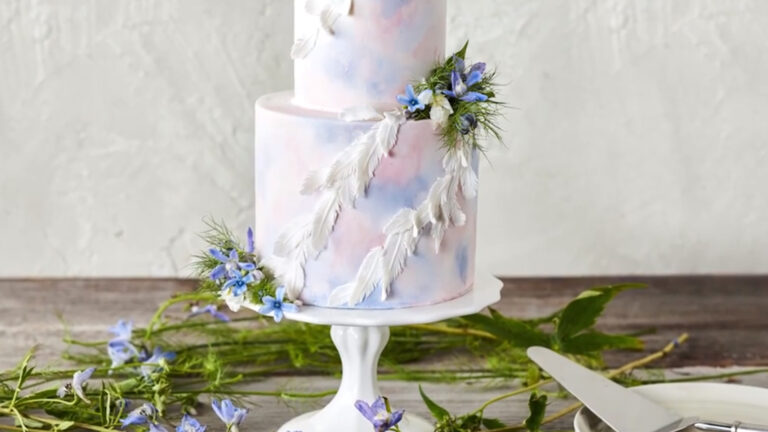
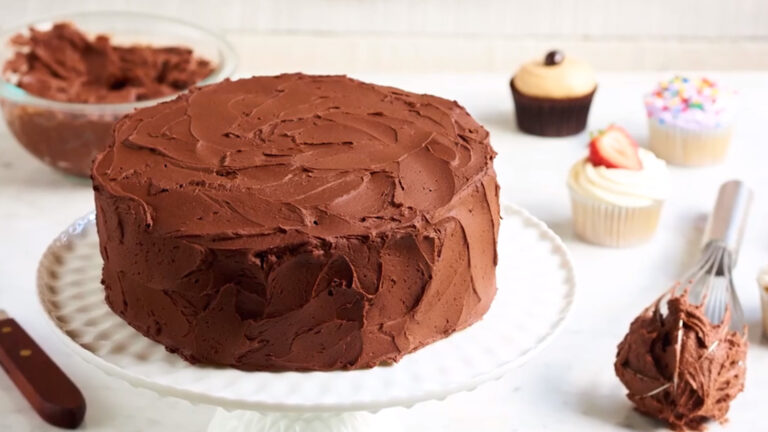
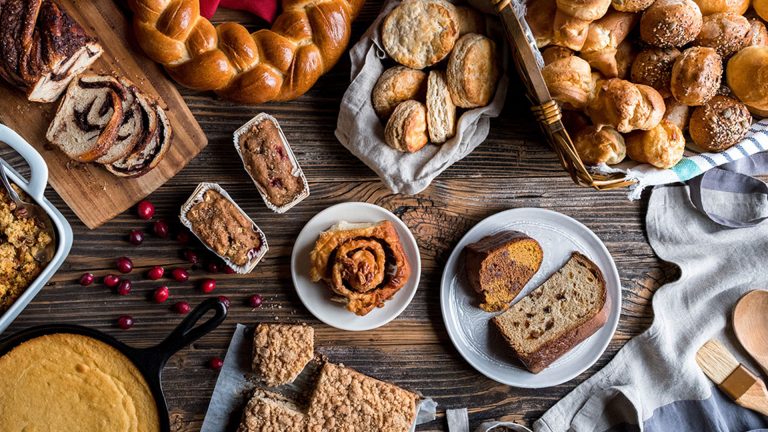
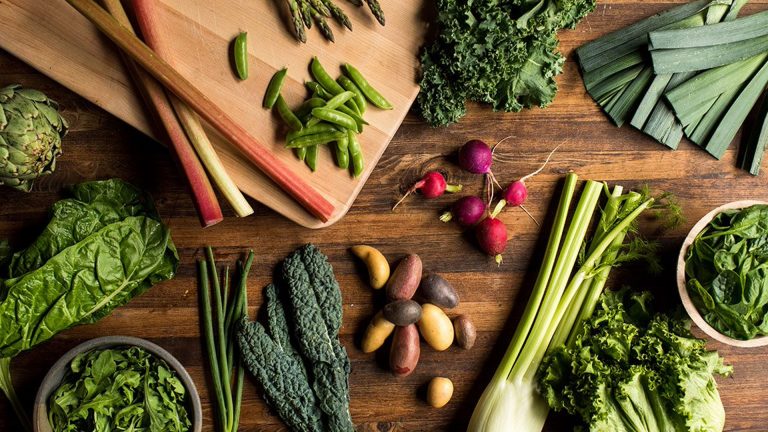
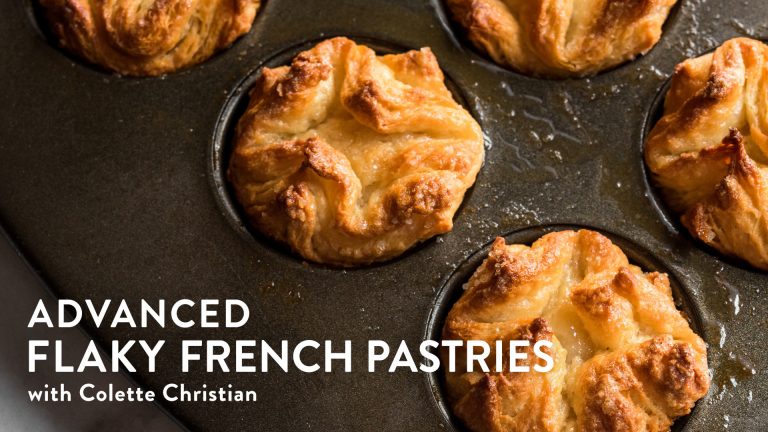
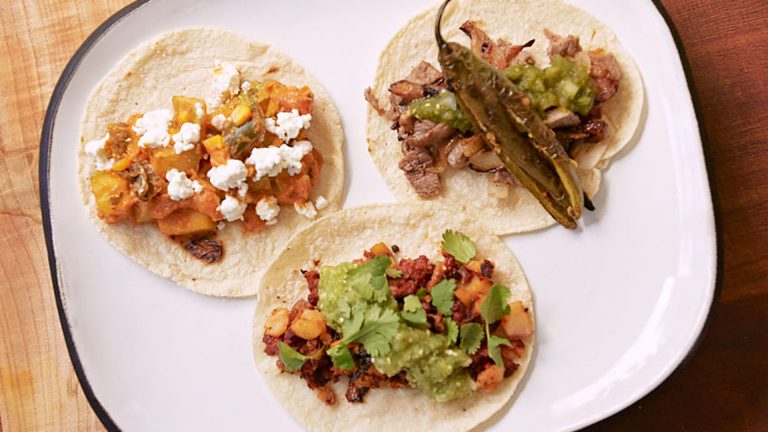
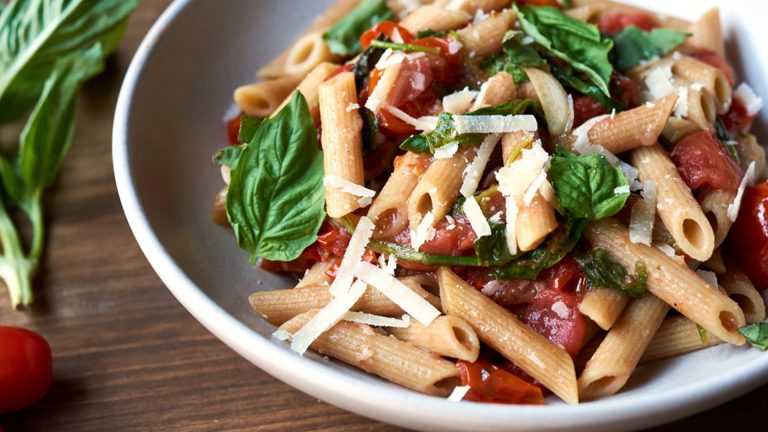
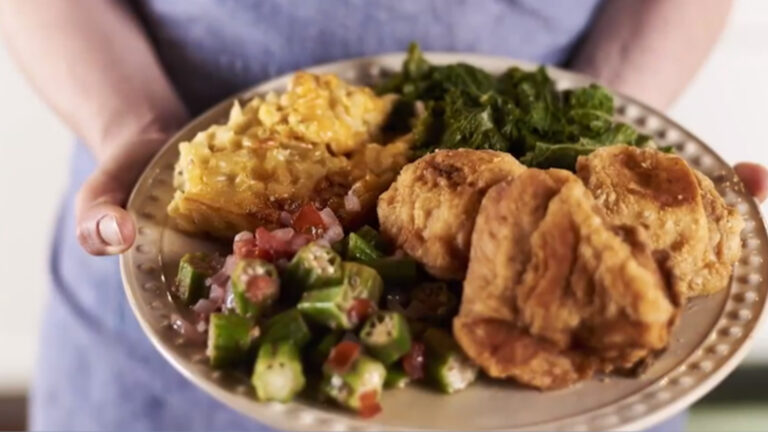
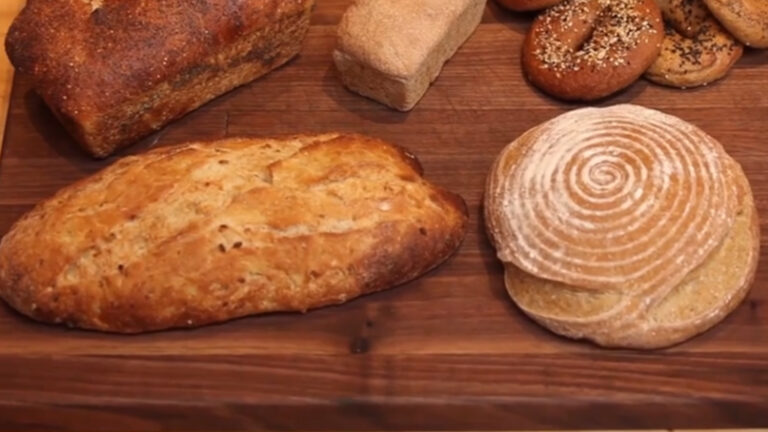
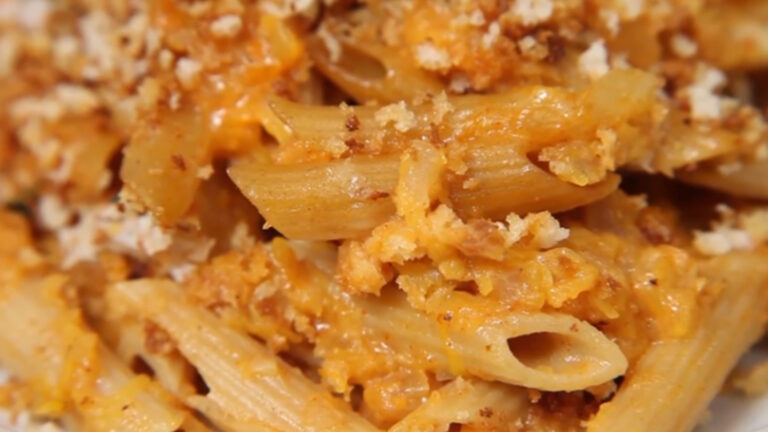
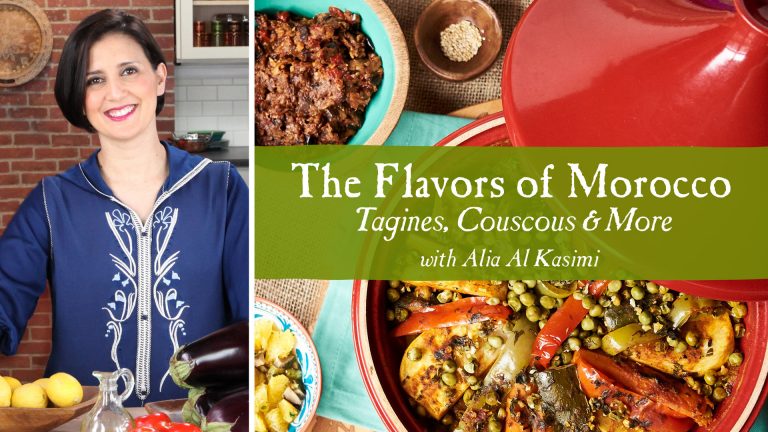
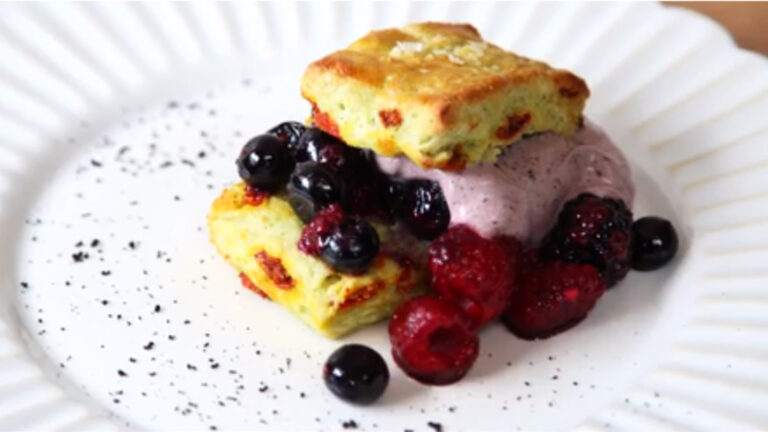
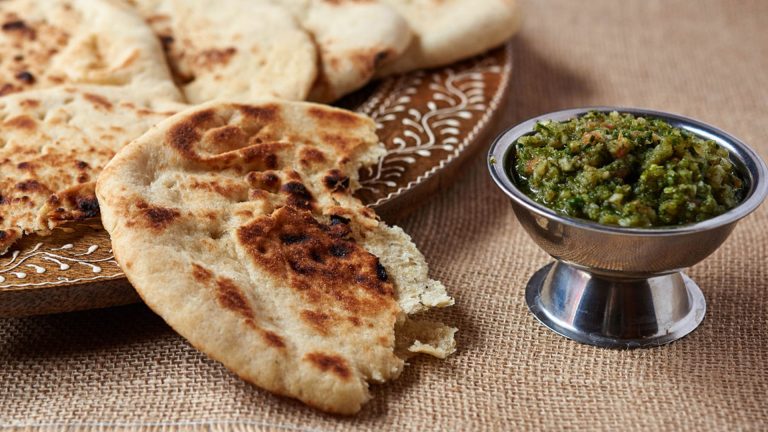
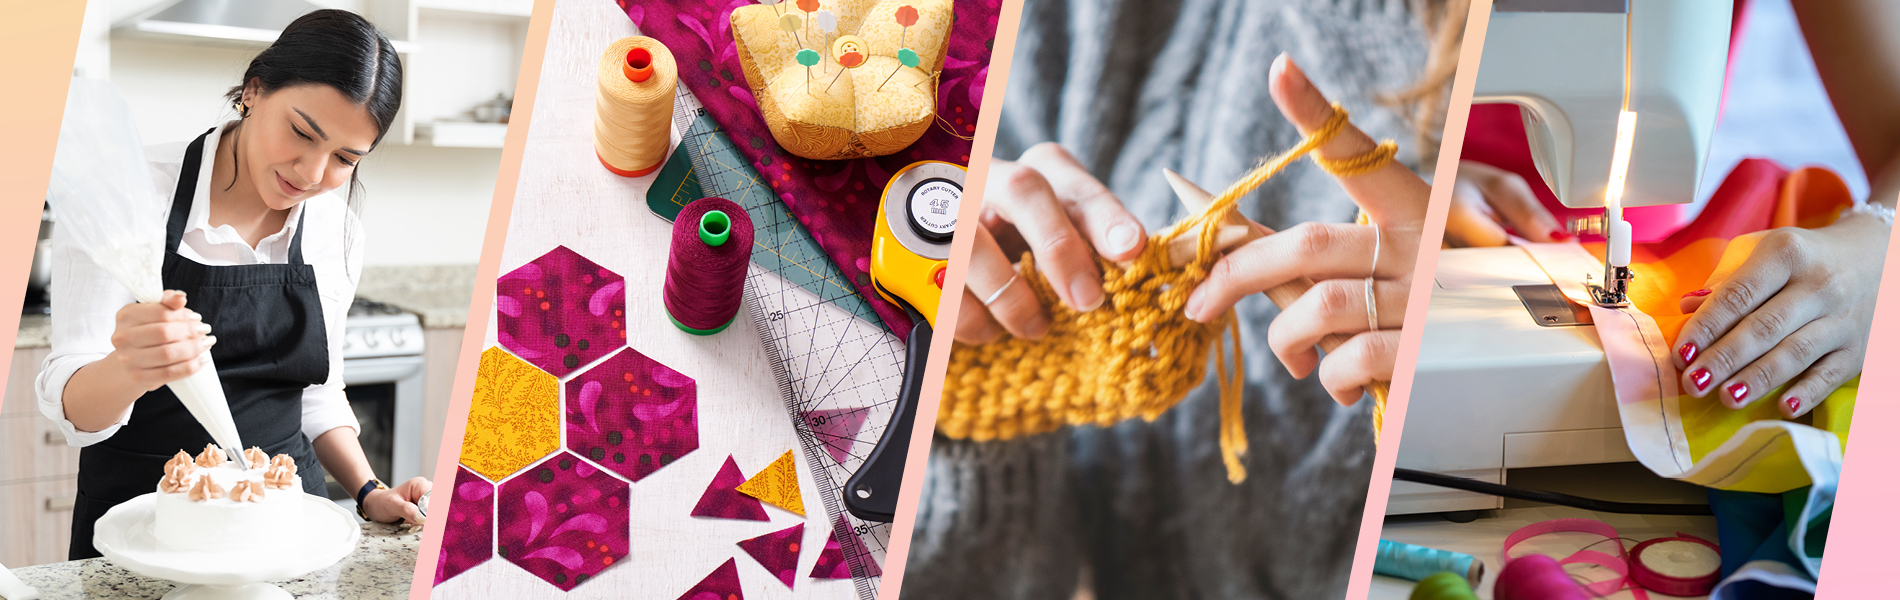
Craftsy is your source for inspiration where you can explore videos and resources to spark your creativity. Expand your skills with access to over 2,000 easy-to-follow classes across more than 20 categories taught by industry-leading experts.
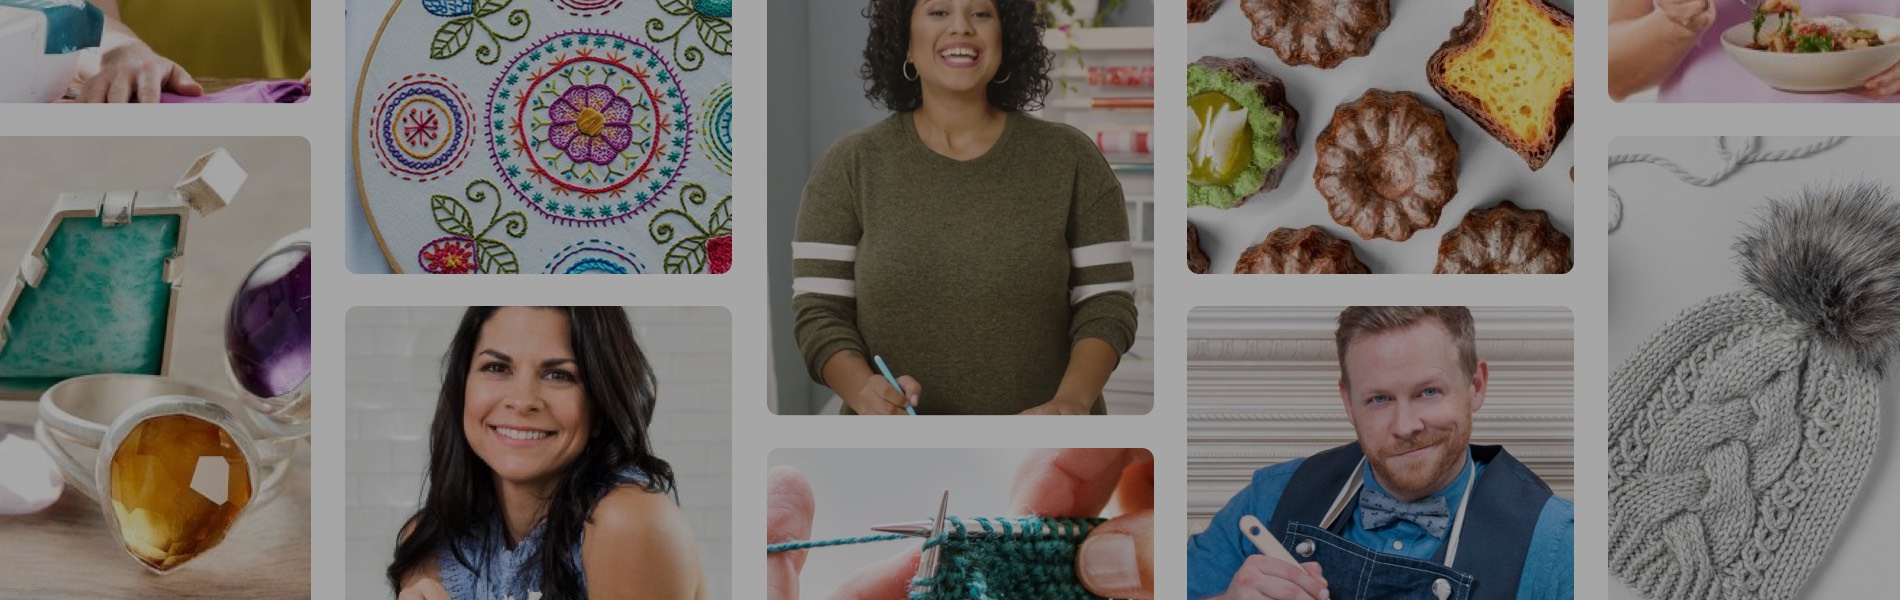
New classes and content added regularly
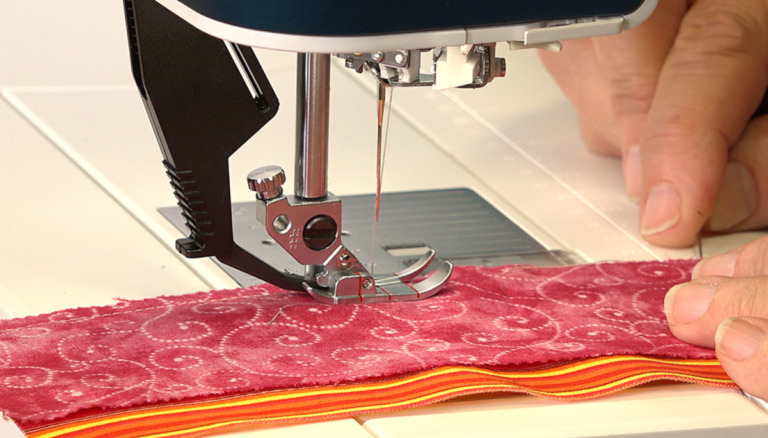
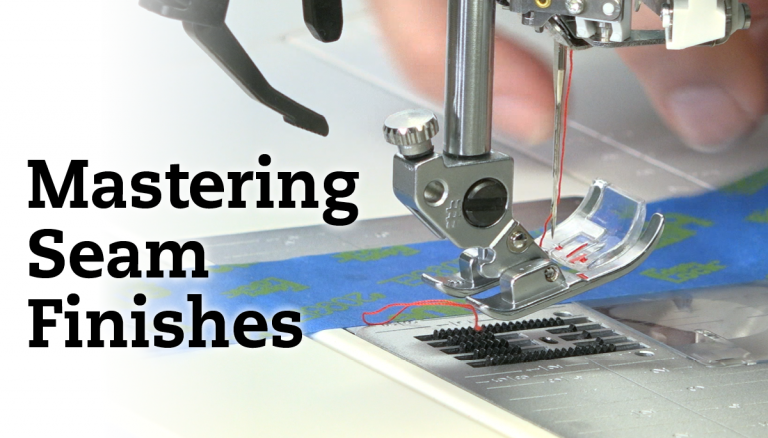
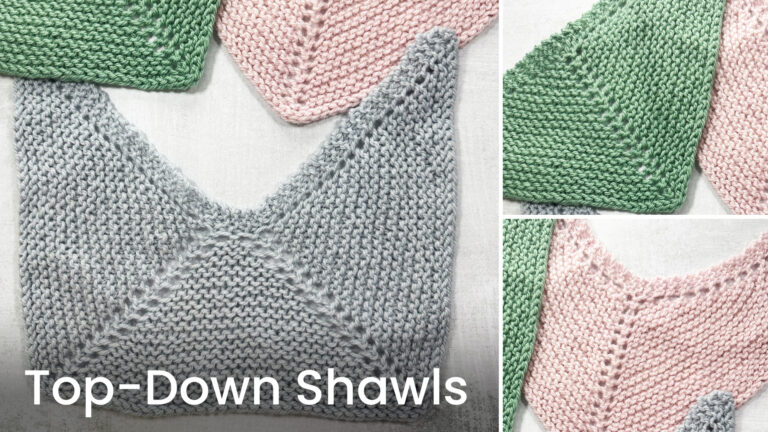
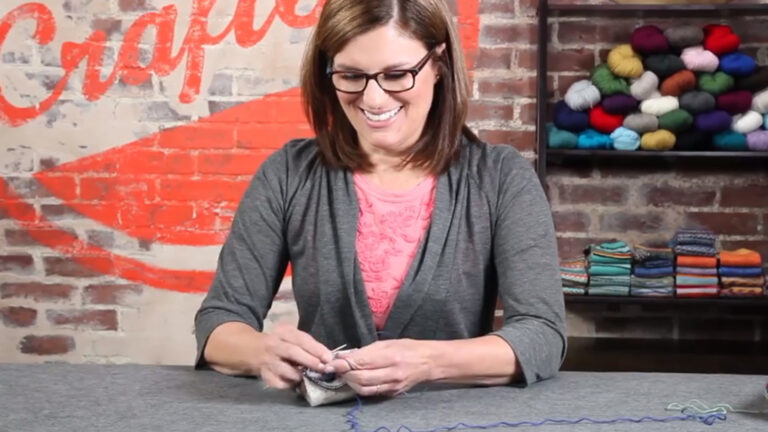
Learn at your own pace with detailed step-by-step instruction, anytime, on any device. With new classes added monthly, you'll never run out of new skills to learn and new ways to express your creativity.
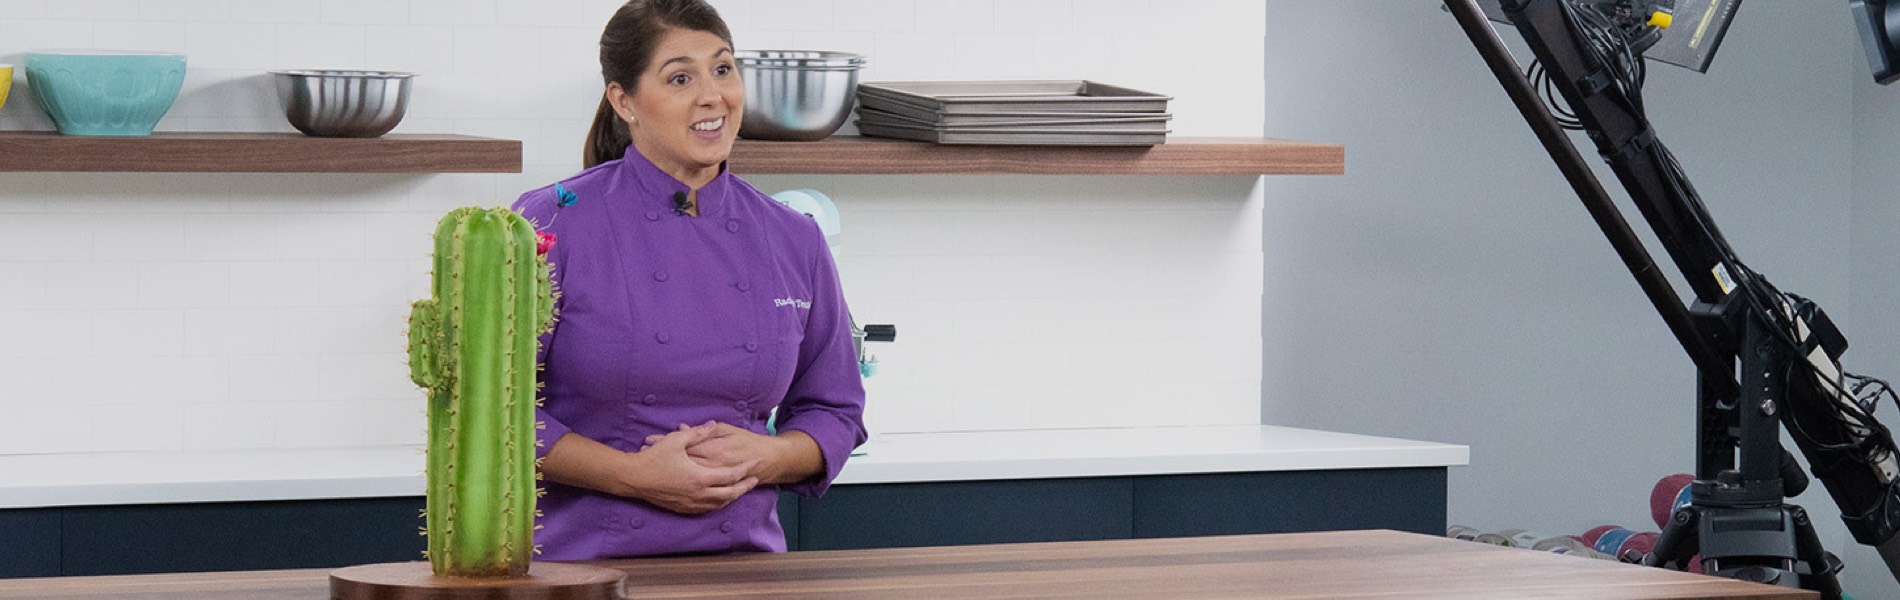
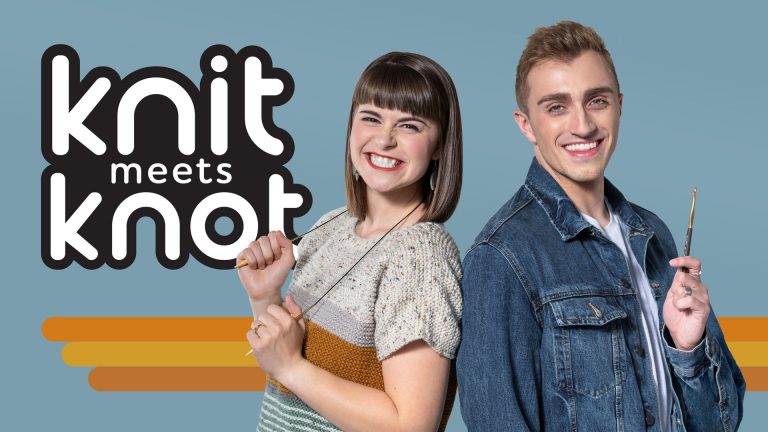
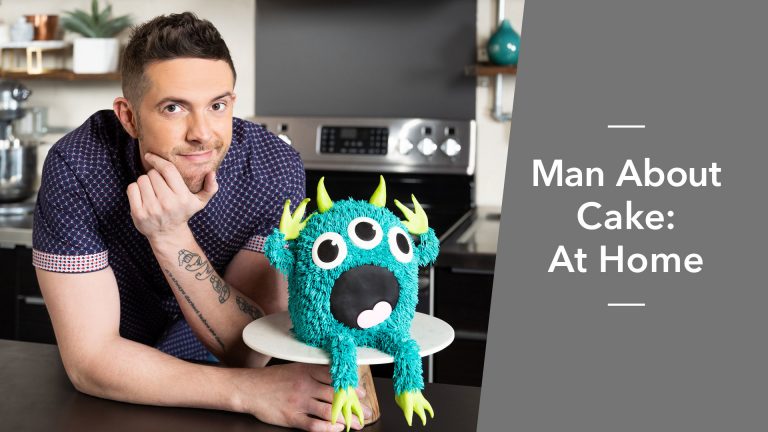
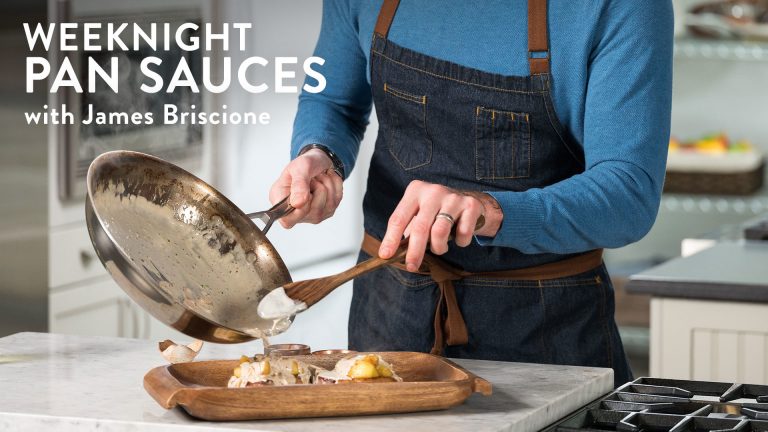
Tune in to Live Events with your favorite instructors
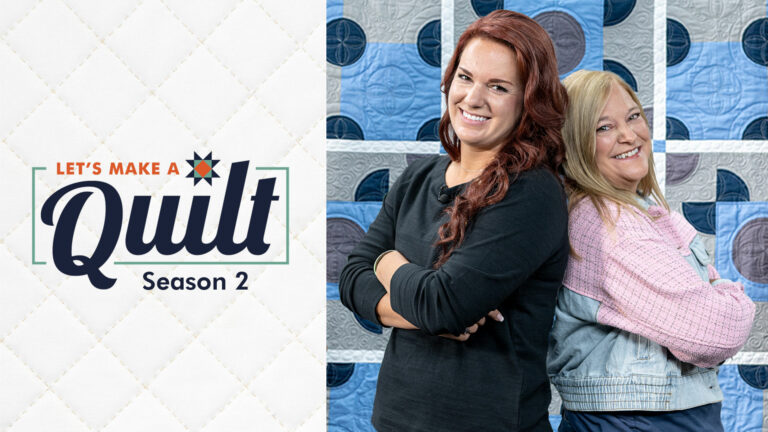
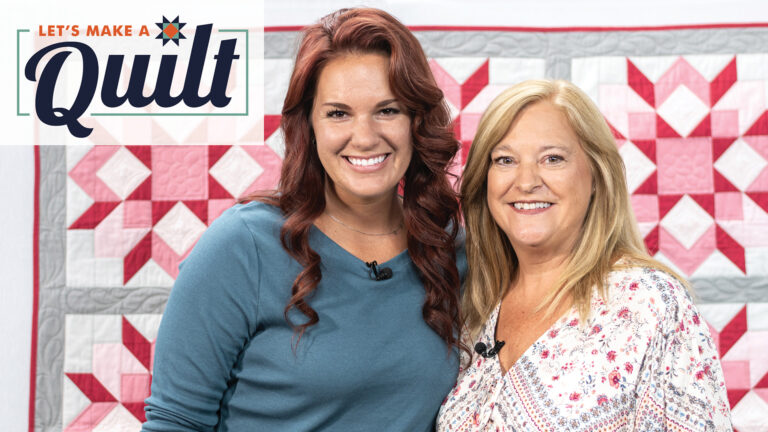
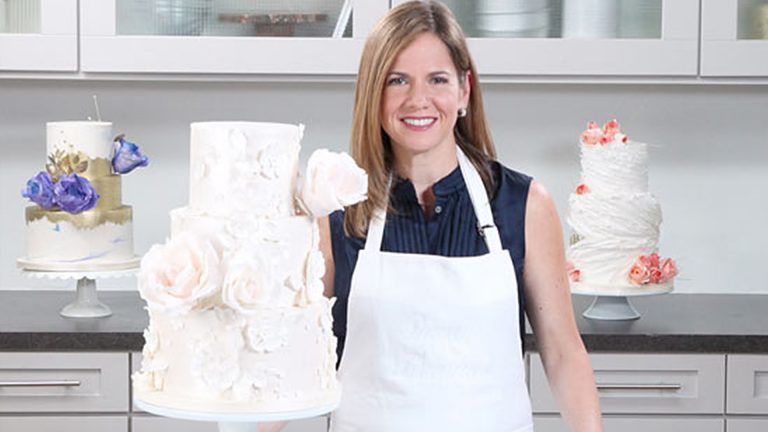
Join us in the Craftsy studios for interactive live events and Q&A sessions with some of your favorite instructors! Get direct answers to all your crafting questions straight from the experts.
This Month Only
Save Up to $150 on all Class Sets & Bundles No Code Needed
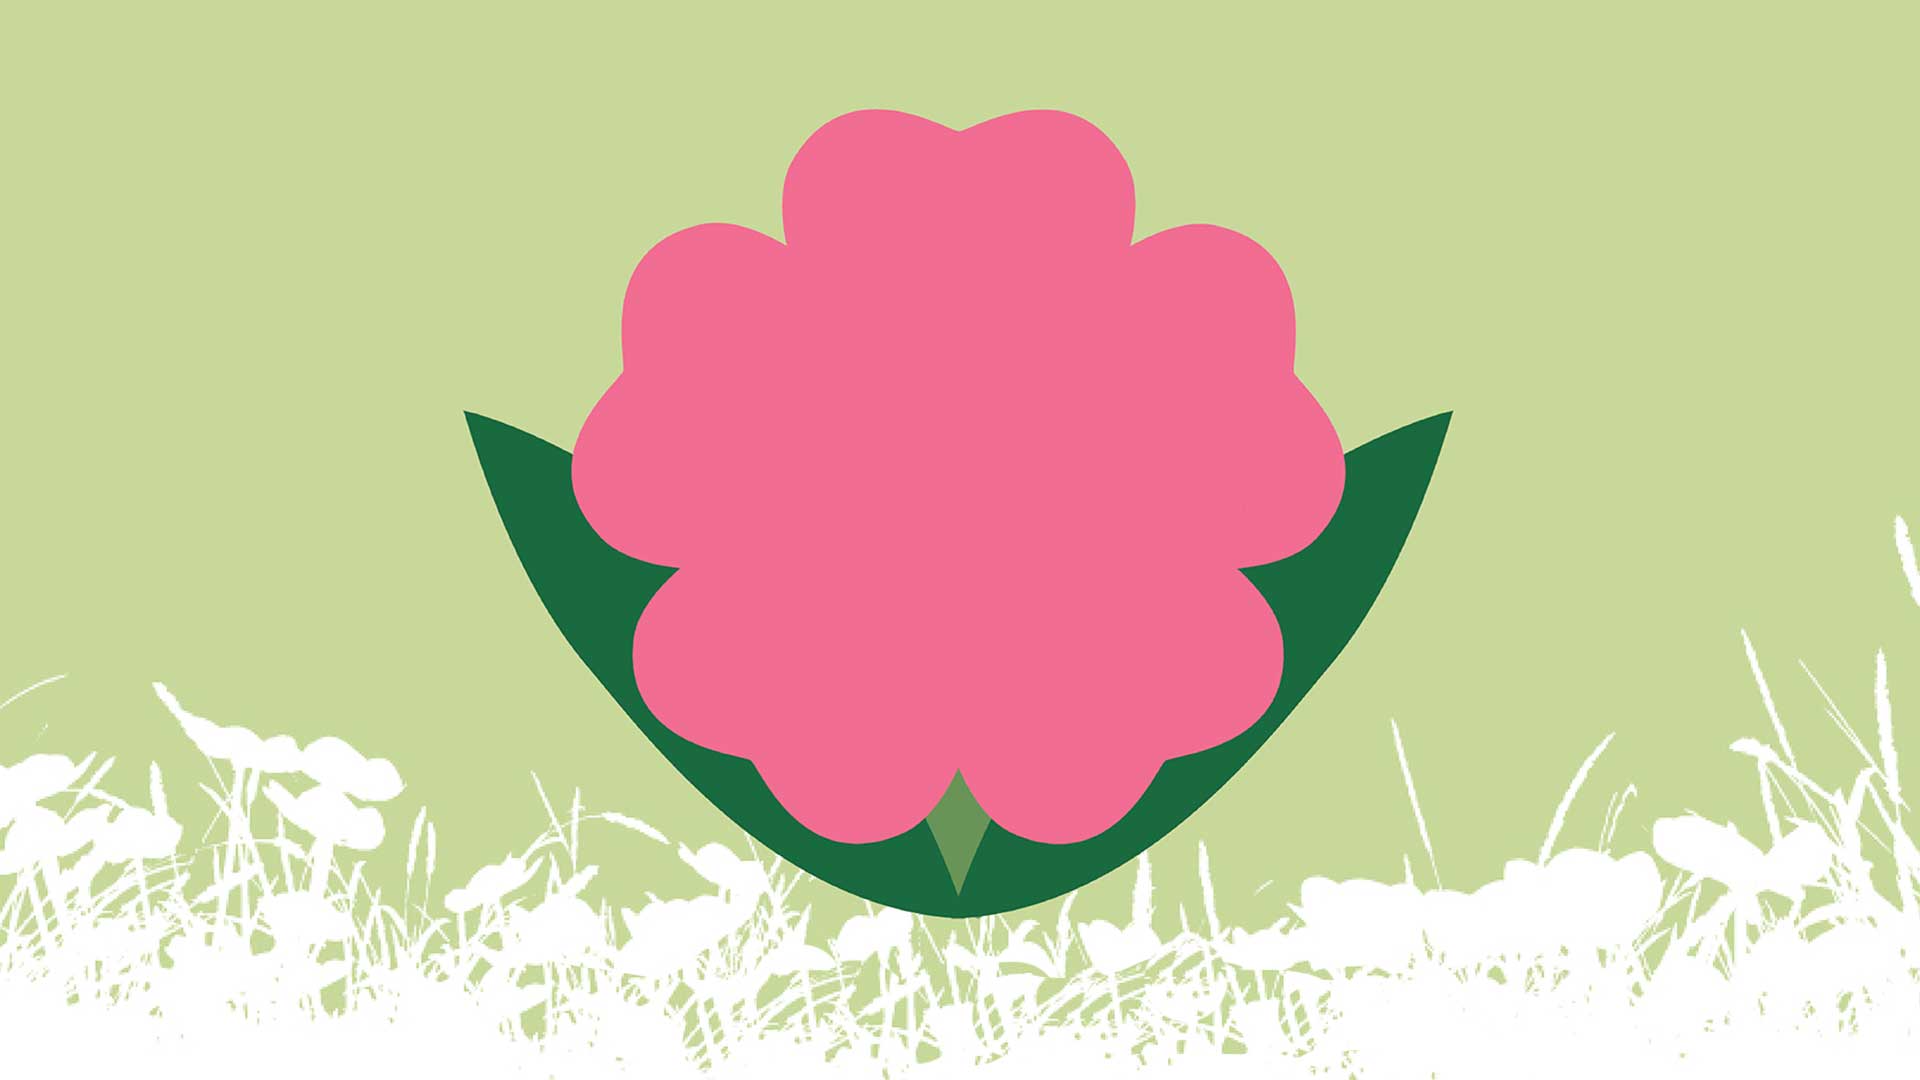
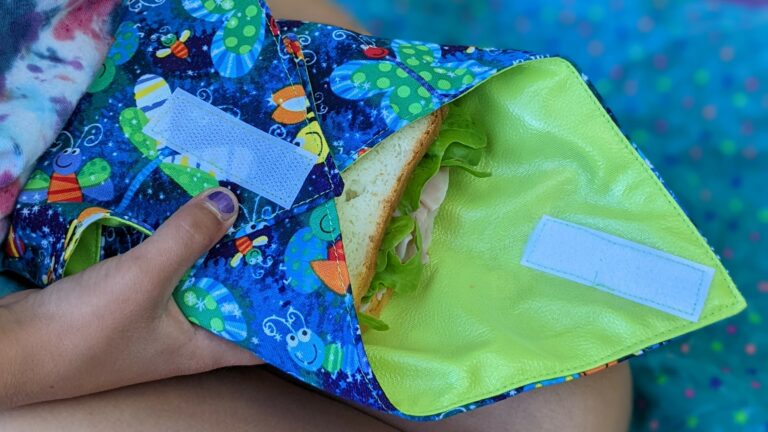
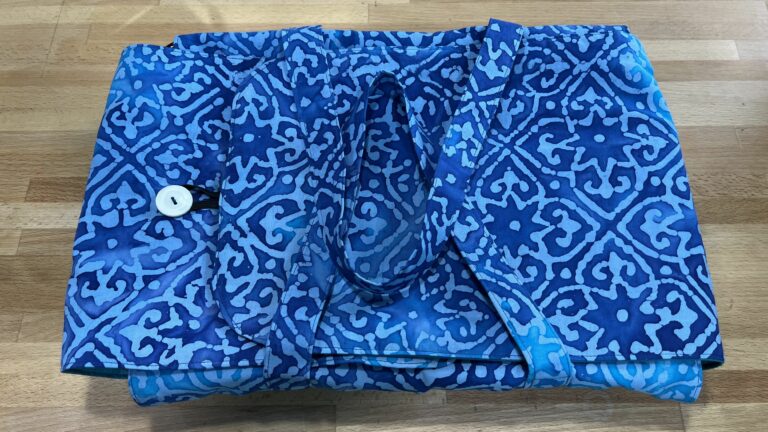
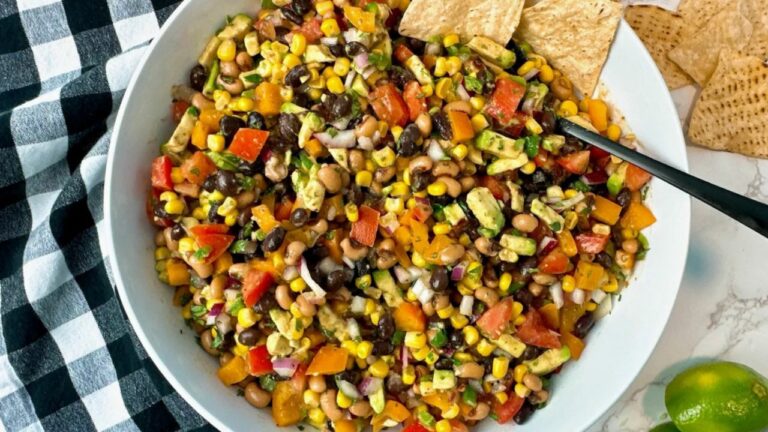
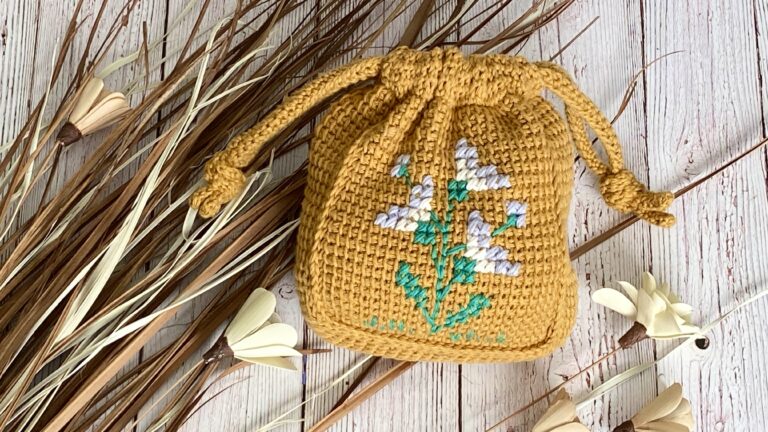
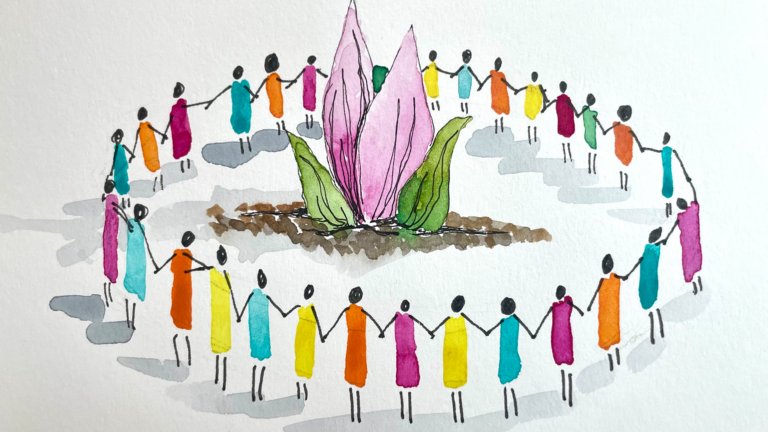
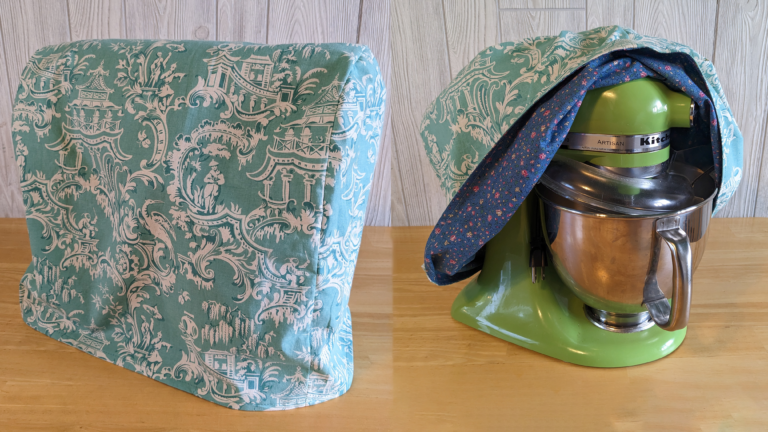
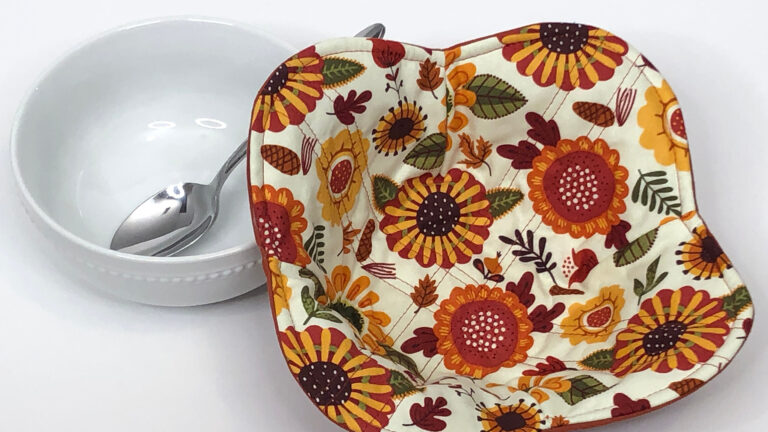
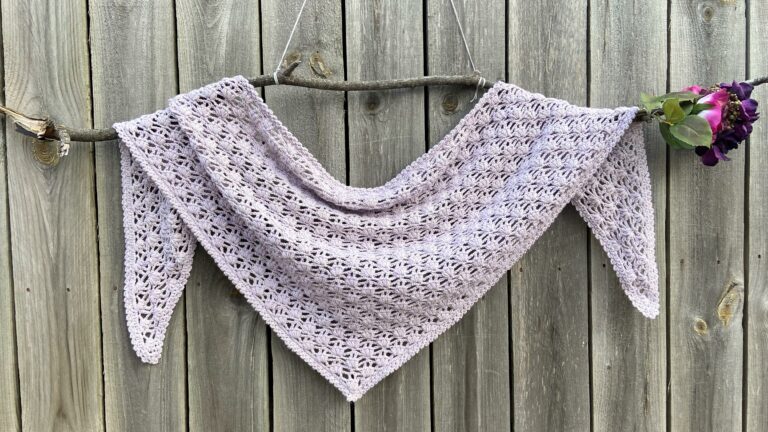
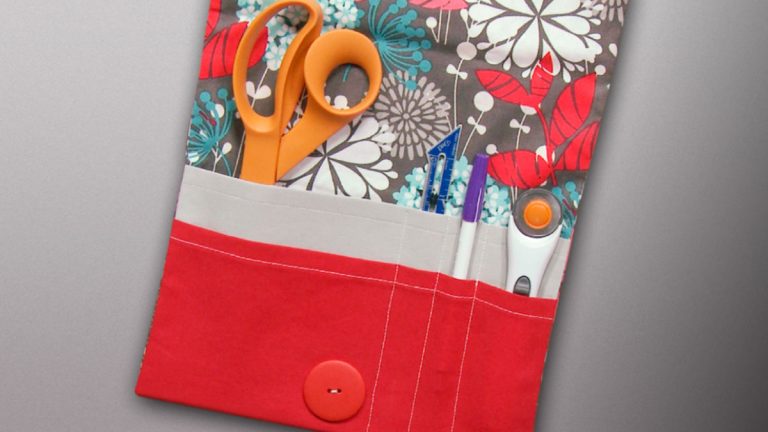
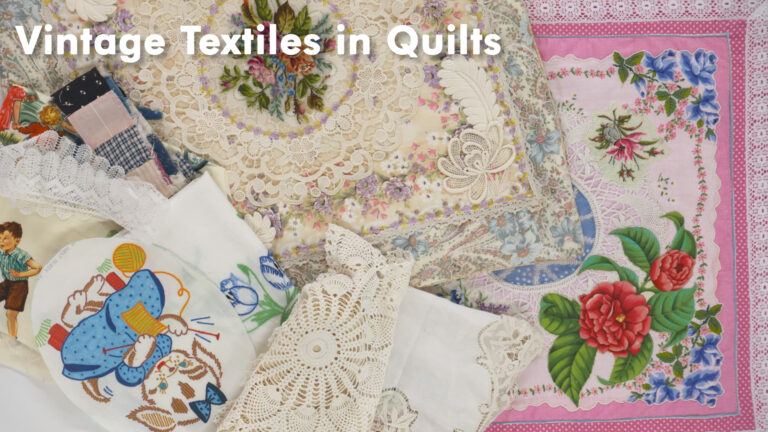
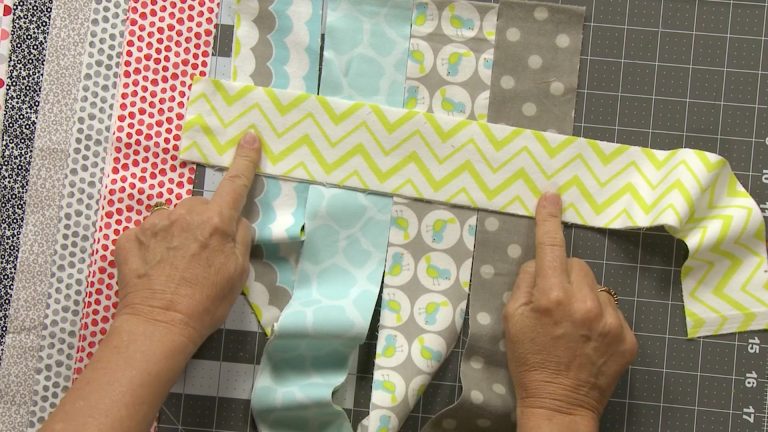
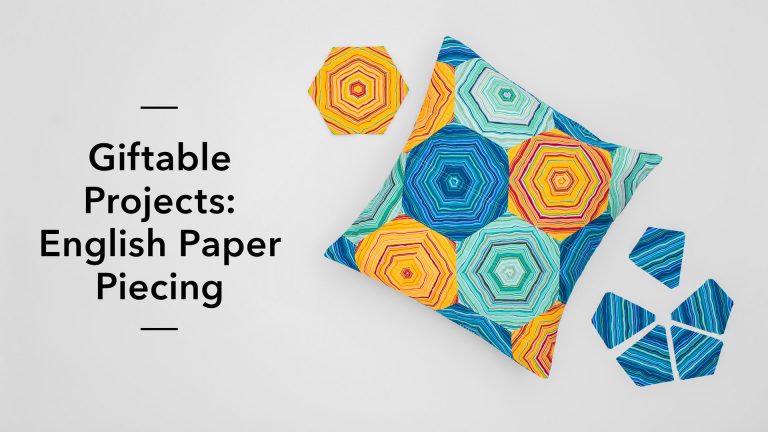
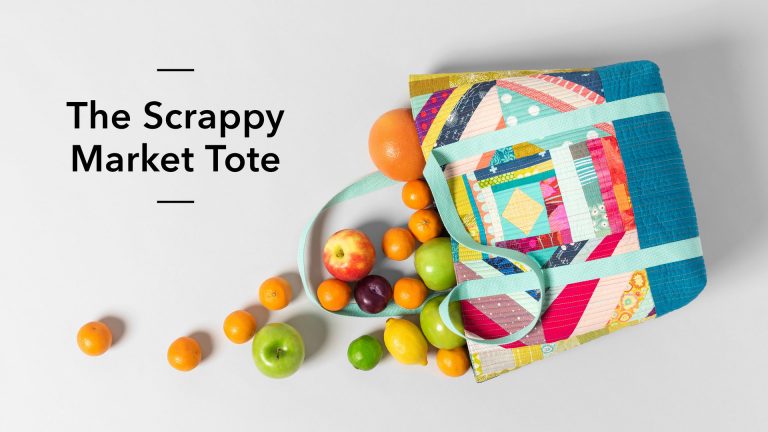
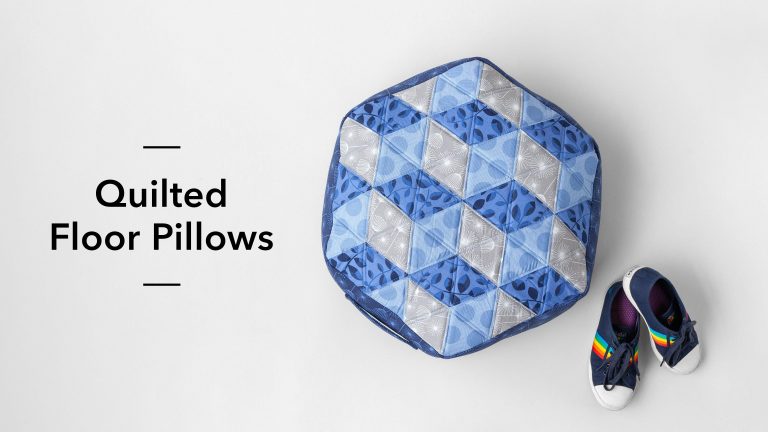
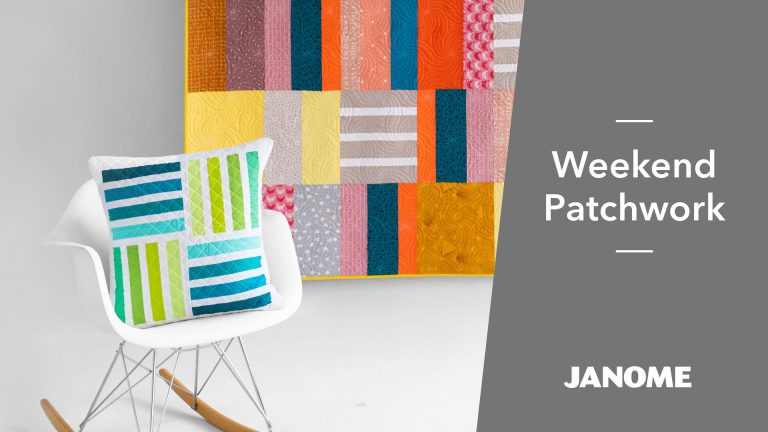
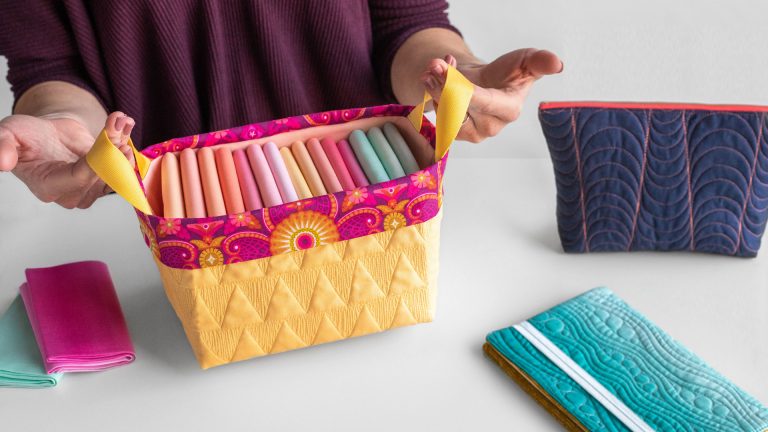
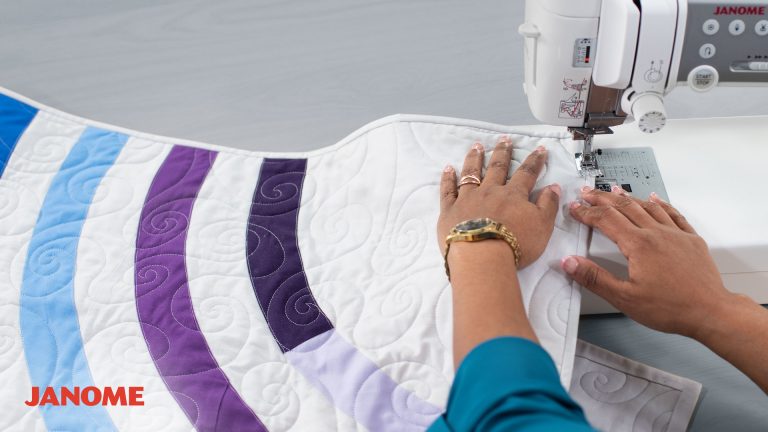
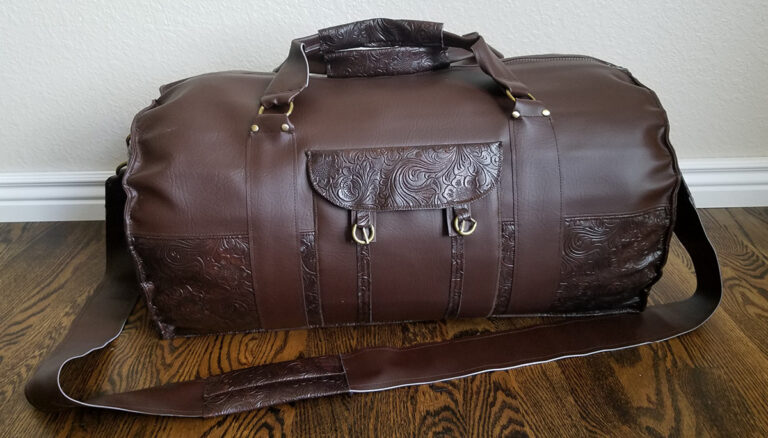
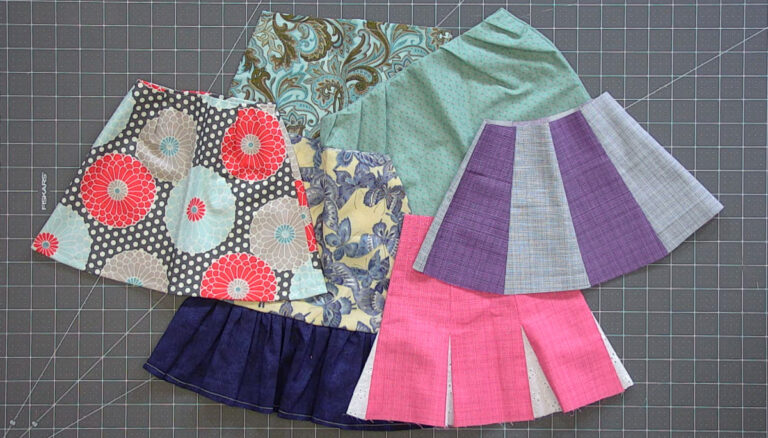
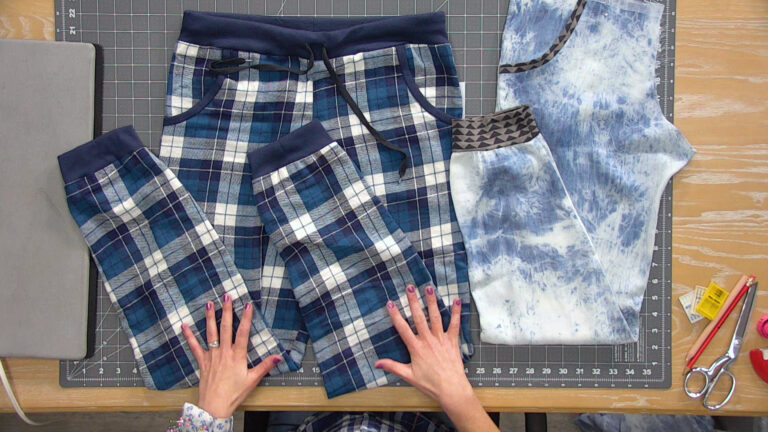
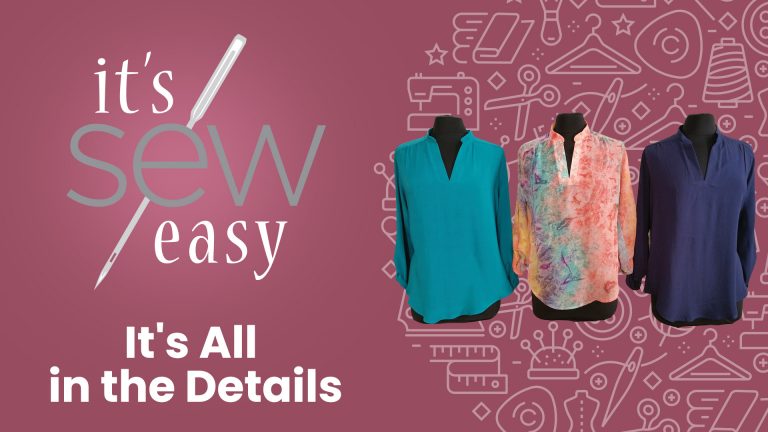
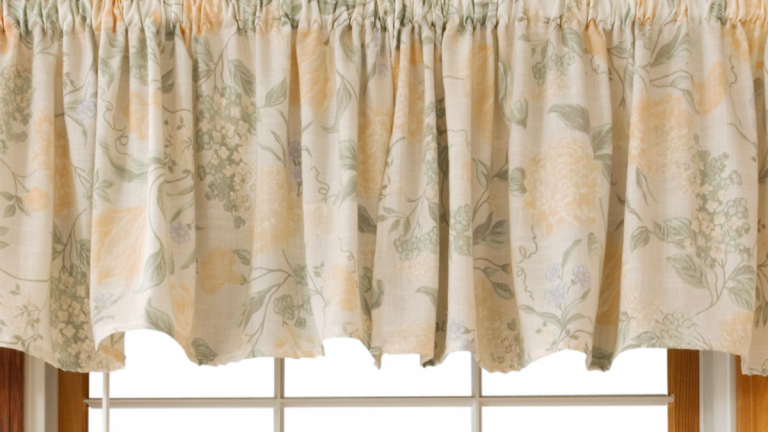
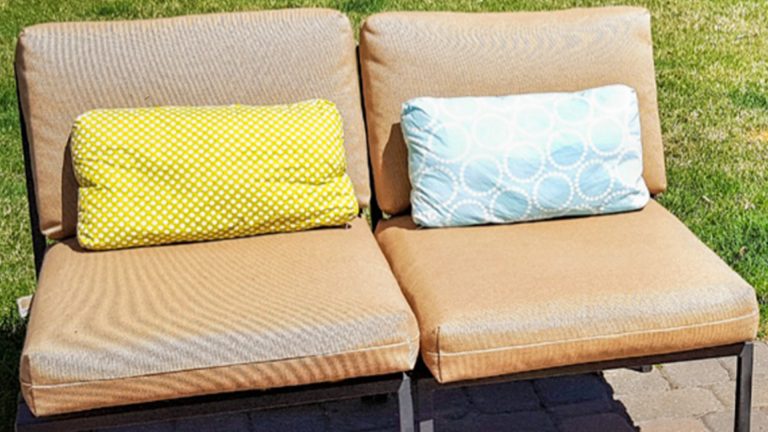
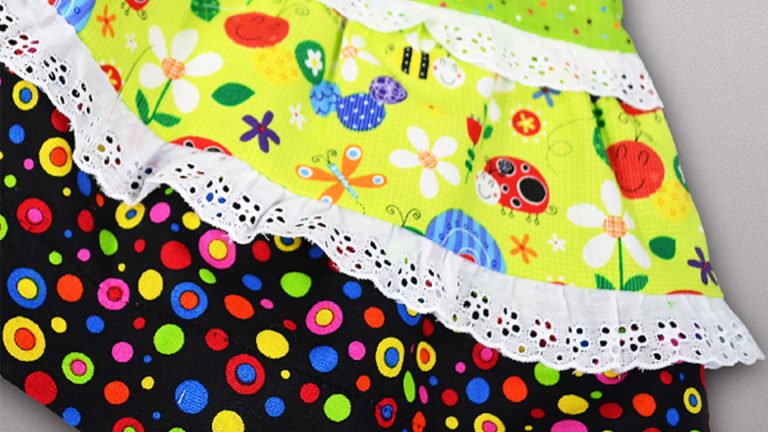
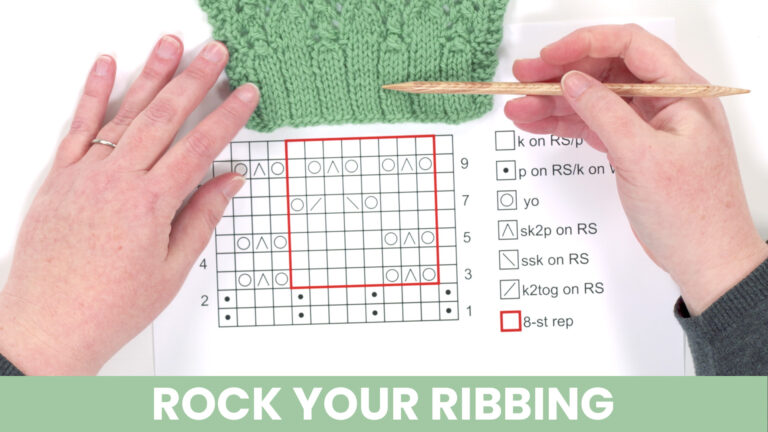
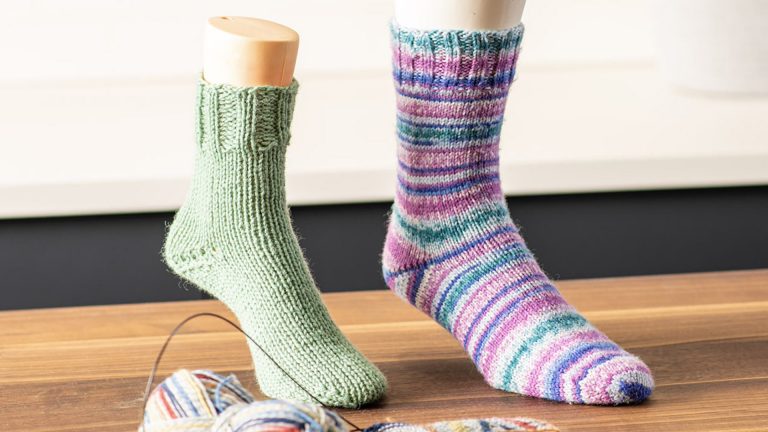
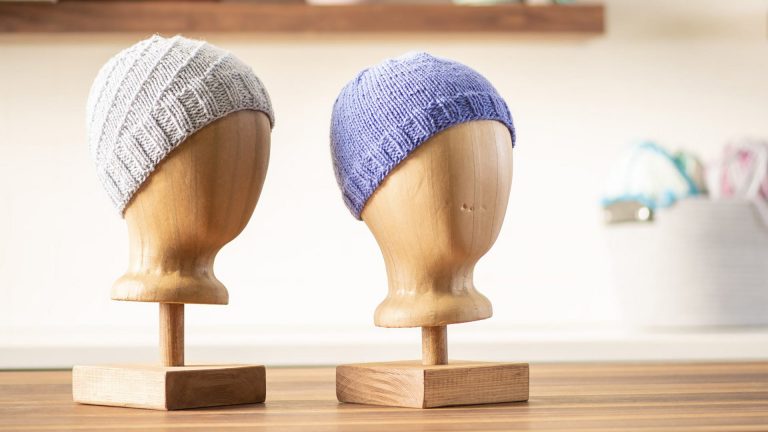
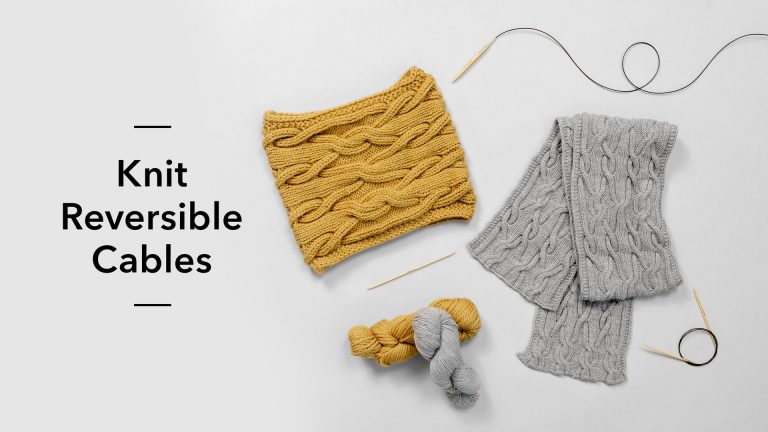
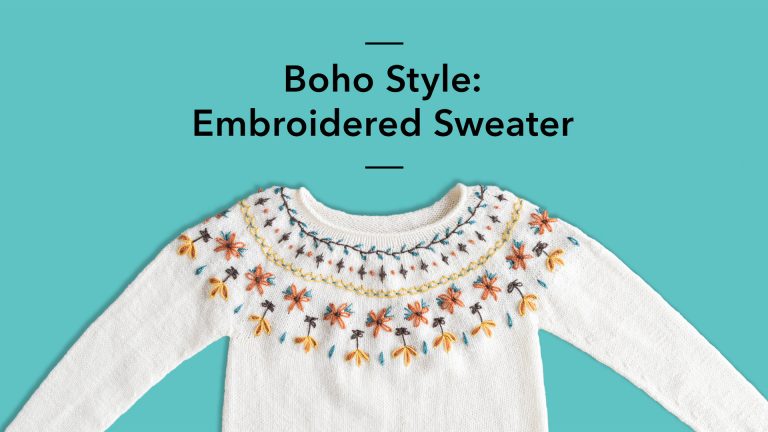
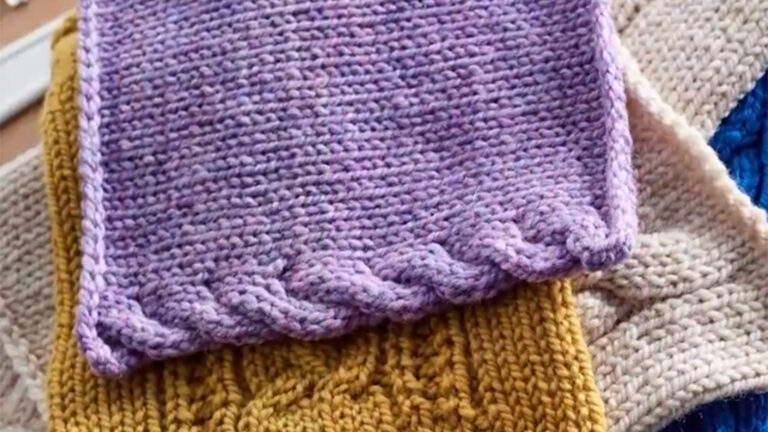
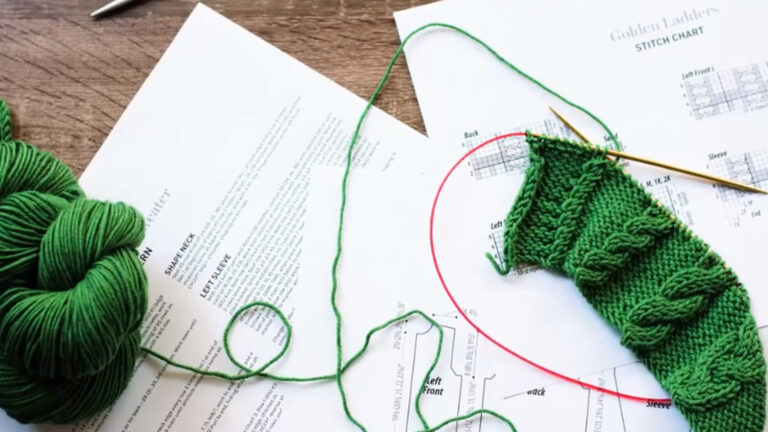
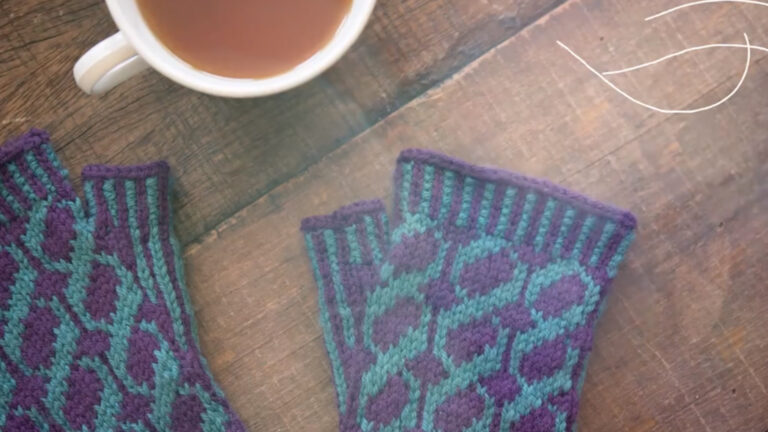
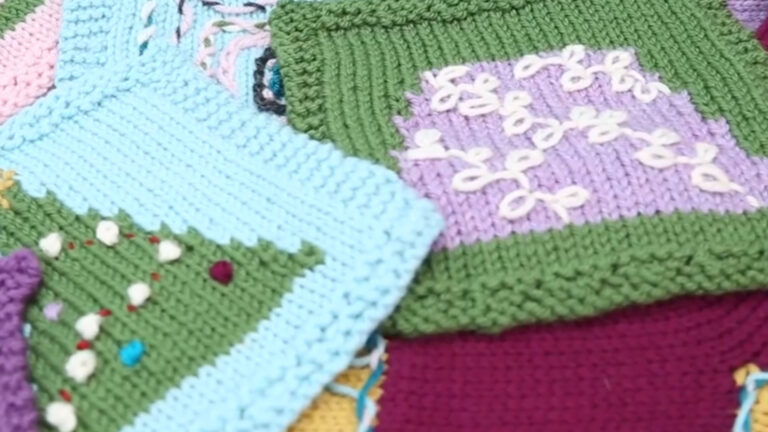
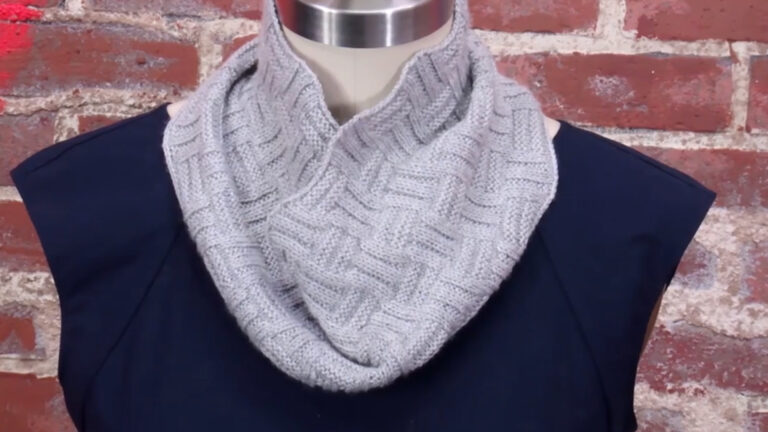
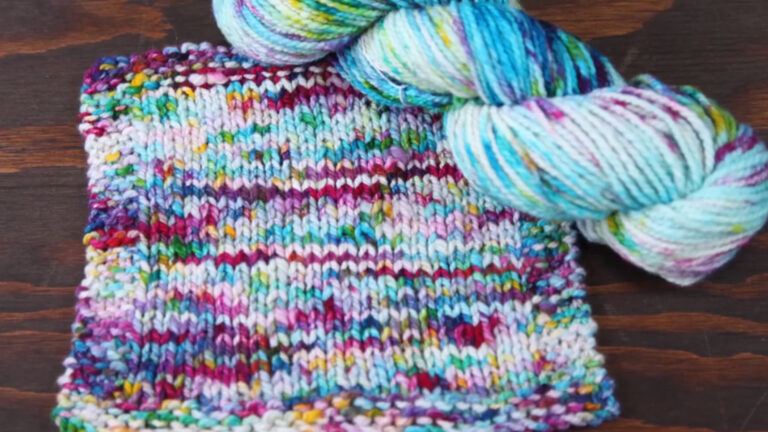
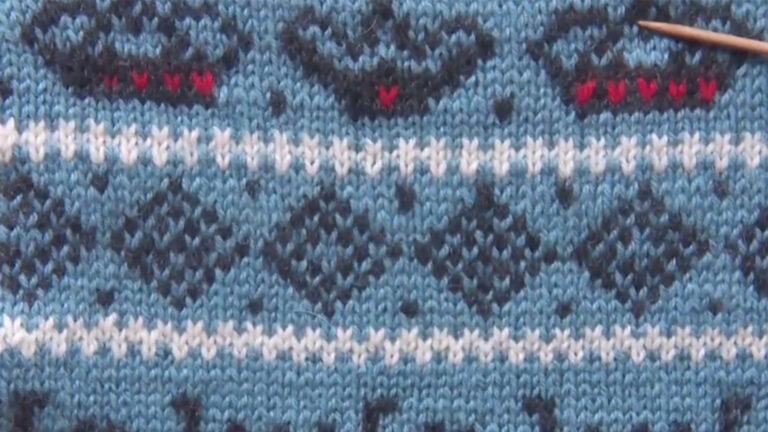
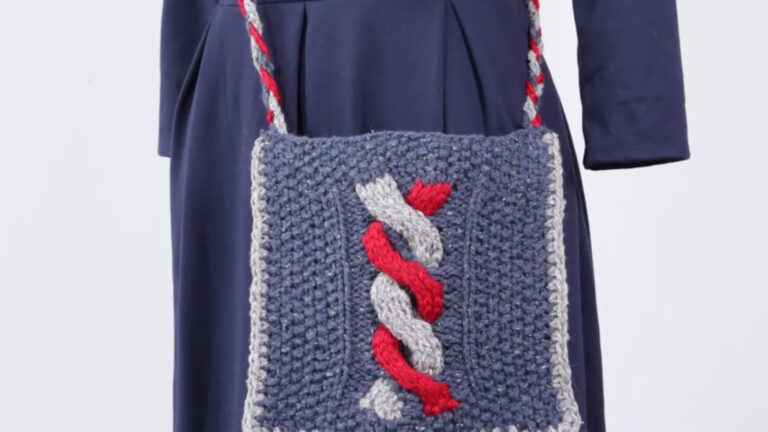
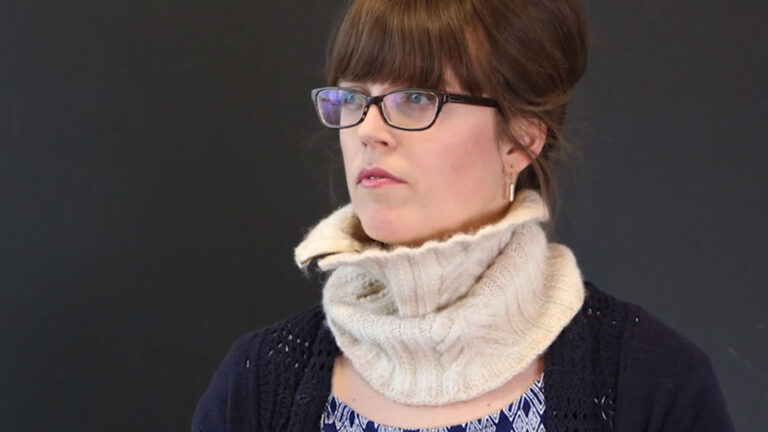
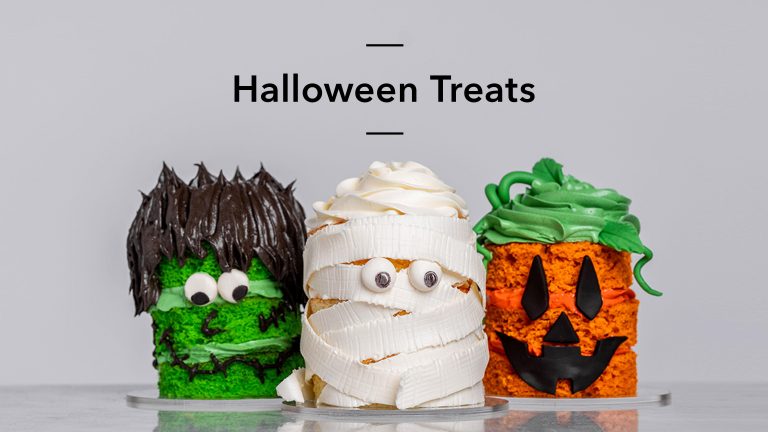
Spring Into Crafting: Free Patterns
Make some adorable spring-themed projects with our Spring Into Crafting series. Plus, watch our instructors walk you step-by-step through each pattern.

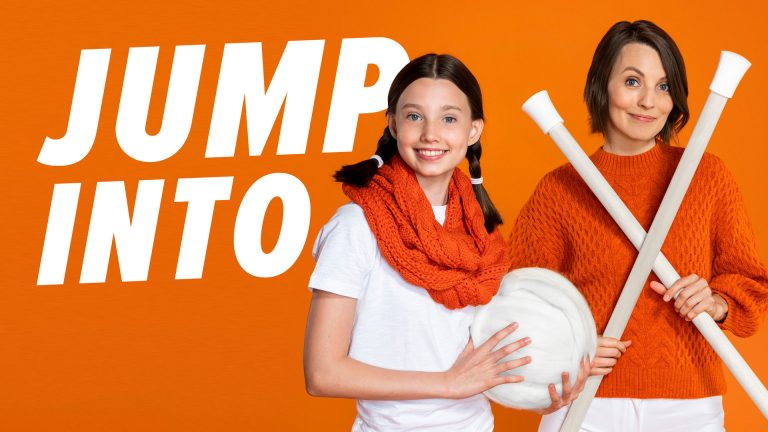
Take your creativity anywhere with the Craftsy App
Ever wished you could hold inspiration in the palm of your hand? With the Craftsy app, you can access all your favorite classes, videos and more right at your fingertips. Plus, with CraftsyTV you'll never wonder what to watch next.