
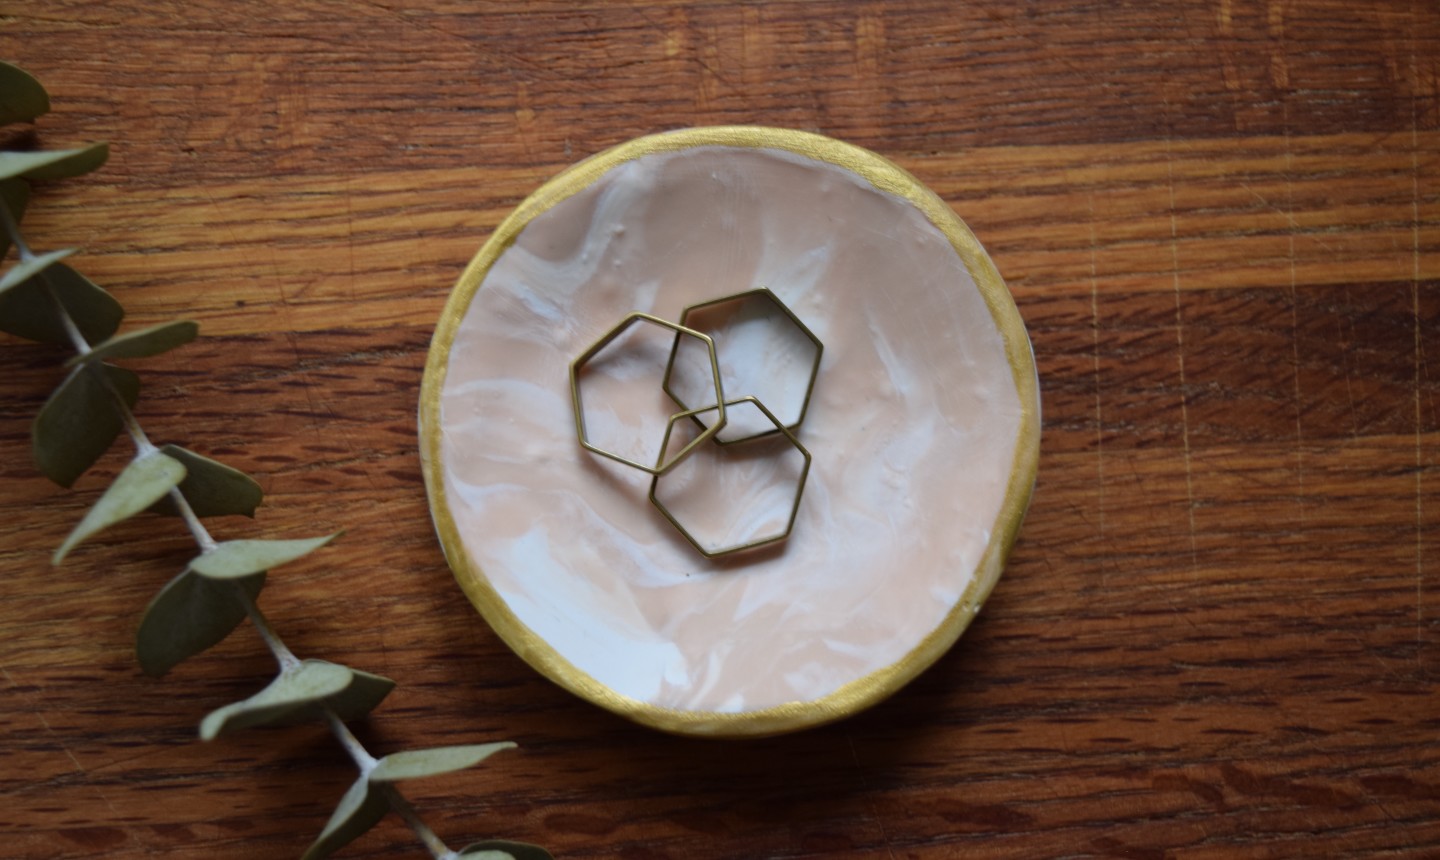
We’re firm believers that marble makes everything look more elegant. So why not add a touch of the iconic stone to your vanity or bedside table with a little jewelry dish? The gold rim and blush-and-white color combo is a minimalist’s dream. Plus, you’ll never waste time hunting around for your rings again!
DIY Marbled Jewelry Dish
Level: Easy
What You Need
Instructions
1. Create Your Dish Base
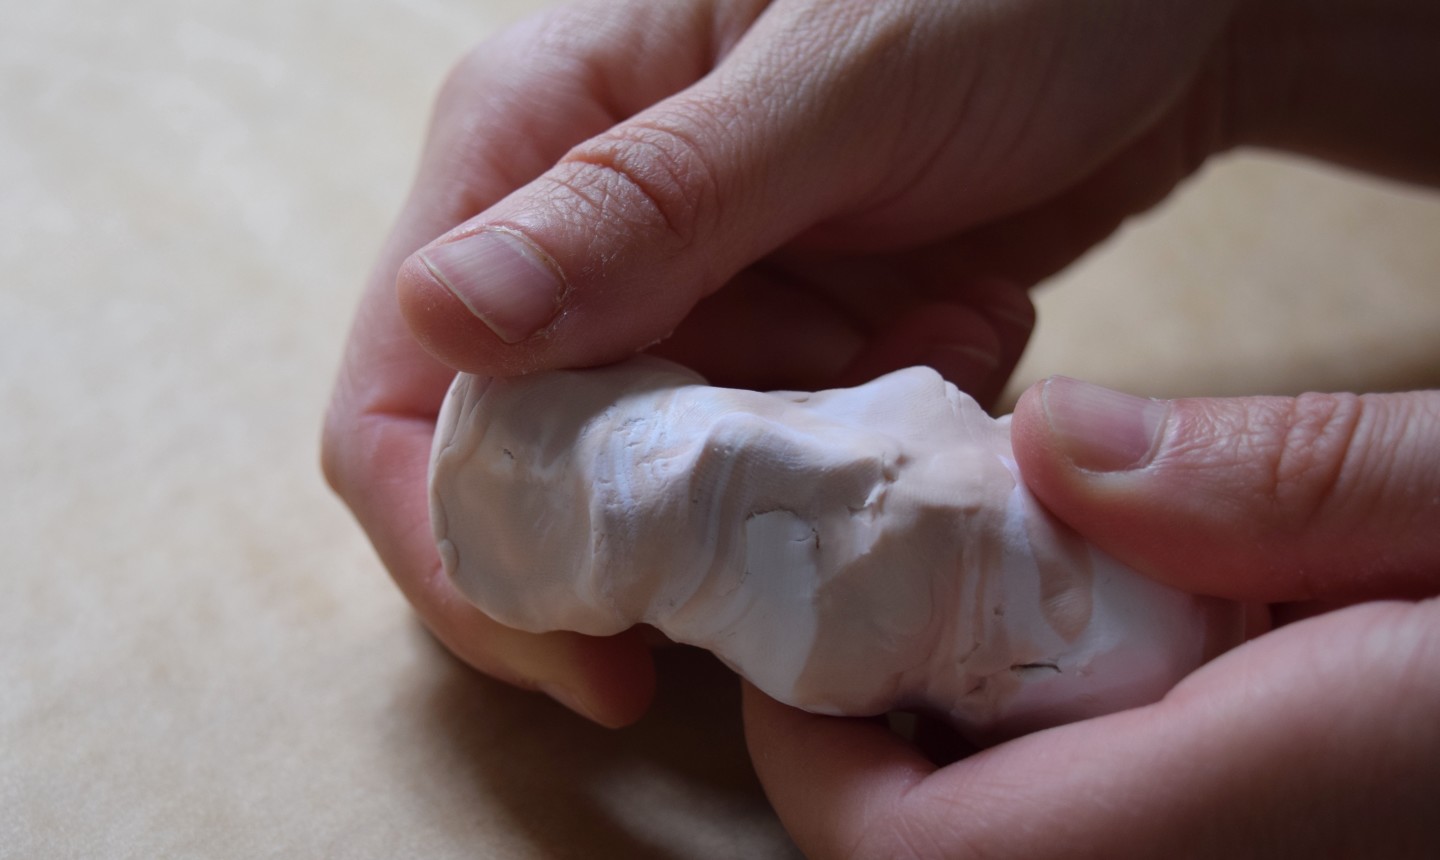
Warm up your white and beige clay by rolling each package between your palms to form two small logs. Then twist the two colors together. Continue to roll and twist repeatedly (up to 20 times) to create a rich marbled effect.
Once your clay is warmed and moldable, roll it into a ball, place on a piece of parchment paper and flatten with your palm (this will make the next step a little easier).
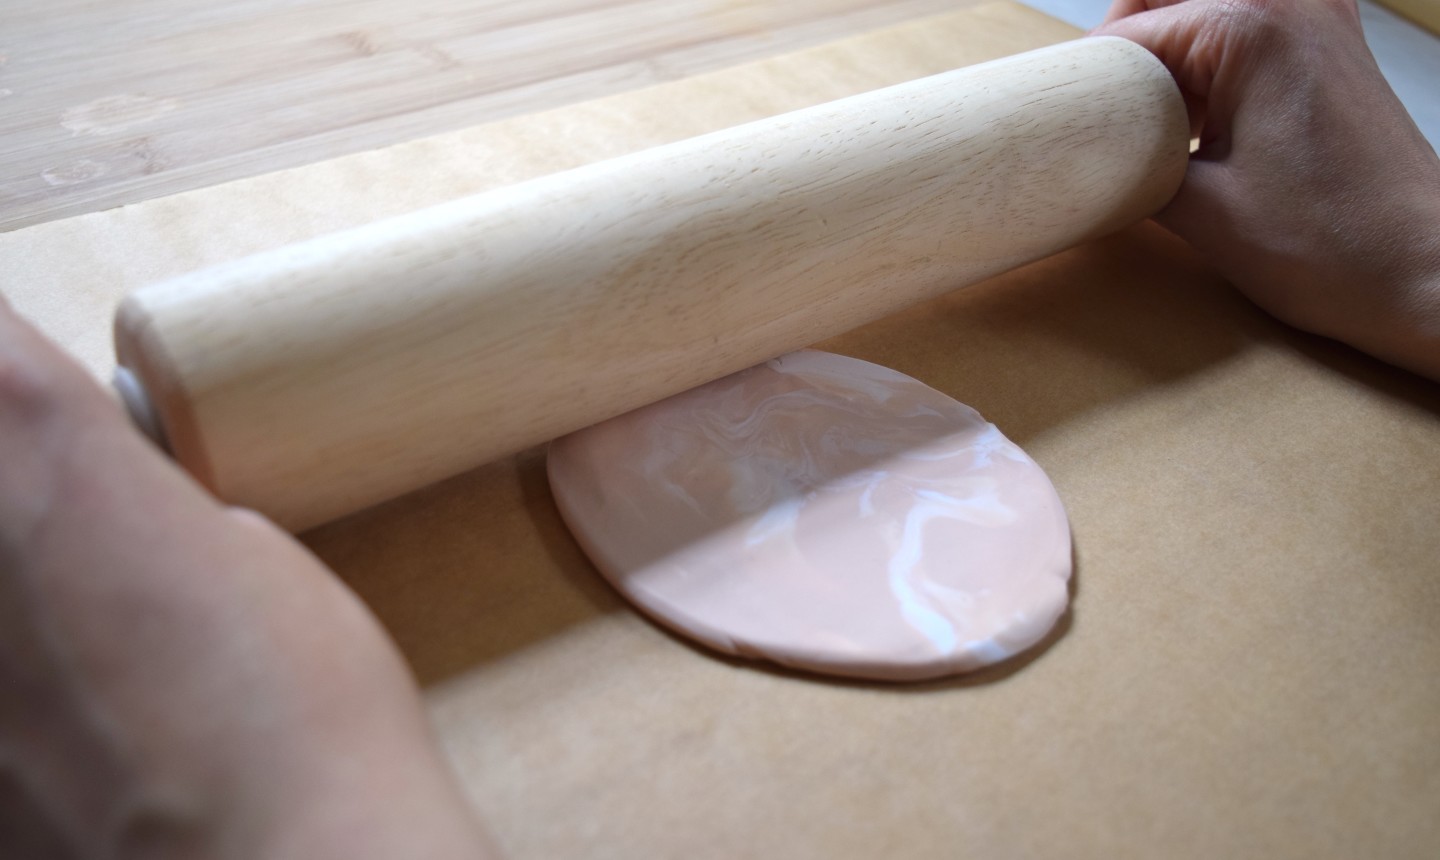
Use a rolling pin to roll out your clay. Roll the clay until it’s half a centimeter thick, or however thick you want your dish to be. Keep in mind: the thicker and heavier the dish is, the more expensive and authentic it’ll feel.
2. Round It Out
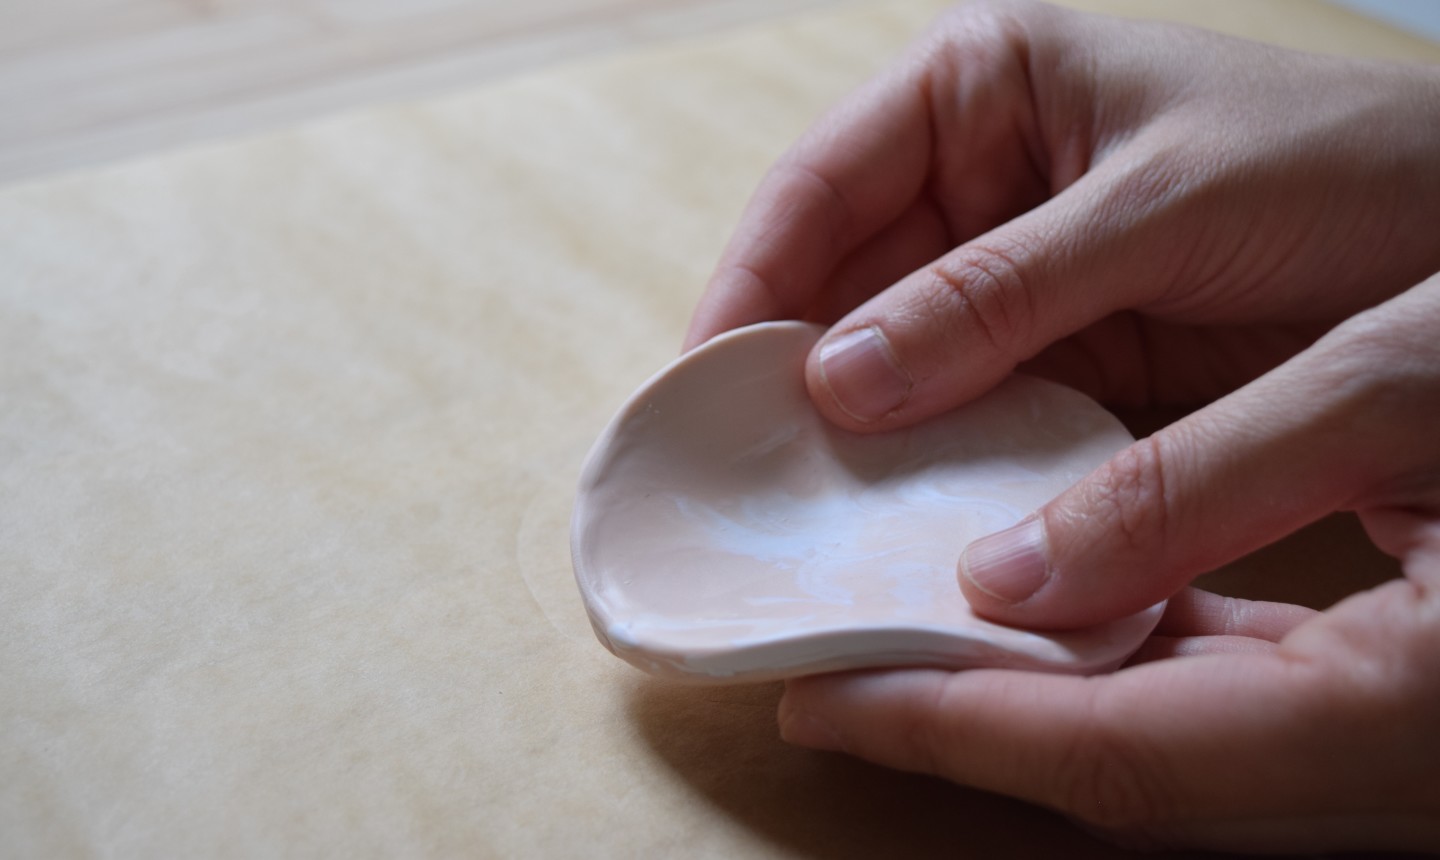
To turn your flat disk into a small dish, pinch the edges upwards with your fingertips. You can’t overwork polymer clay, so play with it as much as you want to get the shape just right.
3. Bake It
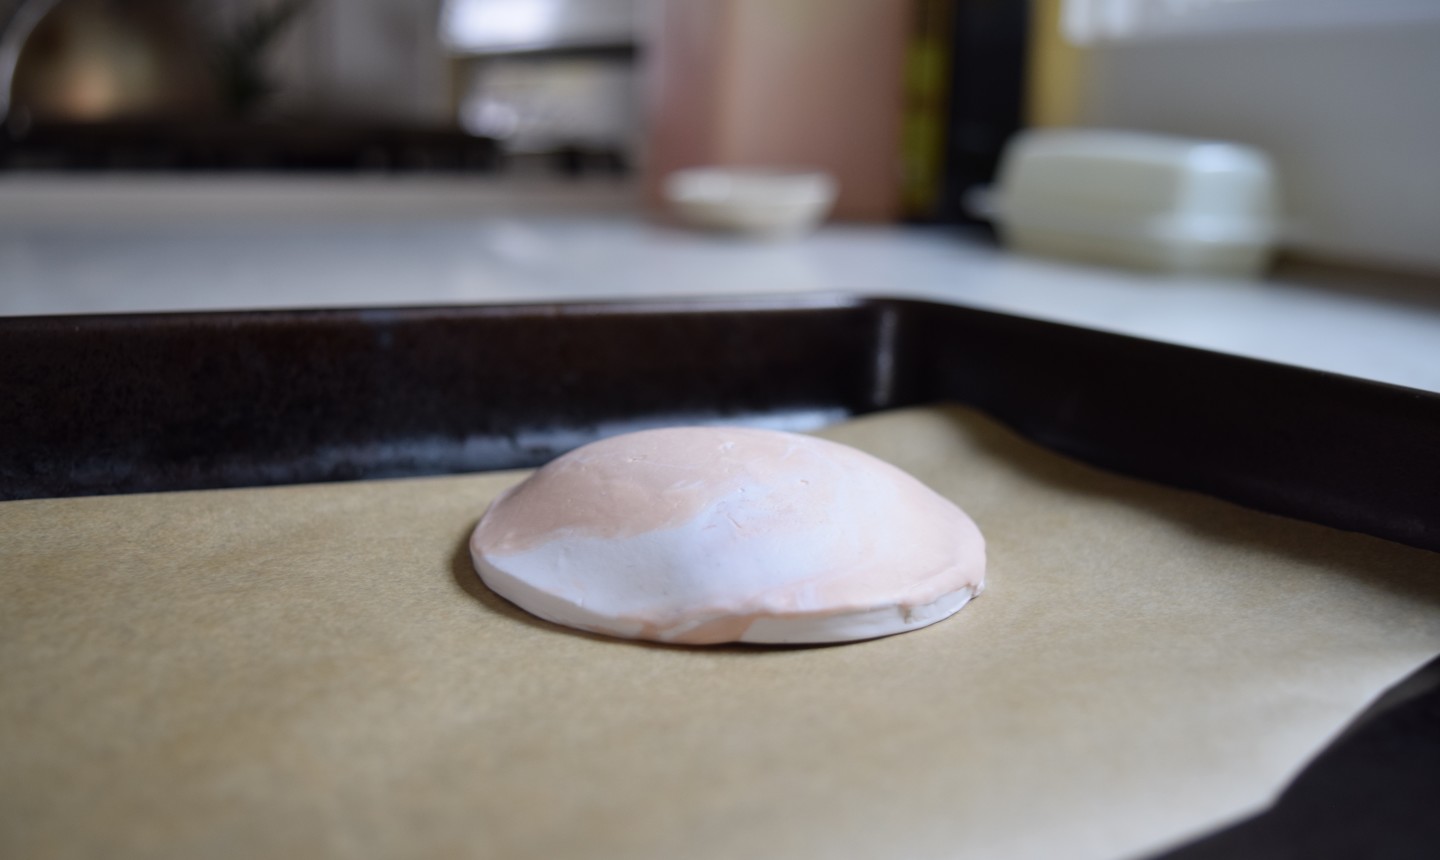
Your dish is ready to bake! Place it upside down on a parchment paper-lined baking sheet. (Placing it right side up can cause the edges to collapse while baking.) Bake at 275 F for 20 minutes. Remove and let it cool.
4. Sand It
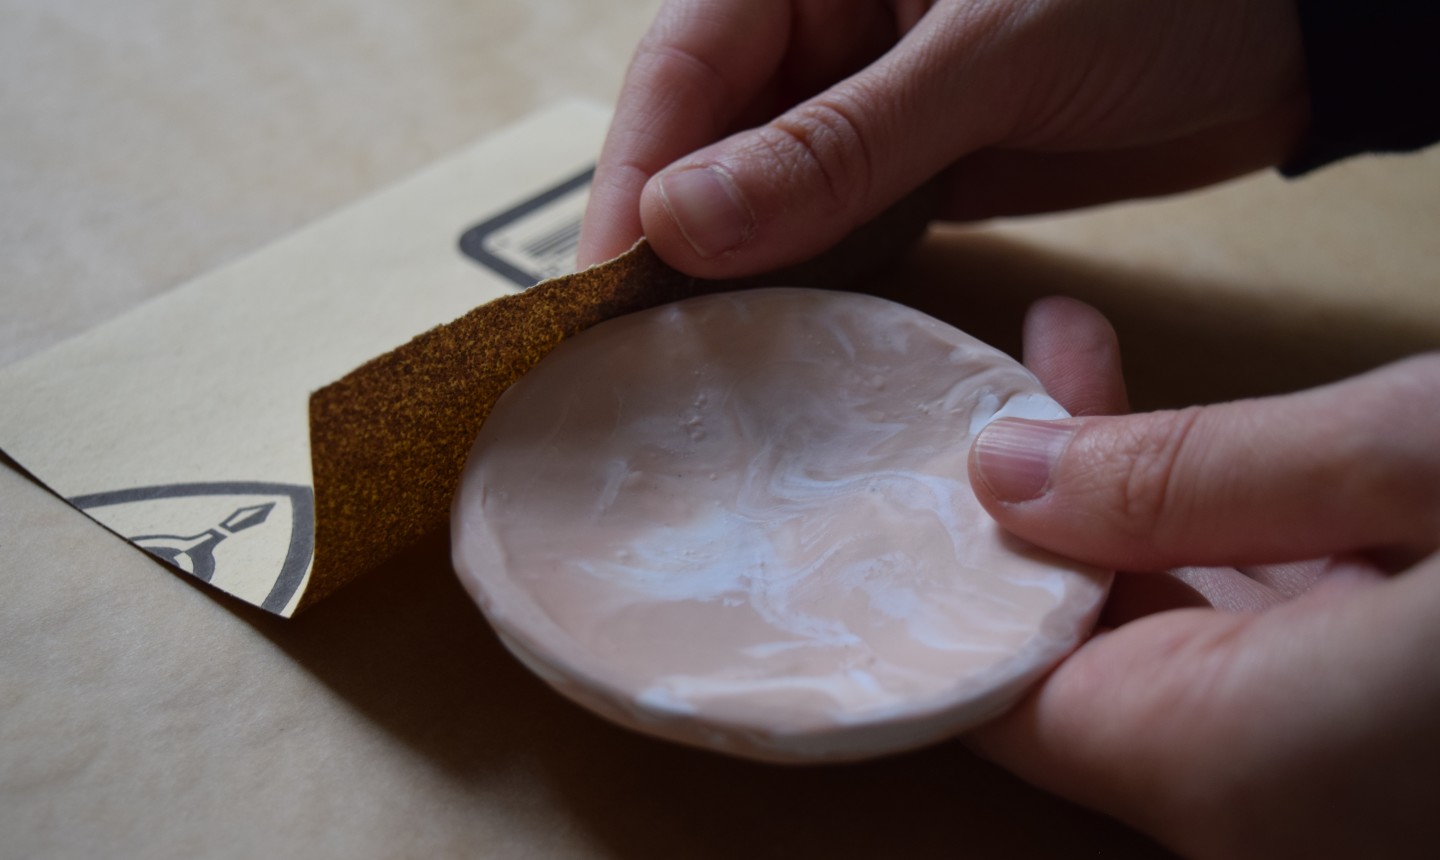
To get your ring dish super smooth (just like real stone), gently rub sandpaper over edges and any uneven areas. Wipe away the resulting clay dust with a paper towel.
5. Gild It
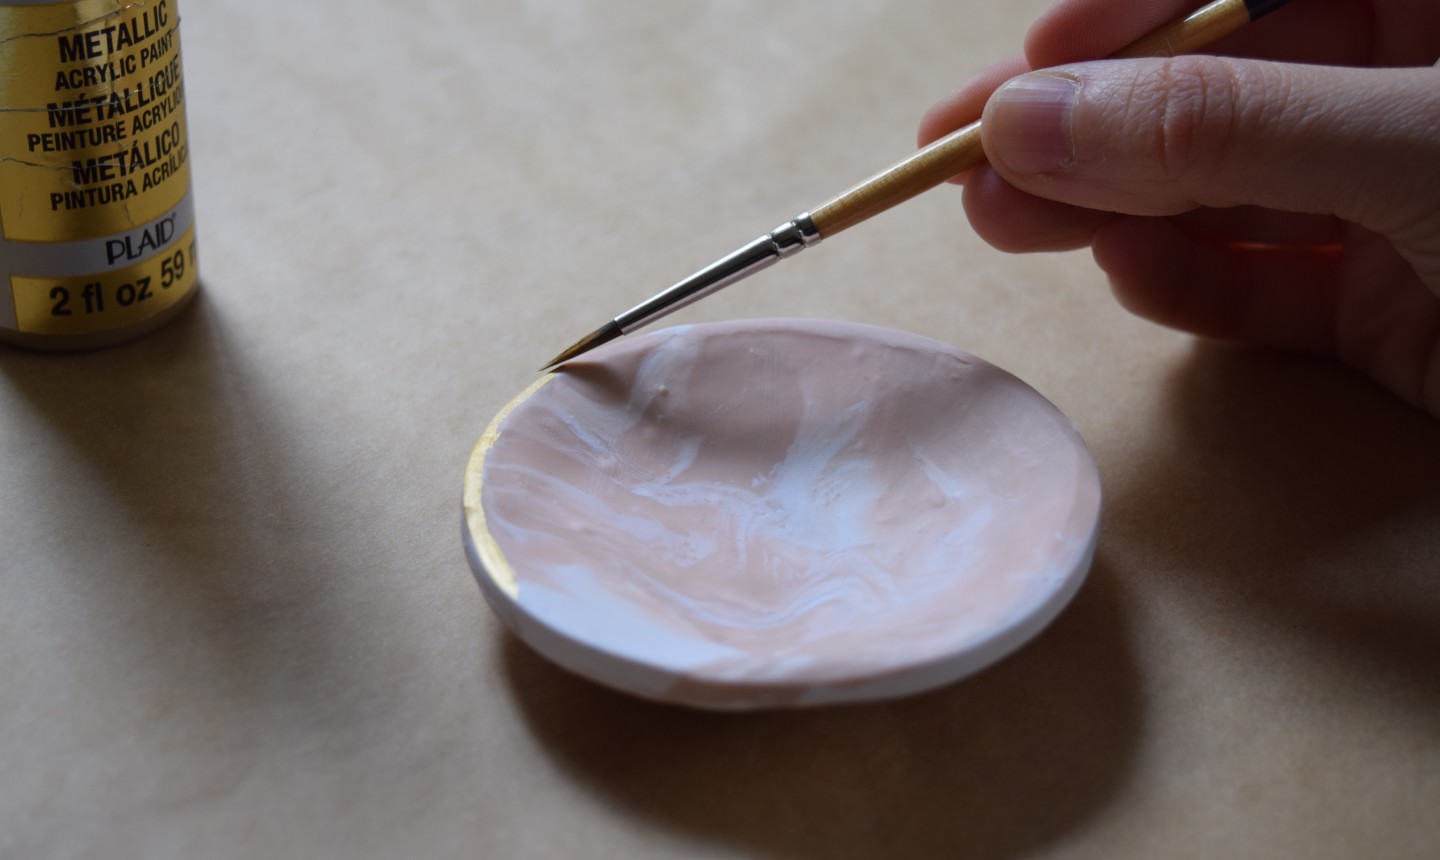
Use a paintbrush to line the edge of your ring dish with gold paint.
Pro Tip: Look for true metallic gold paint. Otherwise, your rim may end up looking more yellow. Test the color on a piece of paper before applying it to the dish to make sure you’re happy with the effect.
Once the paint dries, your dish is ready to use!
Photos by Alison Caporimo
Share tips, start a discussion or ask one of our experts or other students a question.
Already a member? Sign in
No Responses to “You Can Make This Faux Marble Jewelry Dish in an Hour”