
Watercolor is currently one of the hottest trends in card making. The look can be achieved in any number of ways, including using Copic markers. Since Copics don’t blend with water, however, a watercolor look can still be achieved using Copic Colorless Blender Solution.
How to watercolor with markers
There are a couple ways to achieve a watercolor look with Copics. For this tutorial, I’ve used Colorless Blender Solution, Copic refills and a paint palette. If you don’t have refills, you can scribble markers onto an acrylic block, dip a paint brush into the Blender Solution, then pick up color from the block to color your image.
There is one important note to keep in mind before beginning. Blender Solution will lighten the color you choose, so be sure to select a shade or two darker than you think you might need.
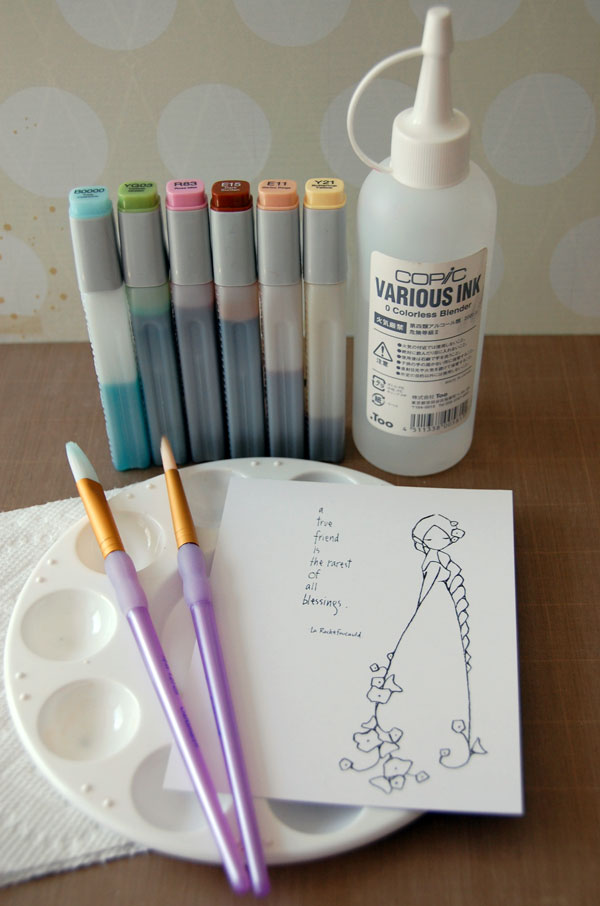
Supplies you’ll need:
- Copic markers or refills (I used B0000, YG03, E11, R83, Y21 and E15)
- Colorless Blender Solution
- Paint palette or acrylic block
- Two paint brushes (one larger for background and one for smaller areas)
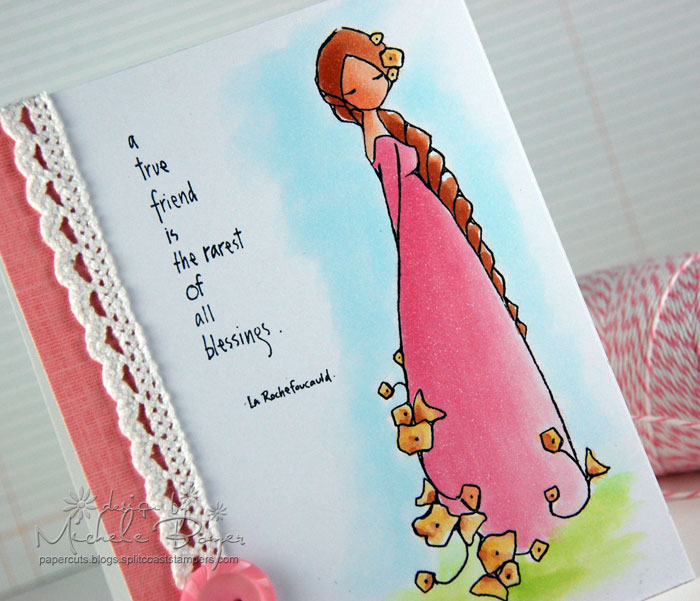
- Stamped or printed image on white card stock (I used digital image Flower Maiden 2 by A Day for Daisies, printed onto X-Press It Blending Card)
- Paper towel (for cleaning)
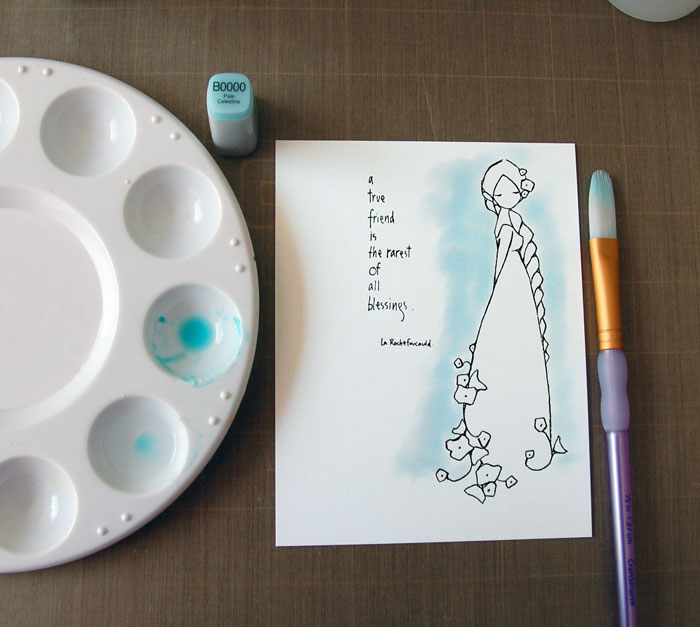
Step 1:
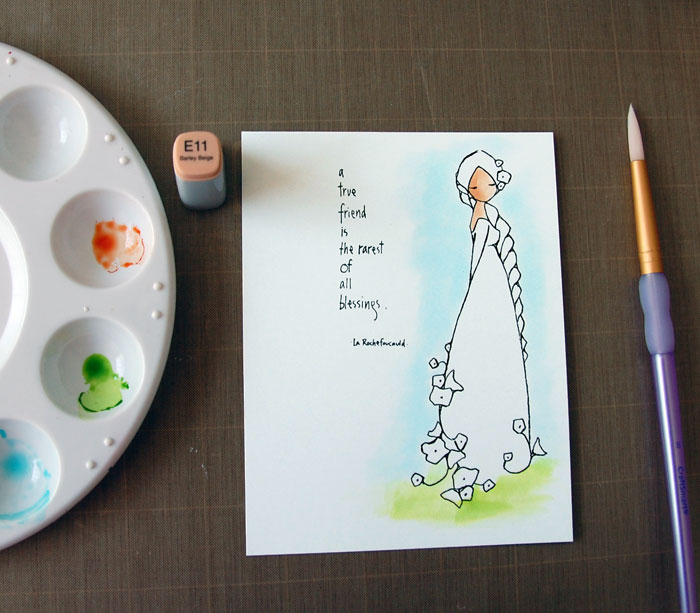
Half-way fill one well of the paint palette with Colorless Blender Solution. In a second well, add a few drops of B0000. Using larger brush, dip tip into Blender Solution then into B0000. Quickly add color around image, repeating as necessary.
Brush any leftover color in the brush onto a paper towel. If necessary, dip brush into Blender Solution to clean, then wipe on towel.
Replace Blender Solution in well as needed.
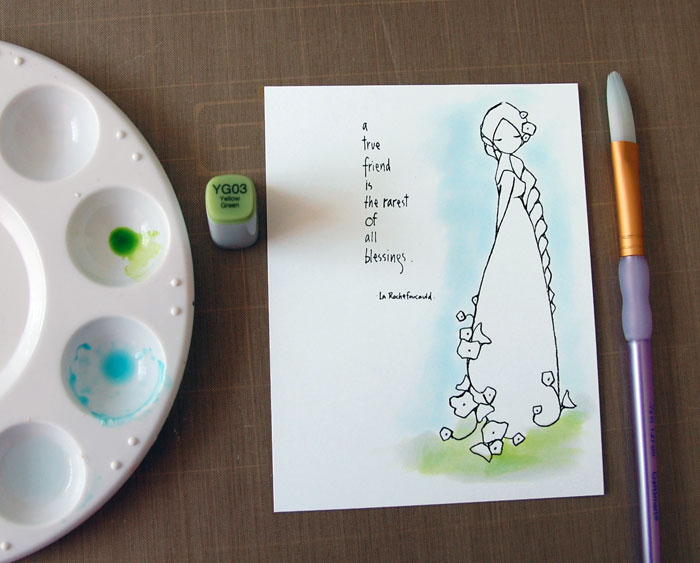
Step 2:
Add one drop of YG03 into a paint well, dip brush into Blender Solution, then YG03. Add a bit of grass to ground the image. I like to overlap the colors just a bit.
Clean brush.
Step 3:
Add a drop of E11 to a well. Switching to smaller brush, very lightly touch tip to Blender Solution, pick up E11 and color skin areas. Once dry, return brush to E11 without adding Blender Solution and add darker shadow to face, neck and back.
Clean brush.
Step 4:
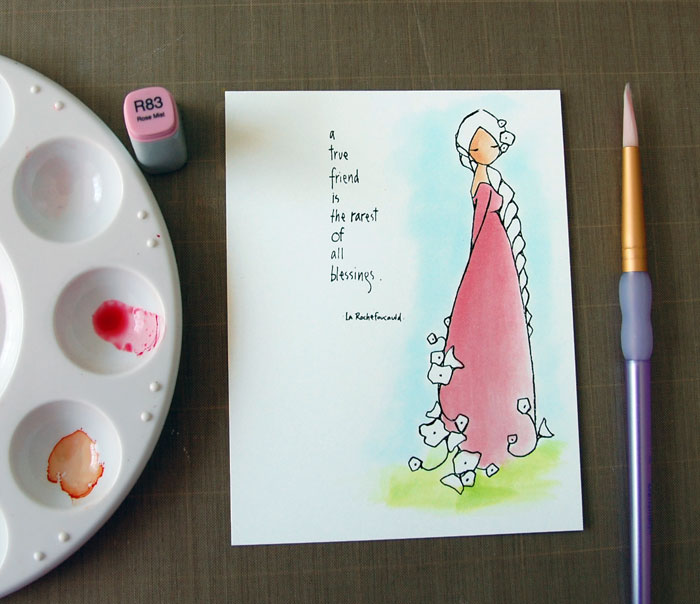
Add several drops of R83 to a well. Dip brush into Blender Solution, then pick up a good amount of R83. Quickly add color to dress, moving brush from top to bottom, beginning on left side of image. Once dry, repeat process, adding color only to left, or back side.
Clean brush.
Step 5:
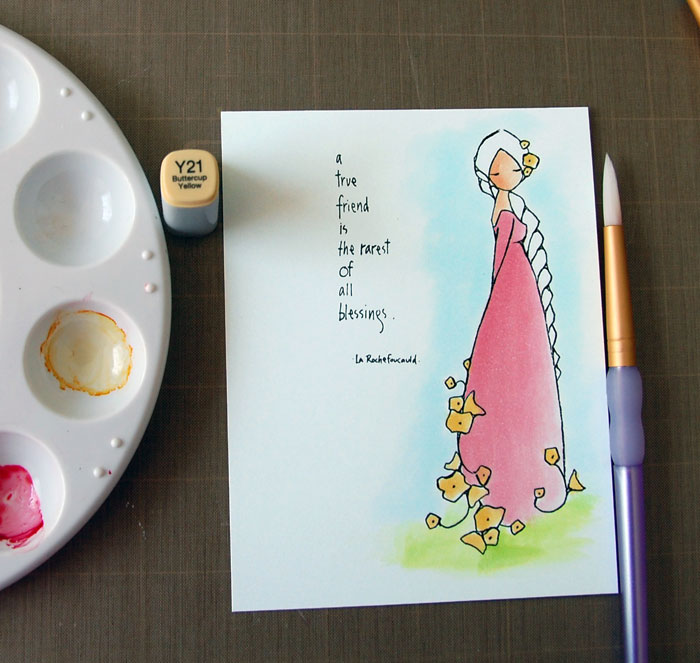
Add a drop of Y21 to a well. Dip brush into Blender Solution then Y21. Add color to flowers. Once dry, apply additional color to left or bottom sides of each flower to add a bit of shadow.
Clean brush.
Step 6:
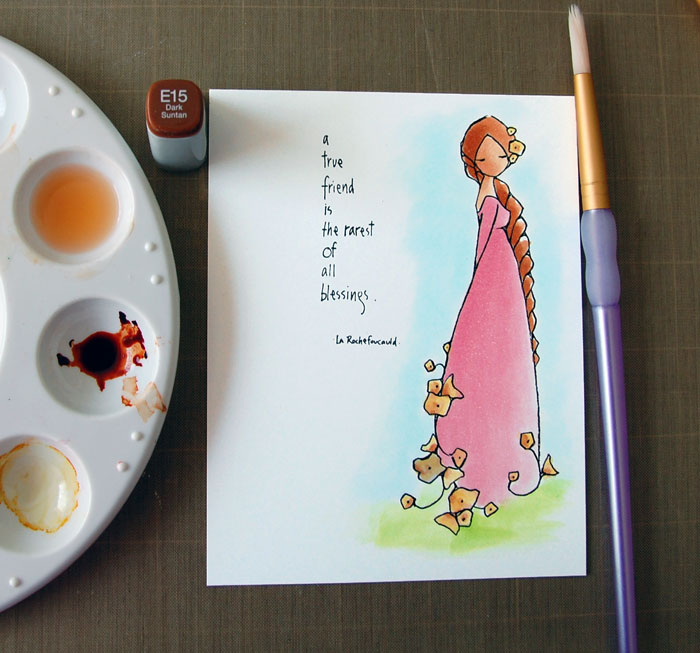
Add a few drops of E15 into a well. Dip brush into Blender Solution then E15 and color hair. Apply additional color to left sides of each hair area to add shadow.
Dip brush into Blender Solution and add a tiny amount of E15 to brush. Add small areas of darker shadow to each flower.
Step 7:
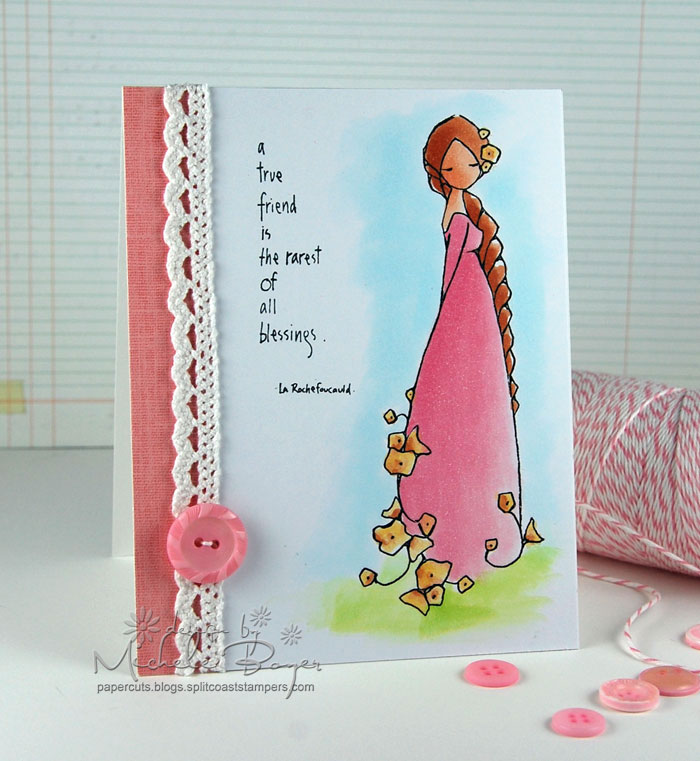
Finish card as desired.
To clean the palette, add a few drops of Blender Solution to each well and wipe clean with a paper towel.
Want to learn more?
Get the most from your stamps and create colorful handmade cards with the online class Vibrant Stamping: Creative Color Techniques. Sign up today to learn fresh techniques, get professional tips and enjoy an entire lesson on coloring with Copic markers!
Share tips, start a discussion or ask one of our experts or other students a question.
No Responses to “Achieve the Trendy Watercolor Look With Copic Markers”