
Follow along to learn this fun technique!
Step 1. Get a reference photo.
I start off with a simple close-up flower photo. I love this dahlia photo that I took at the North Carolina State Arboretum recently. It’s simple, bright and beautiful, plus it’s easy to sketch out.
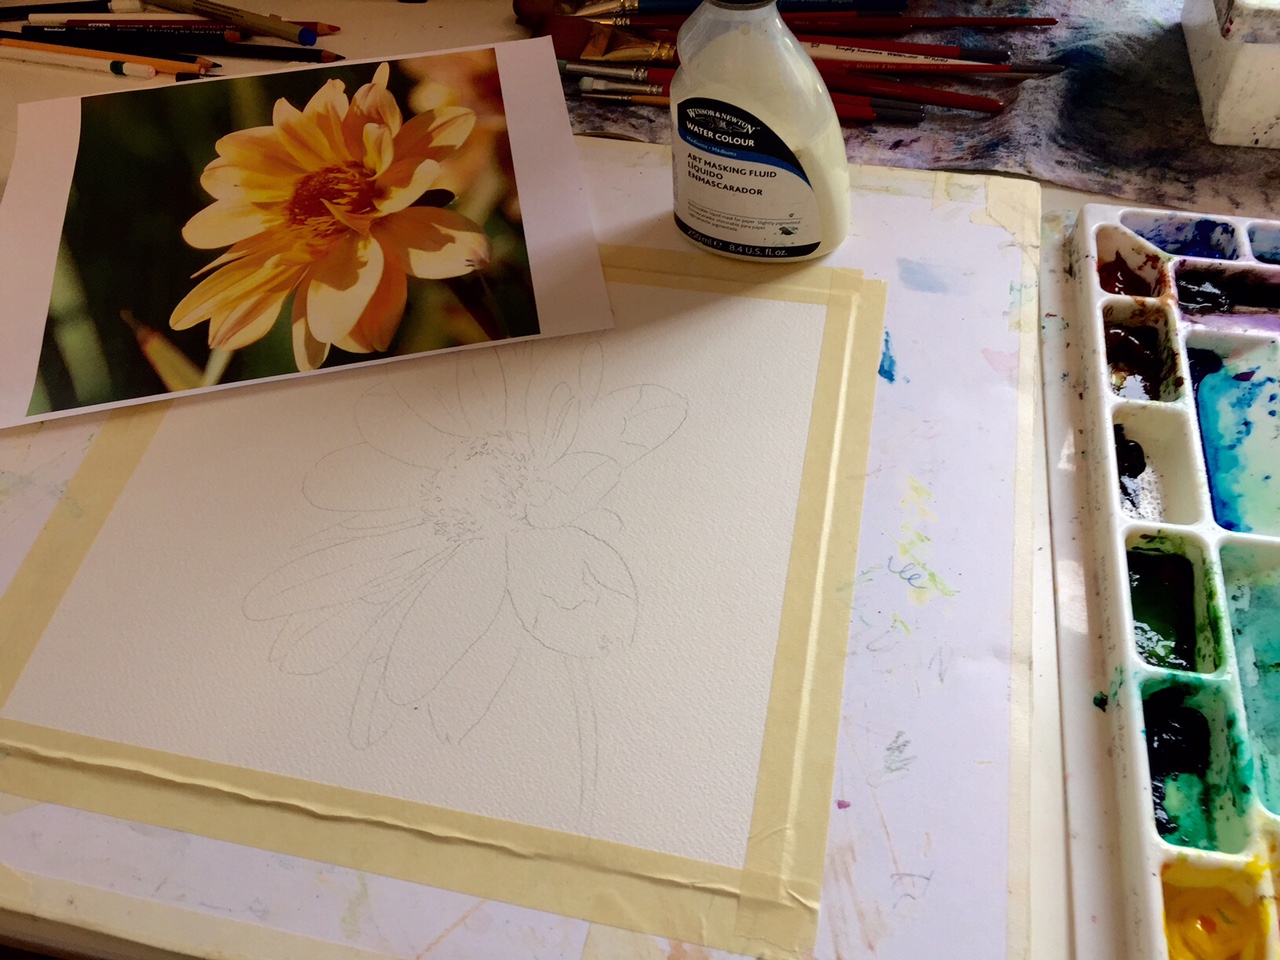
Step 2. Apply masking fluid.
Now, let’s start with our first layer of masking fluid, which will resist the paint. I like the Windsor & Newton brand of removable masking fluid. You will very easily ruin your paint brush with masking fluid. Thoroughly coat your paint brush bristles with bar soap before you dip it in the masking fluid. Wash your brush every few minutes and repeat this soap-to-masking fluid process.
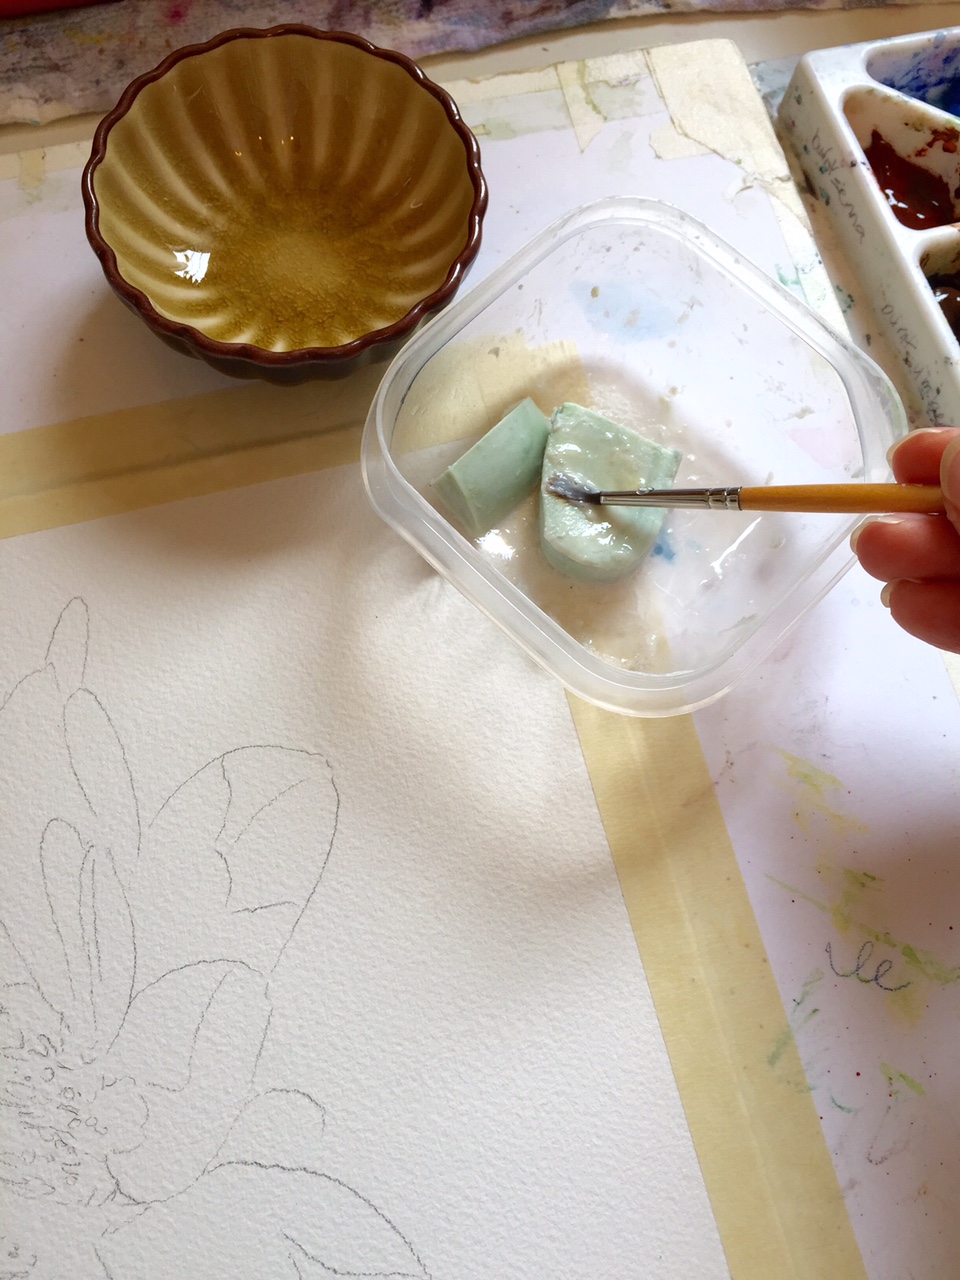
Step 3. Fling your masking fluid.
For my first layer, I did intentionally paint masking fluid just on those little finger-like areas of the center of the flower. Now, for the flinging. Dip your brush in the masking fluid and fling/flick it on the paper just a few times for the first wash. Do this sparingly for the first wash or else you’ll have too much distracting white on your page in the end.
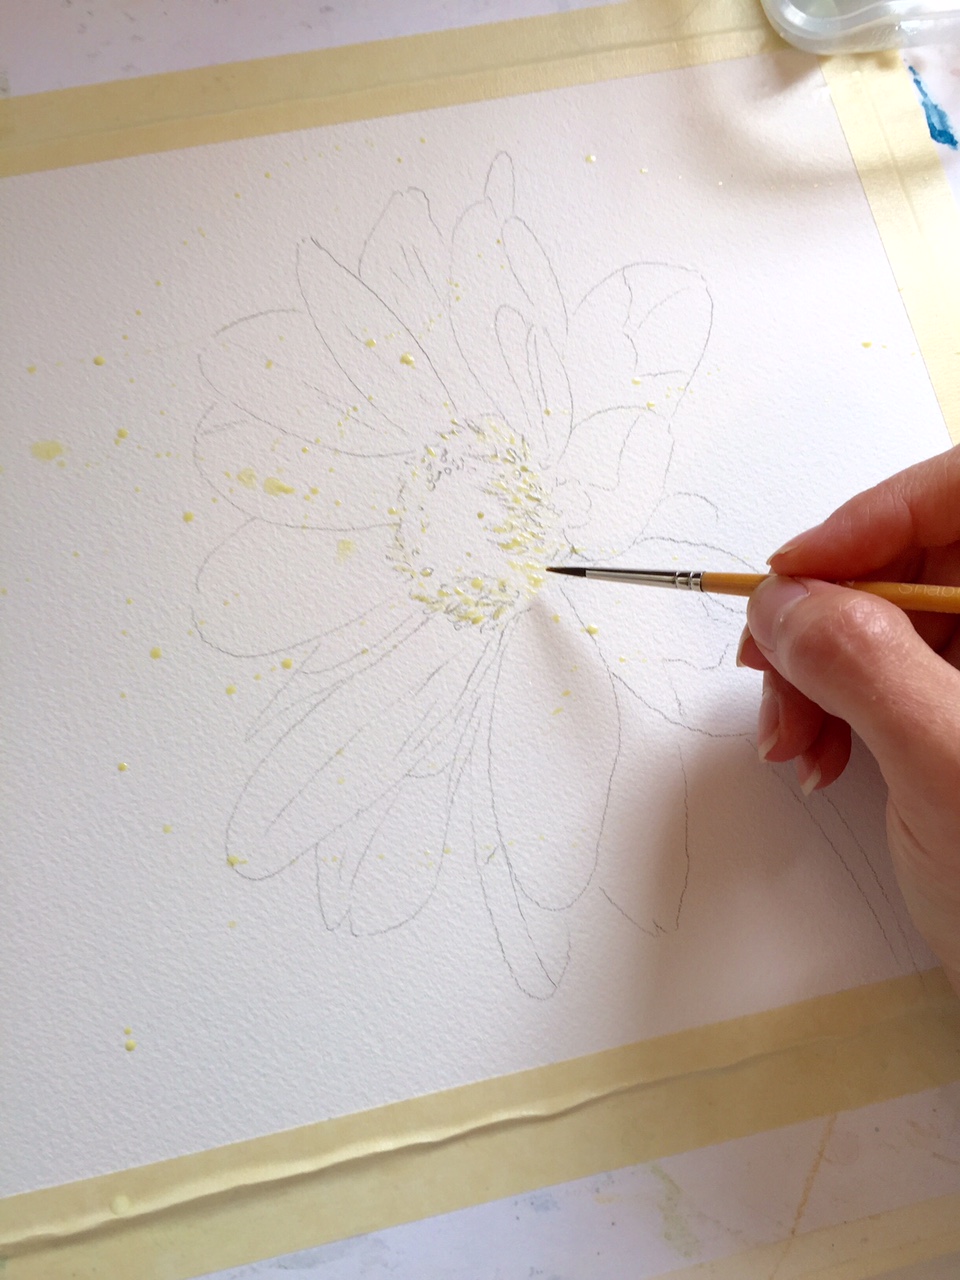
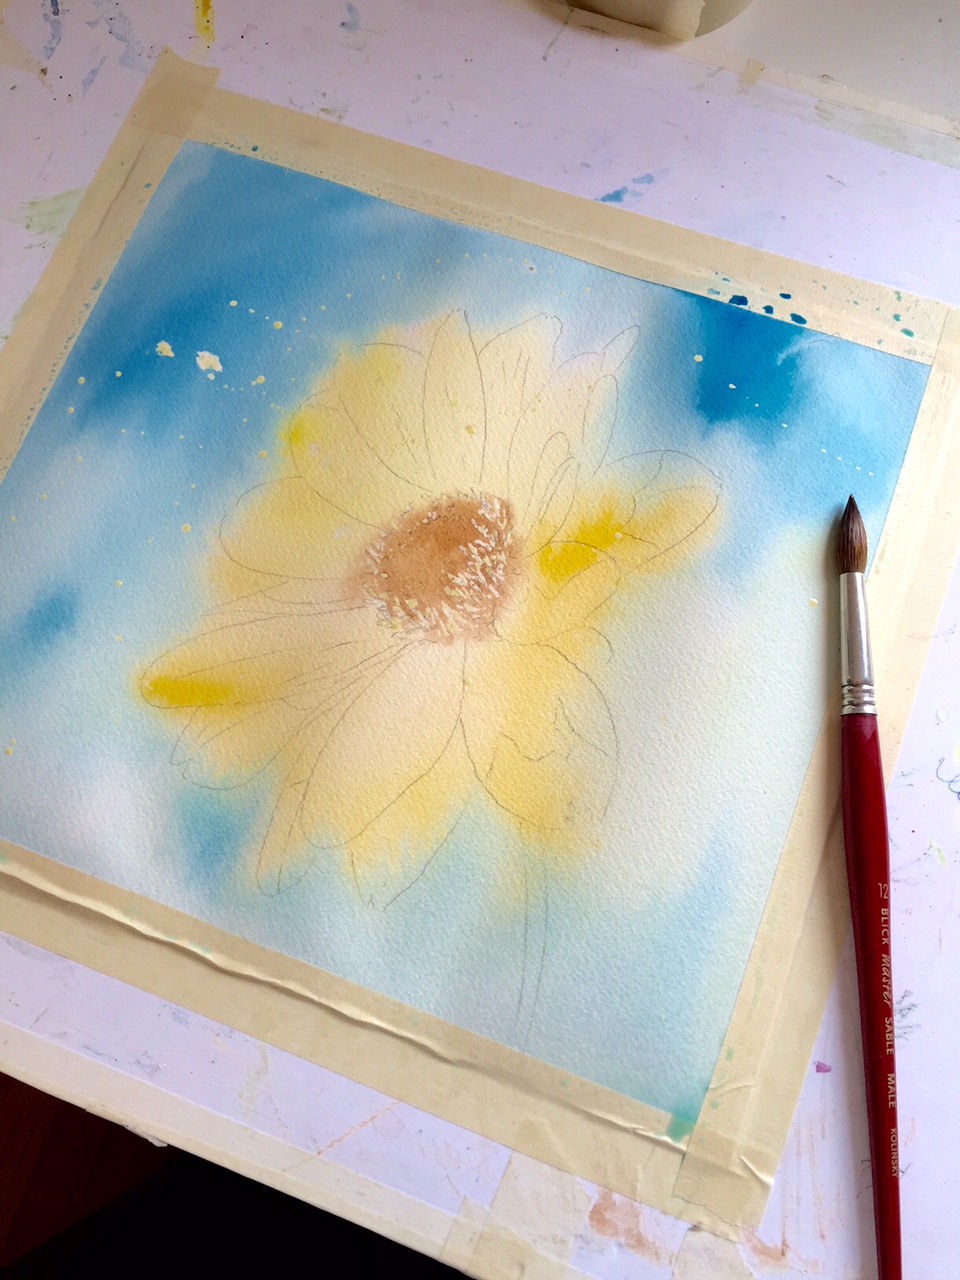
Step 4. Apply your first wash.
After the masking fluid is dry (it should feel rubbery to the touch), lay on your first entire wet-on-wet wash. I thoroughly wet the entire page and painted on a wash of Indian Yellow for the flower, Burnt Sienna/Burnt Umber for the center and Prussian Blue for the outside edges.
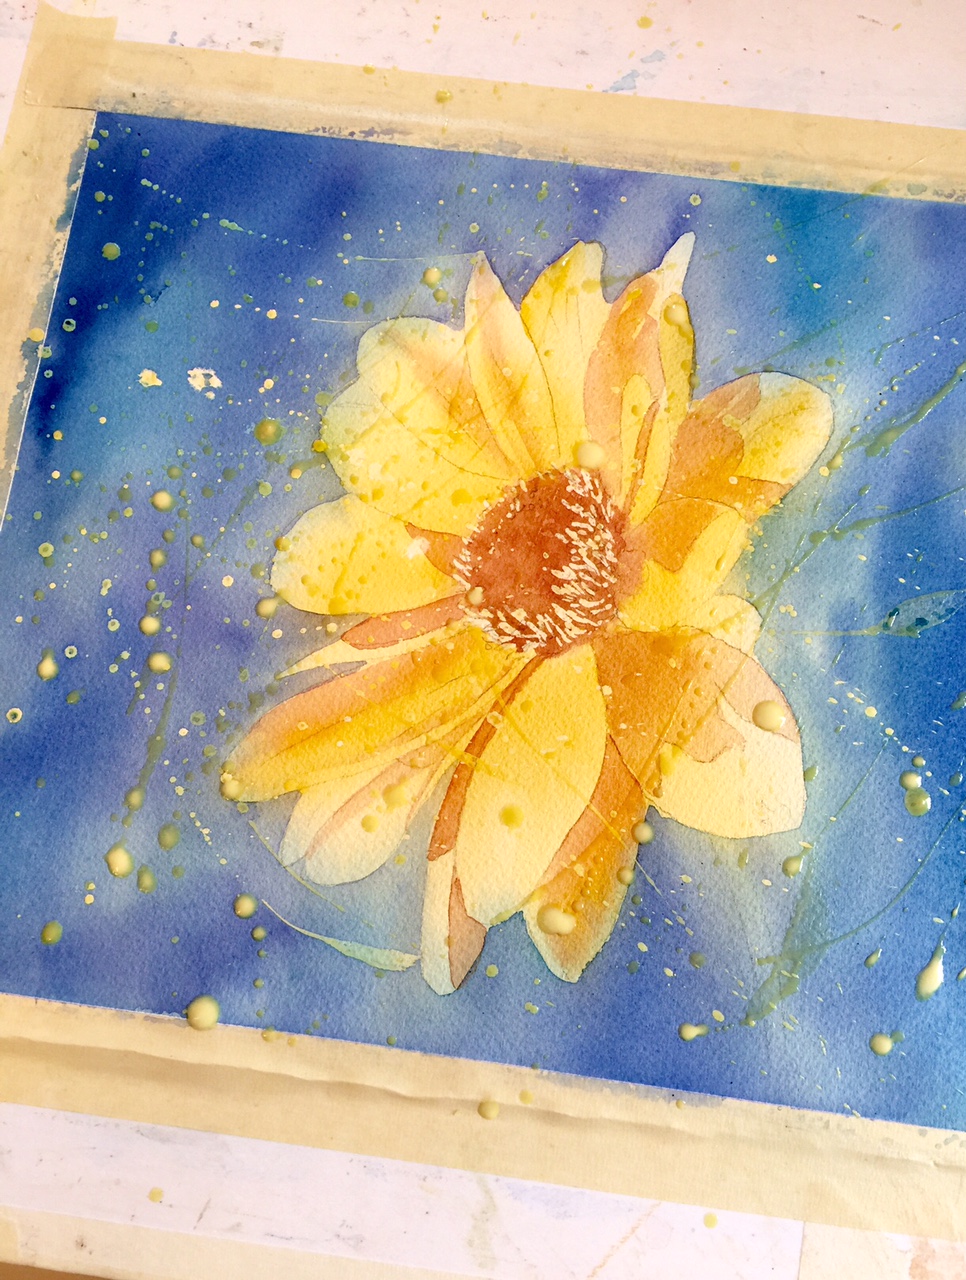
Step 5. Dry your page with a blow dryer and repeat the process.
After coating your brush with soap, dip it into the masking fluid and go to town flinging! I like to turn my painting to different angles so that the fling patterns vary.Step 6. Continue to paint layers.
For my second and third layers, I start negatively painting around the flower petals, wet-on-wet with a mixture of deep blues. Prussian Blue, French Ultramarine Blue and a bit of Payne’s Gray. I work on the shadows within the flower, deepening the contrasts between the petals with Burnt Sienna, Violet mixed with Burnt Umber, Indian Yellow and Lemon Yellow.Tip: Make sure that you thoroughly dry each wash before starting another wash of masking fluid and paint! This is crucial to not ruining your previous work.
Around the outside of the flower, I am working wet-in-wet to achieve a smooth backdrop to my masking fluid texture. As I repeat the layering process, I am deepening and making my colors richer and more vibrant. I’m not a pastel girl at all. Color is what we love and color is what we’ll get! Lay it on.
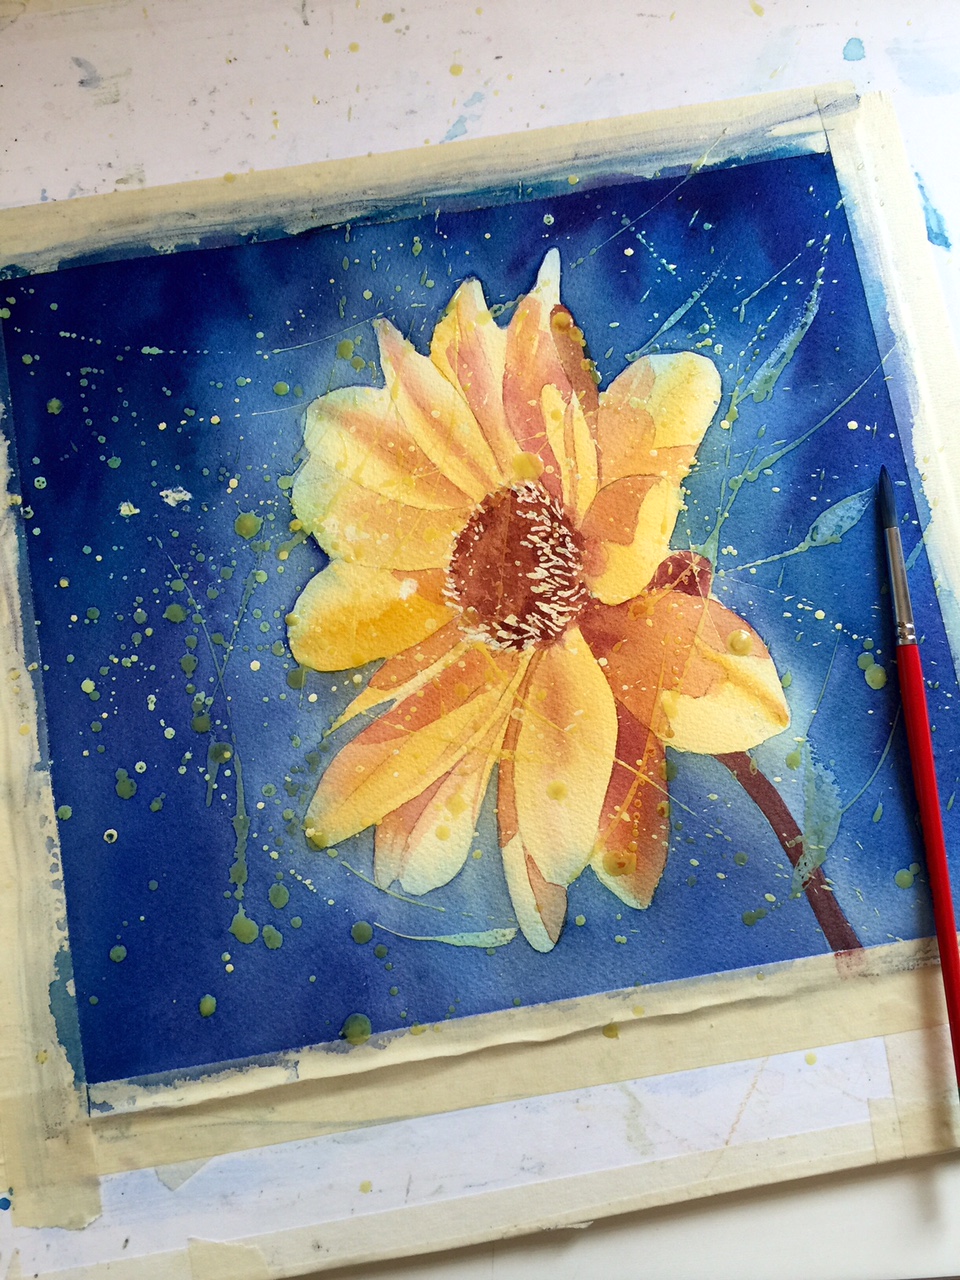
Step 7. Complete your layers.
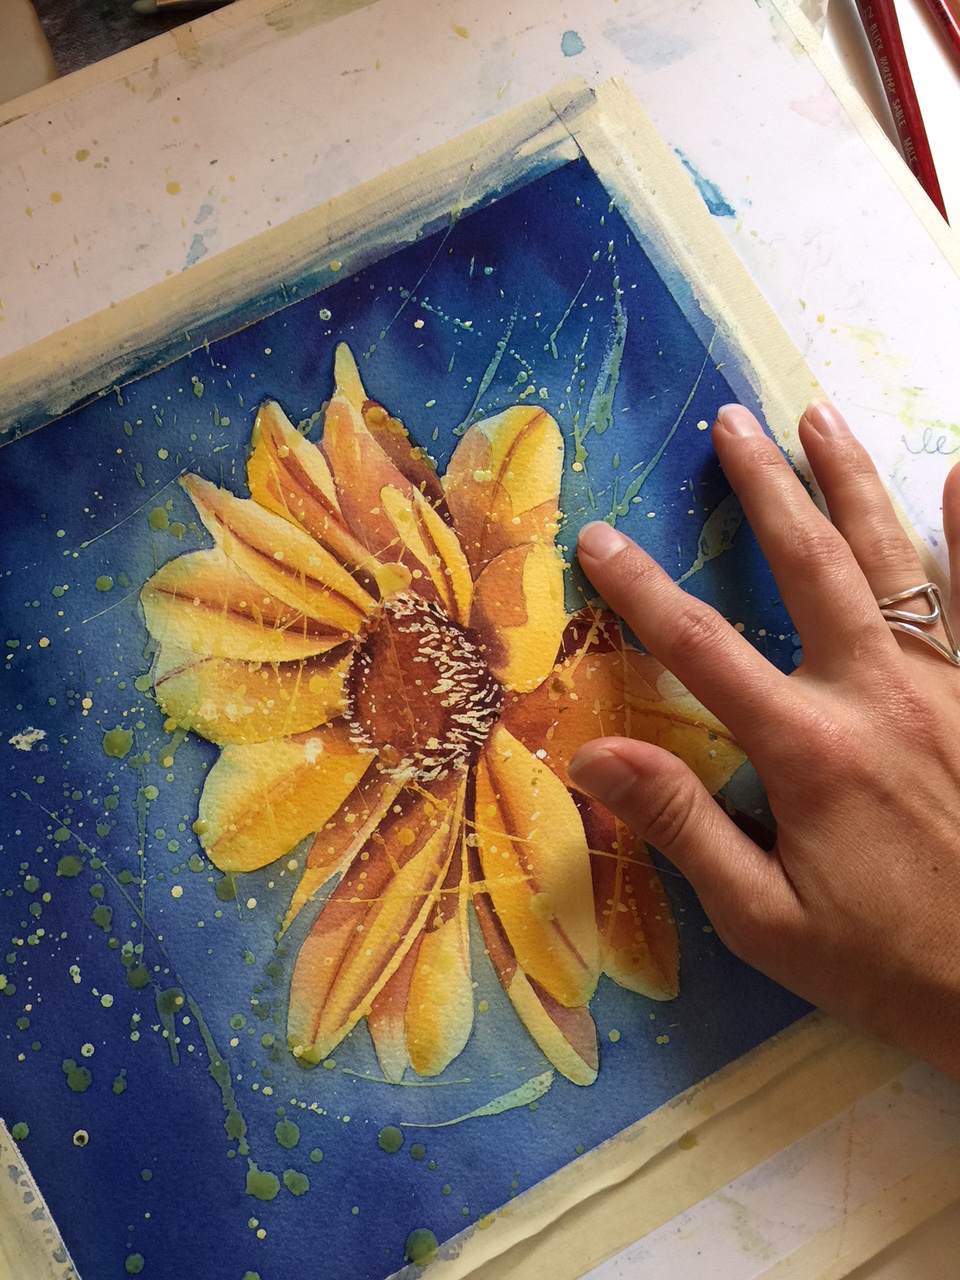
As you feel like you’re getting toward the end of your painting, make sure you are laying your darkest darks within your flower. Don’t be afraid to really darken the center, edges and between the petals. This will make your painting really pop and be vibrant.Step 8. Remove the masking fluid.
Once you’re satisfied with your layers, it’s time to remove the masking fluid and see what you’ve created! This is my favorite part. It’s like unwrapping a gift on Christmas morning. You’re never quite sure what you’re going to get.Using an eraser or your finger, gently rub the paper until all of the masking fluid is removed.
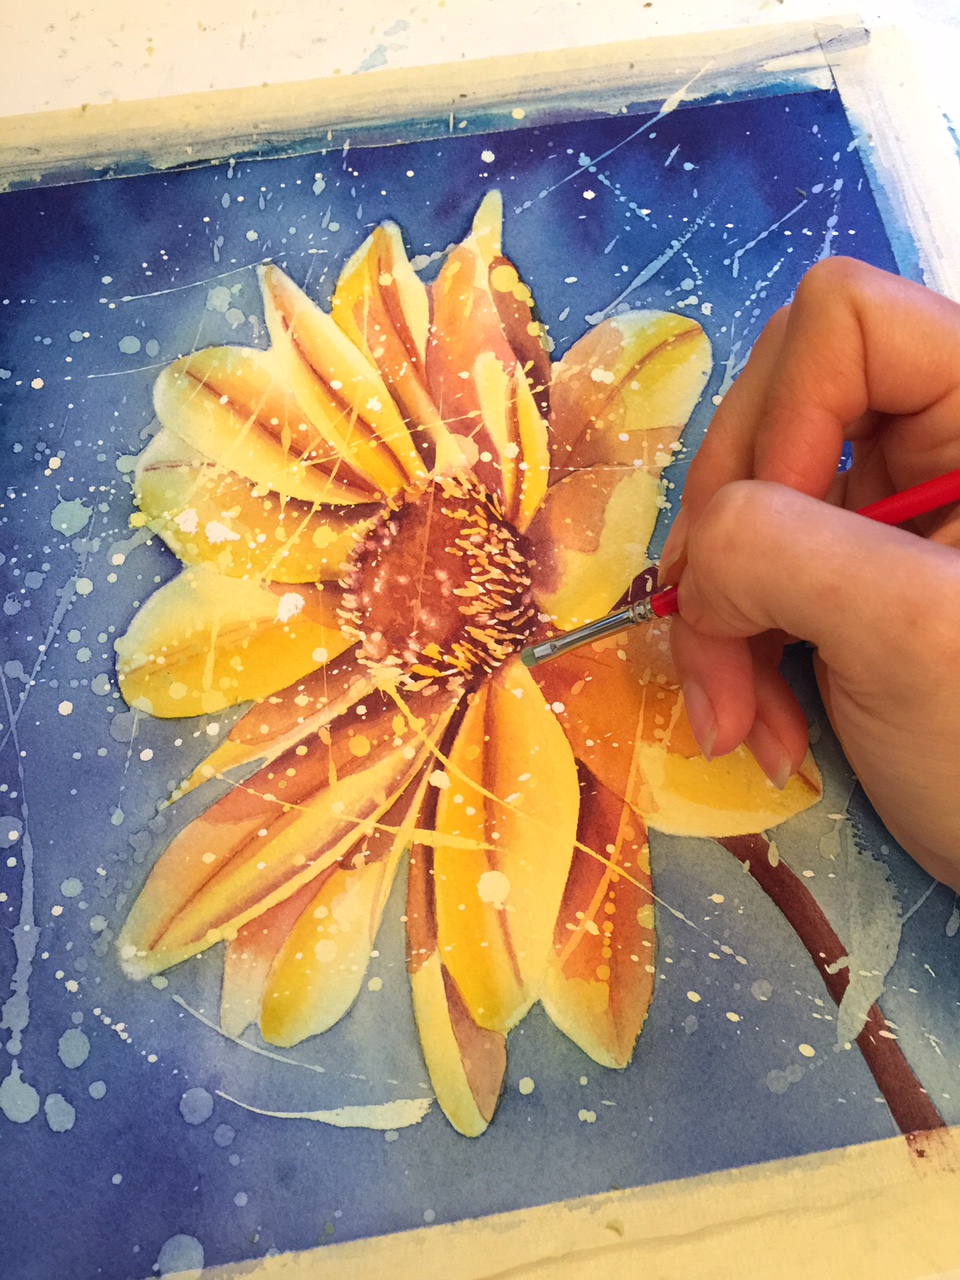
Step 9. Clean up the edges.
After you’ve removed the masking fluid, you can clean up edges and soften spots with a scrubbing brush. Using water, lightly agitate the spot you want to soften and dab it with a tissue. Scrubbing brushes DO damage the paper, so be careful. You also won’t be able to successfully paint over a spot that has been lightened with a scrubbing brush, so wait until the very end to use this tool.
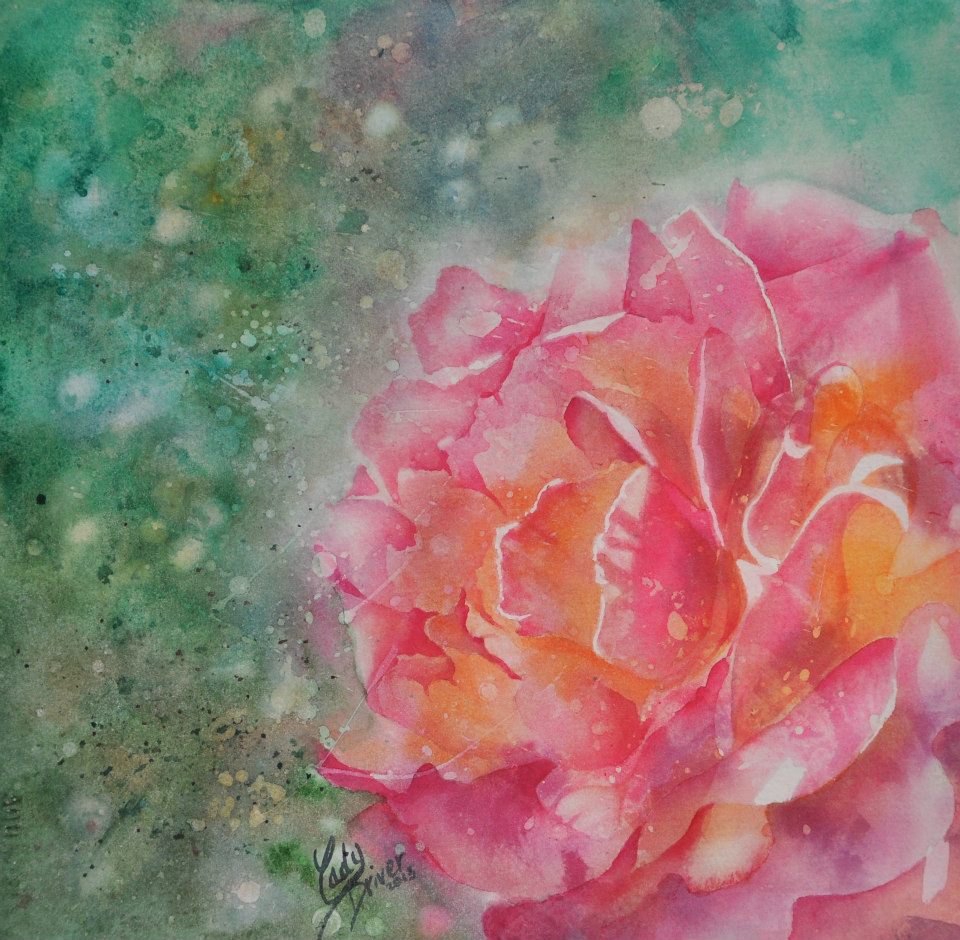
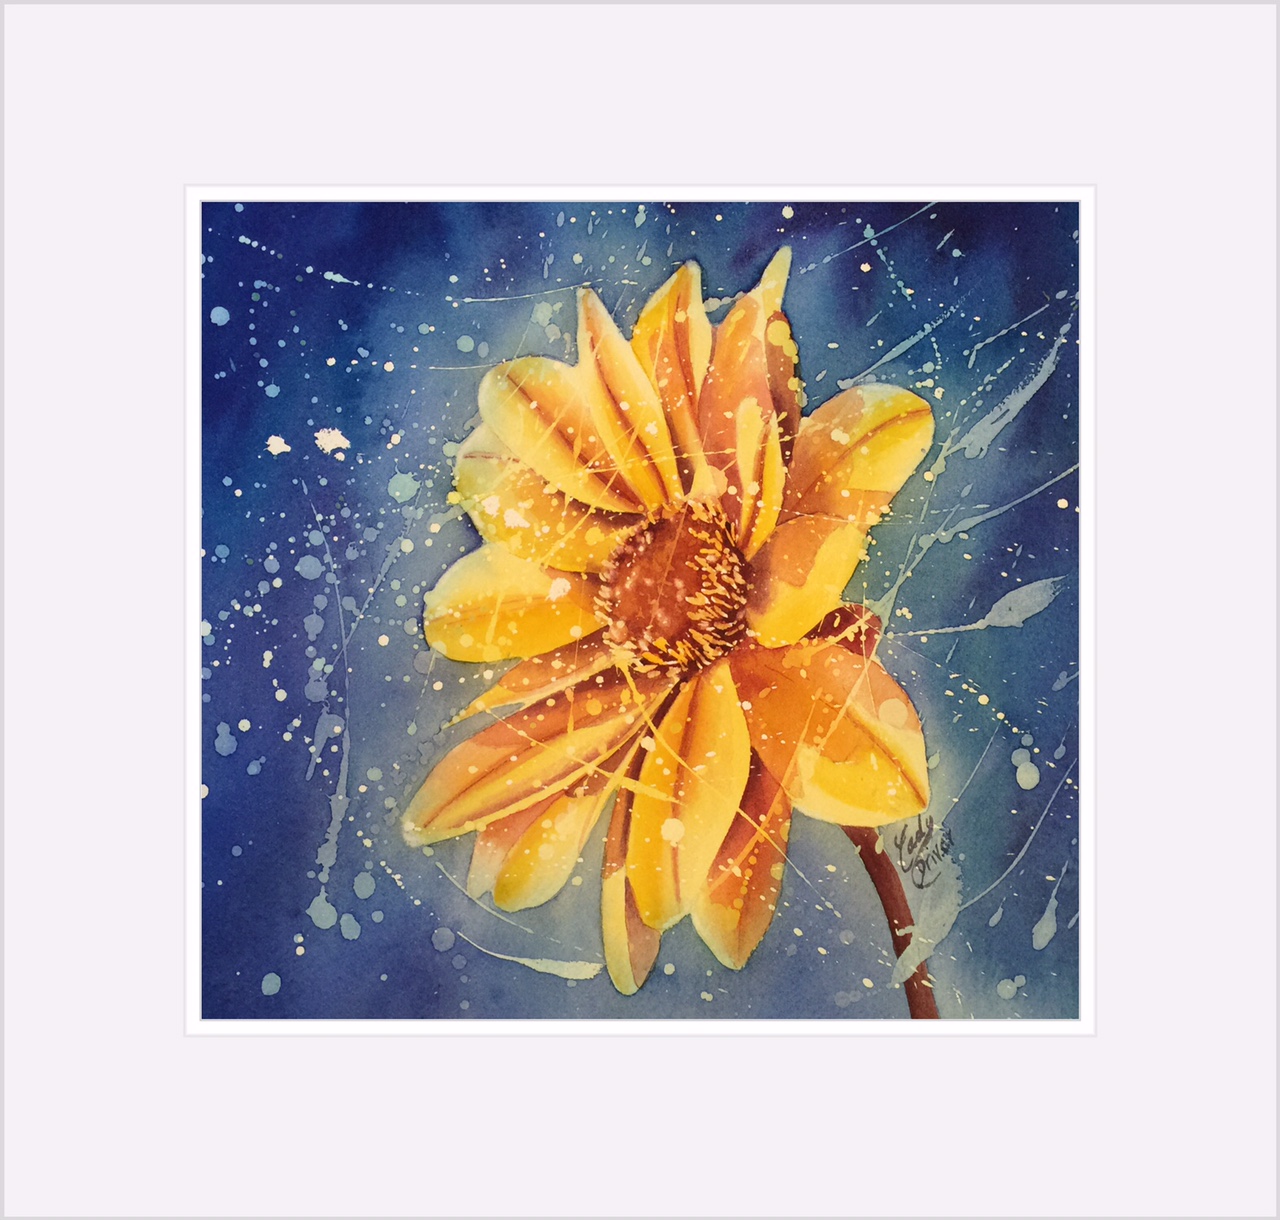
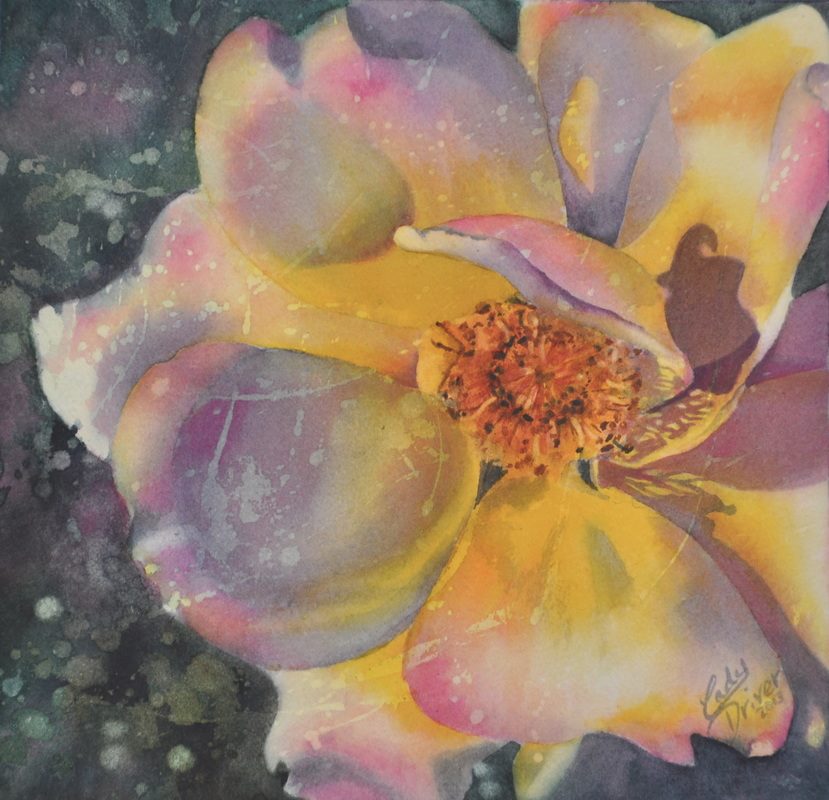
Step 10. Frame it!
Your painting is ready for a frame! I’ve attached some photos of other resist florals that I’ve painted to show you the versatility and interesting qualities of using masking fluid in this way.
Happy Painting!
Share tips, start a discussion or ask one of our experts or other students a question.
No Responses to “Paint Gorgeous Florals With Masking Fluid & Watercolors”