
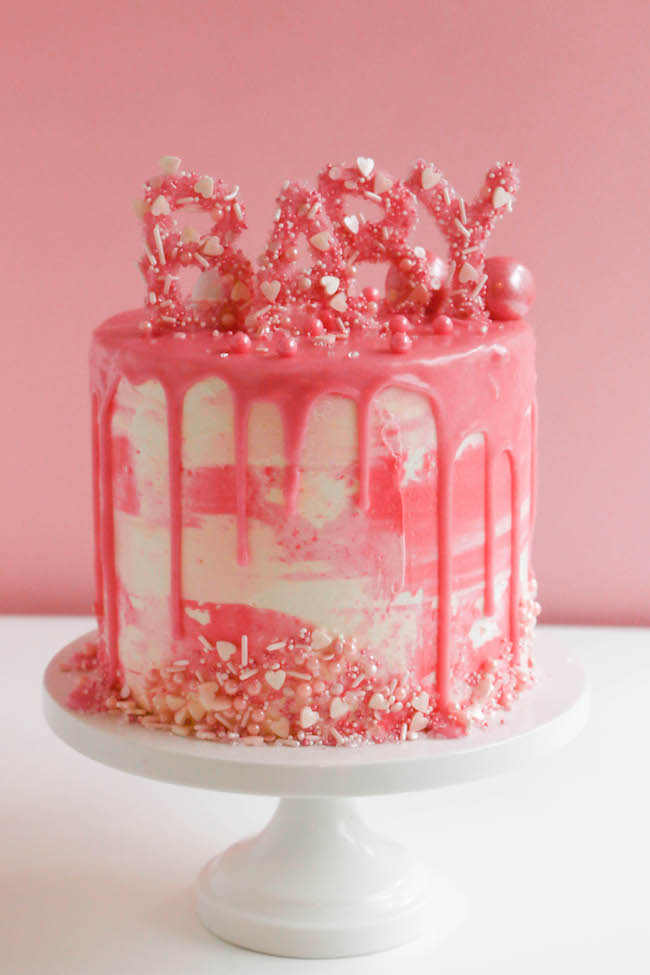
What better way to welcome your bundle of sugar and spice and everything nice than with an on-trend baby shower? I was thinking pink while I made this cake, but you can make yours in whatever color you like. Recreate the sprinkle letters to spell out baby or customize the cake by writing out the baby’s name or initials.
All images via Erin Bakes
How to make a trendy baby shower cake
Supplies:
- 6″ round cake finished in plain buttercream
- Approximately 1 cup each of light pink and bright pink buttercream
- 1 cup pink coating chocolate
- ¼ cup heavy cream
- Assorted pink sprinkles and candy
- Parchment paper or piping bag
- Icing spatula
- Bench scraper
- Turntable
- Piping bag
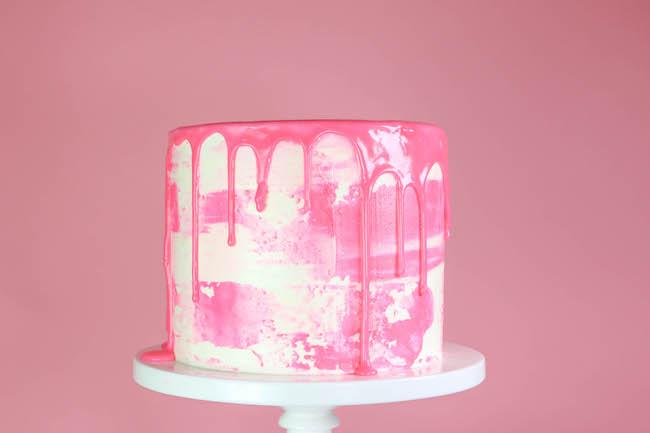
Step 1: Create the watercolor finish
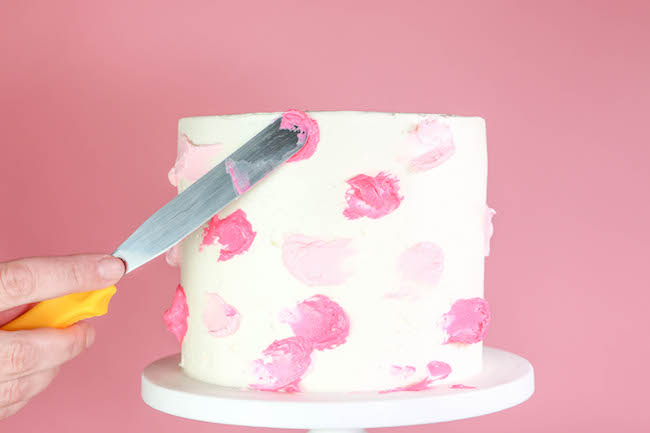
Use an icing spatula to smear random splotches of light pink and bright pink buttercream around the sides of the cake.
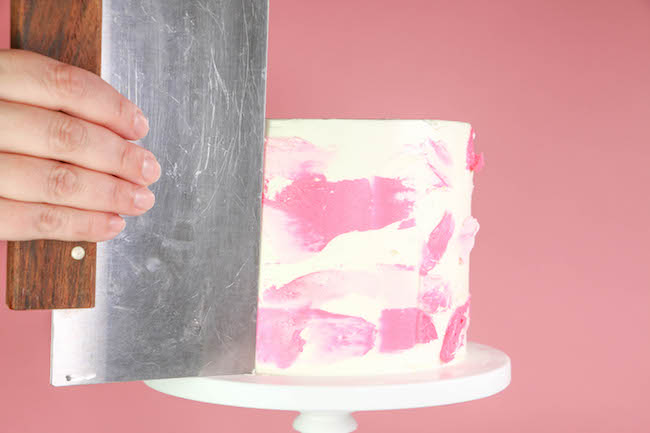
Hold the blade of a bench scraper against the side of the cake and spin the cake while you smooth and spread the dots of buttercream. Repeat until you achieve your desired finish. Chill the cake in the fridge while you work on the other components.
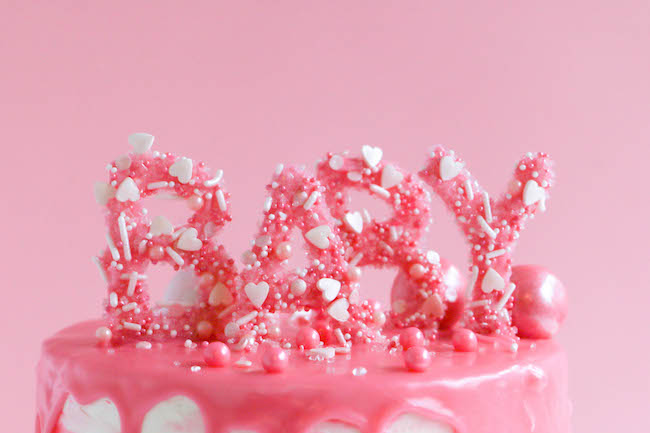
Step 2: Make the baby letters
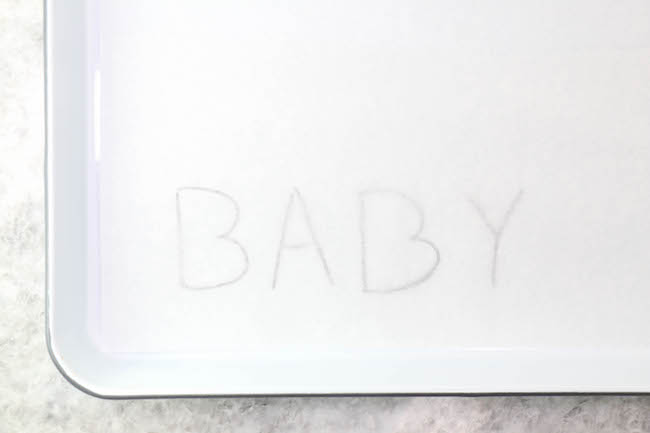
Print out or write out the word BABY (or whatever word you like) in large letters on a piece of paper, which you’ll use as a template. Place the template on a rimmed cookie sheet and place a piece of parchment paper on top of the template. Working in a cookie sheet will help contain the sprinkles.
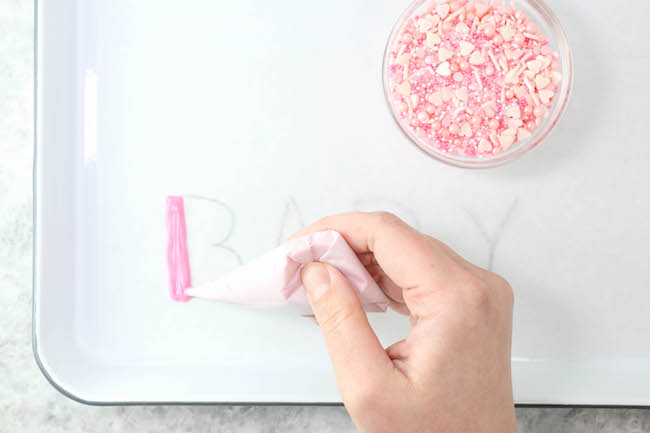
Melt 1 cup of the pink coating chocolate in a small heatproof bowl, following these directions. Fill a piping bag or paper cone with the melted candy. Trace one of the letters with the melted candy.
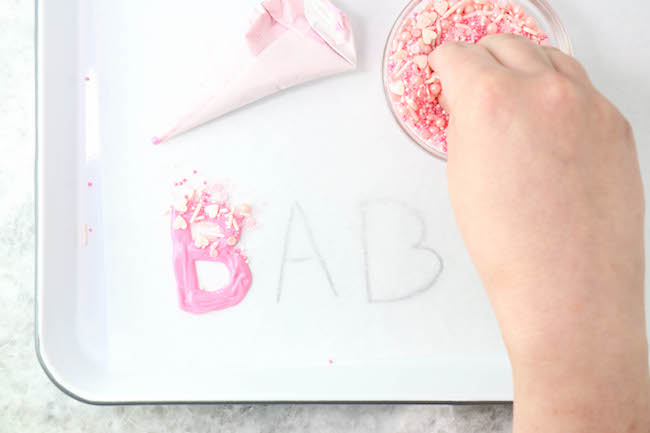
While the candy is still warm and fluid, coat the piped letter with a layer of sprinkles. Repeat the process, one letter at a time, until all the letters are complete.
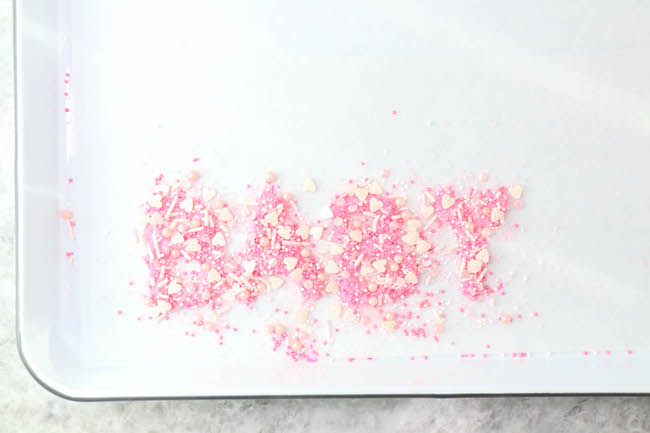
Set the letters aside to harden, about 5 minutes.
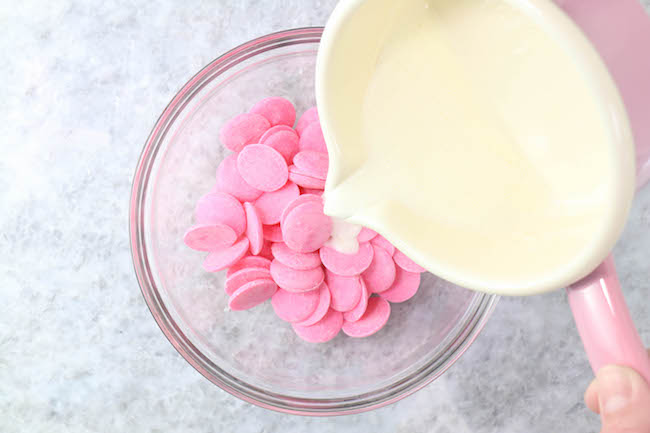
Step 3: Make the ganache
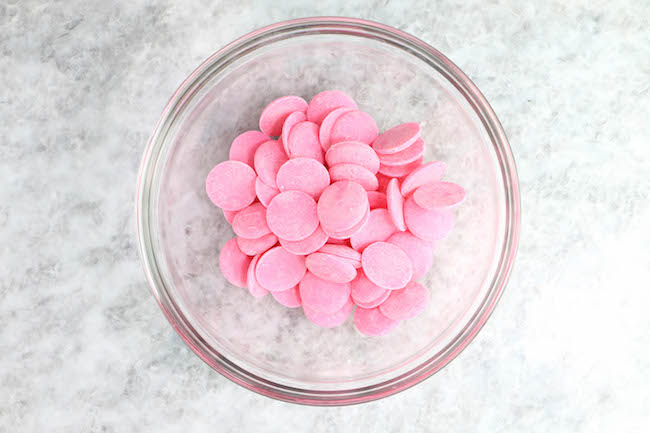
Place 1 cup of the pink coating chocolate to a heatproof bowl. Add the heavy cream to a small sauce pan over medium-high heat until it just comes to a boil.
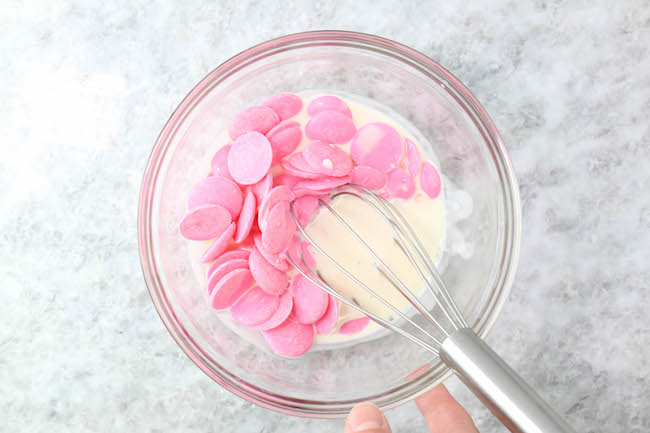
Pour the cream over the coating chocolate and whisk to combine.
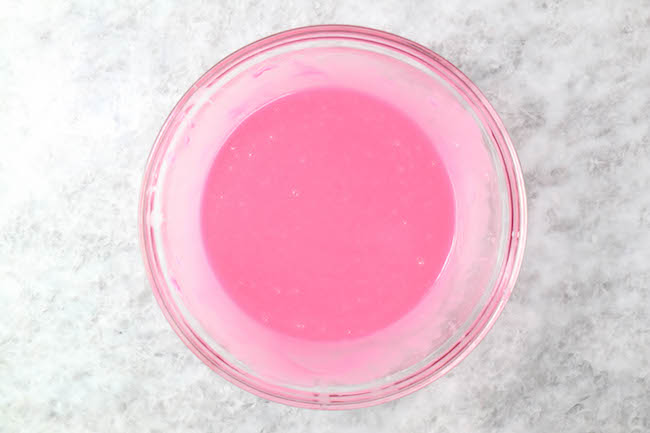
Set the warm ganache aside to thicken and cool to room temperature before using.
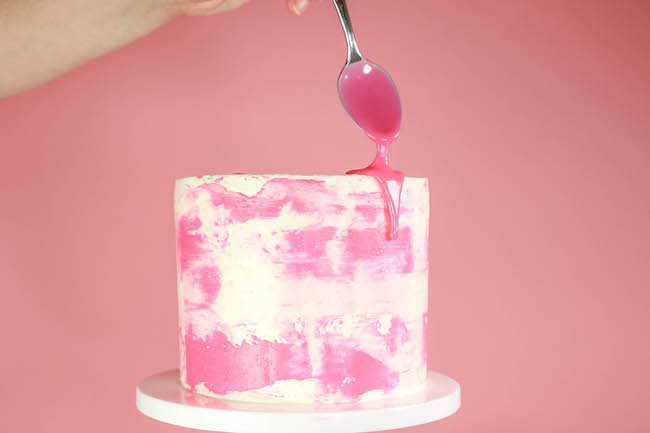
Step 4: Finish the cake
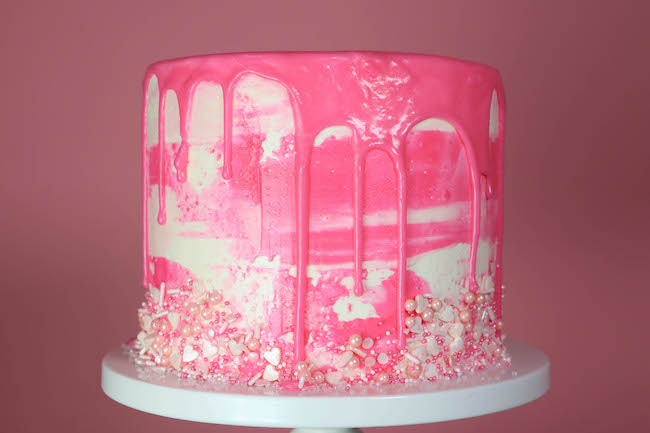
Pull the cake from the fridge. While it’s still firm and chilled, use a spoon to pour small drips of the ganache over the top edge of the cake all the way around.
Fill in the top of the cake with more ganache.
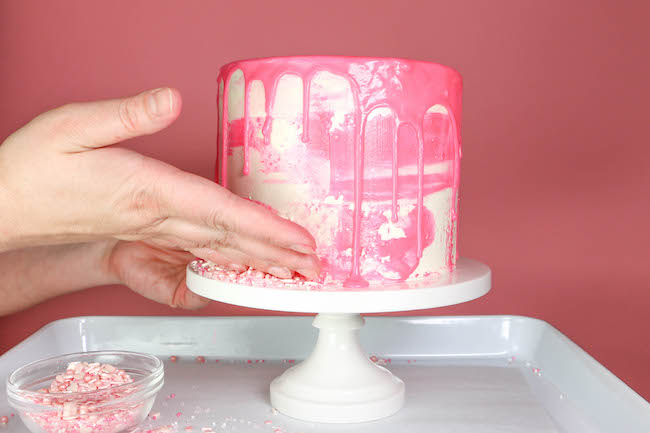
Place the cake on the same cookie sheet you used to make the letters. Scoop up a handful of sprinkles and press them onto the bottom edge of the cake. Repeat all around the cake.
Lift the letters off the parchment paper using an offset spatula. Press them into the ganache on the top of the cake. Prop the letters up with pieces of candy or lollipop sticks as needed.
Share tips, start a discussion or ask one of our experts or other students a question.
No Responses to “An Instagram-Worthy Baby Shower Cake”