
Milling wood flat and square is the most important step to doing good work, even though it may not be as exciting as making dovetail joints or making butterfly inlays. Without properly milling wood, you can’t hope to have the well-fitting joinery and smooth surfaces that fine woodworking demands.
In this post I’ll discuss the three main tools for milling wood: the jointer, planer and table saw — and a jack plane as a bonus.
Milling wood is the process of making a piece of lumber flat and square so it can then be made into furniture. The faces should be flat and smooth and all corners should be 90 degrees. In a typical board, there are six faces to be milled, with each one perpendicular to its adjacent faces and parallel to its opposite face. Let’s keep score as we go through the steps!
Score: zero faces complete out of six.
Check out the in-depth class on Craftsy that will show you everything you need to know about how to mill lumber.
Start at the jointer
The first step in milling wood is to flatten one face of the board. My definition of flatness is a board that sits perfectly solidly on a flat surface. It isn’t necessarily smooth, but it doesn’t rock or wobble at all. The most efficient tool to achieve this level of flatness is a jointer.
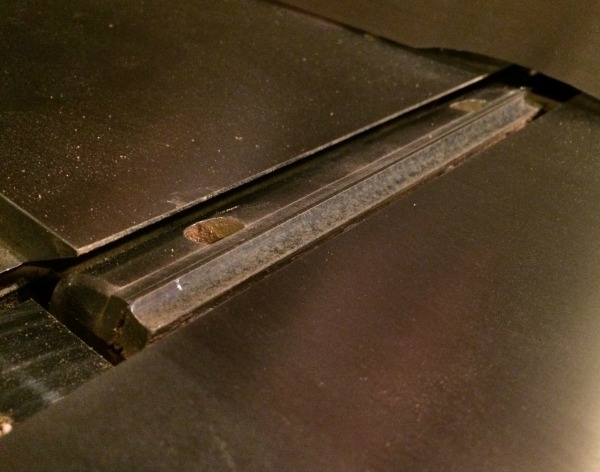
A jointer is a machine with a cylindrical cutting head between two tables, the infeed on the right and the outfeed on the left. The two tables must be perfectly parallel or co-planer to each other and to the knives on the cutting head. The outfeed table is set to exactly the same height as the knives. The infeed table is set slightly lower (but still parallel) to the level of the outfeed table. This difference in height is the depth of cut for the jointer, so you adjust the infeed table up and down to set the depth.
Taking a few passes over the jointer will make quick work of flattening a board. After you flatten one face, hold it against the jointer’s fence, which is 90 degrees to the tables, to flatten the edge of the board. This will make these two faces perpendicular to each other. Below you’ll see a close-up of jointer cutter head with infeed table to the right and outfeed table to the left.
Score: two faces complete out of six.
Detour with a hand plane
If the board you are trying to flatten is wider than your jointer or you don’t have a jointer, you’ll have to employ another method for flattening it. Start by placing your board on a flat surface, like the top of a table saw. Press down on all the corners. The amount of wobbling or rocking translates to the amount of material you’ll have to remove until the board sits flat.
Mark the high spots with a pencil and take a few passes over them with a plane. A jack plane, usually about 14” long, is my choice for this operation. Check the board again on the flat surface. If it doesn’t move, you’re done. If it does, keep removing material in small increments until the board is flat.
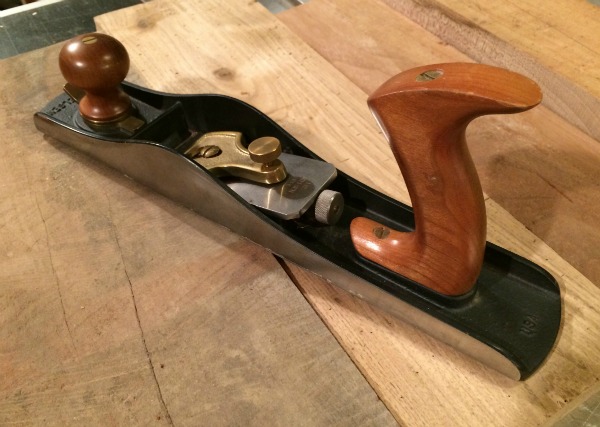
This Lie-Nielsen Low Angle Jack Plane is perfect for flattening small boards.
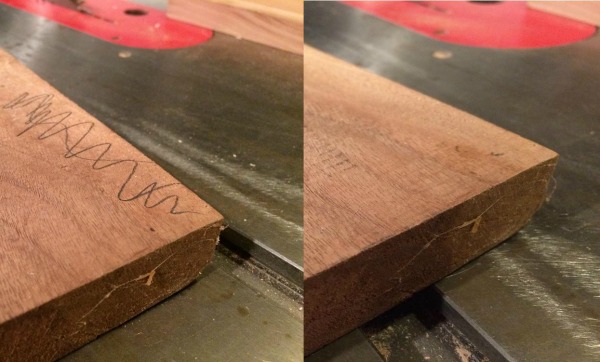
Mark the high spots on the board, then plane them away.
Proceed to the planer
The next machine to use is the planer. The planer, like the jointer, also has a cylindrical cutting head, though its knives are often wider than those of a jointer. A standard width for planers is about 13”. They get wider and more expensive from there.
The planer’s job is to cut a flat face parallel to its own table. The board must be perfectly flat before it goes through the planer. If the board were to have a bowed shape, for example, the planer would duplicate the bowed shape and the faces would not be flat and parallel.
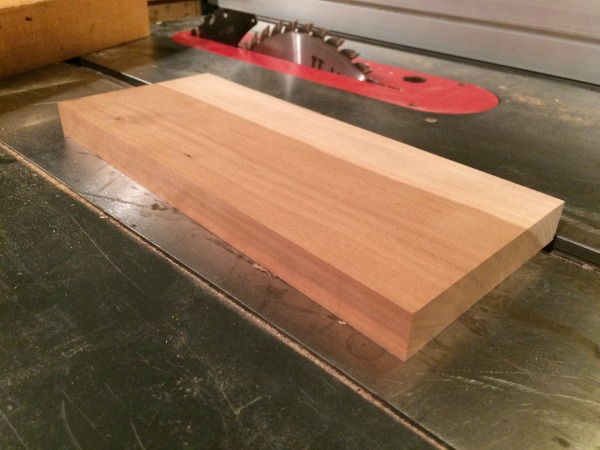
Note: The board doesn’t have to be perfectly smooth when it goes through the planer — it just has to be flat. Once you’ve cut the new face parallel to the original face, flip the board end-for-end and smooth the original face.
Score: three faces complete out of six.
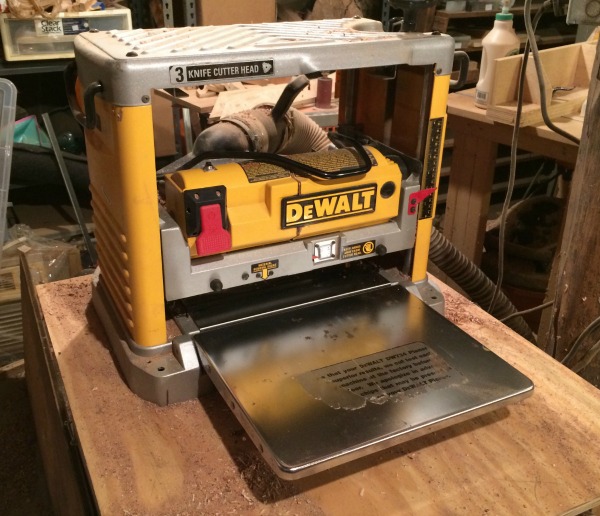
This DeWalt planer is about 13″ wide, perfect for smaller shops.
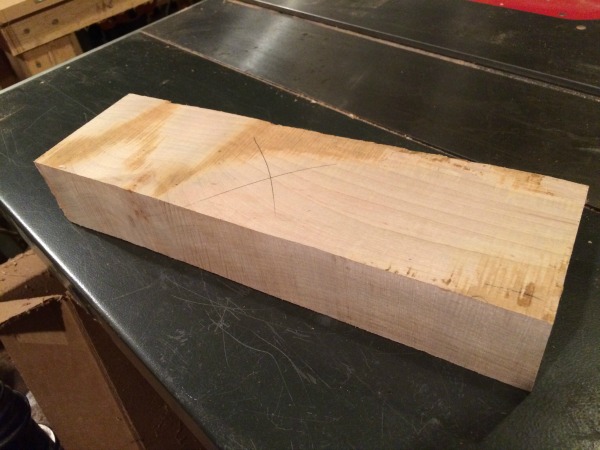
The piece of maple pictured above is an example of a board that is flat but not smooth.
Finish up on the table saw
We can now work on the remaining edges. Put the edge jointed perpendicular to the original face against the table saw fence. Make a rip cut on the opposite edge. Now the two edges are perpendicular to the faces and parallel to each other.
Score: four faces complete out of six.

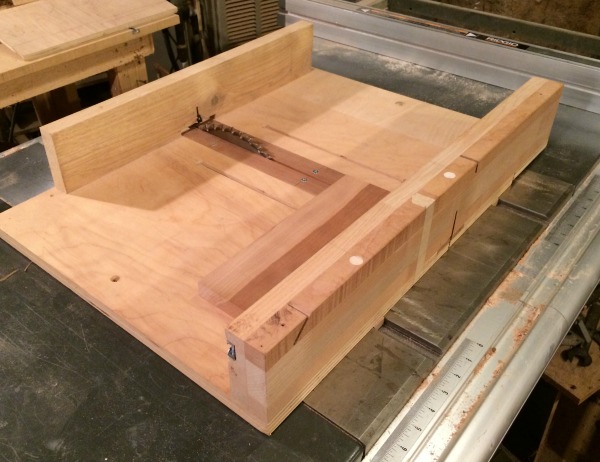
The two faces left to go are the ends of the board. I use a sled on my table saw to get reliably square cuts. The sled also helps me control the board better than a miter gauge. Cut one end square, then cut the board to length.
There you have it: six faces complete out of six!
When you get the hang of it, it’s easy to mill lots of boards in batches. While it isn’t terribly exciting, I find milling wood to be satisfying. The grain and figure of the wood begin to reveal themselves, and you can start to envision how it will come together in your furniture. Remember, the better you become at milling, the more all aspects of your woodworking will improve.
Elevate any project with wood you mill yourself! Think beyond the big box stores and maneuver lumberyards like a pro after taking Craftsy’s Milling Lumber: From Rough to Ready Wood class.
Share tips, start a discussion or ask one of our experts or other students a question.
No Responses to “Essential Supplies: Top 3 Tools for Milling Wood Explained”