
Tackle your free-motion projects with newfound confidence! Enjoy tried and true tricks that will take you step-by-step through an approachable machine quilting process to set you up for success.
Explore 5 essential tips for improving your free-motion skills today.
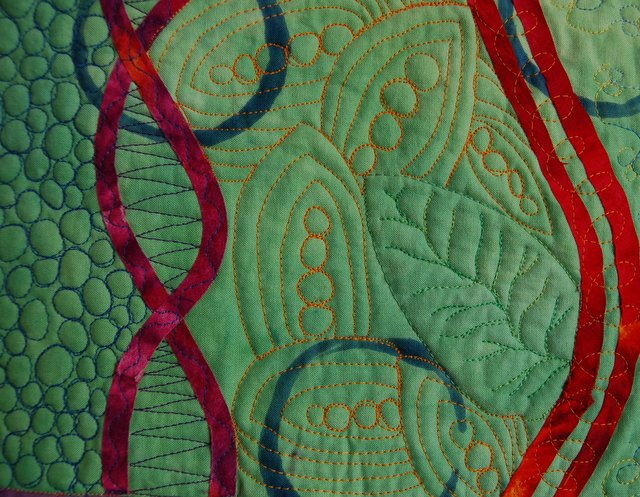
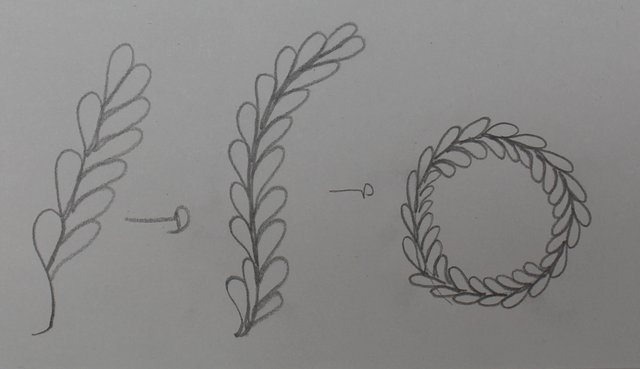
1. Plan your design.
Once your quilt top is finished, play around with a sketchpad and pencil; doodle several designs that might work on your quilt. Remember different areas of your quilt can feature different free-motion designs. Once you pick what you like, fine tune it on your sketchpad and keep it near your machine for reference.
It is always a good idea to take a pencil and draw the free-motion quilt stitch you are going to do for a particular area of your quilt, several times. Remember to do it without lifting the pencil off the paper! This allows your hands the practice of the movement and allows your brain to register what is going to happen. Once you have done this, grab a scrap of fabric and practice doing the design on the machine until it feels comfortable to you, then free-motion on your quilt.

2. Create a smooth surface area.
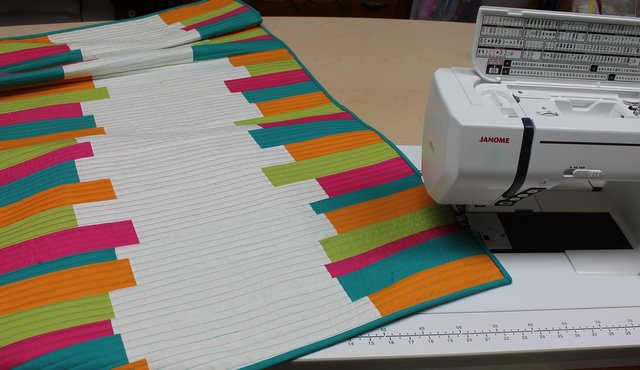
The more area you have to support the weight of your quilt as it sits under your machine, the easier it is to free-motion quilt it. You want the same height as the table your machine is on (or slightly lower) and a smooth surface so your quilt can move on it freely. One way to create a smooth surface is to cover it with laminate. By having additional tables behind and to the left of your sewing machine so that your quilt can rest on it will make your free-motion quilting easier and produce better quality stitches as the quilt is not being pulled one way or the other due to the stress of the weight of it.
3. Load up a few bobbins ahead of time.
There is nothing worse than running out of bobbin thread in the middle of free-motion quilting when you have the whole quilt under the machine! To save time and frustration, have a few bobbins already full so that you can just lift the quilt up and slide a fresh bobbin in and continue to quilt along. Also if you use the same thread in both top and bottom, if you have any tension issues either with your machine or due to your speed, they are less likely to show if top and bottom threads are the same colors.
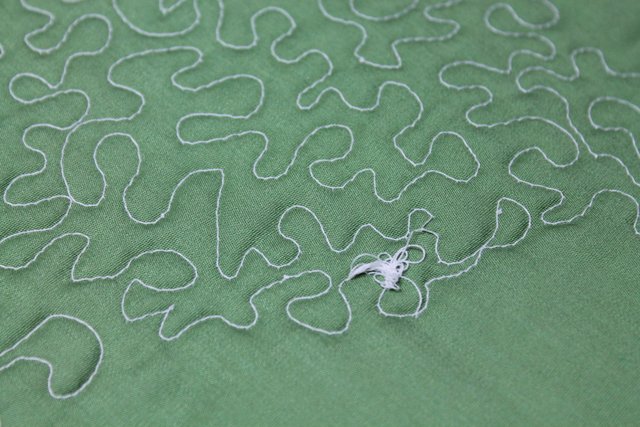
4. Pull your bobbin thread up to the surface when you start.
Imagine finishing a section of your quilt that looks stunning on the top only to turn it over to find a big thread nest where you started free-motion quilting? Eliminate this awful situation by lowering your needle, bringing it back up and pulling your bobbin thread to the surface to start. When you are done quilting, take a needle, and thread both the top and bobbin thread and bring to the back and bury. It looks neat and tidy and avoids those dreaded thread nests!
5. Start in the center and work your way out.
Roll or fold up your quilt so that you can start in the center to free-motion quilt. From here slowly work your way out to the edges. This allows any bubbles or places that didn’t get pinned securely to work themselves out to the edges. It also gives you the opportunity to get the most difficult part of your quilt under the machine and quilted while you are still fresh.
Bonus tip: Take breaks and have fun!
As simple as this sounds, try and do it. Consciously check your shoulders every five to ten minutes to make sure you are not tensing them. Take a break periodically and get up from the machine and stretch. Enjoy the free-motion quilting you are doing. Remember the more you do the better you are going to get!

Gain even more skills for expertly finishing your quilts at home! Begin with five easy walking foot designs and simple free-motion stitches, before graduating to complex free-motion patterns, when you join Wendy Butler Berns’ in her online Craftsy class Machine Quilting: Free-Motion and More.
Share tips, start a discussion or ask one of our experts or other students a question.
No Responses to “5 Must-Have Tips for Machine Free-Motion Quilting”