
Photographing buildings and man-made landscapes can be a satisfying art form for both the professional and the amateur photographer. It’s a beautiful thing when architects, engineers and builders can all come together to produce a giant 3-D and functional piece of art.
Being able to accurately and tastefully capture all of that work in photography is worth all the effort and typically much appreciated by the skilled workers that made it all happen. This is meant to be a quick-start guide to point you toward gaining the skills needed to make some great architectural images.
Here are six tips for architectural photography:
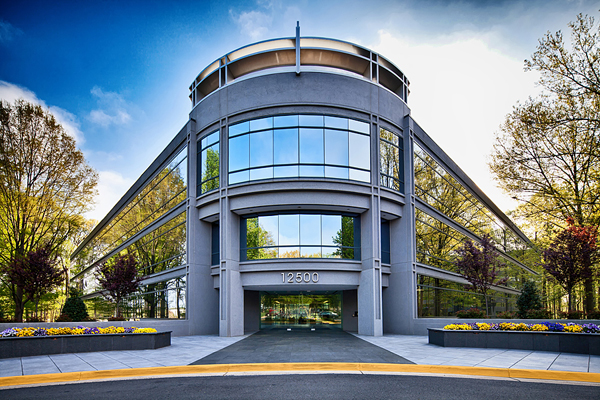
Pay attention to lines, shapes and space
When architects are dreaming up buildings, they are thinking about lines, shapes and the relationships people with have with the space. It will serve you well to look for these things while you are choosing what to frame up. In addition, these elements will give your photos strong visual pieces that the average viewer will find attractive. These simple, non-organic shapes easily act as focal points, leading lines and patterns to provide visual interest. The use of colored building materials can even amplify the effect of the shapes. If you aren’t sure what the most important features of the design are, try asking the architect or builders.
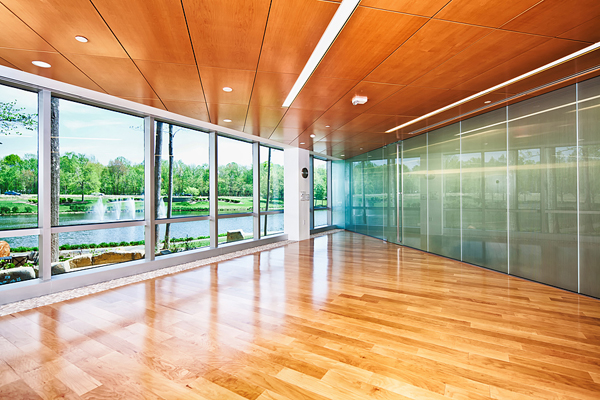
Use exposure bracketing for even tone
One difficulty in architectural work is needing to work within a huge range of light and dark areas. For exteriors, you may have a very bright sky plus very dark shadow areas of the building. For interiors, you may have a very bright window side of a room and a very dark wall side of a room. To work around the differences in light in different parts of your image you may need to take several different shots at different settings. For interiors, one shot exposed for the window and one shot exposed for the wall, for example. You would then paste the two together in a program like Photoshop. It is also possible to use HDR software to achieve a similar effect. Make sure to pay attention to your white balance if you are using multiple shots, especially if you are photographing multiple light sources like daylight from windows and tungsten lights from a lamp.
Get up early, stay late
For exterior shots, the best light in my experience tends to be right before the sun comes up and right after the sun goes down. This is when you will get the most color and texture out of the sky and when you will get the most even light on your building. You can also get a nice mixture of ambient light and any artificial lights that are part of the buildings exterior features. In the middle of the day the sky tends to be so bright that it looks white against your building and the shadows are so harsh that it’s difficult to see any detail.
Lens choice
Eighty percent of the time I will use a tilt-shift lens in order to shift the composition while keeping the vertical lines from having a skewed perspective. For tall buildings, unless you are shooting from a great distance, this kind of lens is essential. If you do not have access to a tilt-shift lens, it is possible to use a wide angle lens and cheat in Photoshop. Take your digital image and in the menu go to Edit -> Transform -> Perspective. This will allow you to manipulate the perspective, but may degrade image quality. If I am able to shoot from a distance, I will sometimes use a telephoto lens because the perspective does not appear all that skewed.
Use a tripod
Since the building is not going anywhere, you can use a tripod and carefully compose your shot. Make sure your lines are level. If you are exposure bracketing, the tripod ensures that your framing doesn’t change and makes it easier when you go to layer the images over one another.
Show scale
It’s difficult to tell how large a building is without recognizable features to help us visualize the size. Try to include a person or two in the image, a vehicle or even just a standard doorway. This will help the viewer understand the magnitude of the structure and to visualize the space.
Share tips, start a discussion or ask one of our experts or other students a question.
No Responses to “6 Top Tips for Architectural Photography”