
For a beginner, figuring out how to start amigurumi can be a little scary. Amigurumi has so many pieces and variations that a stitcher can quickly become overwhelmed and abandon the project altogether.
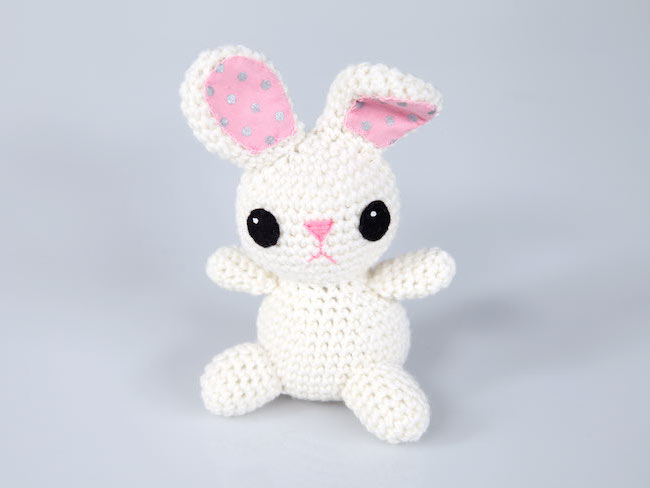
Bridgit Bunny pattern via Stacey Trock’s class Kawaii Amigurumi Crochet: Adorable Animals & Friends
Before you run away in fear, remember that starting any project can be frustrating. Once you figure out how to start your amigurumi, though, you’ll breeze through the patterns. Before you know it, you’ll be an amigurumi pro. (You might even become addicted — don’t say we didn’t warn you.)
FREE Guide! Crochet Cute Amigurumi Critters
Crochet your own adorable fluffy friends with essential tips and techniques.
When getting started with amigurumi, keep these tips in mind:
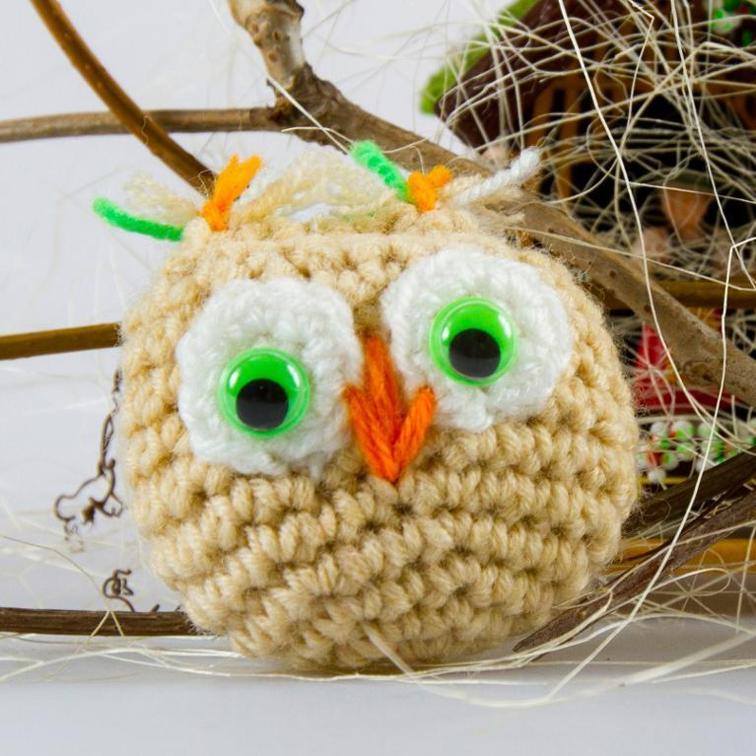
Photo via Bluprint member Pointelle Shop
1. Start small.
Amigurumi patterns can get pretty involved, with animals that have multiple limbs (think octopus!) and embellishments. For your first project, start with something small that doesn’t have a lot of assembly or fancy extras, like this cute little Owl Amigurumi. (It’s a free pattern!)
2. Brush up on basic stitches.
Most amigurumi patterns use basic stitches like chain, slip stitch and single crochet. Before you begin, just brush up on the basic stitches and make sure you’re familiar with them.
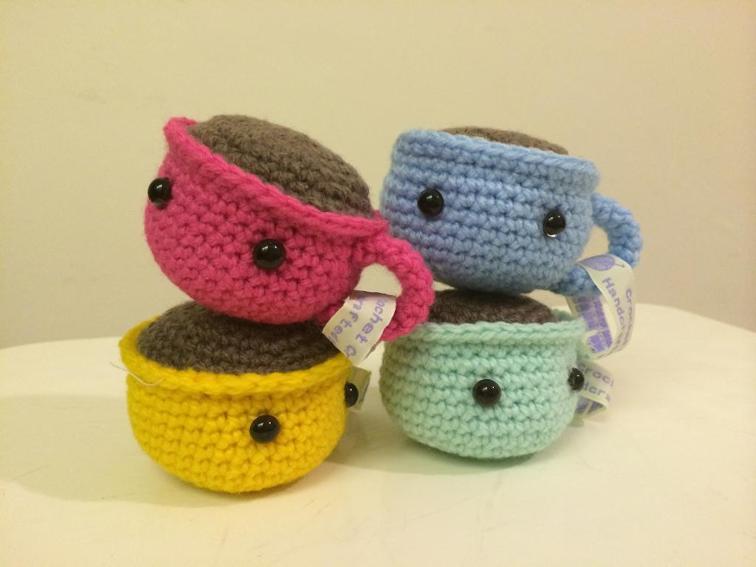
Photo via Bluprint member Jess P.’s Pattern Store
3. Choose a washable yarn.
If you’re making the amigurumi for a child, you’ll definitely want to use a yarn that’s washable. Acrylics and cottons are both good choices for toys. The free Amigurumi Baby Coffee Cups pattern pictured above are made of 100 percent acyrlic, so they’re very easy to care for.
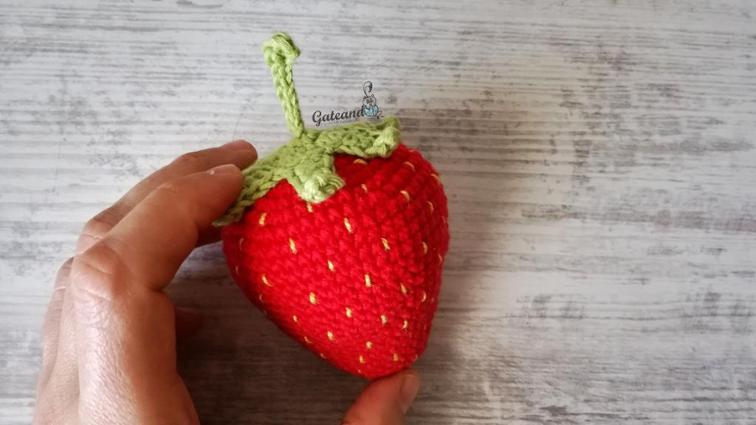
Photo via Bluprint member Gateando Crochet
4. Practice seaming.
Most amigurumi patterns do require a bit of seaming to assemble the different parts. Sometimes that assembly can be as simple as stitching an arm to a body. No matter how simple, be sure to brush up on the basics of seaming to make sure your amigurumi looks neat once it’s all put together. The tapestry needle will be your new best friend!
This free Strawberry Amigurumi pattern is a great little intro to seaming since it just involves connecting two pieces.
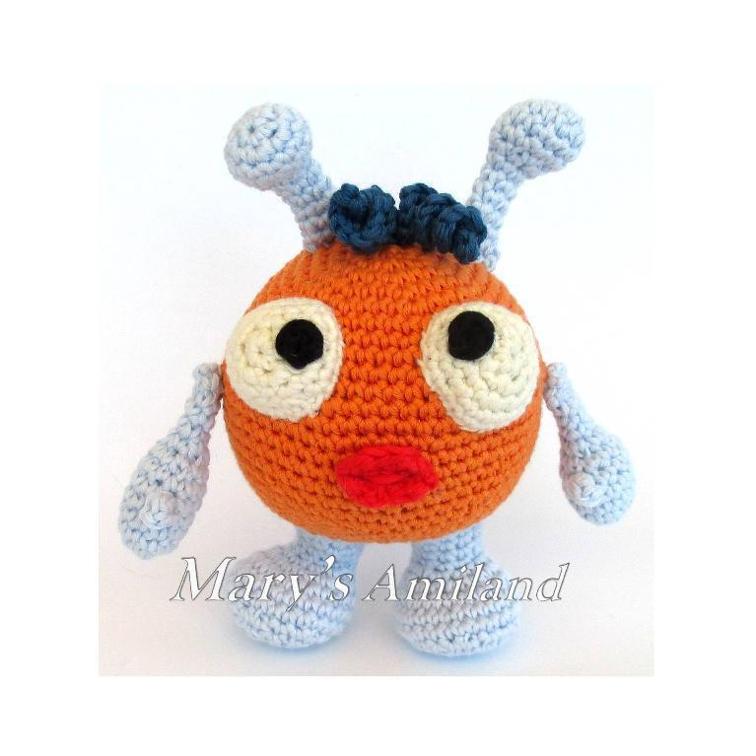
Photo via Bluprint member Mary’s Amiland Amigurumi Patterns
5. Check out different facial features.
Felt, embroidery floss, buttons, safety eyes — there are lots of options for facial features like the amigurumi eyes, noses and mouths. Your pattern will probably specify what to do, but keep in mind that safety eyes are not recommended for small infants. For more options, check out 5 Types of Amigurumi Eyes.
If you want specific instructions for really fun facial features, download the free Bubble the Ami pattern pictured above.
6. Don’t totally ignore gauge.
Some amigurumi patterns note that gauge isn’t important, but that doesn’t mean that you should totally disregard it. In amigurumi, what’s more important is that your stitches aren’t so loose that you have holes for stuffing to escape from.
Instead of worrying about stitches per inch, just check out your stitches. Are they leaving large, open gaps? If so, you might want to try a hook that’s one size smaller.
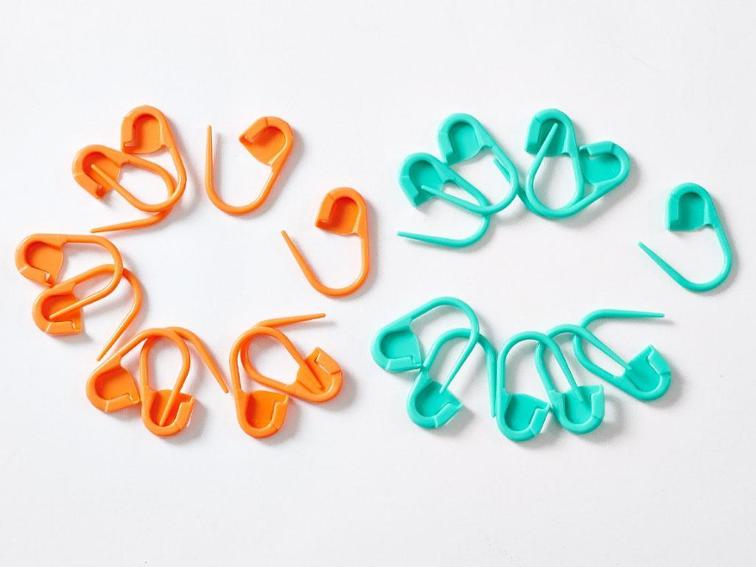
7. Use those stitch markers.
Marking the beginning of the round, whether you’re working in continuous rounds or rounds that are joined by a slip stitch, can help you keep track of where you are in the pattern. It can also help you keep your stitch count on track.
When you’re choosing a stitch marker, go for stitch markers that you can move around, like the Clover Locking Stitch Markers pictured above.
8. Stuff like a pro.
Stuffing your amigurumi might seem like the easiest step, but when you’re first getting started you’ll discover that there are a few tricks you can use to make stuffing even easier.
First, stuff as you go. Don’t wait until you’ve stitched the amigurumi’s entire head and then try to cram all the stuffing into one small space. Stuffing as you go makes sure everything is evenly stuffed, and it prevents you from having to poke and prod at the pieces.
Do you have any tips for getting started with amigurumi? Leave your tips in the comments!
FREE Guide! Crochet Cute Amigurumi Critters
Crochet your own adorable fluffy friends with essential tips and techniques.
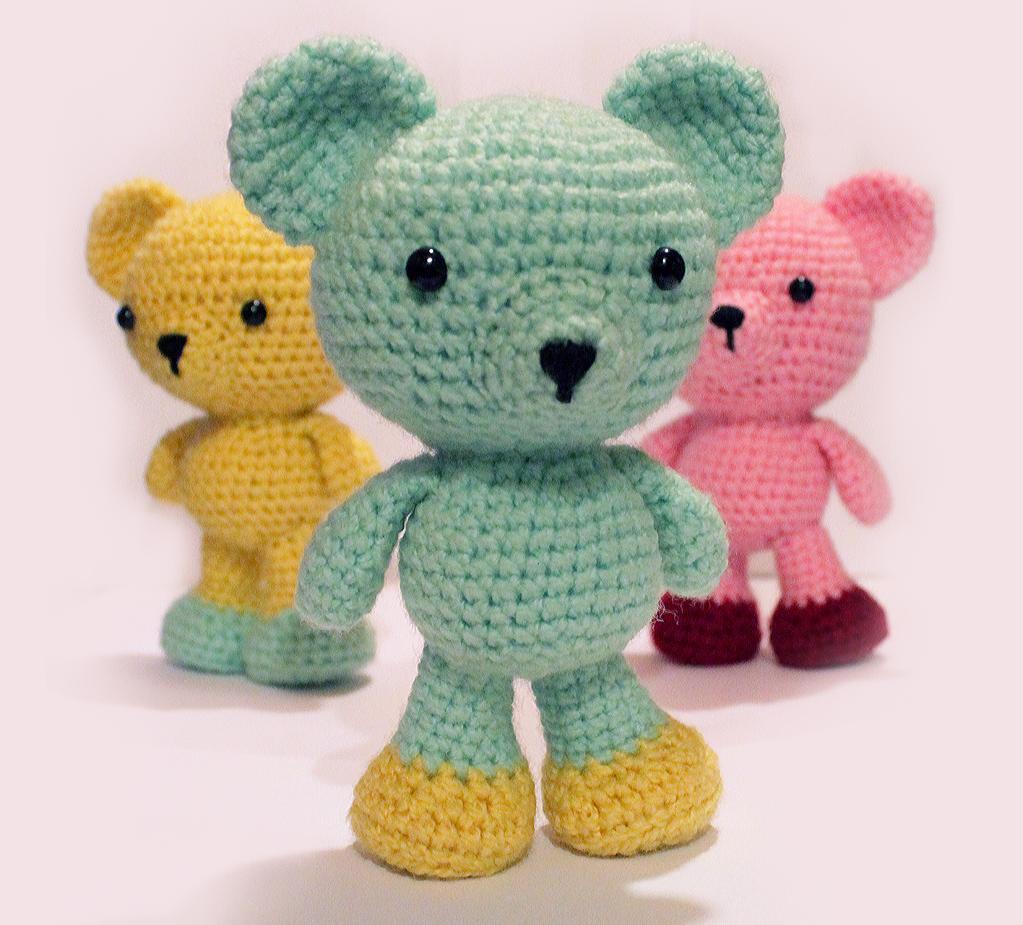
Where could I find the pattern for the pastel colors bears?
These are great tips! I would just add to read through the entire pattern steps first before starting. This will make sure that you have all the materials needed beforehand, as well as knowing when certain markers are needed and why (like marking off where arms, eyes, legs, etc.) should be attached later. Also, if you are working on a somewhat larger amigurumi with alot of rounds, keep a piece of paper and pencil nearby so when you finish a row/circle, make a note of it.