
Is your yarn stash full of single skeins and partial skeins that you’ve been putting off using? These take up a lot of space and can prevent you from buying the yarn that you really want. That’s what today’s Spring Cleaning Challenge is all about — finally making your way through those skeins you’ve had forever.
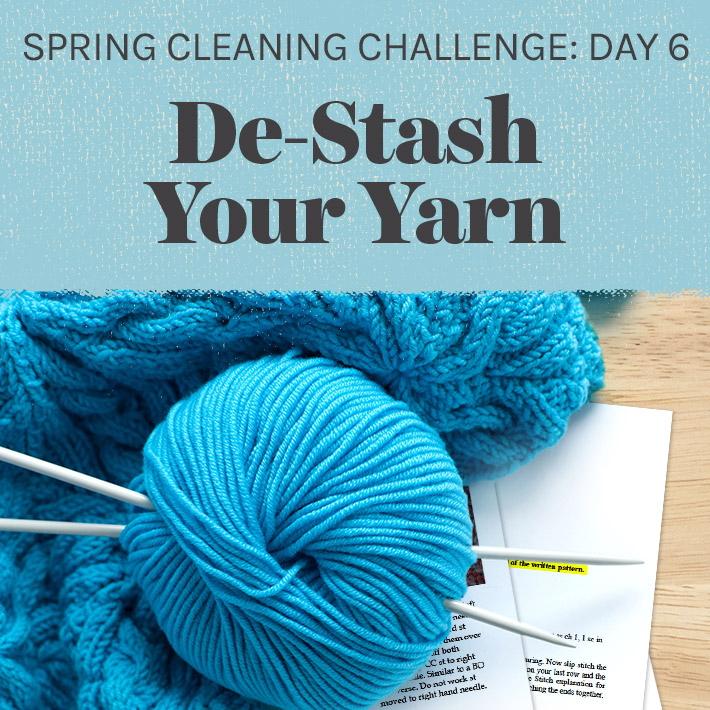
Stocking up on yarn can be a good idea, but sometimes you just aren’t inspired by what’s in your stash — and then you can’t justify getting yarn that does make you yearn to create new things. We have the solution: a simple plan for de-stashing your yarn to make space for more creativity!
Step 1: Organize your yarn
Before you can use up all of your extra yarn, you need to know what you are working with. First things first: Take all of the yarn out of every nook and cranny where it is stashed and lay it out for your eyes to see.
First, separate the awkward bits of scrap yarn (you can get our tips for using up those here). Today, we’re only working with the full or partial skeins that you can really make something with.
Organize all the yarn by the following categories:
- Fiber type. Put the cotton with the cotton, the wool with the wool, T-shirt yarn with other T-shirt yarn.
- Weight. Within each category, further separate the items by weight. For example, you’ll sort wool into bulky wool, worsted weight wool, DK weight wool, etc.
- Color. Now you have piles of like-with-like. If you still have a lot of yarn in each pile, then you can further separate each pile into colors. For example, separate your worsted weight wool by color so each pile is a different color of worsted weight wool.
Almost all knit and crochet projects use the same fiber and weight throughout the project, which is why you want to separate the yarn this way.
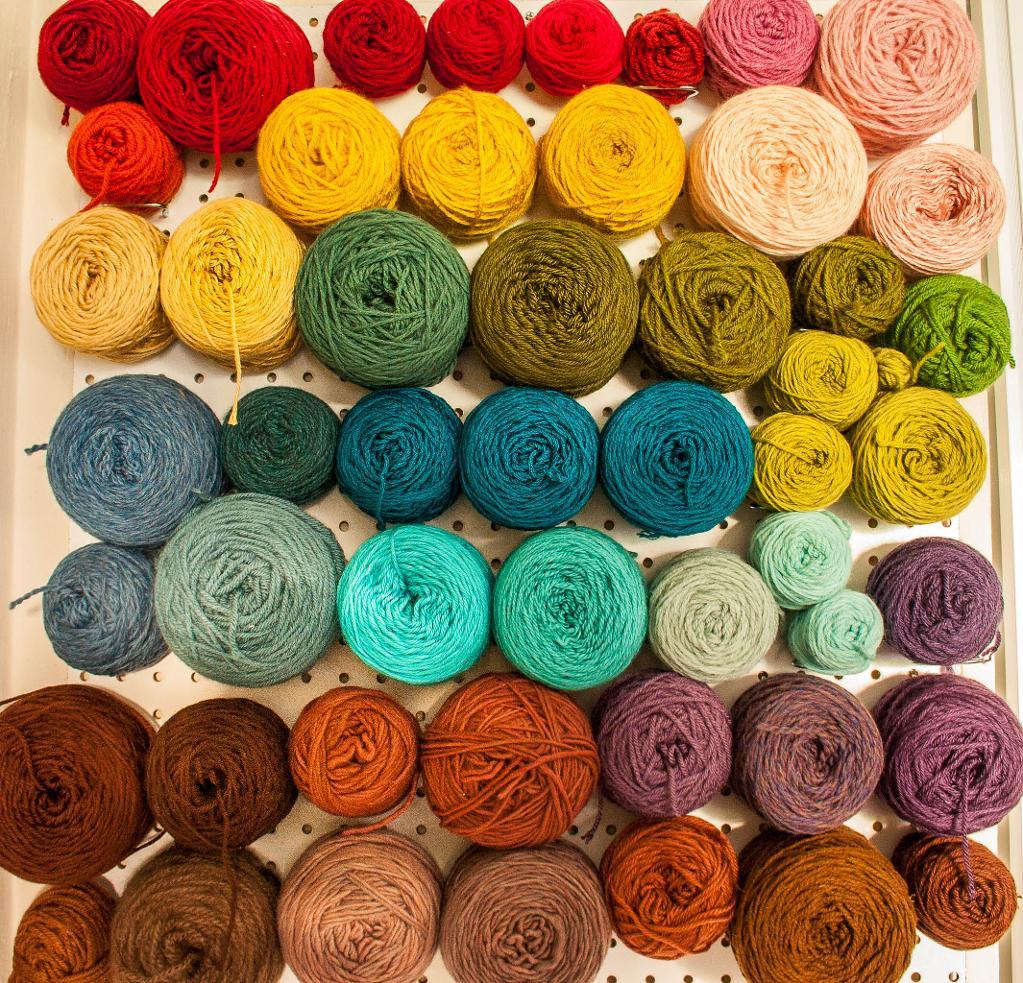
Image via Craftsy member JillPoof
Step 2: Brainstorm project ideas
After sorting, you may discover that you have enough of one type of yarn to make a whole project. (Not sure if your yarn goes together? Get some tips from our guide to yarn substitution.)
When you decide on project ideas, organize each yarn set by placing it in a bag along with a pattern or a note. For example, put all of that worsted weight white wool yarn in one bag with a label noting what you want to make with it.
Make sure these are WIPs that you’ll really make, and create a plan for working through them. Then let’s deal with the rest of that yarn.
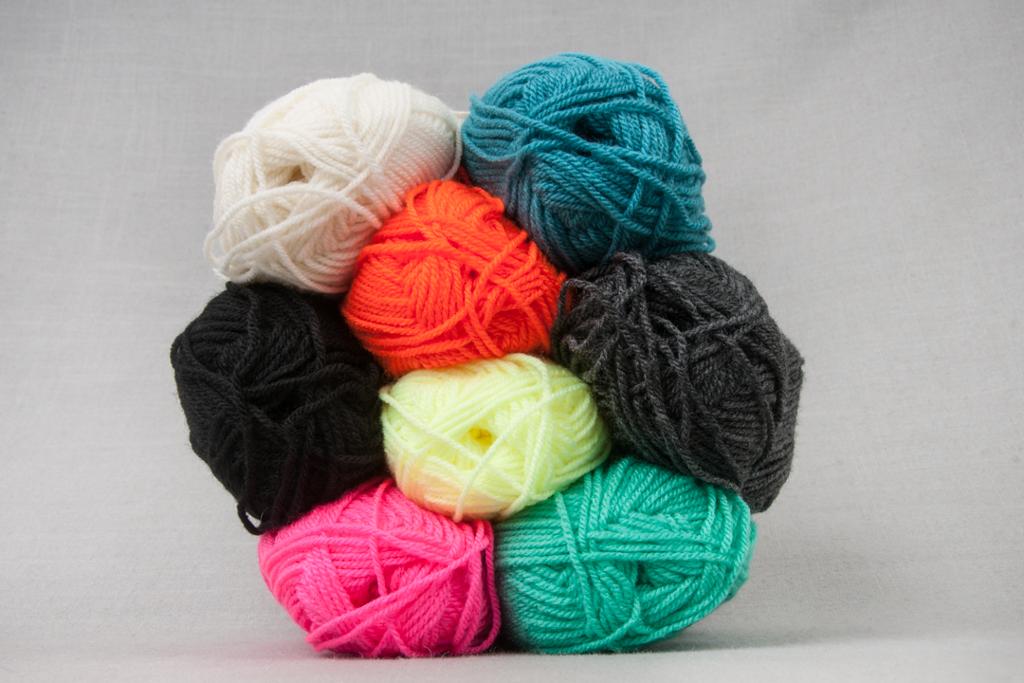
Schachenmayr Bravo Yarn
Step 3: Donations
Take a look at what is left in your yarn pile. Gaze across it with an eye toward yarn that makes you think, “yuck.” If the yarn doesn’t inspire you, there is no point in keeping it!
Make space for better yarn by donating the yarn that you really don’t enjoy. It may be an entire fiber type or it may be a certain color. Be honest with yourself about what you don’t like.
Put all of the “yuck” yarn, regardless of where you got it or how costly it was, in a bag. As soon as possible, donate this yarn to someone who will use it. Schools and church groups are examples of places that accept yarn donations.
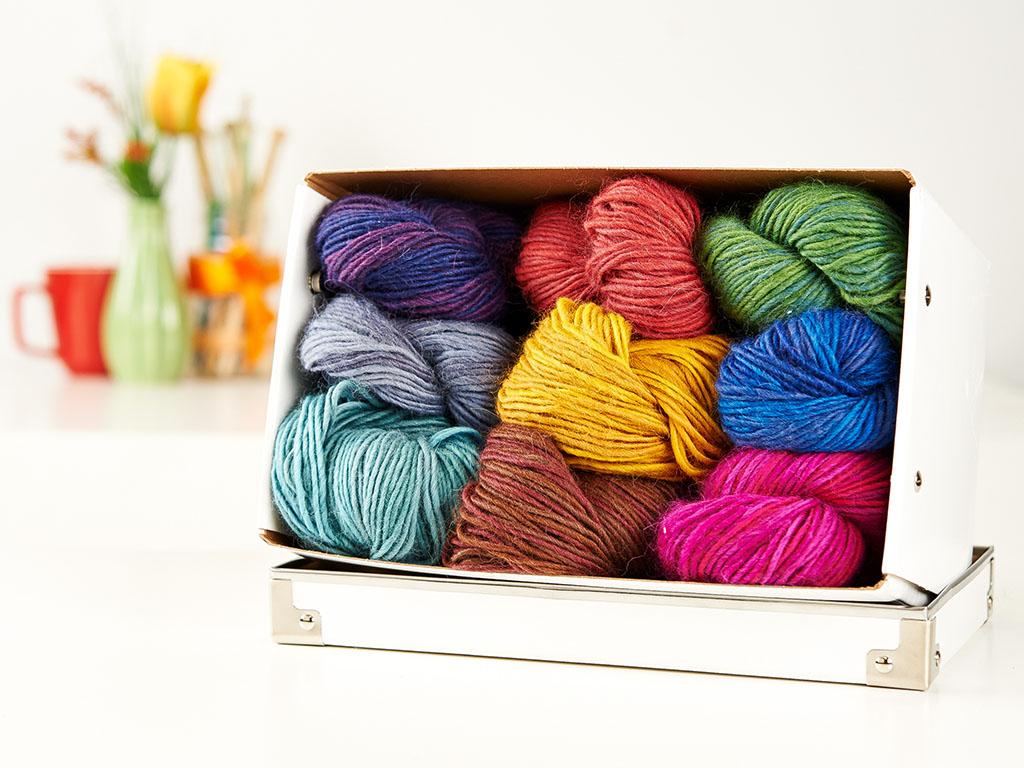
Rowan Alpaca Colour Yarn
Step 4: One-skein projects
By this step, you’re left with a bunch of single skeins of yarn (or mostly full skeins), so it’s time to start looking for one-skein knit or one-skein crochet projects that inspire you to use up this yarn. Browse through patterns, find a pattern for each yarn and add a label to that yarn with information about where to find that pattern. Begin working through these one-skein WIPs steadily until you’ve completed all of them. This is a great way to get a lot of holiday gifts made!
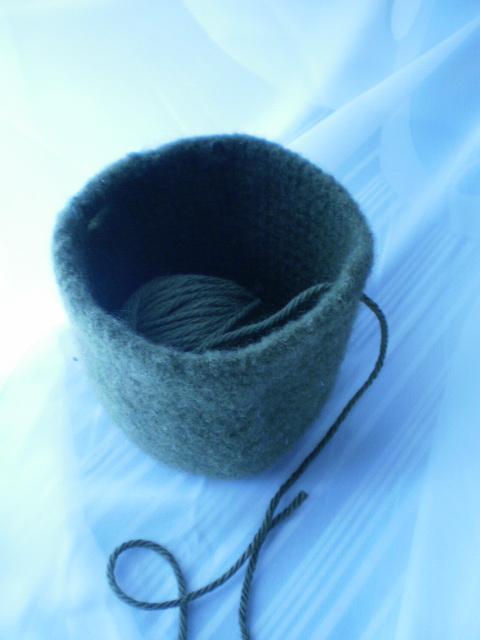
Image via Craftsy member Leila Cook
Step 5: Small yardage projects
You may still have some yarn left over that has enough yardage to make it worthwhile to you to keep it but not enough to use on a one-skein project. It’s time to look for knit and crochet projects that use a tiny bit of yarn — projects that use 25 yards of yarn or less. Here are some ideas:
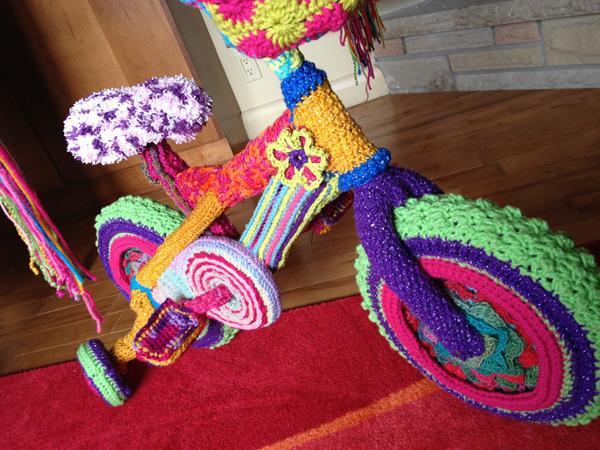
Image via Craftsy member TheCrochetCrowd
Step 6: Final scrap yarn projects
After all of this, if you still have some yarn left, it’s time to combine it all into one project. You may opt to make one scrap project that uses every yarn or one project for each yarn type, depending on how you feel about mixing fiber.
Need more ideas for using up scraps? Go back to our tips from Day 3.
The task may feel daunting now, but it will feel so good to get all of that old yarn out of your home. You’ll have a lot of tangible projects that show off your talents and skills to show for it, and you will have a lot of space to fill up with new yarn that makes you want to make something new!
Share tips, start a discussion or ask one of our experts or other students a question.
No Responses to “Spring Cleaning Challenge: 6 Steps to Clear Out Your Yarn Stash”