
If you’ve ever wanted a top or dress with sleeves that don’t feel too covered up, the split sleeve is a nice option. This easy sleeve variation adds a little spice to your wardrobe without baring more than you’d like.

If you have a tried-and-true top or dress pattern, you can swap in the sleeve for a whole new look. Plus, there’s no need to fit a new pattern!
Read to learn how to male a split sleeve with your pattern piece!
This modification works best with a lightweight fabric — think silk, cotton voile or gauze. Nothing too stiff like denim or sateen. It’s ideal for sheers and even lace. You can read a bit more about choosing fabric for clothes here.
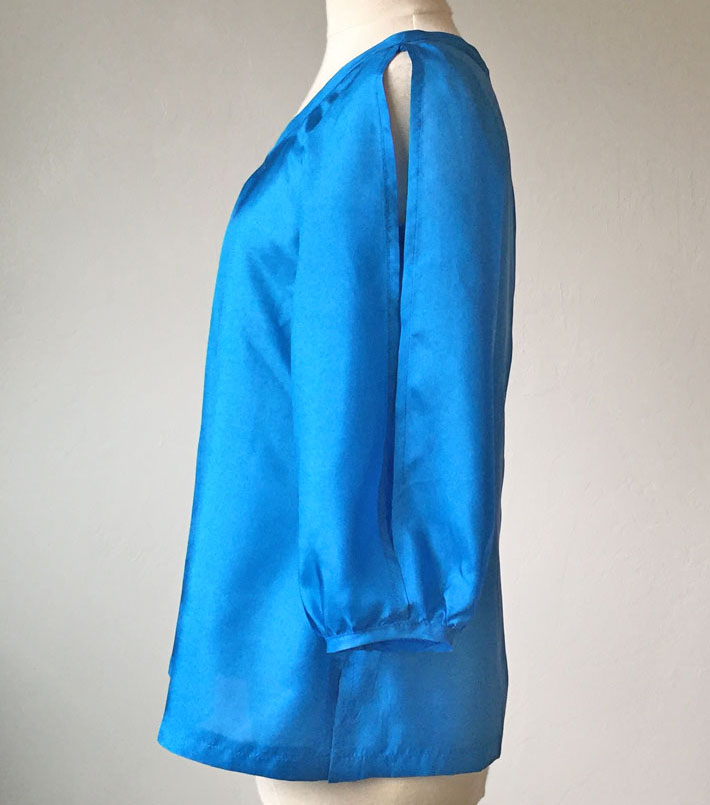
The sleeve shown here is a full sleeve gathered into a narrow band. This gives some fullness and flow to the shaping, so look out for a pattern with a sleeve that’s wide, or adapt the pattern to create some extra fullness. Here I used a standard sleeve pattern just to show how to add the slit effect.
Step 1: Create your pattern piece
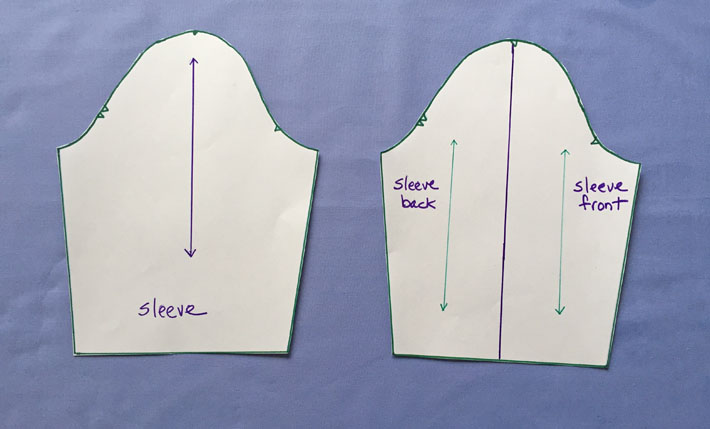
For any pattern manipulation, it’s a good idea to trace the original pattern piece and work with the traced copy, since you’ll be cutting it up. Trace the sleeve pattern piece, including the front and back notches, the grain line and the shoulder point.
First create parallel grain lines on either side of the pattern piece as shown above, since you will be cutting it in half. This ensures that the pattern pieces are still cut out on the fabric grain.
Then, mark the center point where you’ll cut the sleeve in half lengthwise, using the shoulder point and continuing to the bottom edge — again parallel to the grain. I find it helps to note the front and back portions in writing on the pattern pieces, just to avoid mixing them up.
Step 2: Add the hem allowance for edges
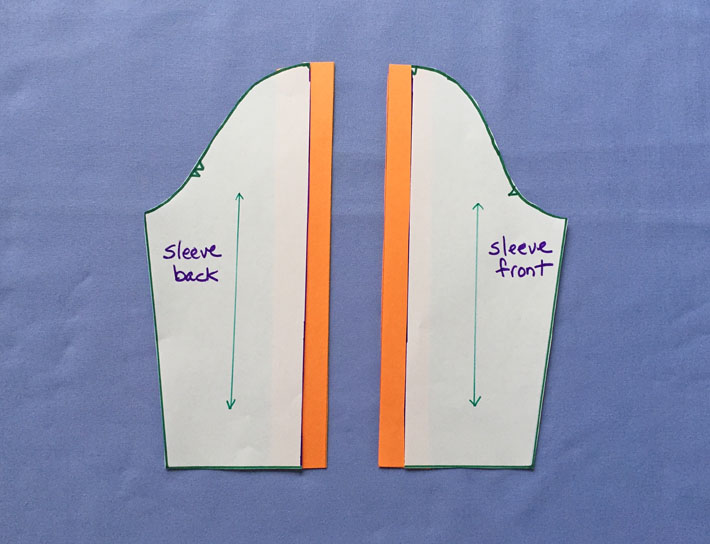
Cut the pattern piece into two along the line you drew, and then add a ½” hem allowance to each center edge. You will sew a narrow hem along that edge, which will be turned and pressed twice to make a ¼” stitched hem.
Step 3: Cut your fabric and sew the split hem edge
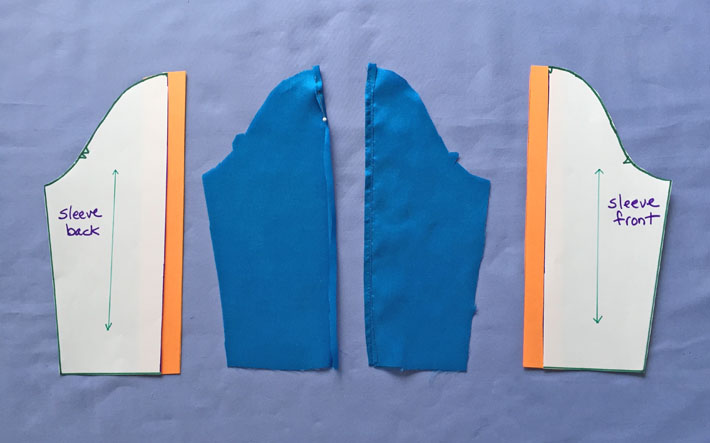
Cut out two of each sleeve piece, paying attention to the right and wrong sides of your fabric, as you want two mirror images sets of each other to work in the right and left sleeve opening. When working with sleeves, I find it helpful to keep all the pieces on the work area in front of me and make sure I have correctly created a right and left sleeve.
Once your pieces are cut out, press and stitch the long hem edge of the split opening.
Step 4: Attach at the shoulder dot
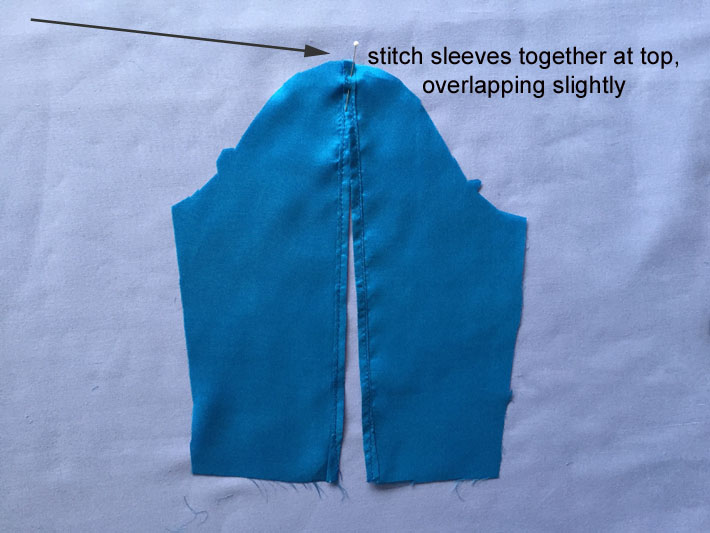
Once your sleeve splits are hemmed, then you can attach them at the shoulder dot. Overlap them slightly, just about ¼”, and then stitch them together.
At this point you may be removing a tiny portion of the sleeve ease, but it likely won’t change the insertion of the sleeve into the armhole. You can also tack the bottom of the split together.
Step 5: Sew the bottom edge
Sew the sleeve seam as usual and finish the bottom edge. In this case the sleeve was gathered into a band at the wrist.
For a short sleeve version, try adding the split to a flutter sleeve — there are lots of possibilities with this variation!
Share tips, start a discussion or ask one of our experts or other students a question.
No Responses to “How to Sew This Season's Trendiest Sleeves”