
In a recent post, I showed you how to use a jig to cut splines to strengthen your miters. This post shows how to make that jig.
Photos via wooden-box-maker.com
Materials needed
The jig requires two pieces of plywood approximately 10” x 16” to use as runners along your fence, a piece of plywood 10″ long x the width of your fence (plus a hair) to straddle your fence and two piece of wood at 1 ¾” x 1 ¾” x 10” to form the cradle that holds your workpiece, plus stock for a handle (optional). None of the sizes are essential except for your fence width, so these are ballpark figures.
Creating the spline jig
Step 1.
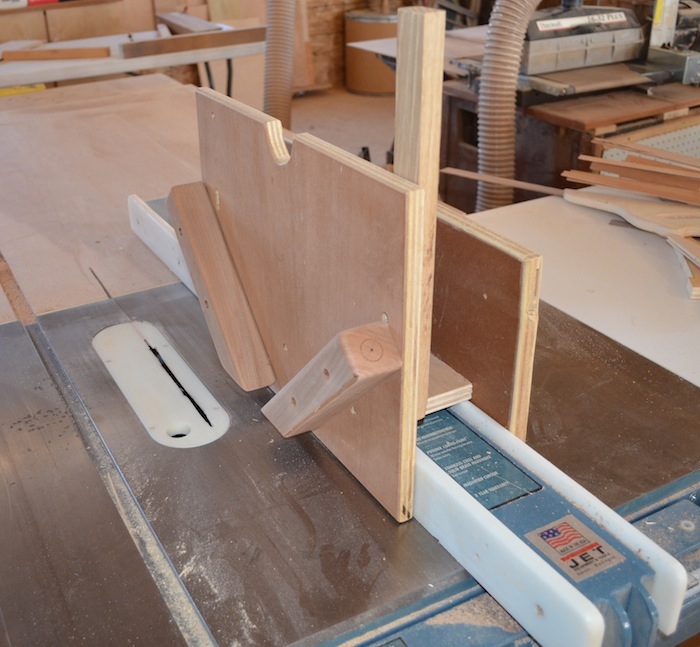
To make the jig, I began by cutting the larger two pieces of plywood to size and rounding over the edges. Then I ripped a piece of plywood that is exactly the width of my fence plus a hair and cut it to 10” long. This is the most important measurement of the jig.
Step 2.
You are going to attach the two pieces of wood (runners) with this one in between so that you can slide the whole jig along the fence. If you cut the piece too wide, the jig will wiggle from side to side and you will end up with sloppy splines. If it is too narrow, your jig won’t slide at all.
Step 3.
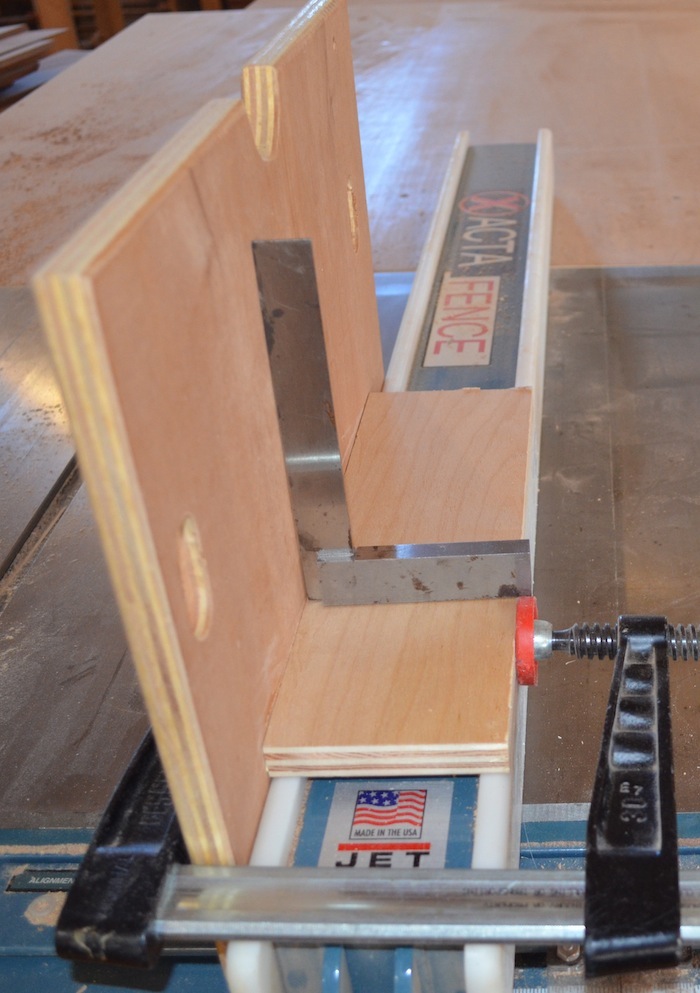
I placed the cross piece on the fence and marked where to attach it. Then I glued and screwed one side into place (you can use glue alone, but I didn’t want to wait for the glue to dry so I screwed it in place as well). Before attaching the second runner board, I waxed the inside of each where they will run against the fence and I added a handle.
Then I attached the second runner to the piece that straddles the fence.
Step 4.
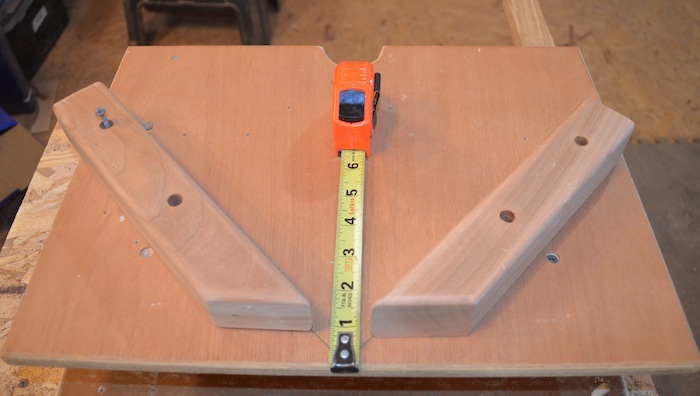
My next step was to use a square to draw two 45-degree angles from the center of the board to form a “V.” This marks where I will place the cradle that holds the work.

Step 5.
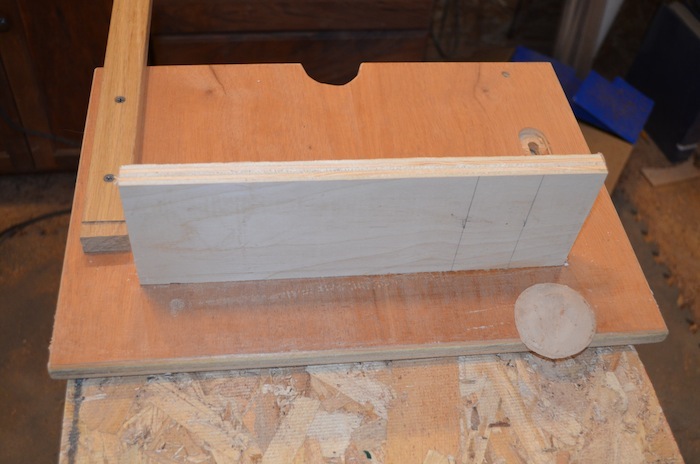
I cut two pieces of wood the appropriate length to match my line. I used 1 ¾” x 1 ¾” cherry that I had on hand, but you could double up two pieces of plywood if you wanted to get the thickness. I ran my wood over a joiner to make sure the faces were smooth and square, then I pre-drilled and counter sunk two screws in each.
When you do this step, keep in mind the maximum height of your blade. There may be times when you need to cut a spline that requires you to cut through your “V.” You don’t want to hit a screw when you do, so keep the screws up high.
Your jig is now complete. If you like you can add a handle to make it easier to push along, but it isn’t essential.
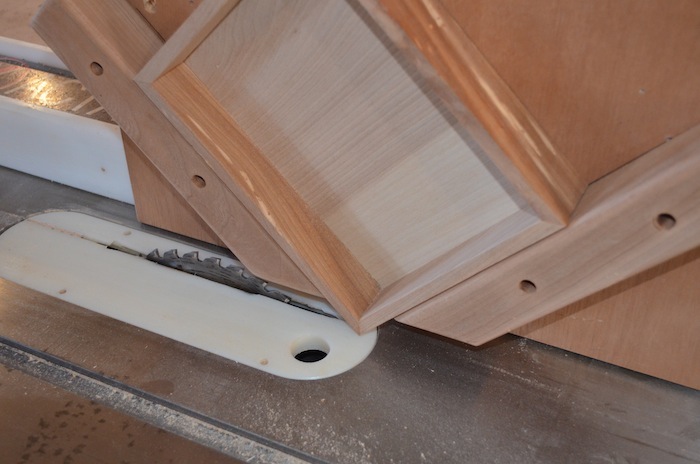
To use your new jig place your box in the “V” and set the blade height and distance from the fence.
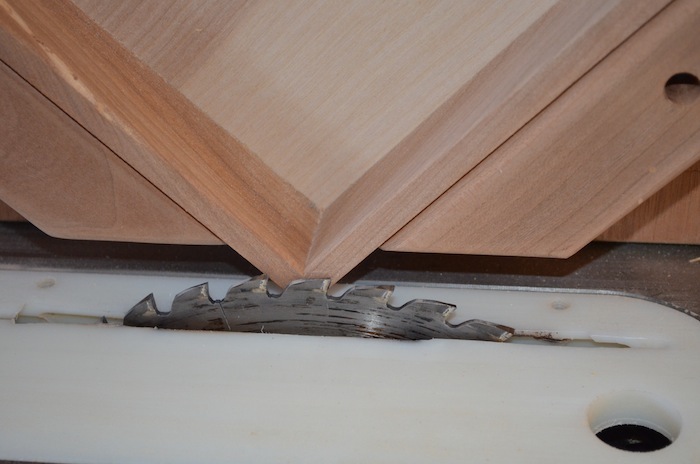
Carefully holding the box in place, push your jig along the fence through the blade and that’s all there is to it.
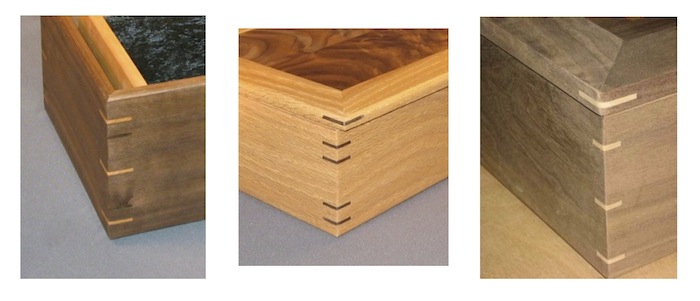
Be as creative as you like when arranging your splines.
Share tips, start a discussion or ask one of our experts or other students a question.
No Responses to “Make a Simple Jig to Improve Your Joinery”