
If you have taken the time to delve into the photography world, there is no doubt you have heard the term “rule of thirds” thrown around. So what exactly is the rule of thirds — and what can it do for your photography?
All Photos Courtesy of JustLeesha
This strategy brings the focus to the main subject of a photo. It’s versatile, too — you can use it in a traditional rectangular image or in the common square photos used on Instagram.

Odd cropping of an image (like an untraditional square) makes the visual less pleasing to the eye, but using the rule of thirds grid can help eliminate that problem. Let’s look at a few examples to show some excellent compositions that follow this rule.
Get started shooting!

Learn how to get the most from your camera, for photographs that help you build a body of work you’re proud to share and display.
Rule of thirds examples
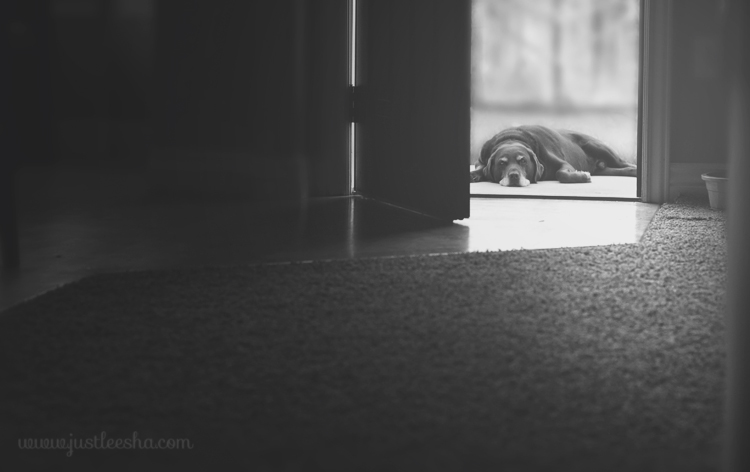
The example below doesn’t have the grids on, but it’s clear to see the focal point is the sweet labrador, who is lined up with the upper right intercepted lines.
Or my girls’ nursery rhymes book.

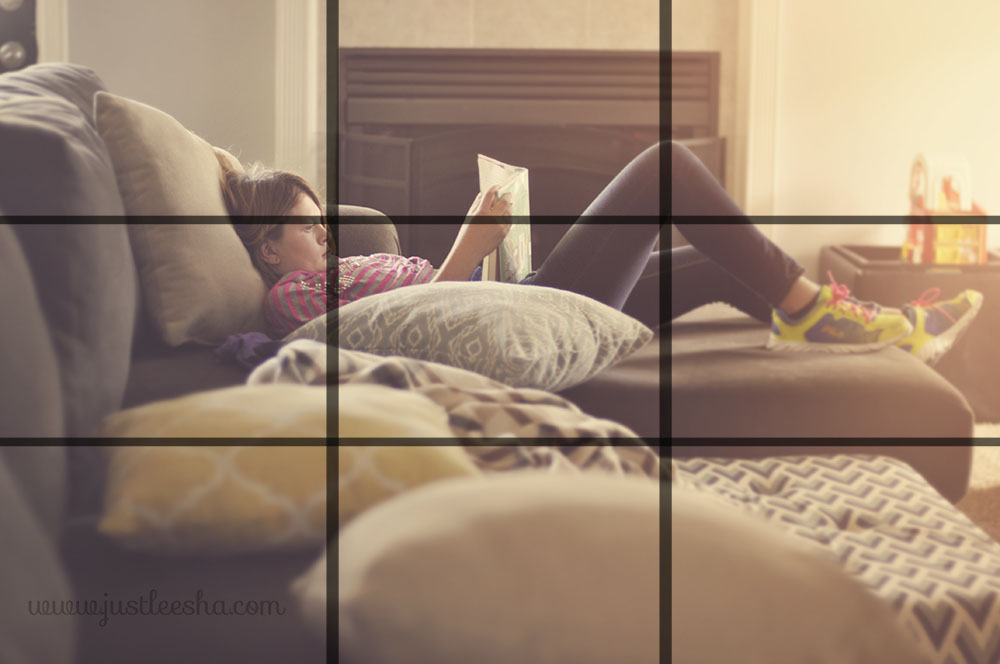
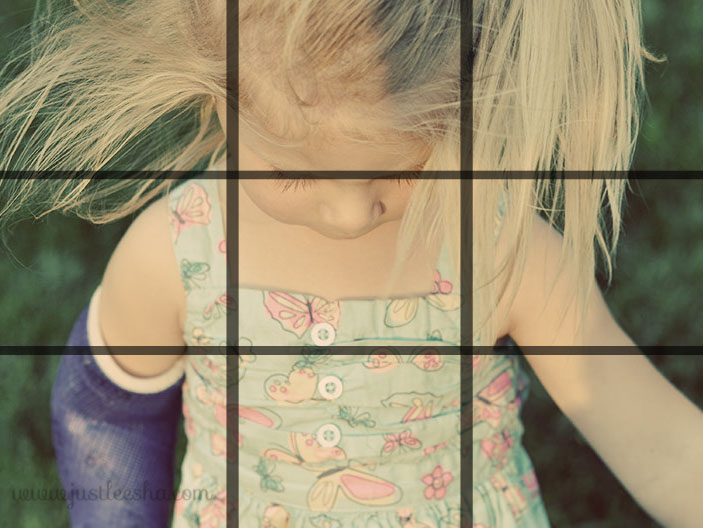
When a photo is centered vertically, the rule can still apply. Simply line up a focal point (like the subject’s eyes) along one of the horizontal lines. In this photo, I wanted to focus to be on my toddler’s lashes.

Here is another example of using a horizontal grid line as my guide. However, this time the focal point is on the lower horizontal, my three girls.

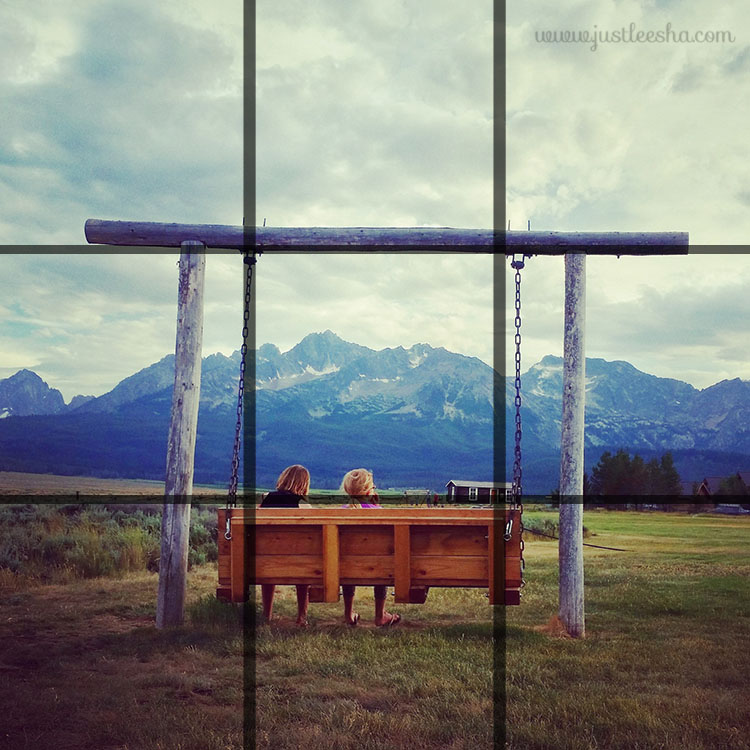
The rule applies to landscape photography, too. Placing the point where the sky and ground meet in the center of the photo cuts your photo in half — instead, place the horizon along one of the horizontal lines.

How to start using the rule of thirds
A great way to get started practicing the rule of thirds is setting a grid on your DSLR. Most have a built-in option that will show the grids on your screen or viewfinder (though not in the photo files).
However, if you’re looking to apply the rule of thirds to photos you’ve already taken, simply crop the photo accordingly. When editing in Photoshop, turn on a grid manually by going to: View > Show > Grid. Then, adjust the settings of your grid: Edit > Preferences > Guides, Grids. Adjust the “Gridline Every” setting to 100% and “Subdivisions” to three.
Overall, using the rule of thirds will help you achieve better composed and pleasing photos. But rules are meant to be broken — you don’t have to follow it each and every time. Still, learning how to properly use this rule will allow for a good foundation and once mastered, you can learn how to properly break it.
Get started shooting!
Learn how to get the most from your camera, for photographs that help you build a body of work you’re proud to share and display.
Share tips, start a discussion or ask one of our experts or other students a question.
No Responses to “Make Your Images Easier On the Eye by Following This Rule”