
If you’re a Craftsy addict, like me, you probably have several quilting projects in the queue at all times. Working on several things at once is thrilling and inspiring, but the truth is, it can be hard to organize and keep a handle on all those quilting projects.
Without a system in place, you might find yourself forgetting about once-beloved, half-finished quilts, as you shove them aside for the promise of the joy of starting something new.
Here, I’ll share two tips to keep track of the projects you’ve begun.
After trying these methods, you’ll find you finish more quilts each year, use the supplies you have, and enjoy a great sense of accomplishment in the skills you master along the way.
Tip #1: Use a projects-at-a glance planning page to list all your ongoing projects
First things first: Sit down with a cup of tea, and make a list of all the projects you are currently working on. Savor this quiet time. The simple act of putting a pen to paper to write down all your projects is motivating and inspiring.
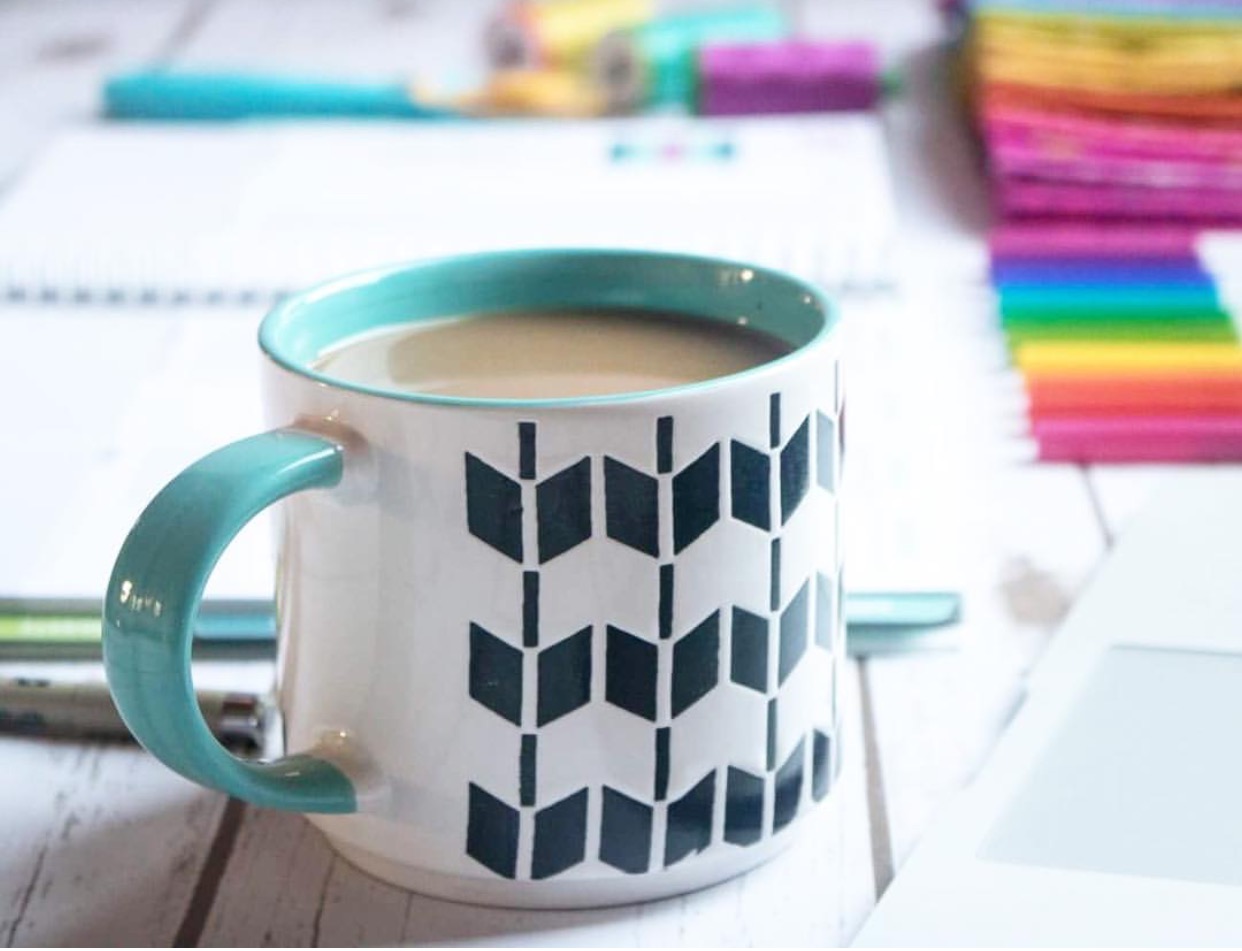
Photo by Quilter’s Planner photographer Kitty Wilkin, The Night Quilter.
You can design your own project tracking page, or you can use the one shown below in The Quilter’s Planner. Think through all your quilting projects, list their names, and consider when you’d like to finish them. Don’t be afraid — write down a deadline for each one.
This projects-at-a-glance page may be something you work on a little at a time as you remember and find things you started that you had completely forgotten about!
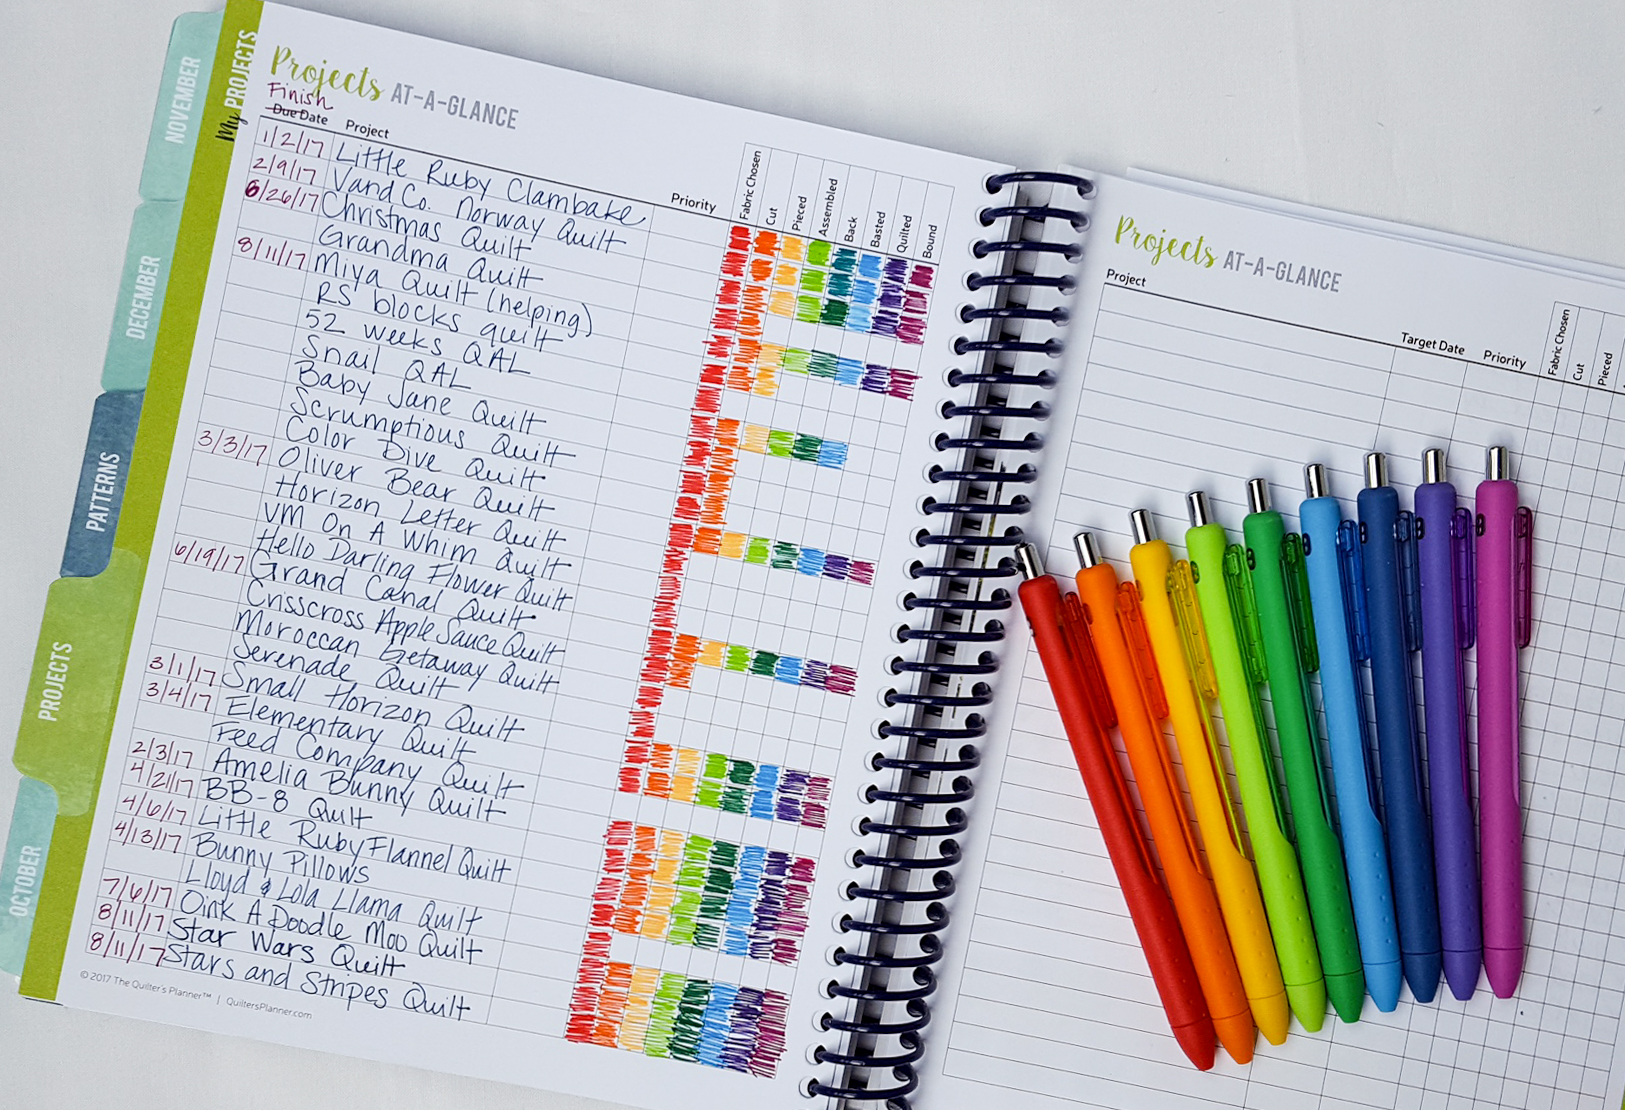
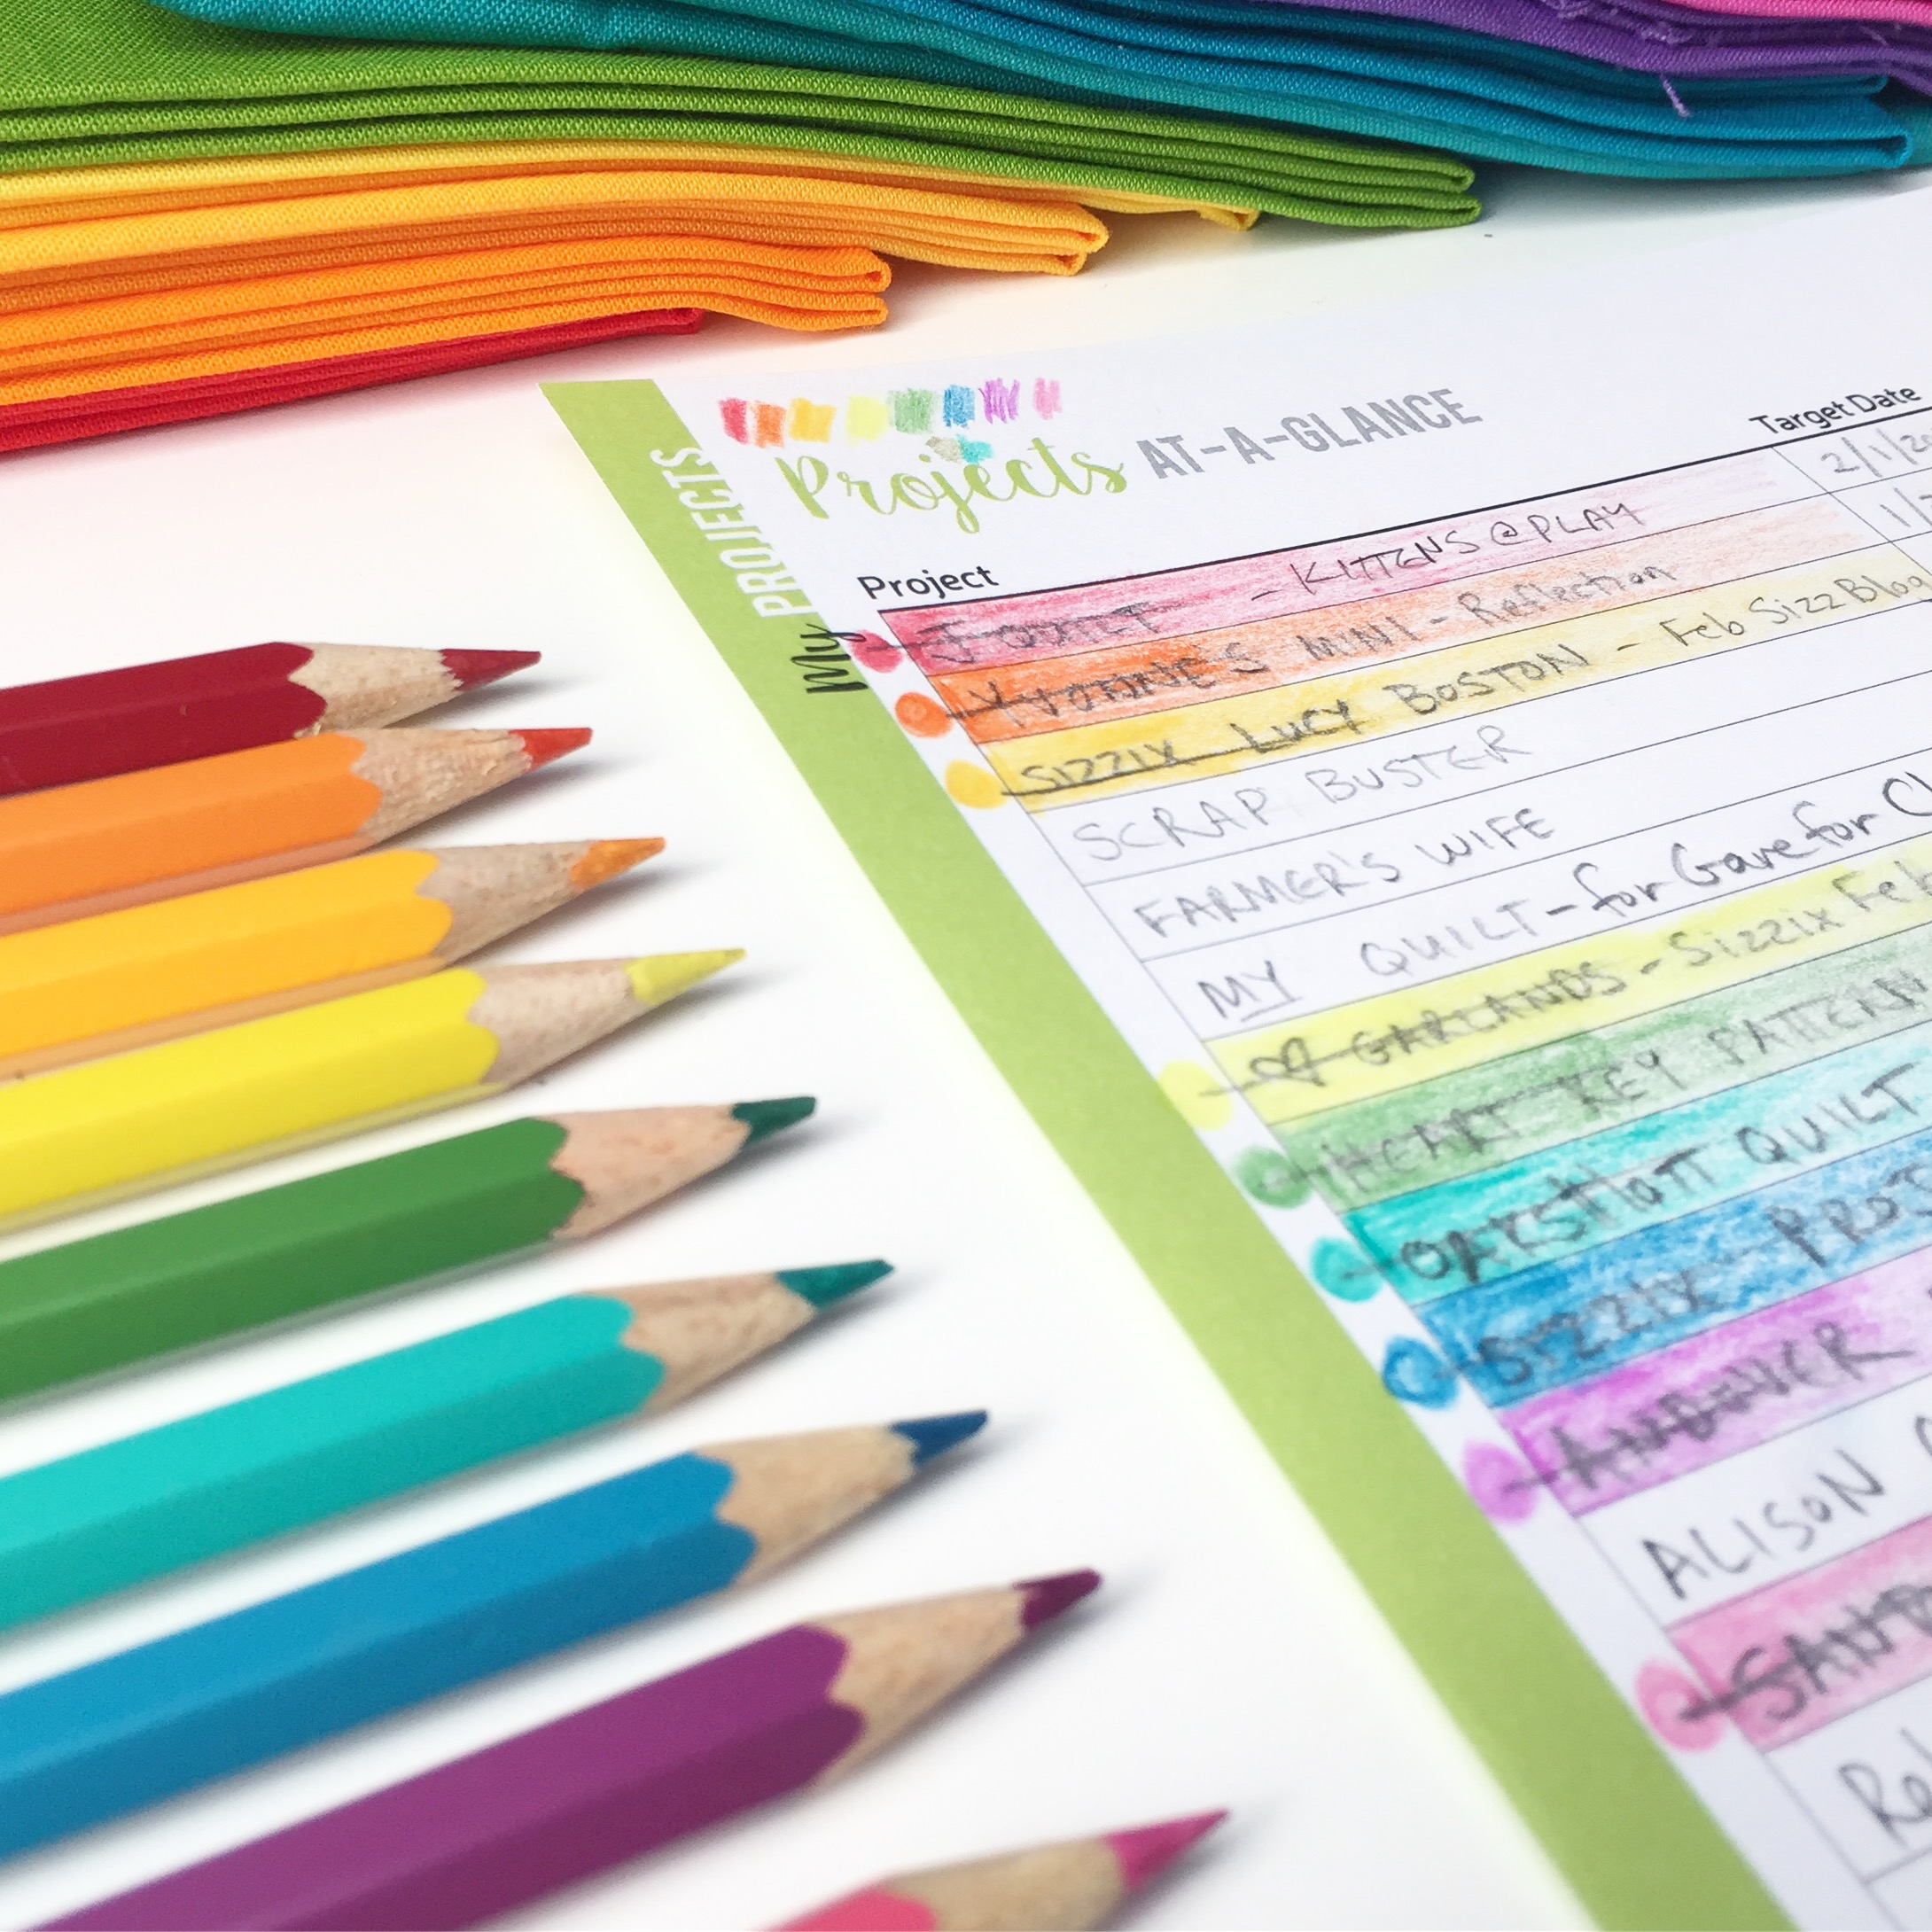
Photo by Julie Schloemer of That’s Sew Julie.
When you make your list, consider using bright colors to keep track of where you are with each project. We are visual people! Use color to your advantage to organize and inspire yourself.
I love having this page bound into my Quilter’s Planner, because I never lose it. My planner stays with me in my sewing room, or the kitchen (my two main work areas in my home), since it also contains my calendars with my entire family’s schedule and my lists of things to do.
If you use another planner, you can always add a projects-at-a-glance page to your planner.
Tip #2: Use a visual labeling system on project bins
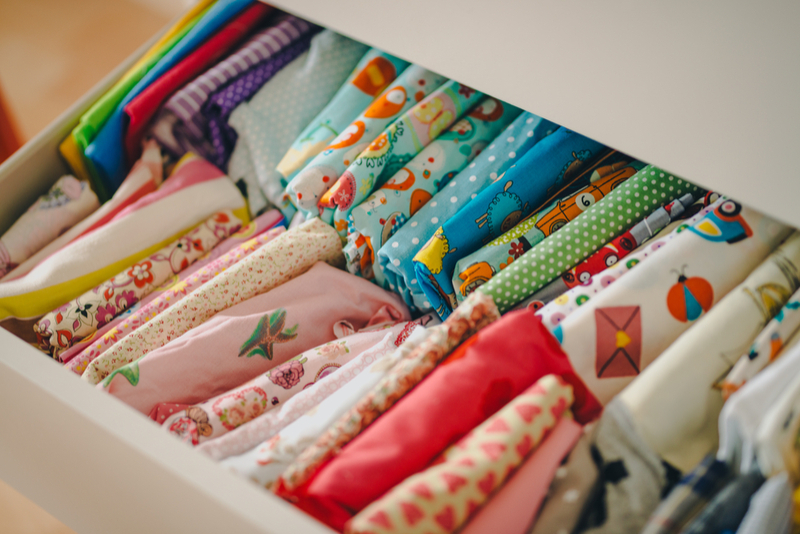
Whatever you do, promise me that you will never — I mean NEVER — stuff your UFOs and fabrics in the drawer or in the closet ever again. No matter how frustrated or confused you are, please have mercy!
This behavior means certain death to that beloved quilt. And no quilting project deserves that kind of passive-aggressive behavior (save that for your in-laws).
Instead, invest in an inexpensive shelving system (places like Target, Amazon and Ikea are always well stocked), and add colorful baskets or buckets to your shelves that are properly labeled with your quilting project.
Sounds simple, right? I bet you’ve even thought of this before. But here’s where I’m going to remind you of something again that is essential in the organization game: Quilters are visual people!
Many of us are “out of sight, out of mind” people. So when you stuff your unfinished quilt and the pattern in your bin and tuck it onto the shelf or in the closet, your brain quickly forgets what’s in there.
When you label your bin, print out a picture of the project to secure to the outside.
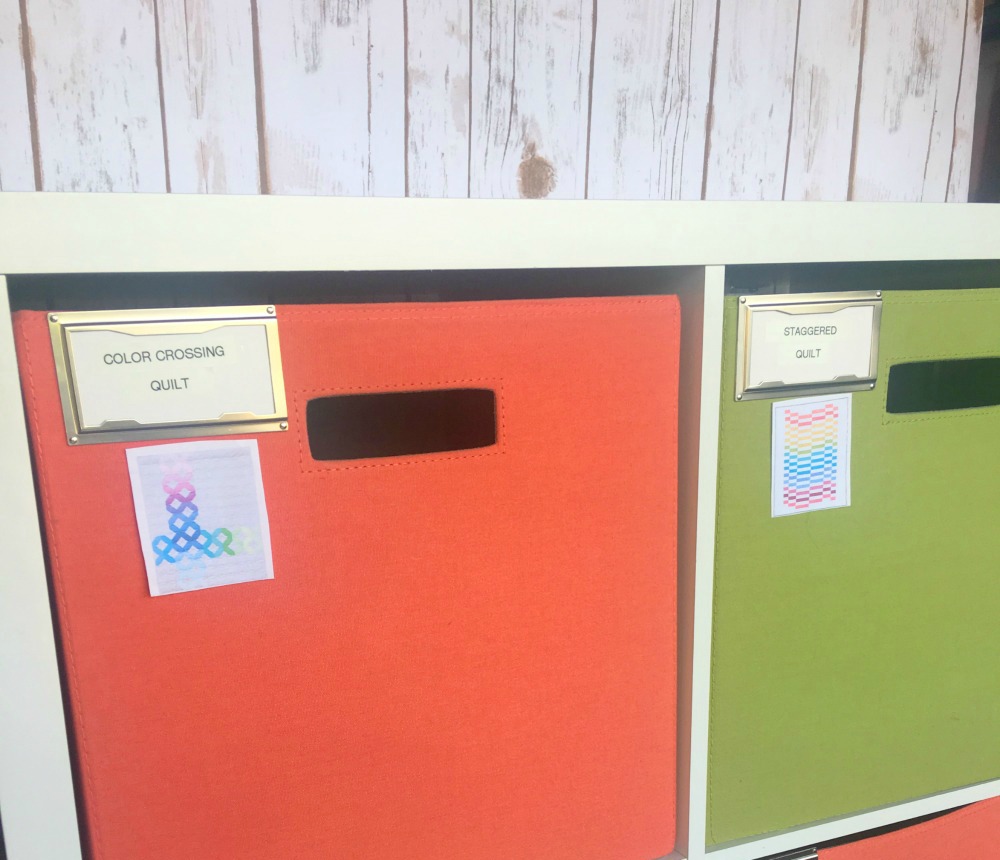
Each time you glance at that bin on the shelf, you will have a visual reminder of what the project is. If you’re using different fabric than is featured in the photo, take a quick snapshot of your chosen fabric, and attach that too! You can use giant paper clips or sticky glue dots.
This method has helped me immeasurably in decreasing the number of abandoned (and lost) projects over the last couple of years.
And guess what? This method also works beautifully for storing toys in your child’s play area too. It’s not particularly helpful to write the names of the toys on the bin because toddlers can’t read, right? However, they recognize the pictures of their toys on the outside of the bins, and then they can recall exactly what is there waiting to be played with at any given time.
Just like us! We just need a visual reminder to pull out our toys and play!
A cheaper alternative to the shelf and bin method:
If you don’t have space for another shelving system, you may want to purchase a few clear, plastic storage bins like the one pictured below.
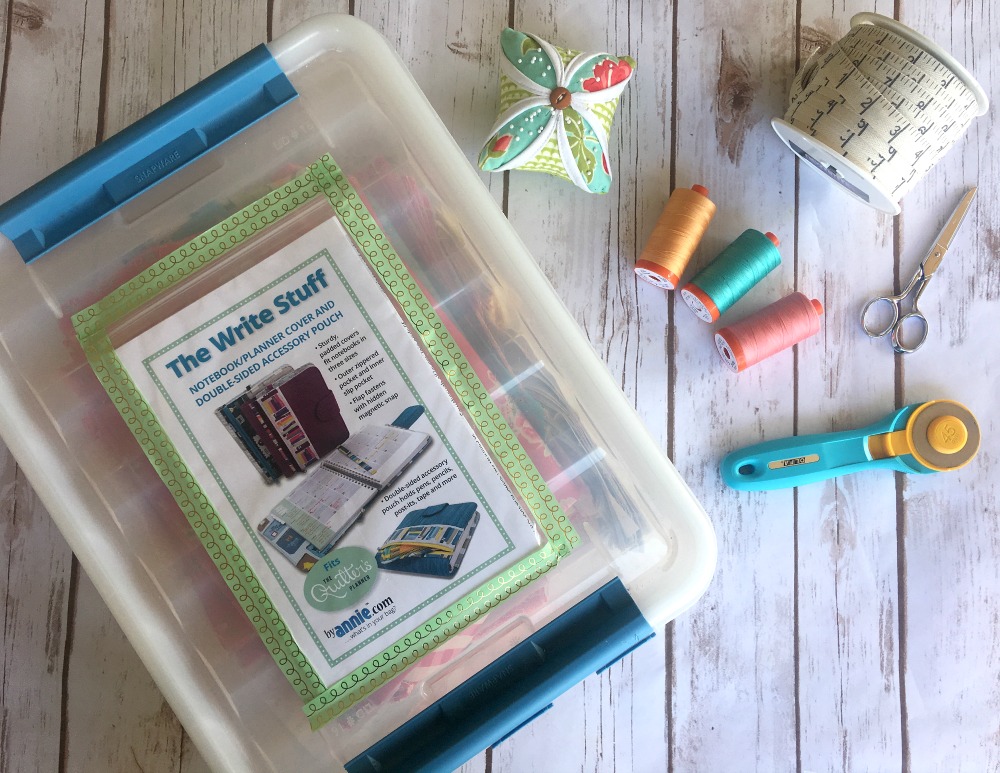
I have a row of these on my floor, and each one has the pattern taped to the top (in plastic). I don’t like to stack them, because as soon as the pictures disappear, it’s out of sight, out of mind for my poor project again!
Now it’s your turn to get organized and get inspired!
For some of my favorite Craftsy classes, with projects that will want to make you sew more, try:
- Pre-Cut Piecing Made Simple with Camille Roskelly
- Quick and Easy English Paper Piecing with Helen Stubbings
- Learn to Quilt a Custom Table Runner with Amy Gibson
Click here to learn more about The Quilter’s Planner!
Share tips, start a discussion or ask one of our experts or other students a question.
No Responses to “2 Fantastic Tips to Organize Your Quilting Projects (& Get More Done)”