
There’s nothing like a beautiful, intricately shaped cake baked in a bundt pan. But fewer things are more stressful than removing a bundt cake from its decorative pan. There are lots of nooks and crannies for cake crumbs to cling to the sides of the pan, which can make the release difficult!
The ultimate guide to prepping bundt pans for easy cake release!
Photos via CakeSpy
To make sure that your next bundt cake removes easily and effortlessly from the pan, we’ve come up with a handy guide to how to grease a bundt pan. The best way to get a bundt cake out of the pan, after all, is a matter of prepping it appropriately. Then, we’ll offer some easy tips for releasing your cake from the pan when finished.
Note: These tips are also suitable for other decorative cake pans.
Greasing a cake pan: the traditional method
When greasing a traditional cake pan, you often use softened butter and then sprinkle the pan with flour for easy release. While this versatile method is ideal for round and square cakes, bundt cakes need a little more help because of their unusual angles. For this reason, it’s best to use a liquid fat that can be brushed into those hard-to-get decorative elements imprinted in the pan.
Greasing your bundt pan: three great methods
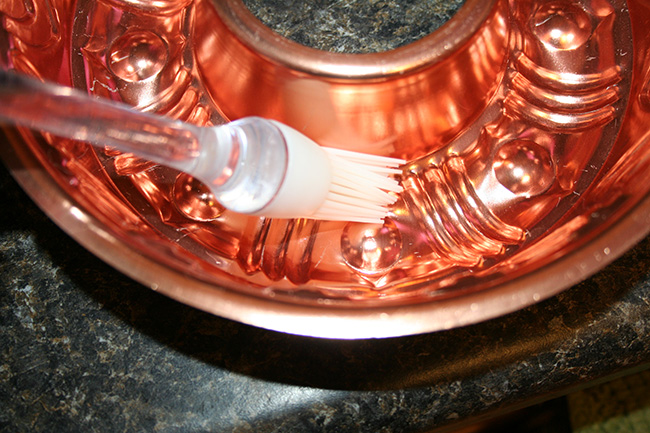
Method 1: Brushed butter and flour
Using a pastry brush, brush all over the inside of your pan with melted butter. Put particular focus on areas that you think might be hard to release when the cake is inverted, such as the inner ring and any deeper grooves.
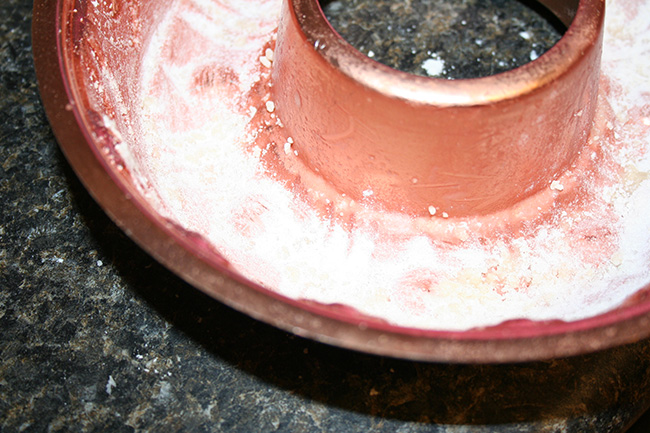
Next, for extra easy release, sprinkle the bottom of the pan with flour (or cocoa powder for chocolate cakes); tap off the excess.
Not into butter? Vegan butter substitutes such as Earth Balance or coconut oil also work well. Coconut oil may impart a slight coconut flavor on your cake.
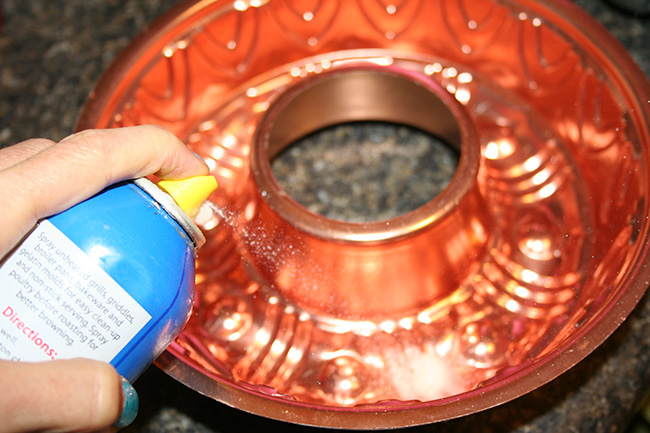
Method 2: Non-stick spray
Personally, I love spraying my bundt cake pans with non-stick spray, because I really feel like I can get good coverage. The spray also tends to stay put, whereas sometimes melted butter it can drip down the sides of the pan. Repeat the flouring or cocoa dusting method detailed above.
Method 3: DIY pan paste
Start by making a paste of equal parts flour and vegetable shortening. Now, add enough vegetable oil to thin the mixture — this can be anywhere from a teaspoon to a few tablespoons, depending on how much you make. Once again, applying with a pastry brush is a good decision here, but you can do it with a paper towel if you have patience and really get into the nooks and crannies.
Tips for easy release

Now that you’ve prepped your pan and baked your cake, it’s time to get it out! While you will have to refer to your specific recipe, usually the suggested steps are like so:
Step 1: Let the cake “set” in the pan for a while.
If you try to flip your bundt cake too soon, even the best-prepped pan can have trouble releasing. Usually the recipe will specify a suggested amount of time to let the pan cool on a wire rack before flipping, but if no time is specified, give it at least 15-20 minutes. Some people like to gently loosen the sides using a sharp knife.
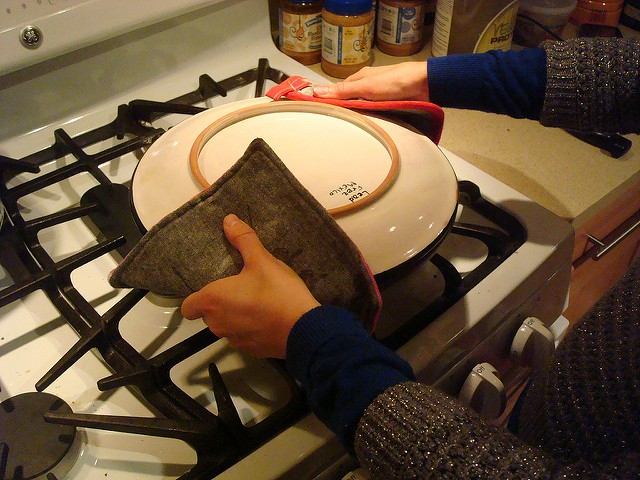
Step 2: Fearlessly, quickly invert.
Leave your fear behind! Place a serving dish on top of the bundt pan and then quickly invert, so that the bundt cake has a surface to land on when flipped.
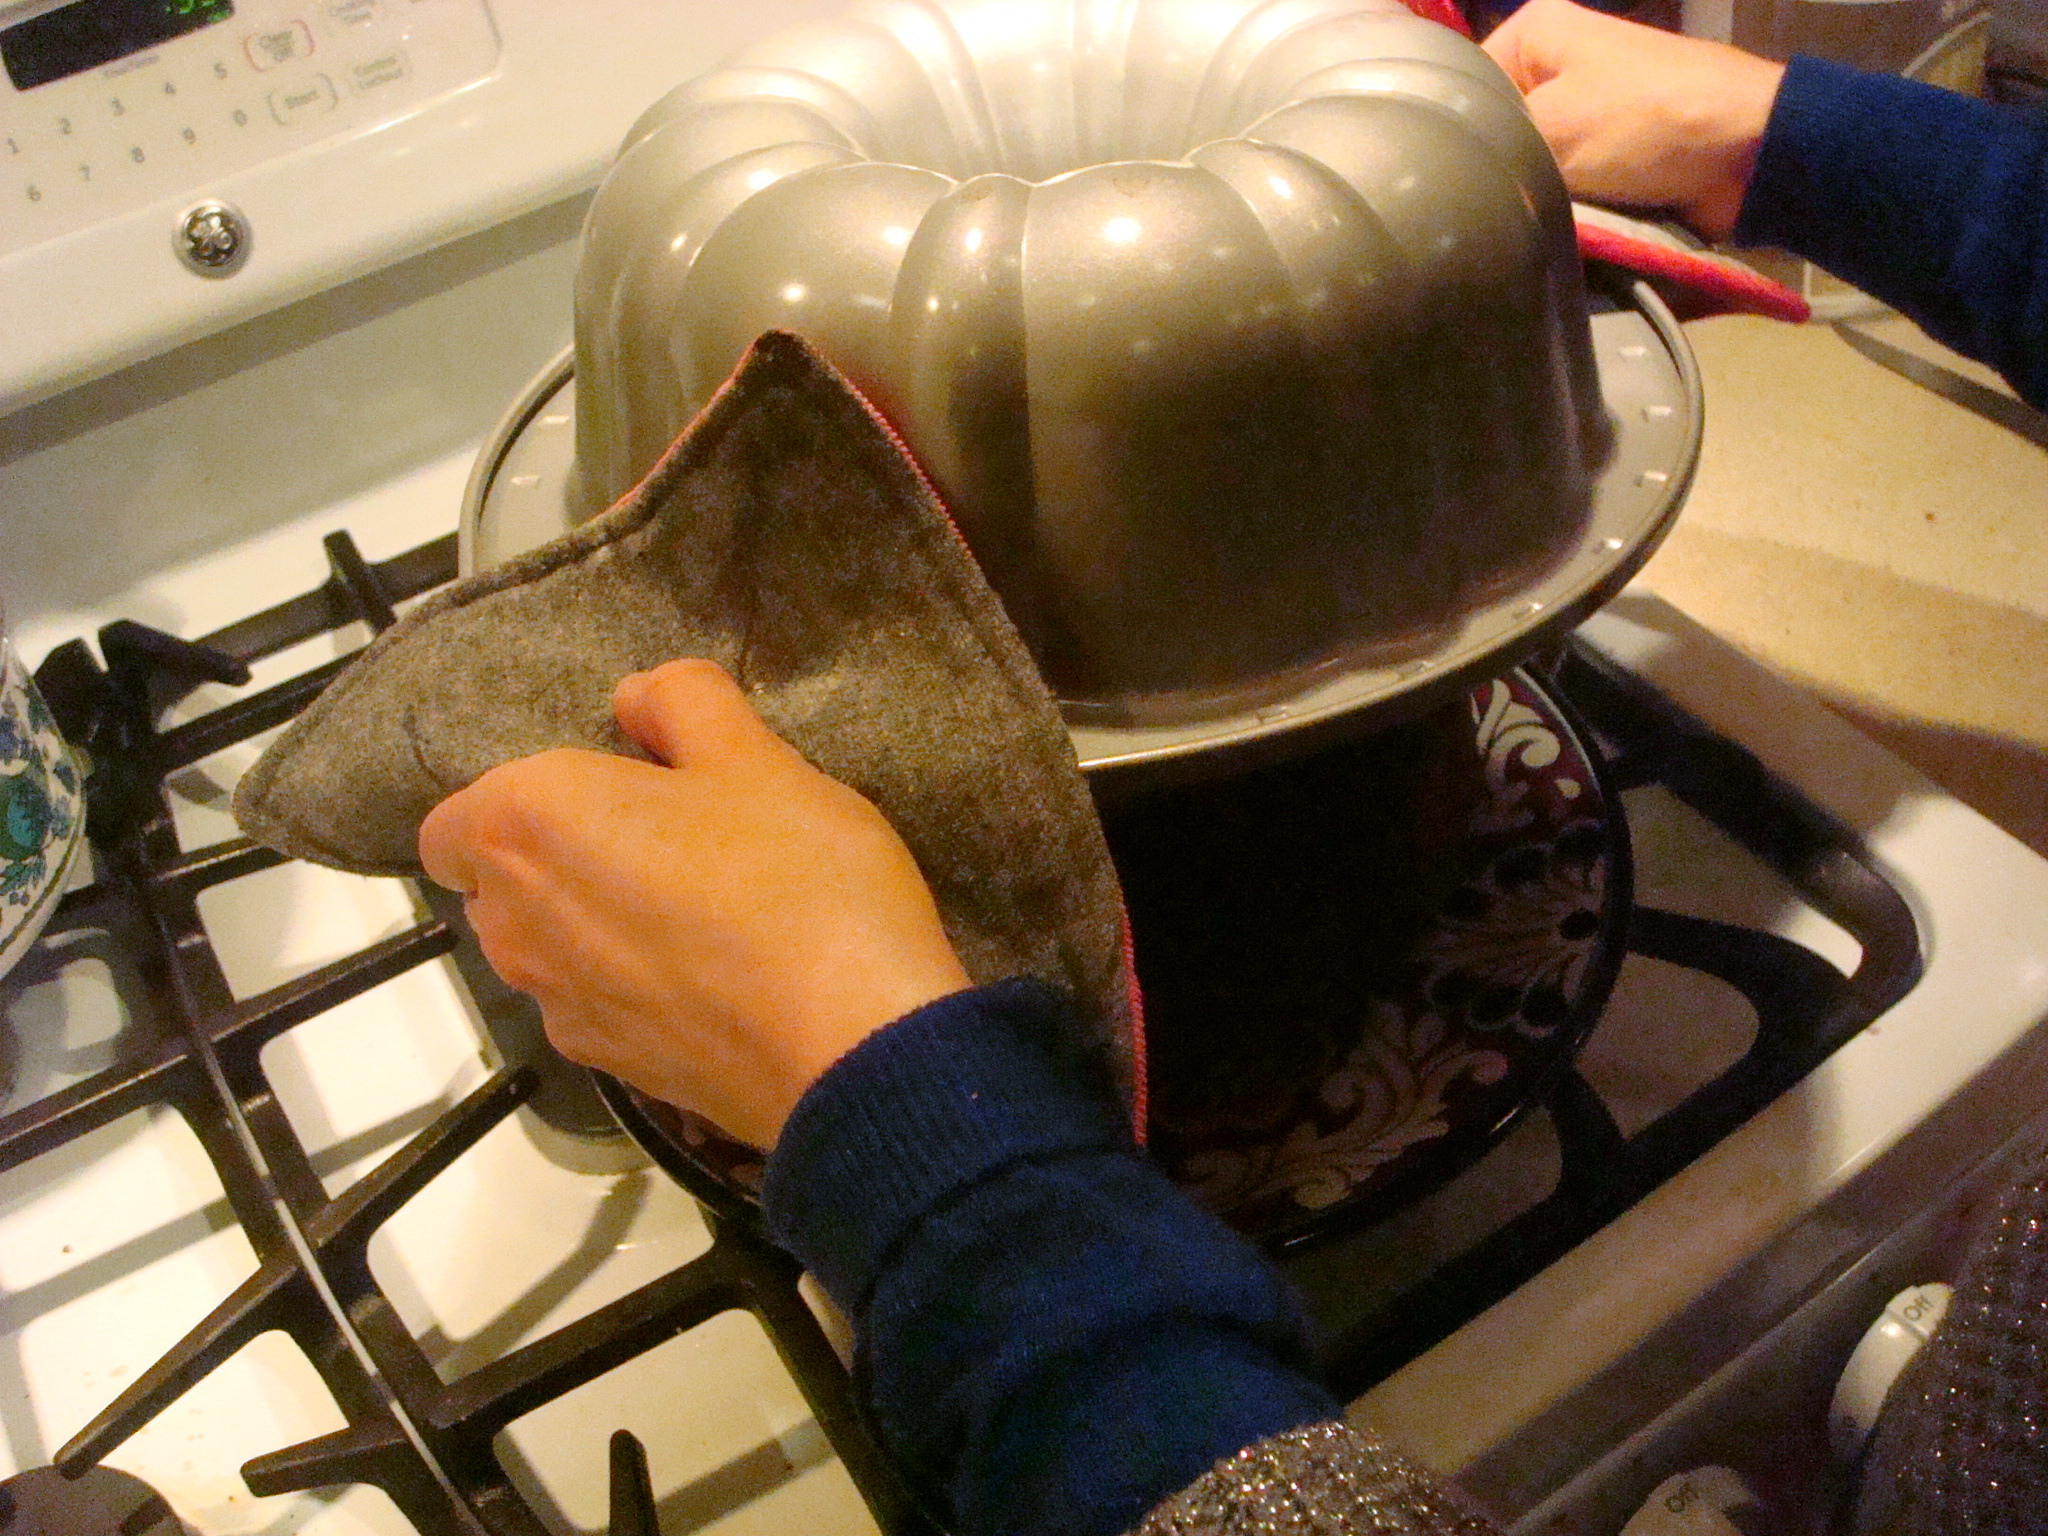
Step 3: Slowly lift the pan
Slowly lift the pan. If all went well (and I’m sure it did!), it should come off of the cake easily and effortlessly.
Now that you’ve learned these tips and tricks for preparing a bundt pan and extracting the cake easily, it’s nothing bundt delicious times ahead! Check out the Craftsy course Coffee Shop Cakes to for plenty of bundt cake recipe inspiration.
Share tips, start a discussion or ask one of our experts or other students a question.
No Responses to “No Ifs, Ands or Bundts: The Best Way to Prepare a Bundt Pan”