
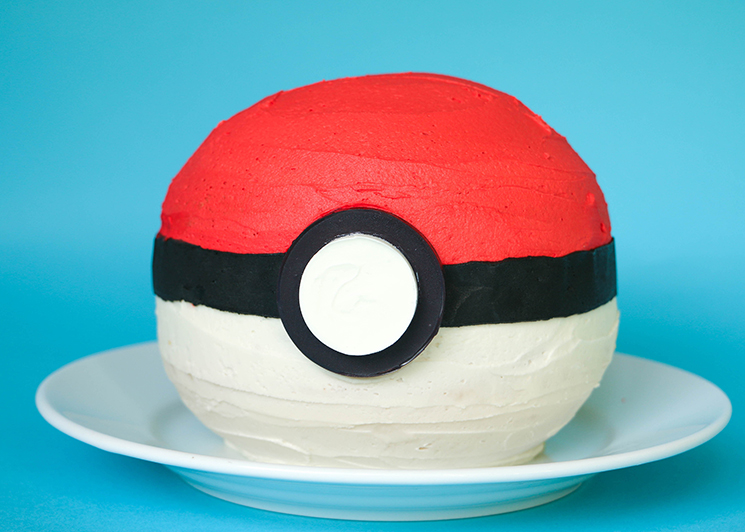
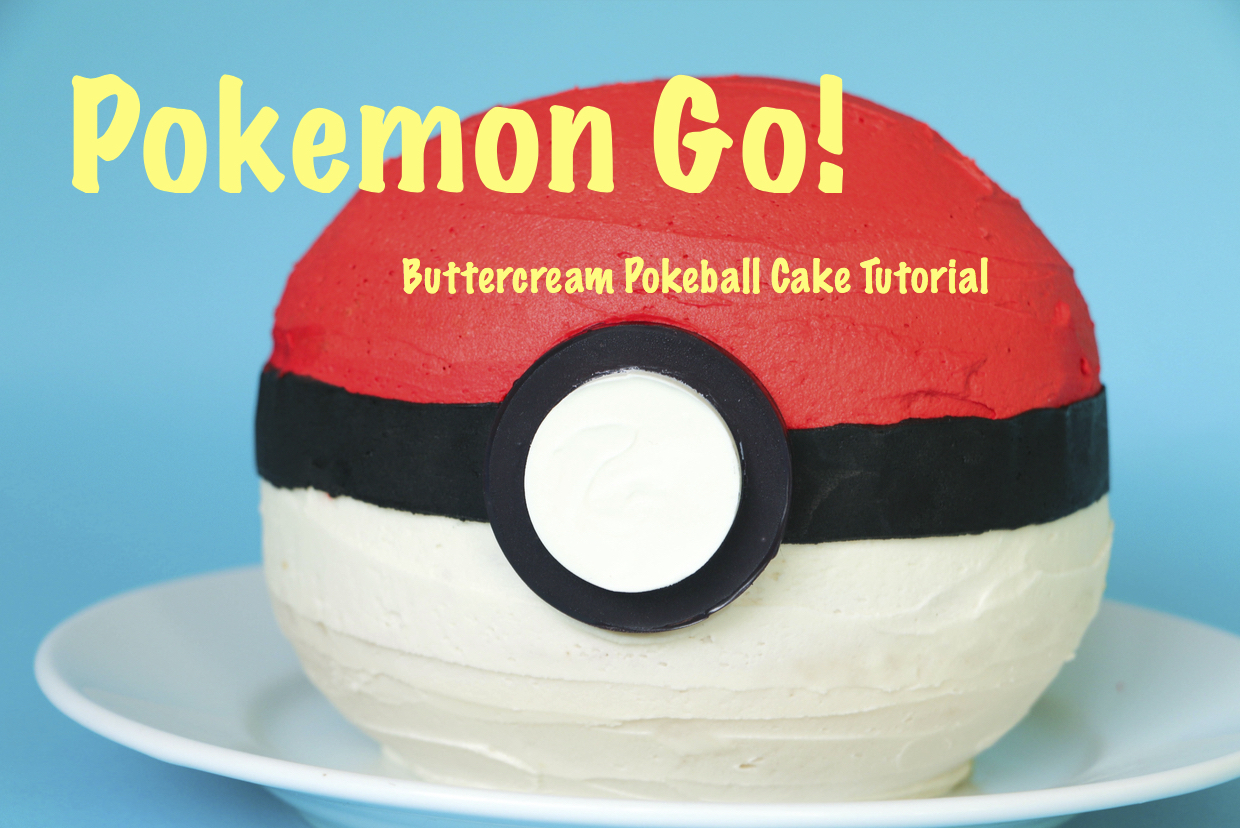
Catch more Pokémon (or at least Pokémon fans) with this fun and easy Pokémon Go! Pokéball cake. No need to be a Pokémon cake master! This cake requires no special tools and is easy enough to make with the kids.
How to make a Pokémon Go! Pokéball cake
All images via Erin Bakes.
Supplies:
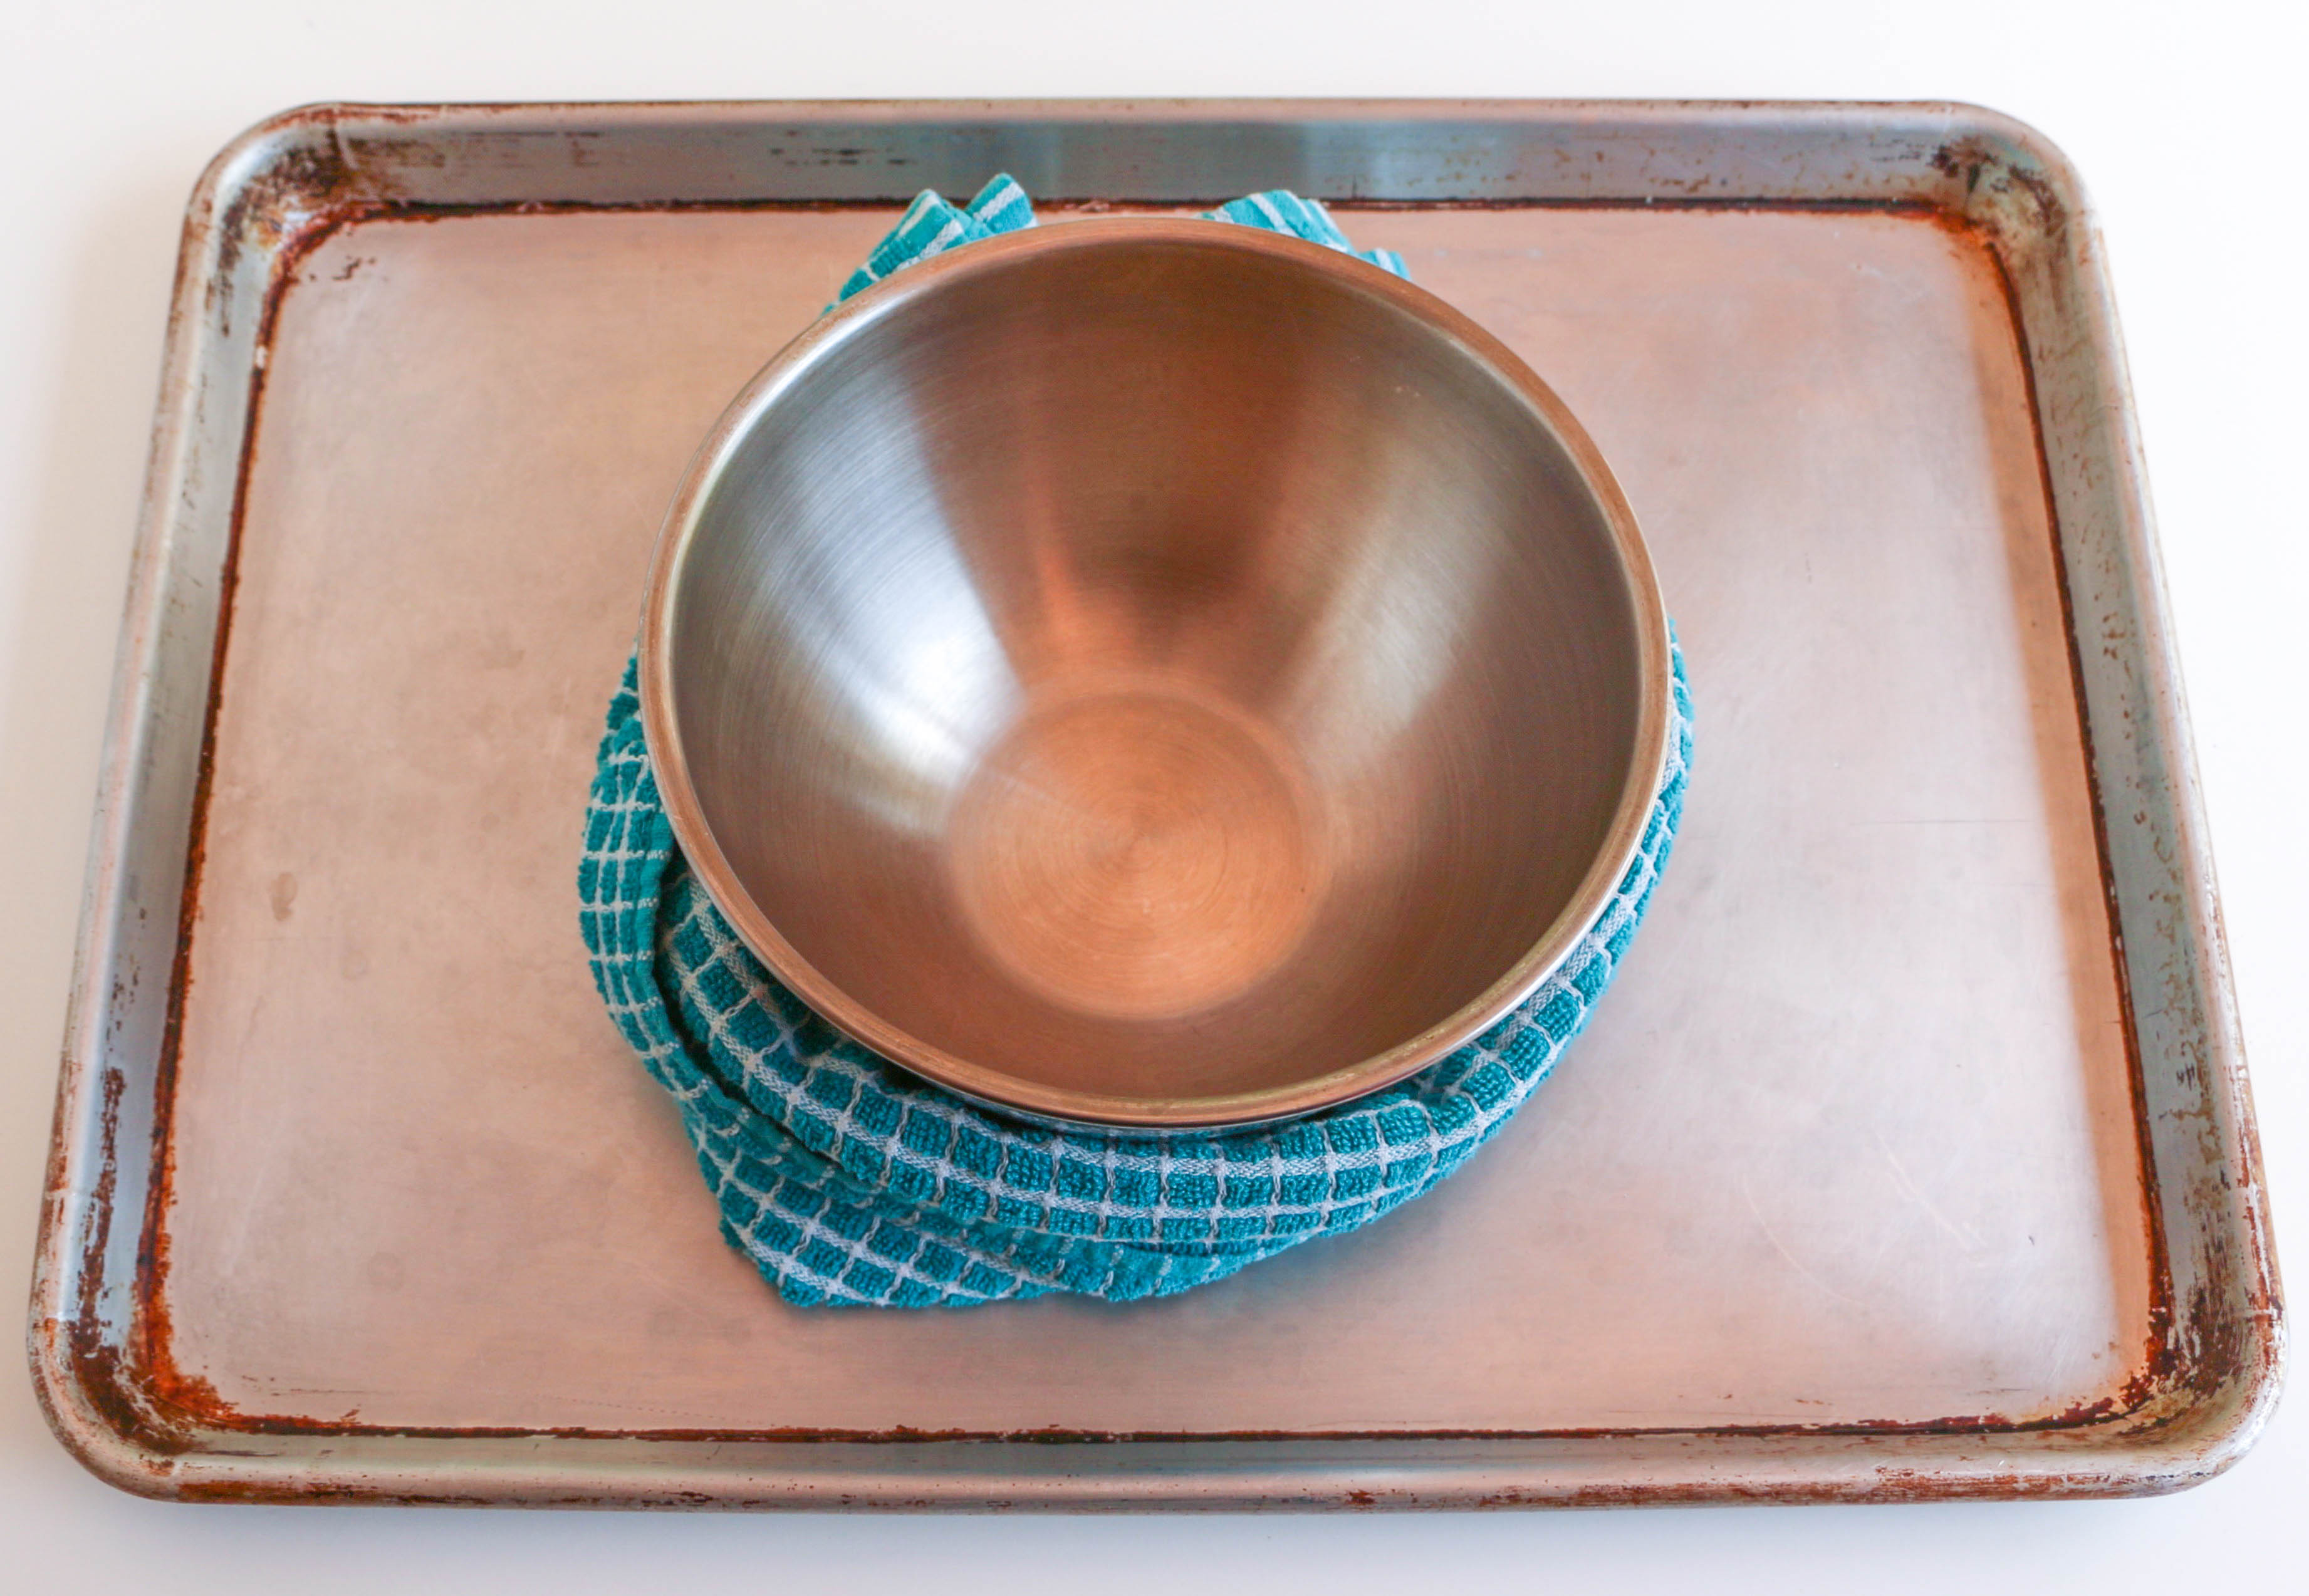
- 2 small stainless steel bowls (I used 2-quart bowls that were approximately 7″ in diameter)
- Cake batter (enough batter for two 9″ round pans)
- 2 cups of red buttercream
- 4 cups of white buttercream
- 1 cup of black buttercream
- Black and white candy melts
- Small icing spatula
- Circle cutters
- Parchment or waxed paper
- Scissors
- Old dish towel or cake strips (optional)
Step 1:
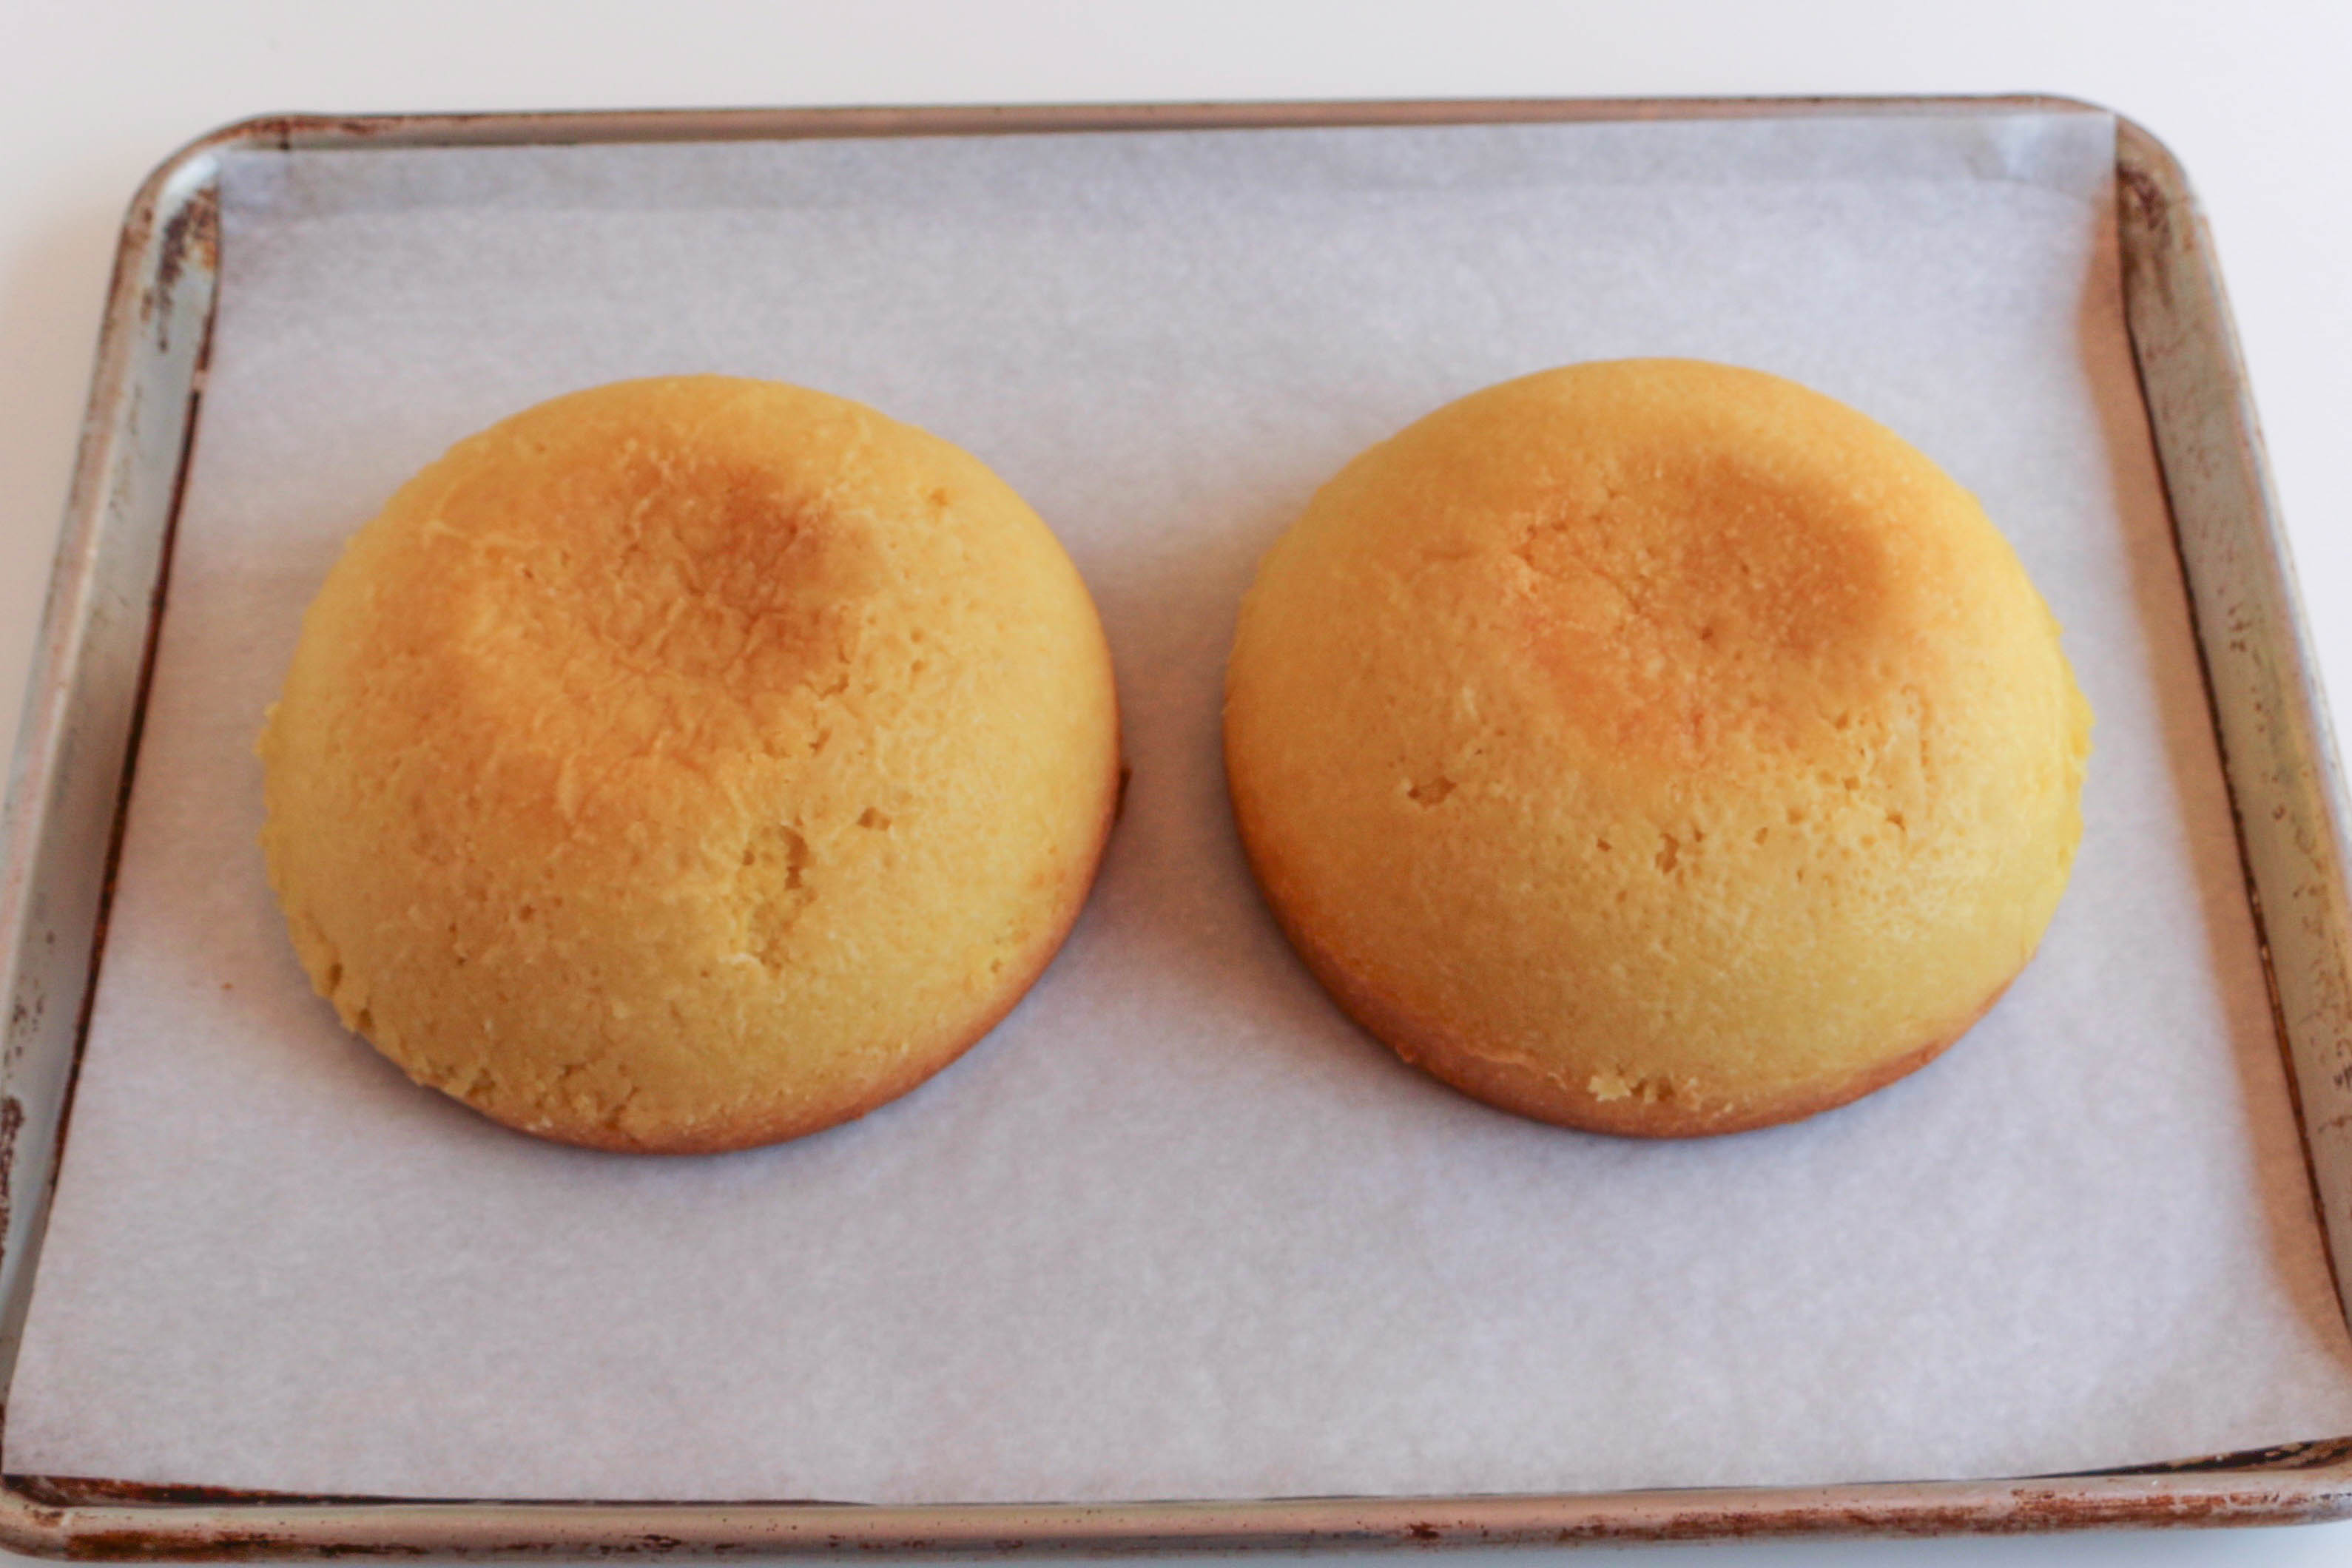
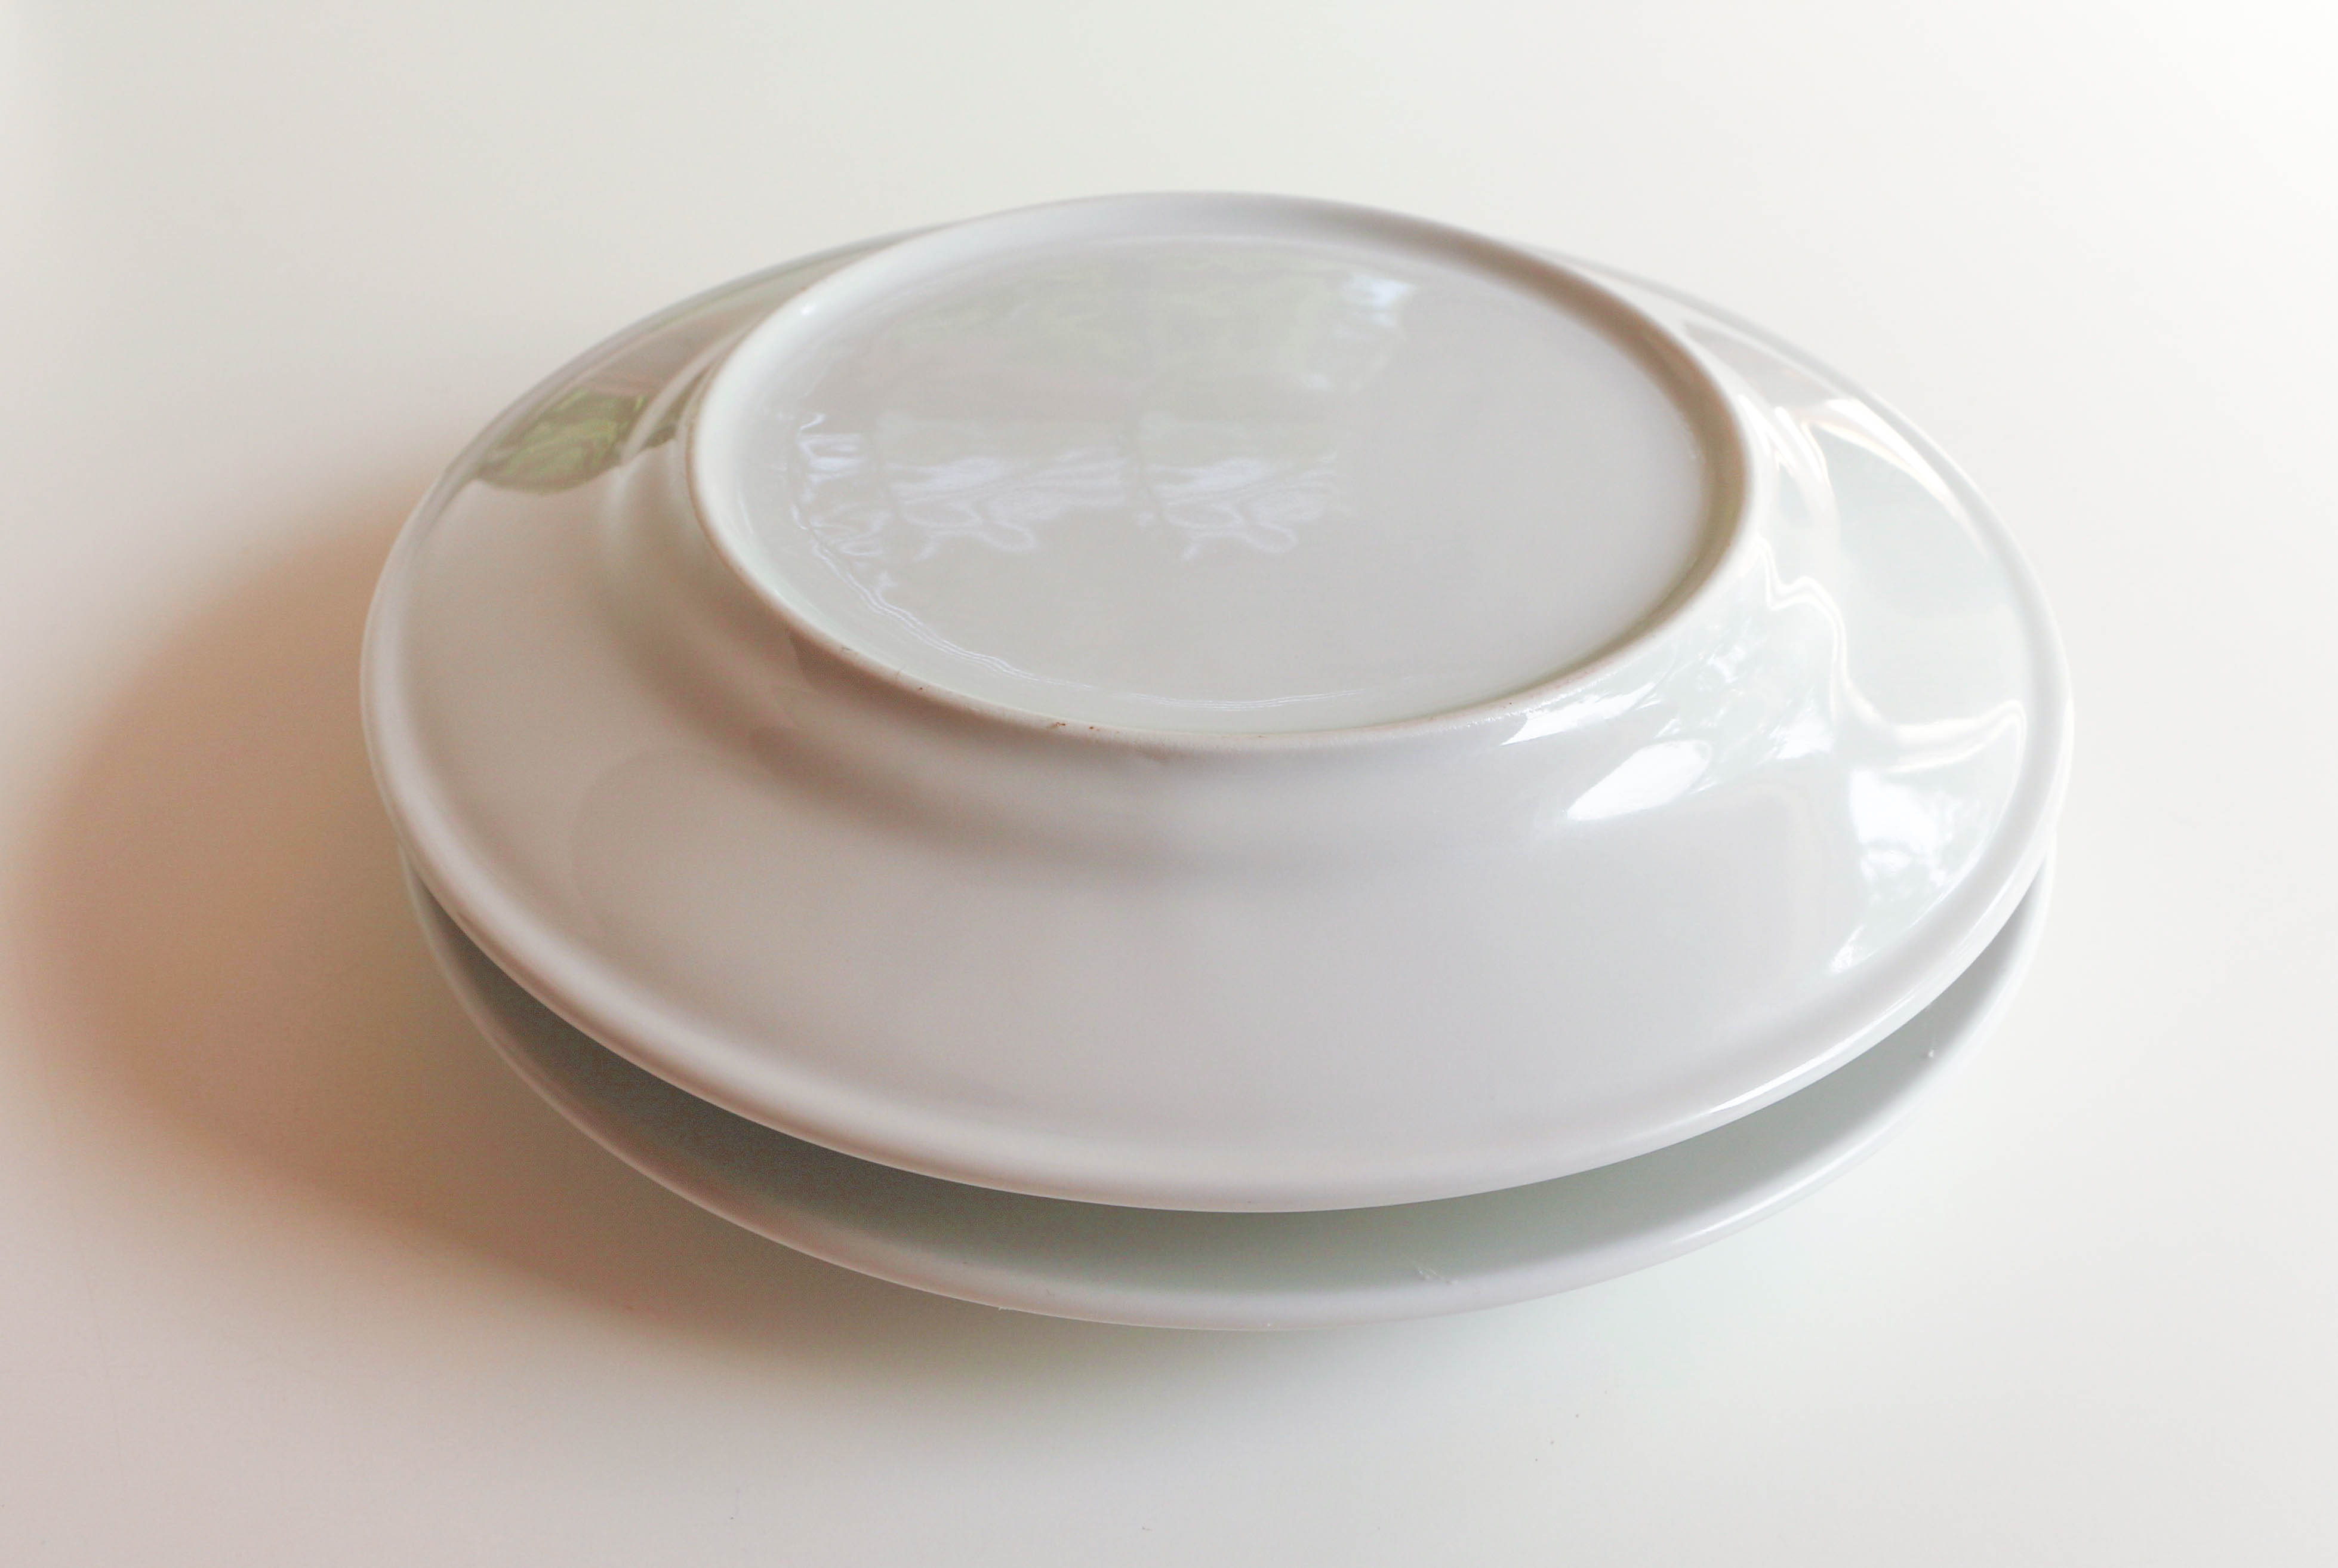
Prepare your bowls just as you would regular baking pans. Divide the batter between both bowls and bake according to your recipe’s instructions. Allow the cakes to cool completely before continuing.
When baking in bowls, I recommend using cake strips or wrapping the bowl with an old dish towel soaked with water. The cake is deeper than it would be in a traditional cake pan, and baking strips will help prevent the outside from becoming too dark before the middle is done. It also helps to keep the tops of the cakes flat, making filling and finishing easier.
This was my setup:
Step 2:
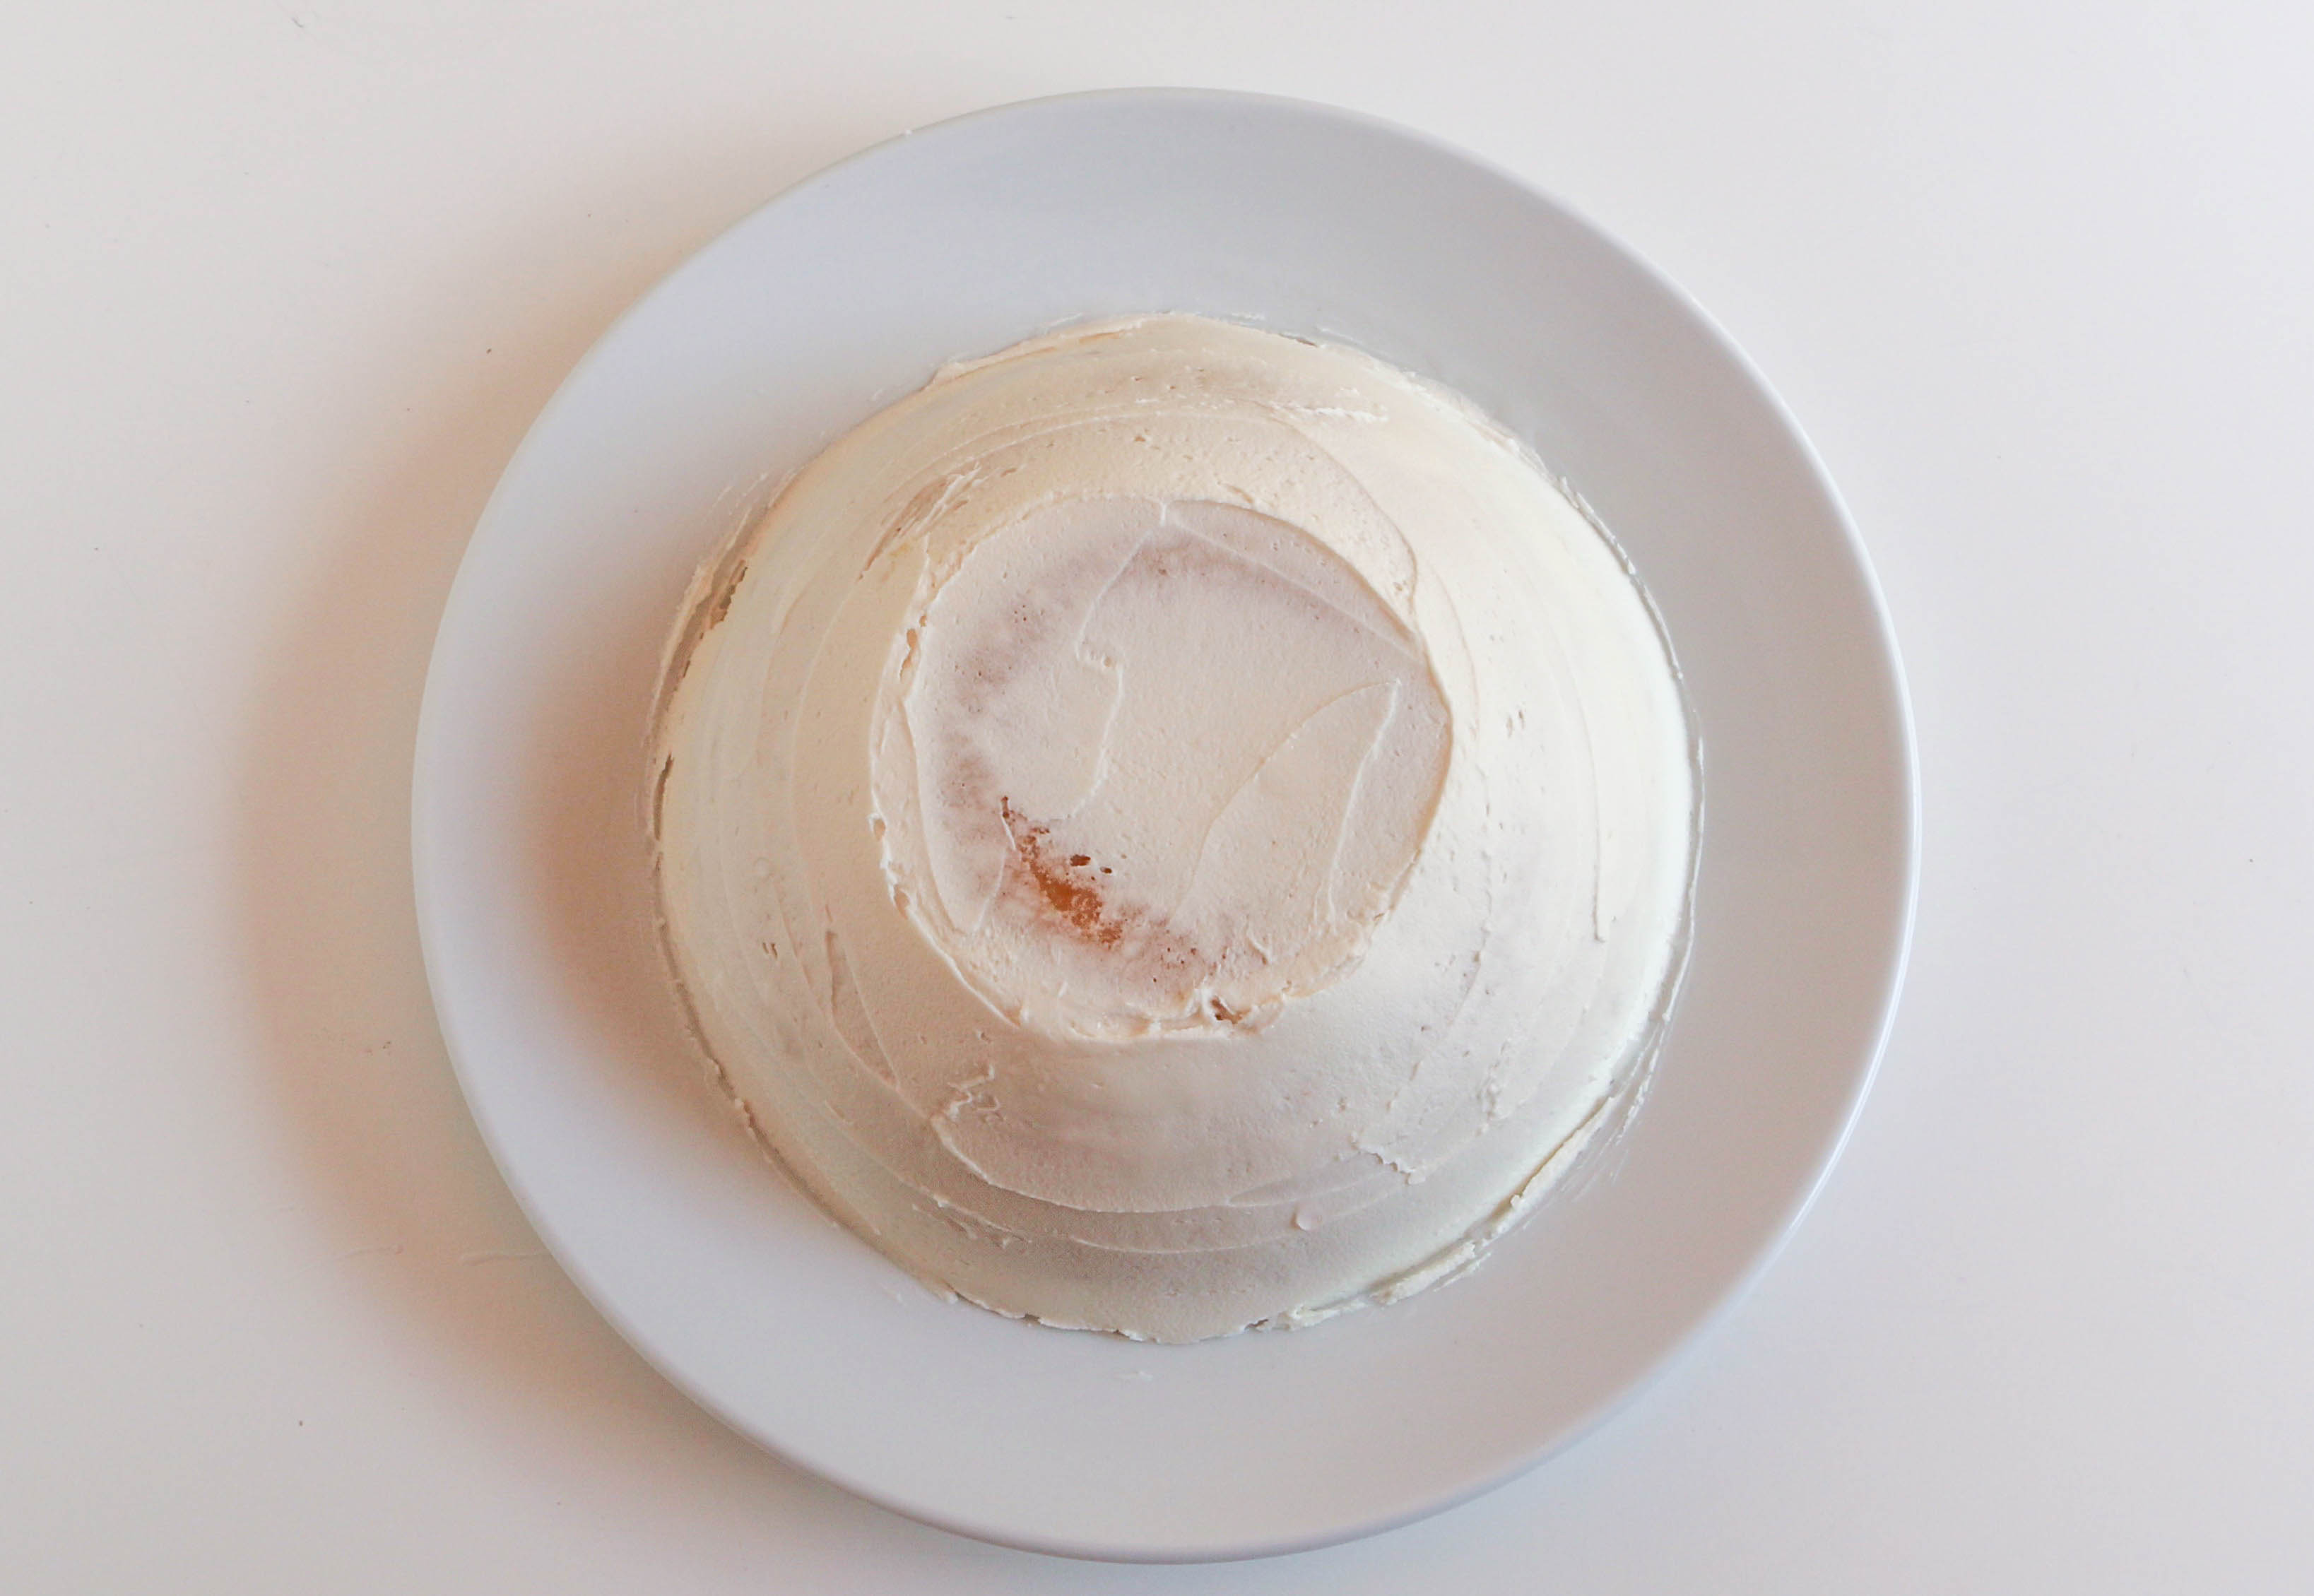
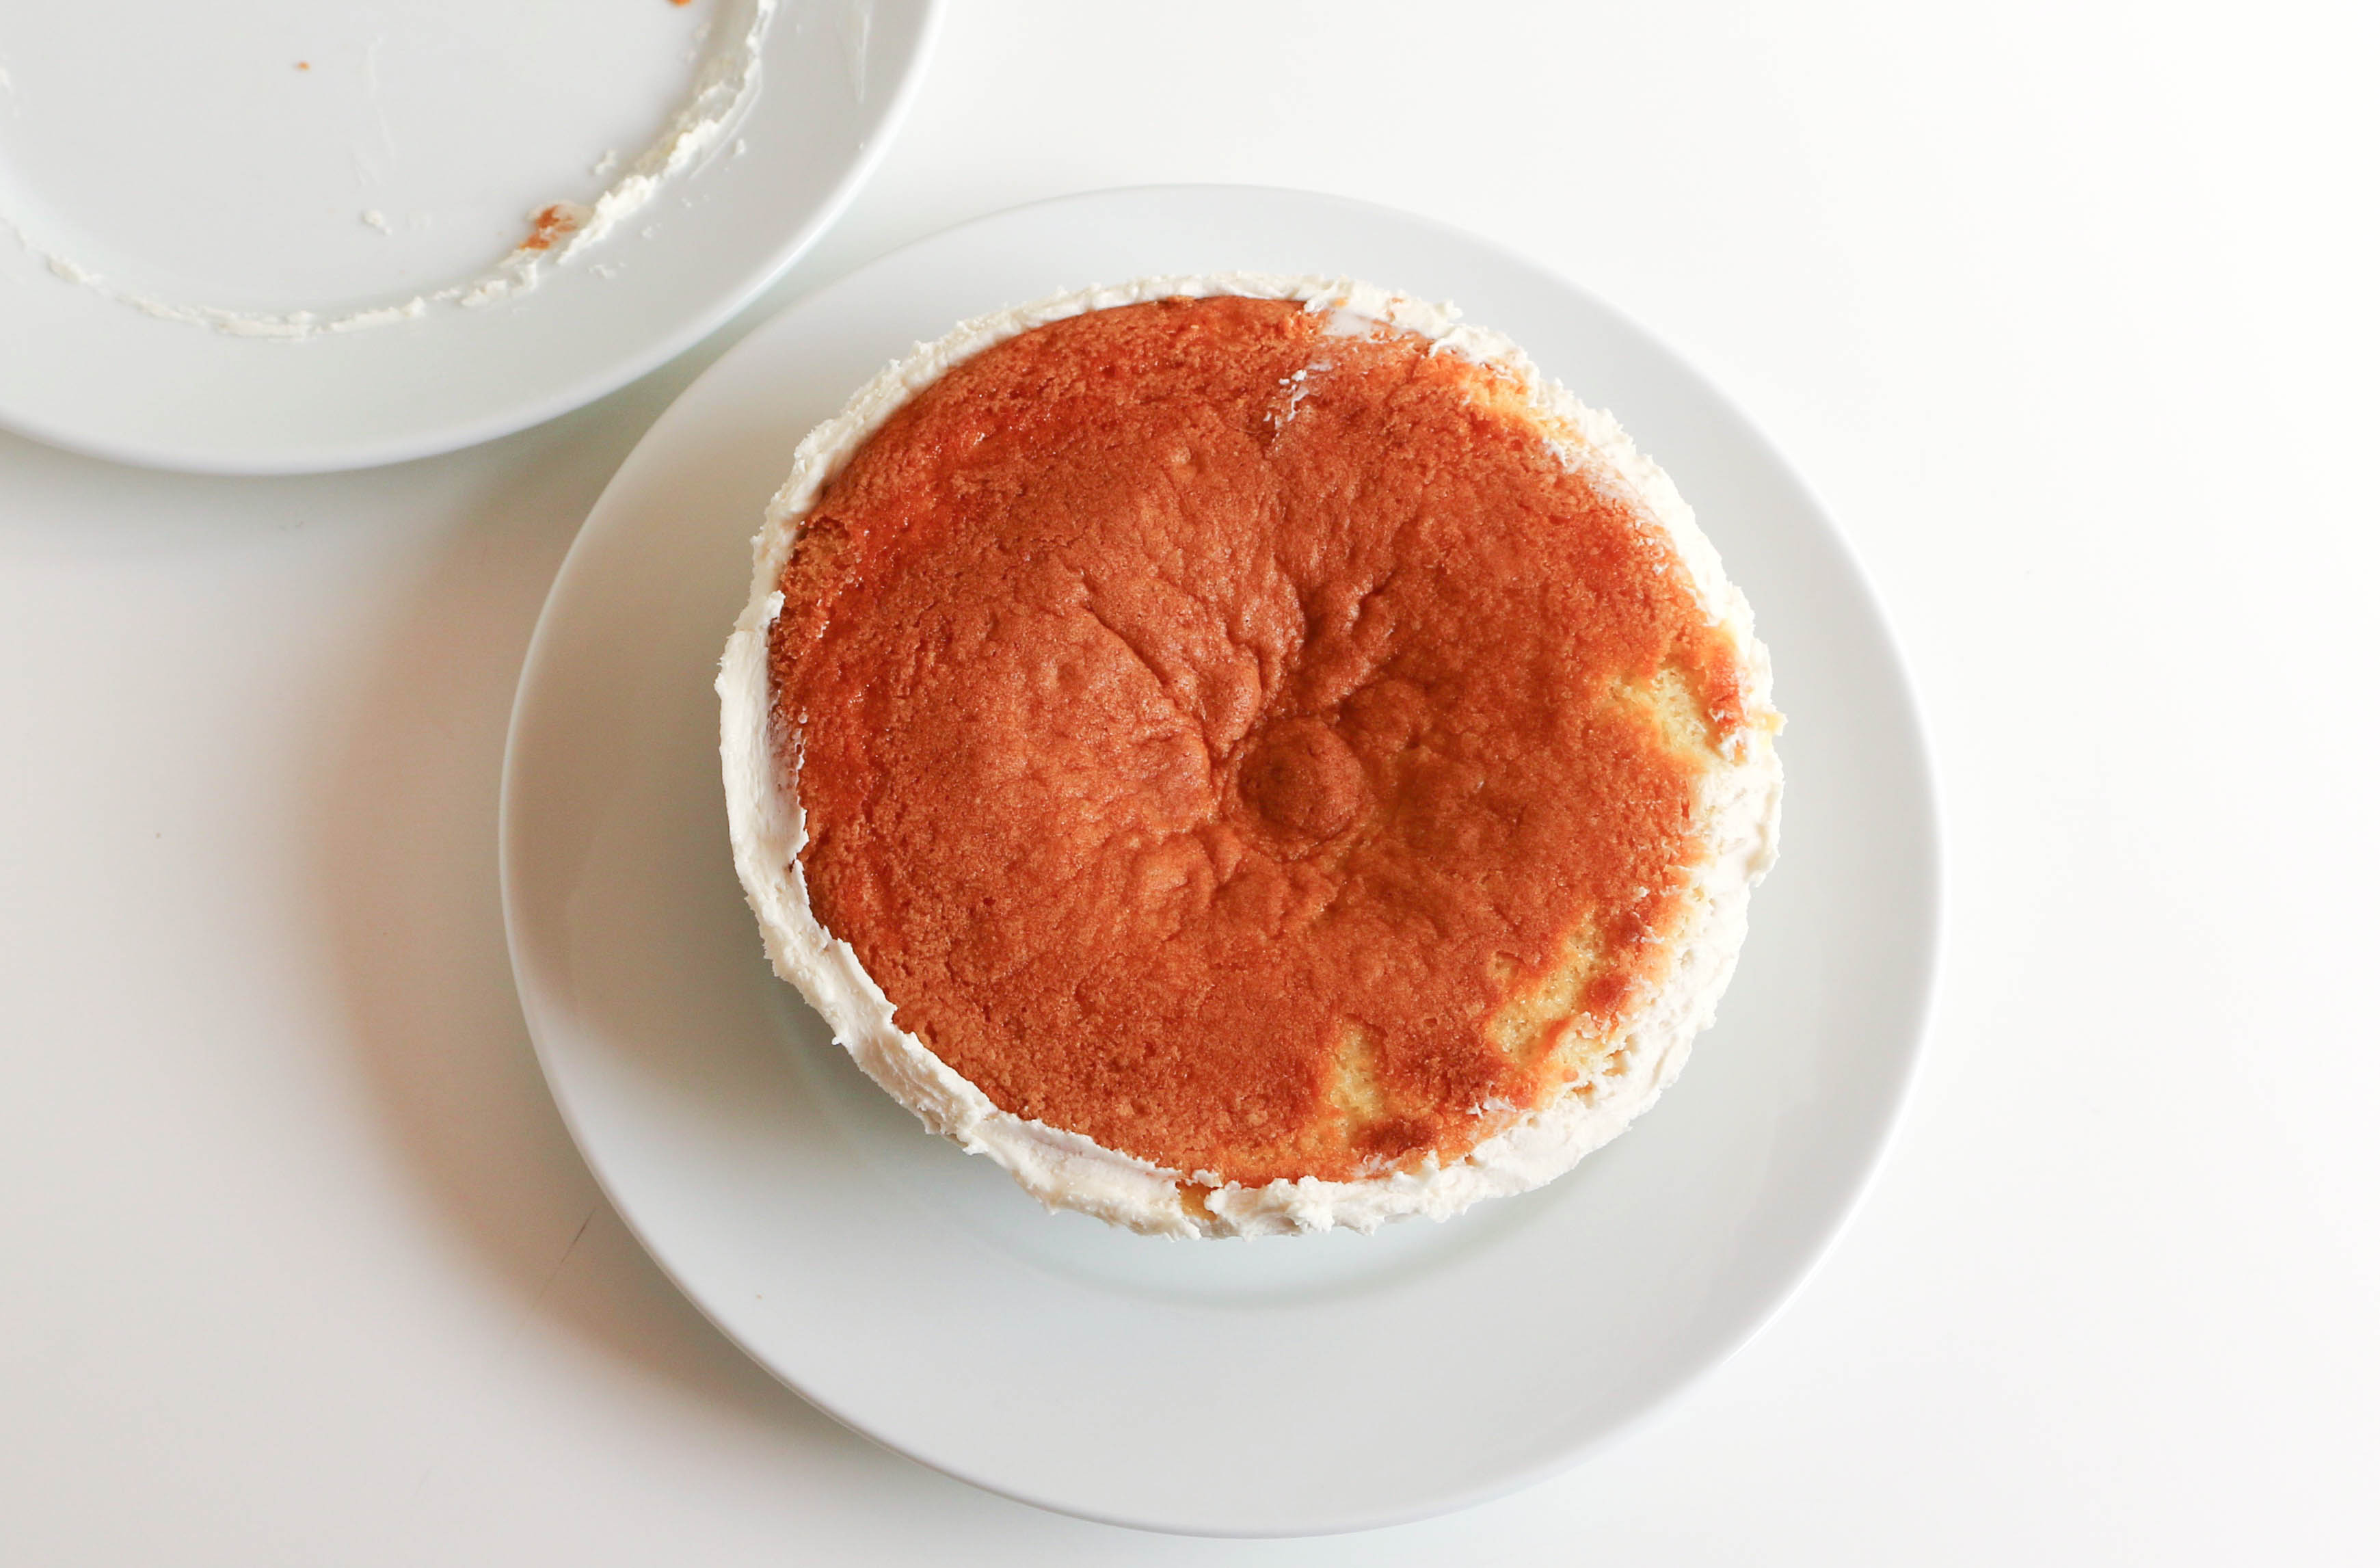
Place one of the domes of cake onto a plate, flat side down. My bowls had little flat spots at the top, but if yours are perfectly round, trim a tiny bit of the domed part flat. This will eventually become the bottom of your Pokéball. Ice the cake with white buttercream. Place it in the fridge until firm, no less than 15 minutes.
Step 3:
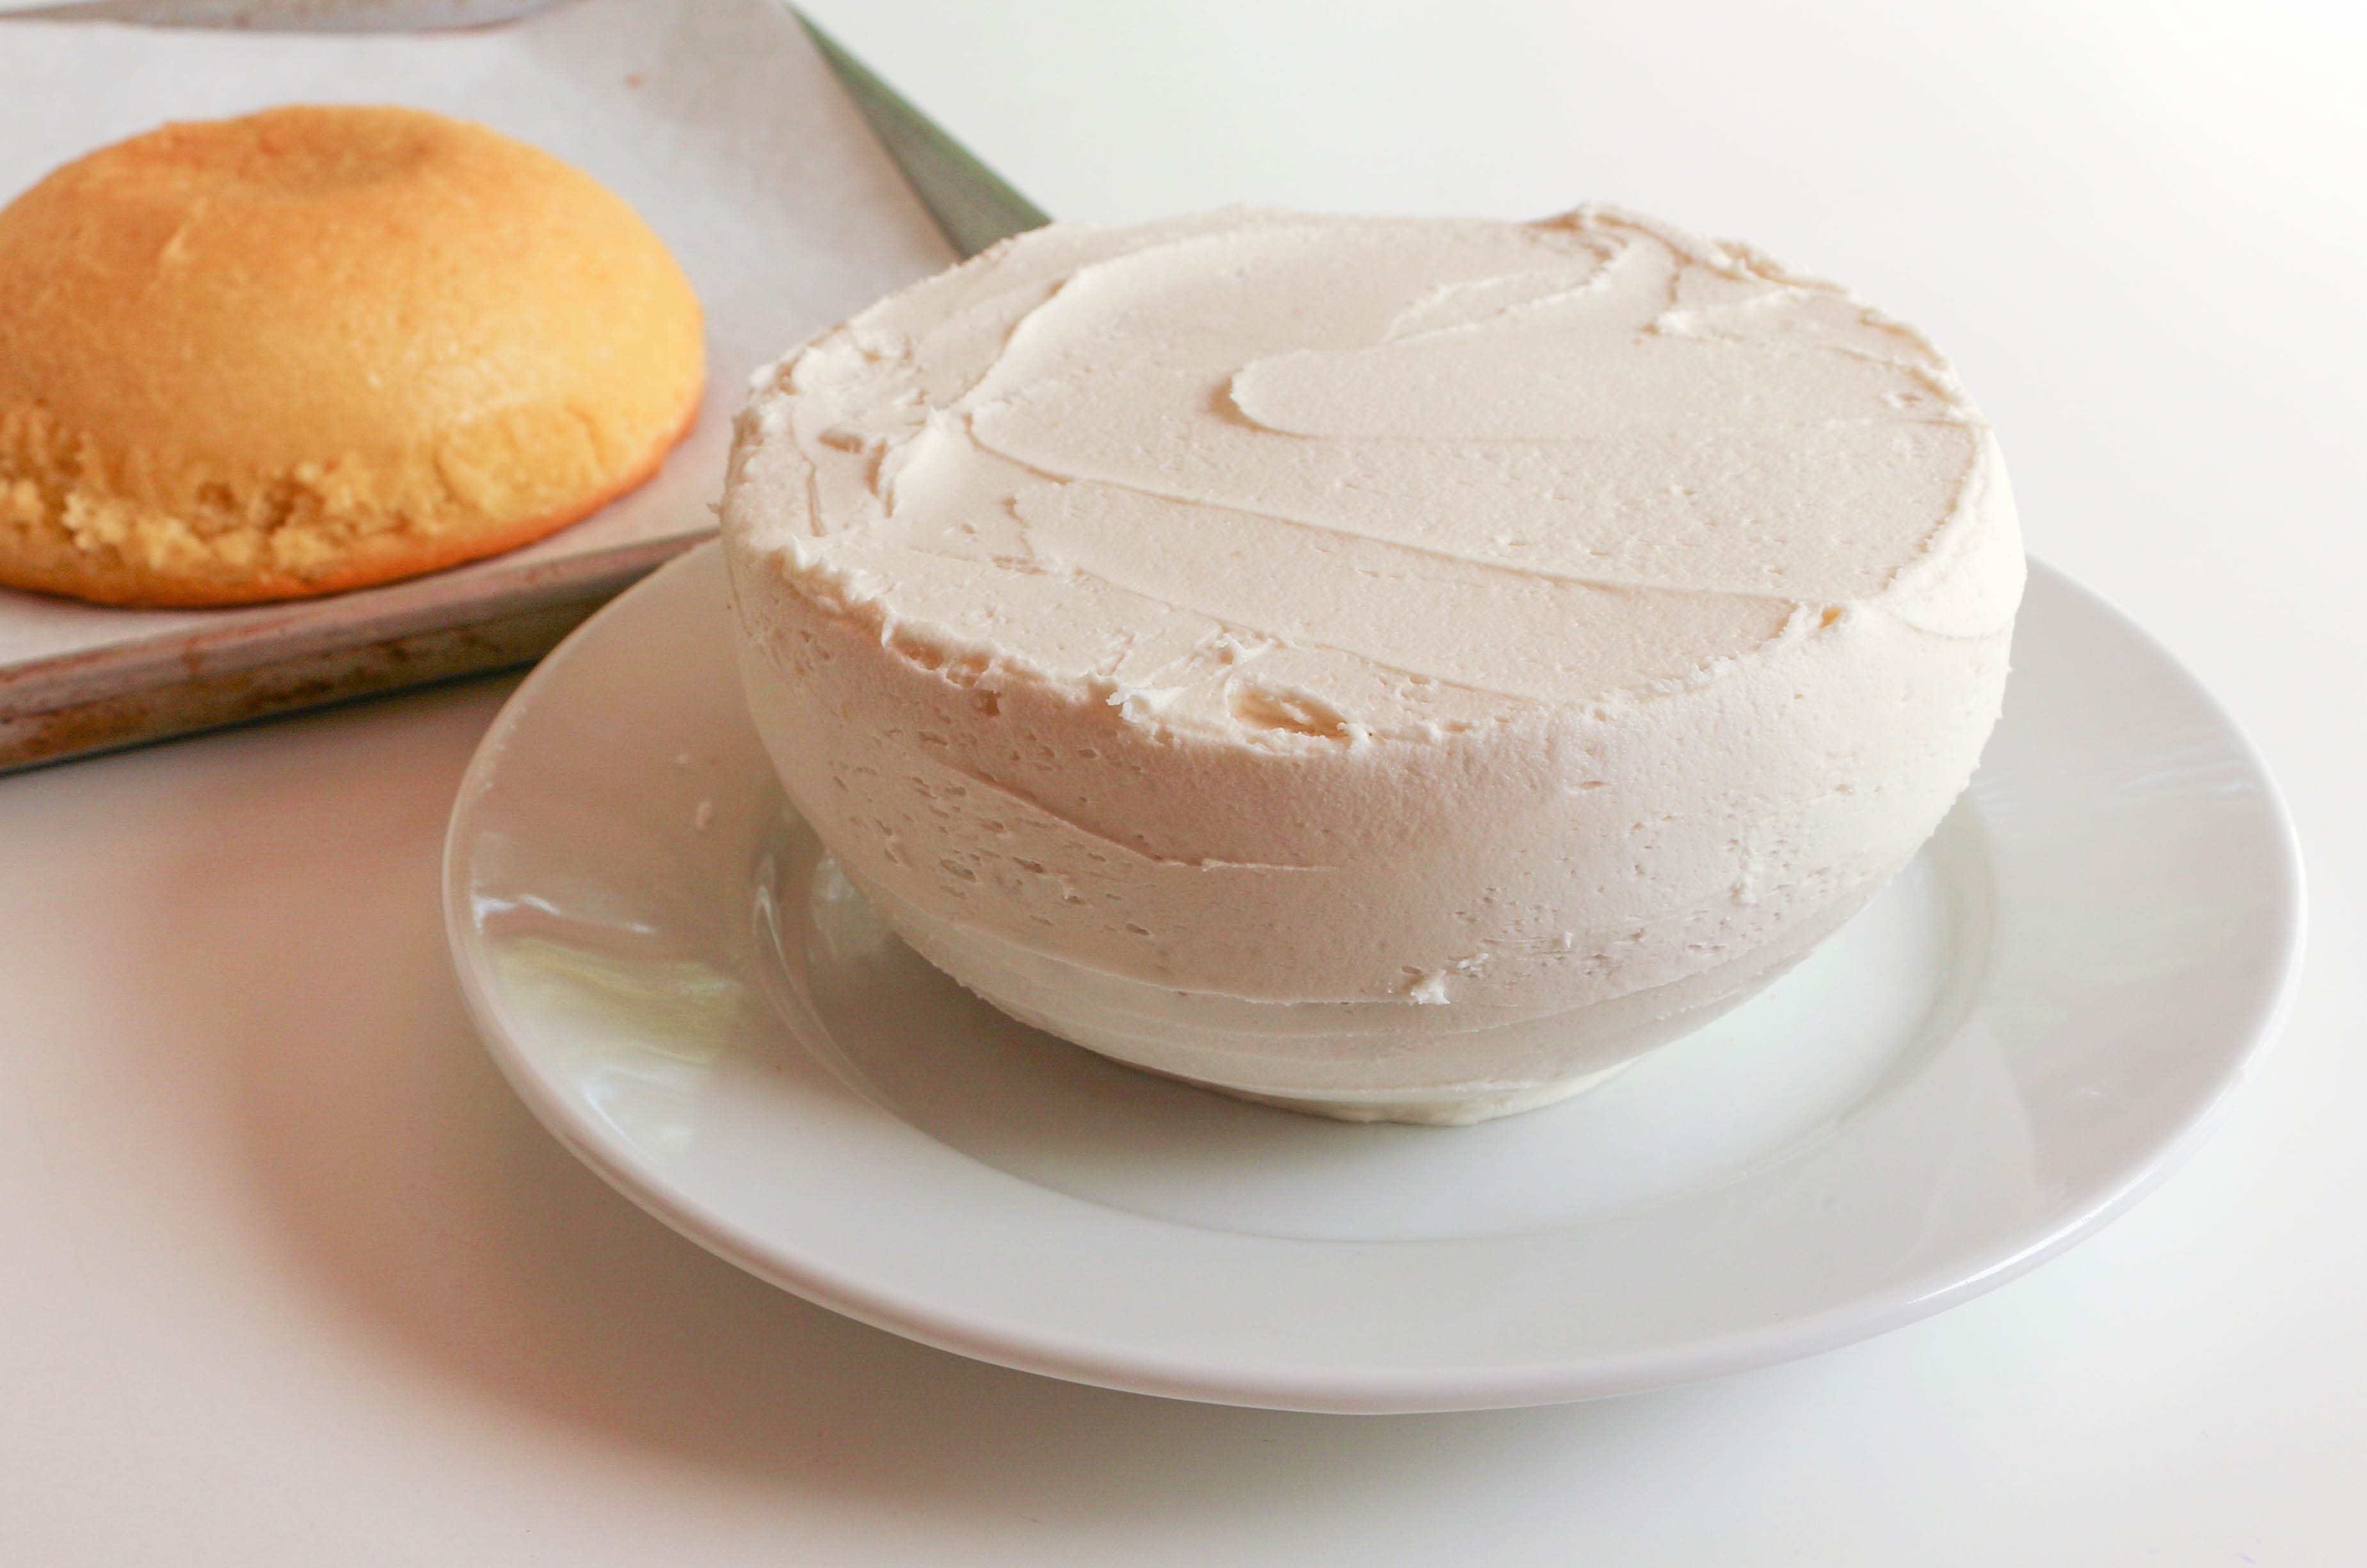
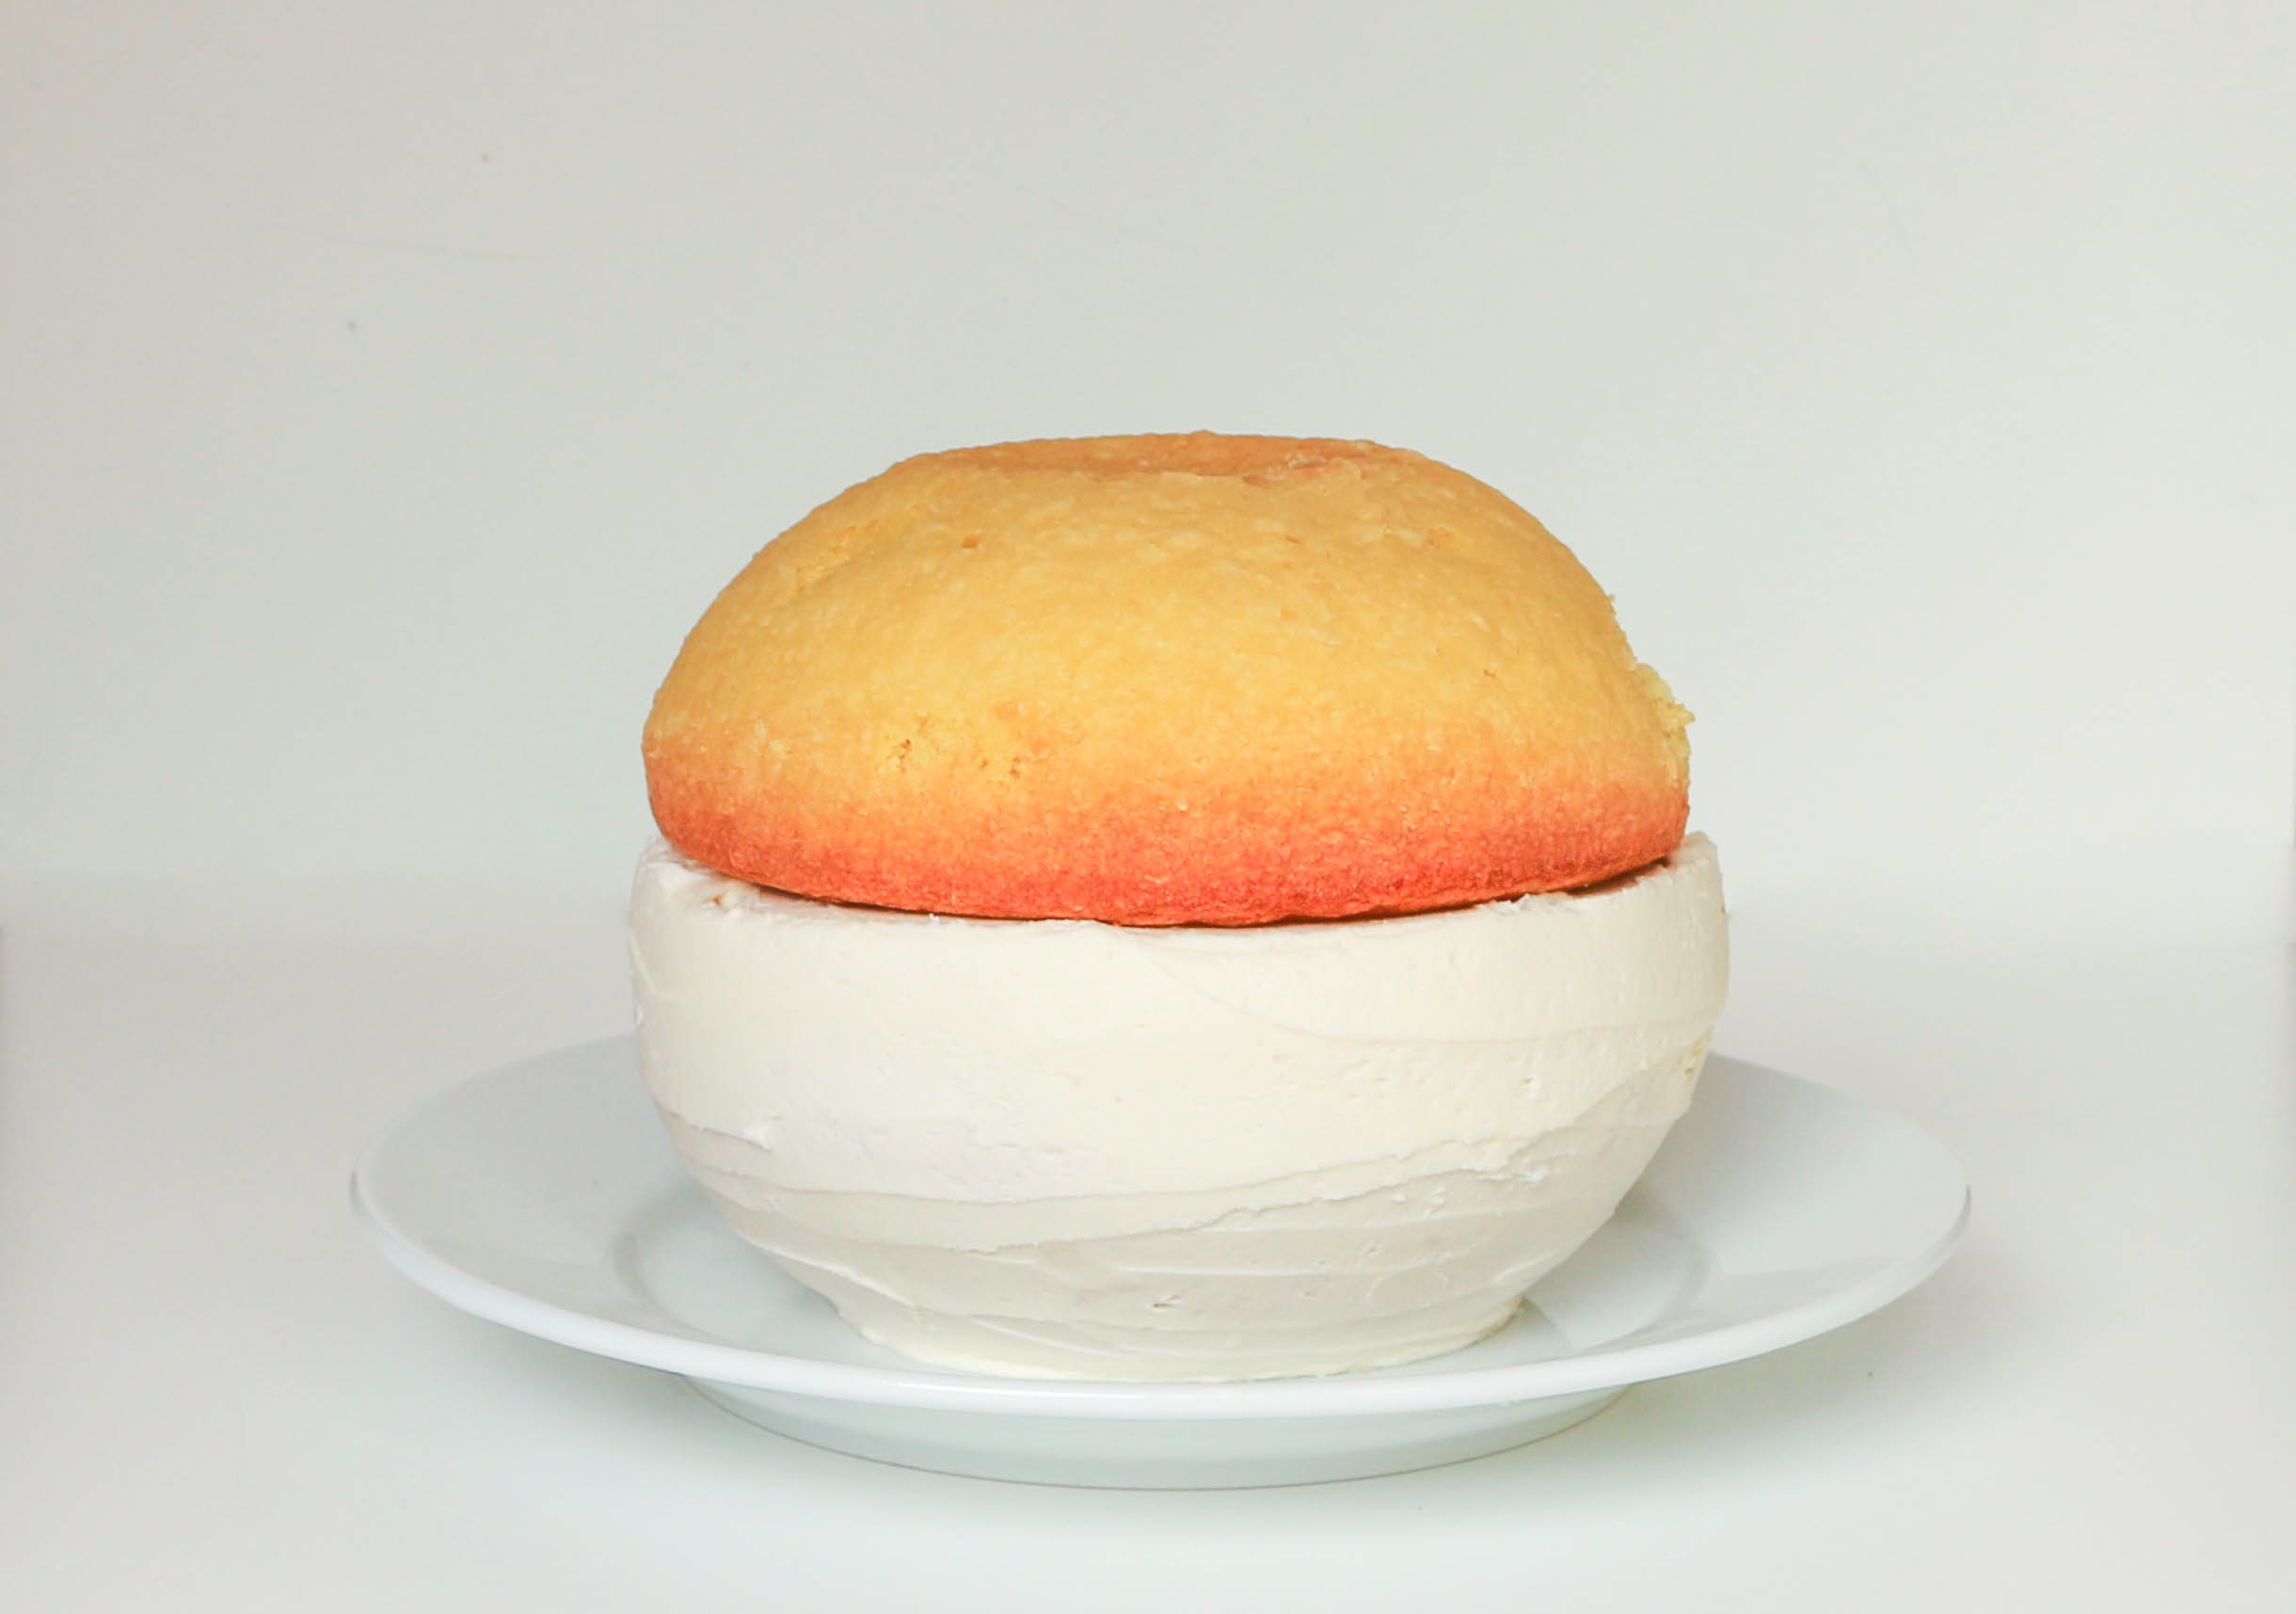
Remove the chilled cake from the fridge. Place another plate on top of the cake and flip the whole thing over.
Remove the top plate and fill the cake with the remaining white buttercream. Top the filling with the other domed piece of cake. Pop the cake back into the fridge to let the whole thing set up again.
Step 4:
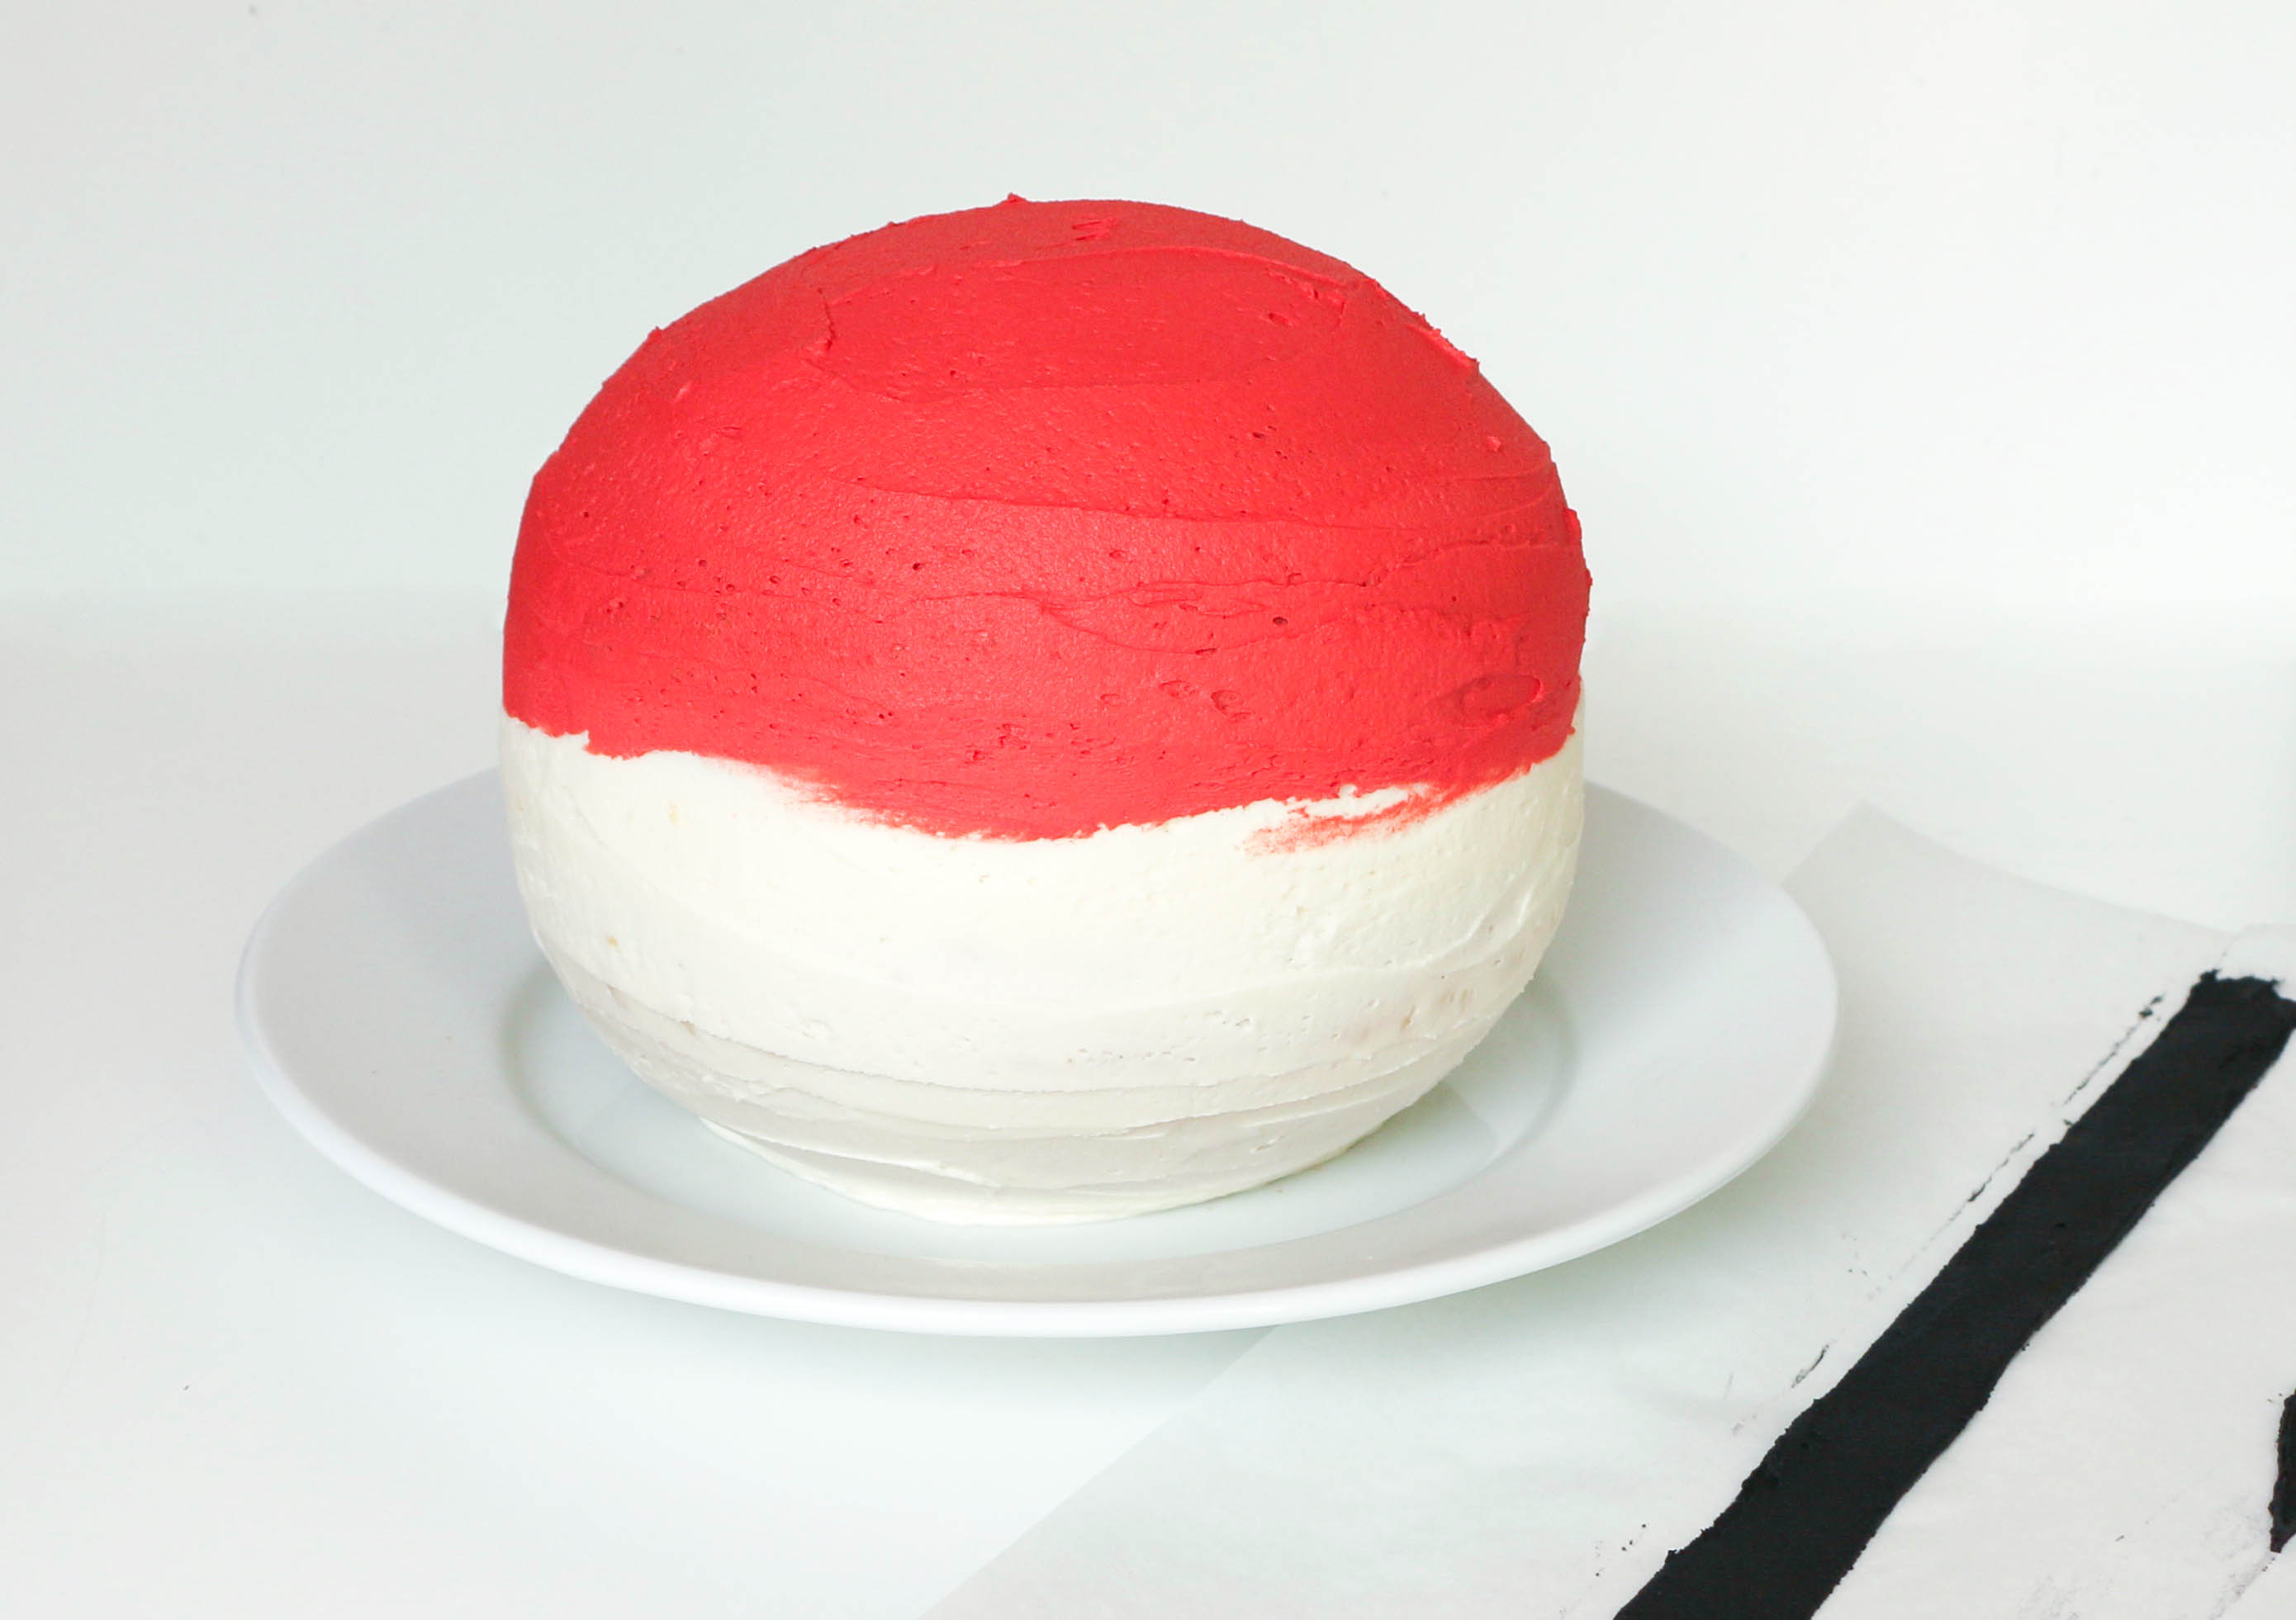
Remove the chilled cake from the fridge and ice the top cake with red buttercream.
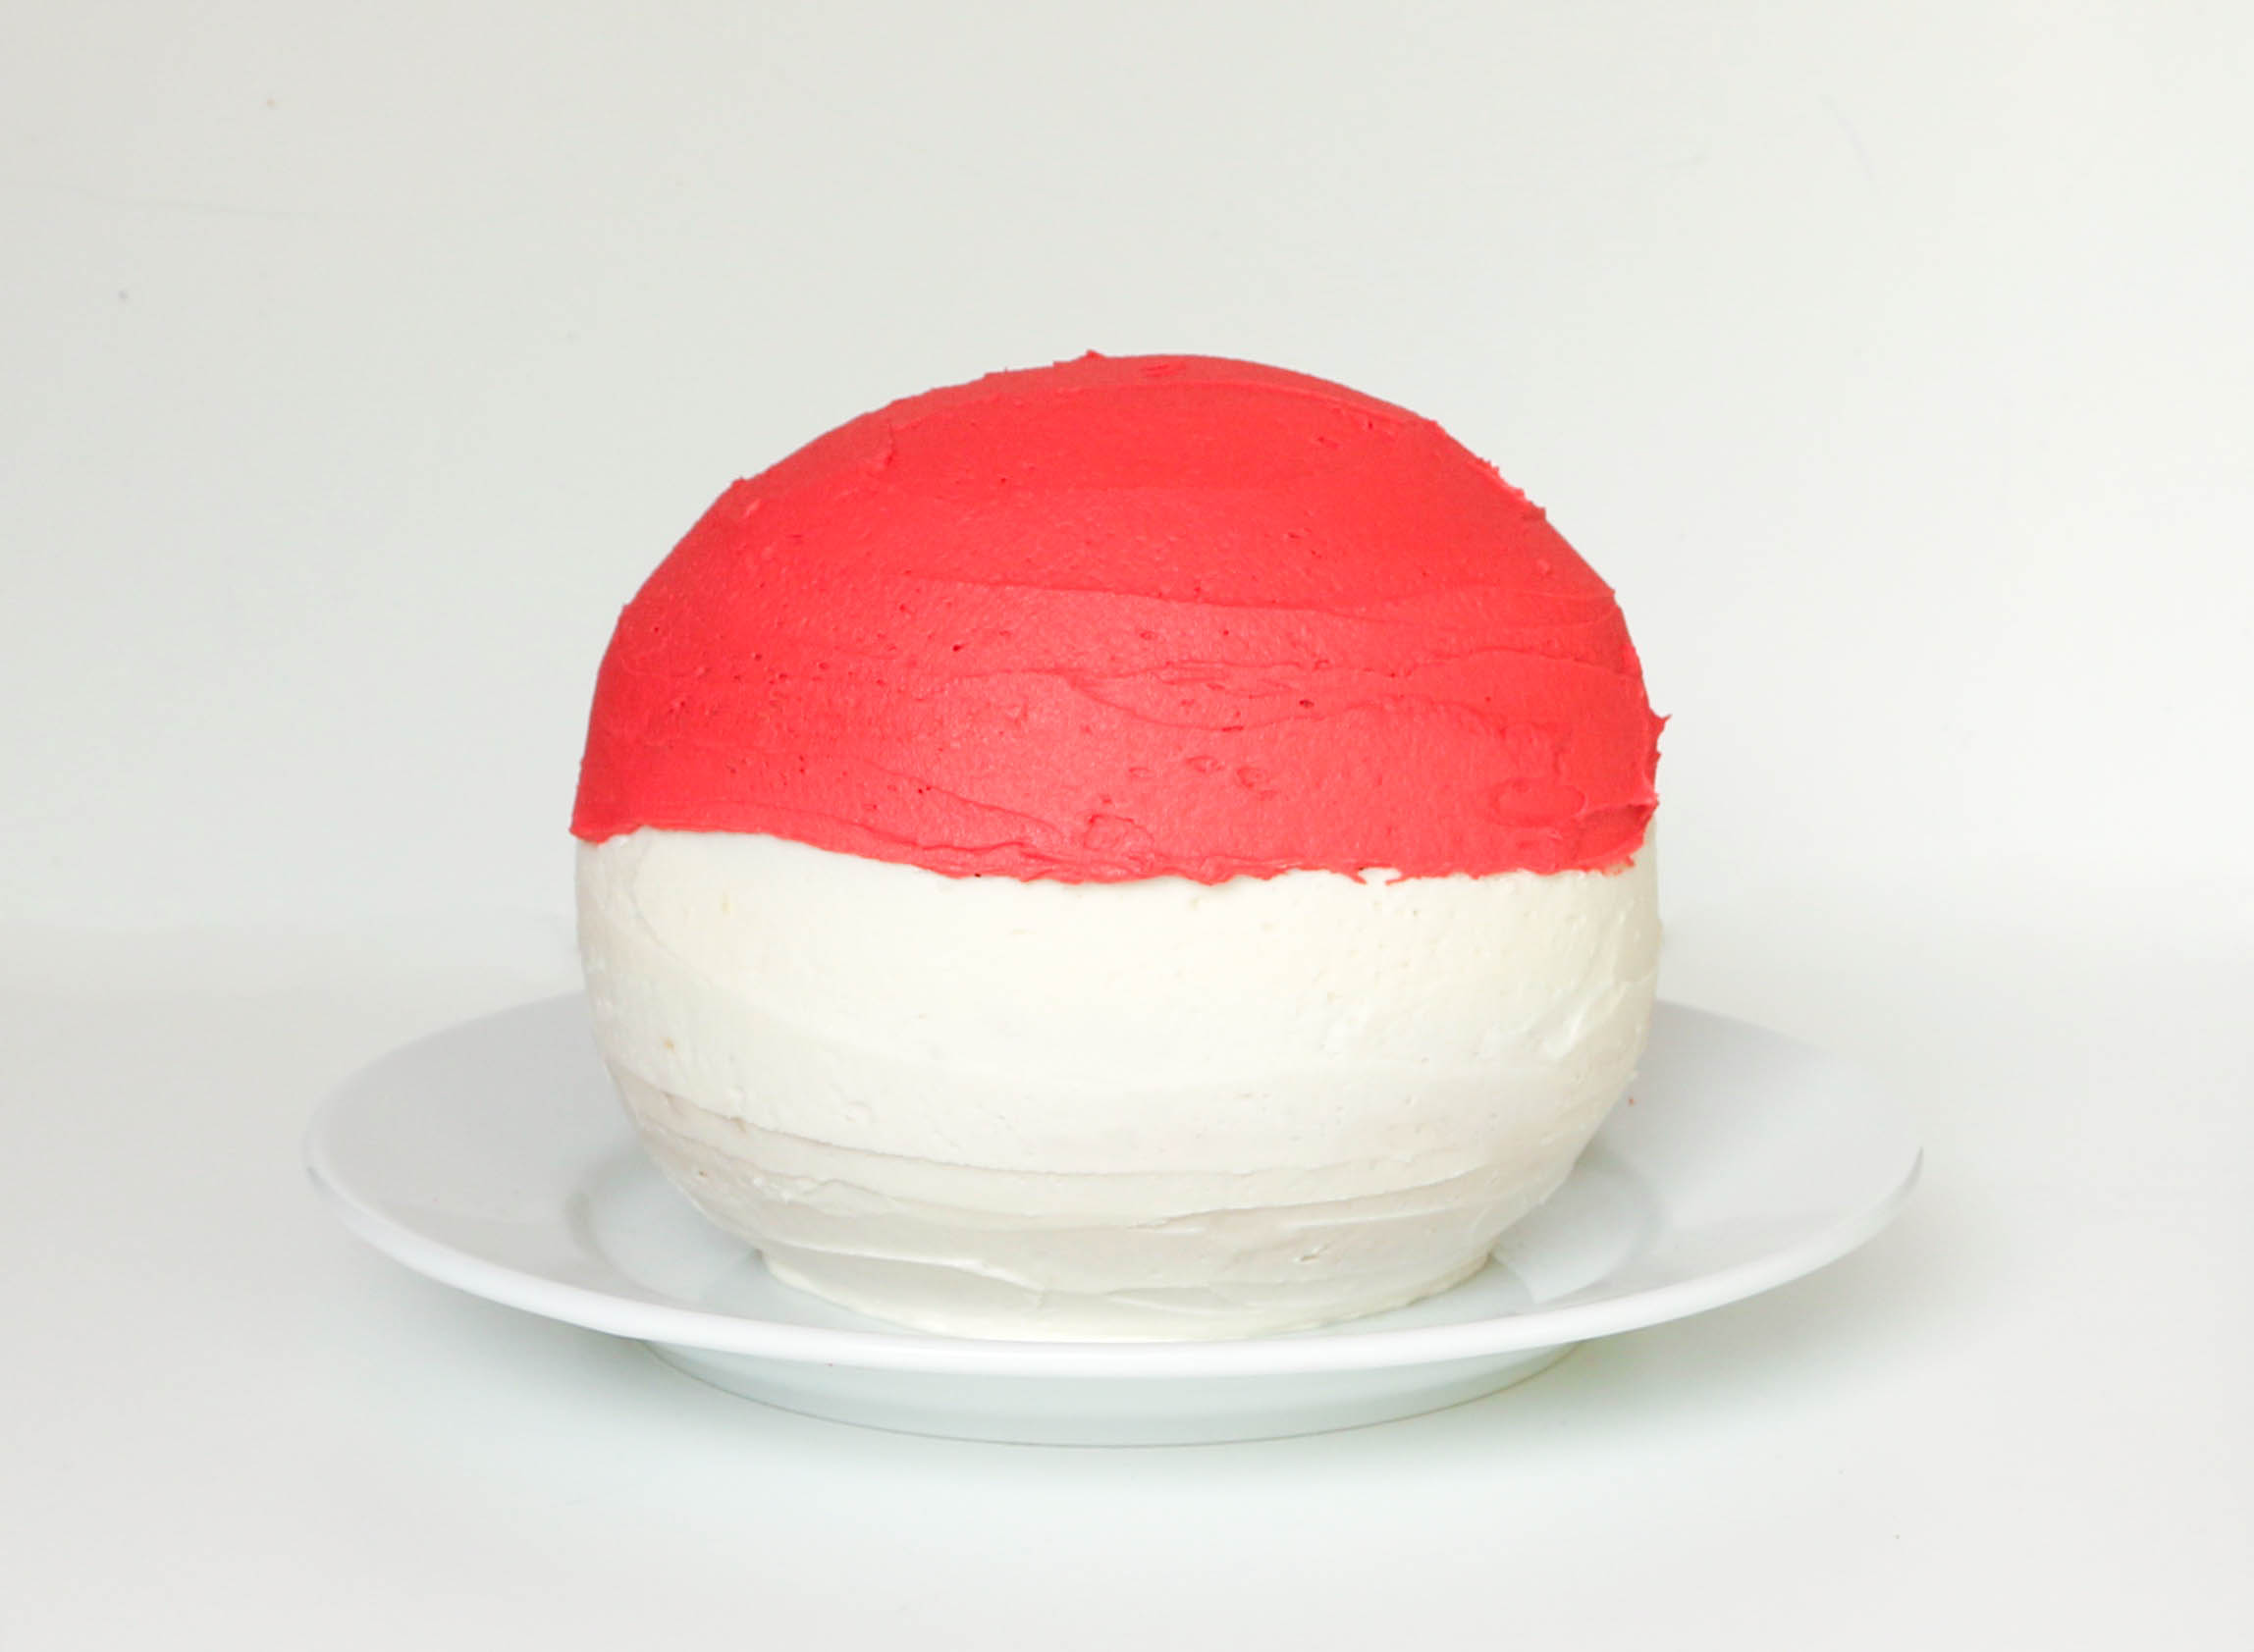
Ice the top cake with red buttercream. Try to be as neat as possible, but don’t stress too much about the line where the frostings meet. We’ll be covering that up in just a sec. Set the cake aside.
Step 5:
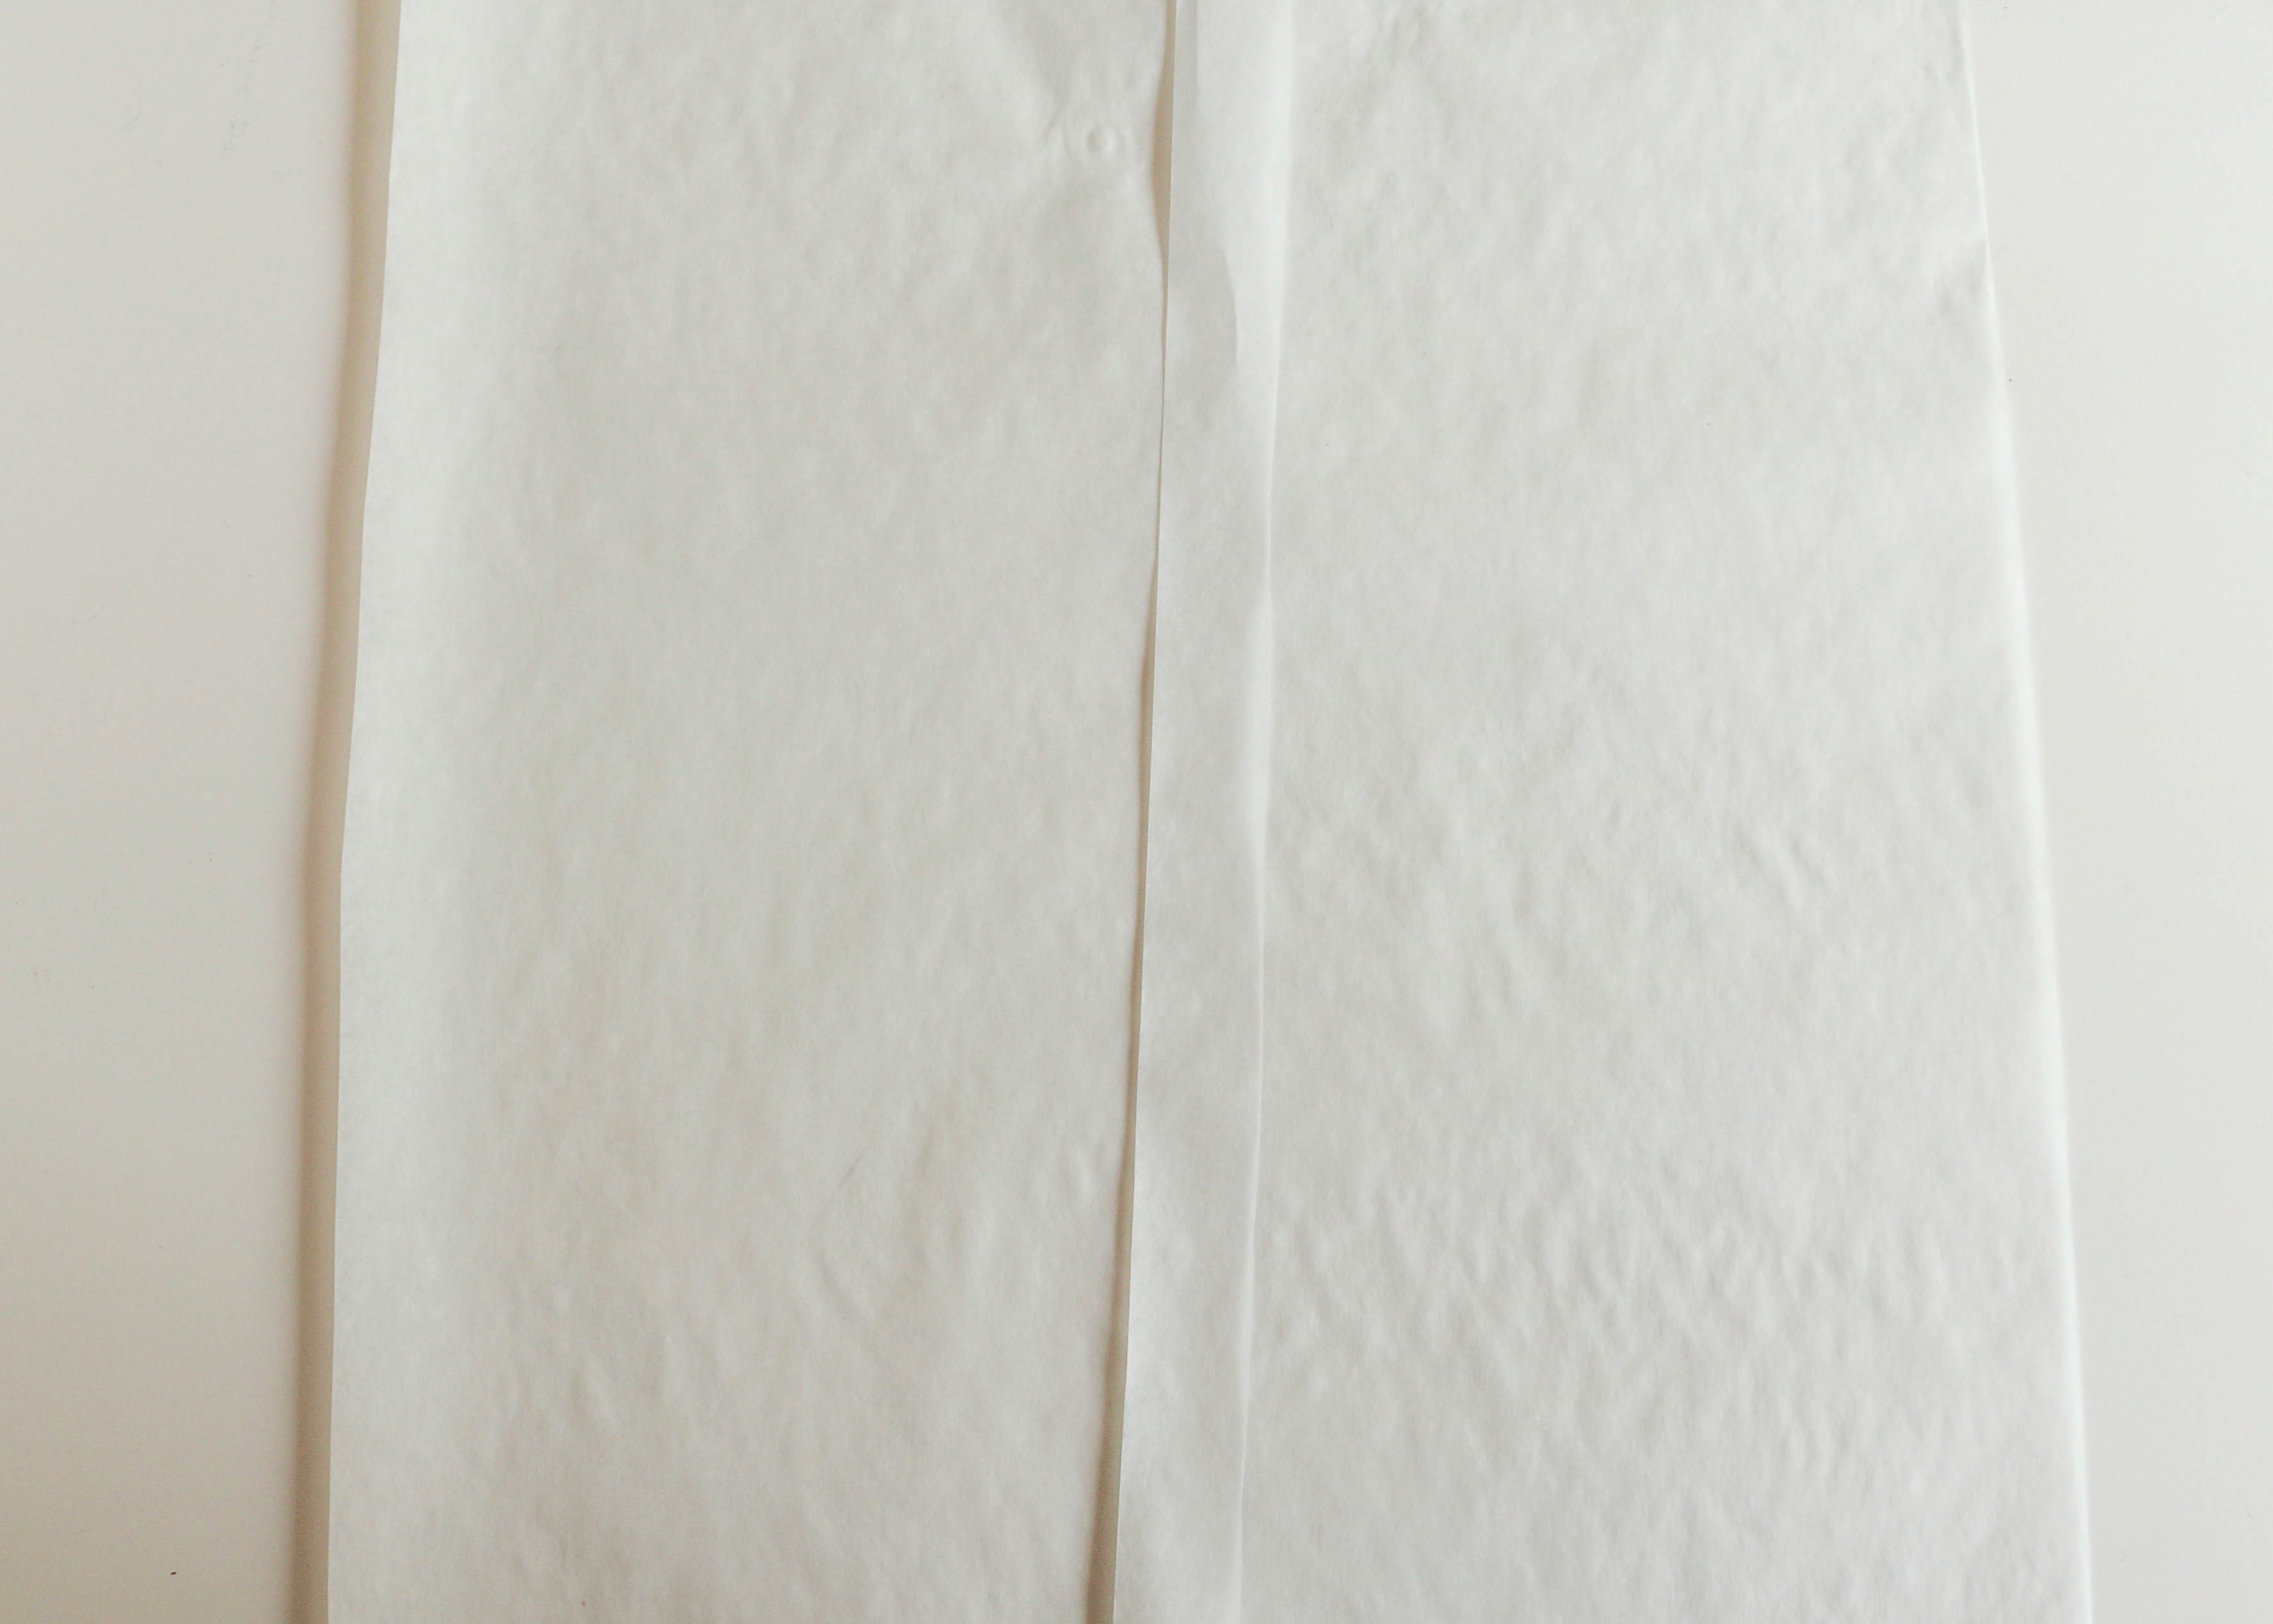
Cut a strip of parchment paper about 1″ thick and about 2″ longer than the circumference of your Pokéball cake. Tape two pieces of parchment paper together if you don’t have one piece long enough. Place the strip onto another piece of parchment paper.
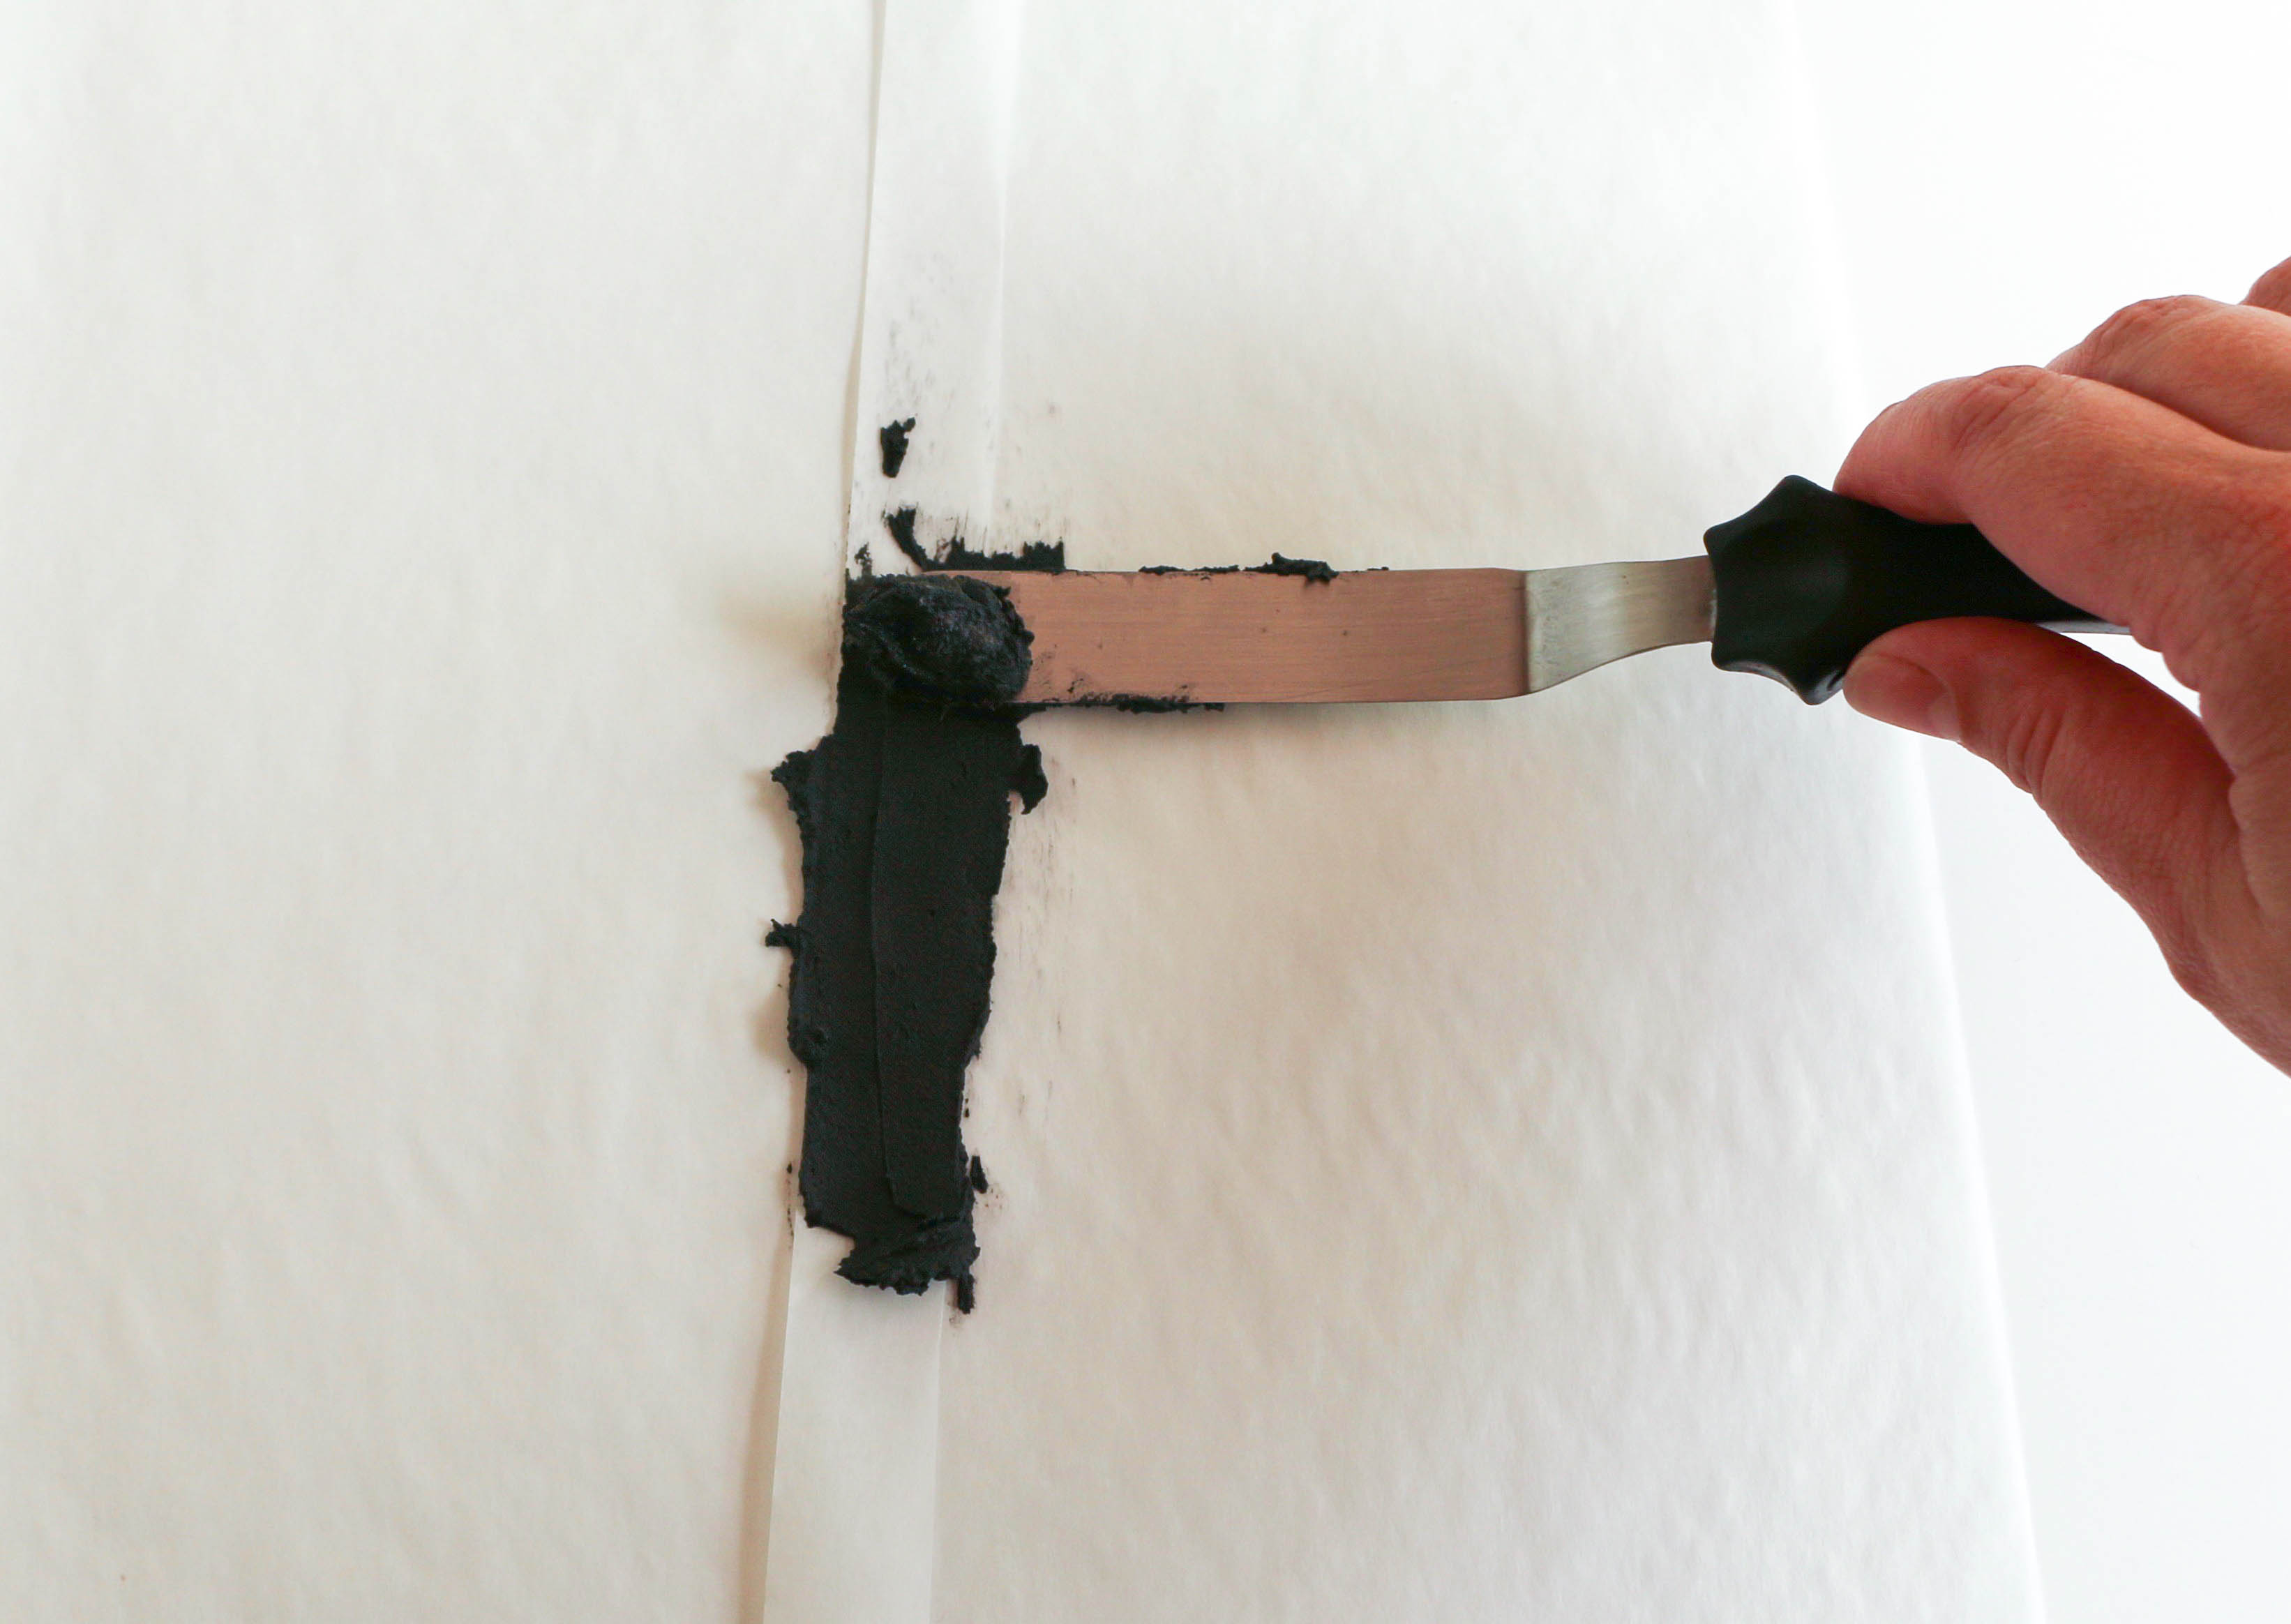
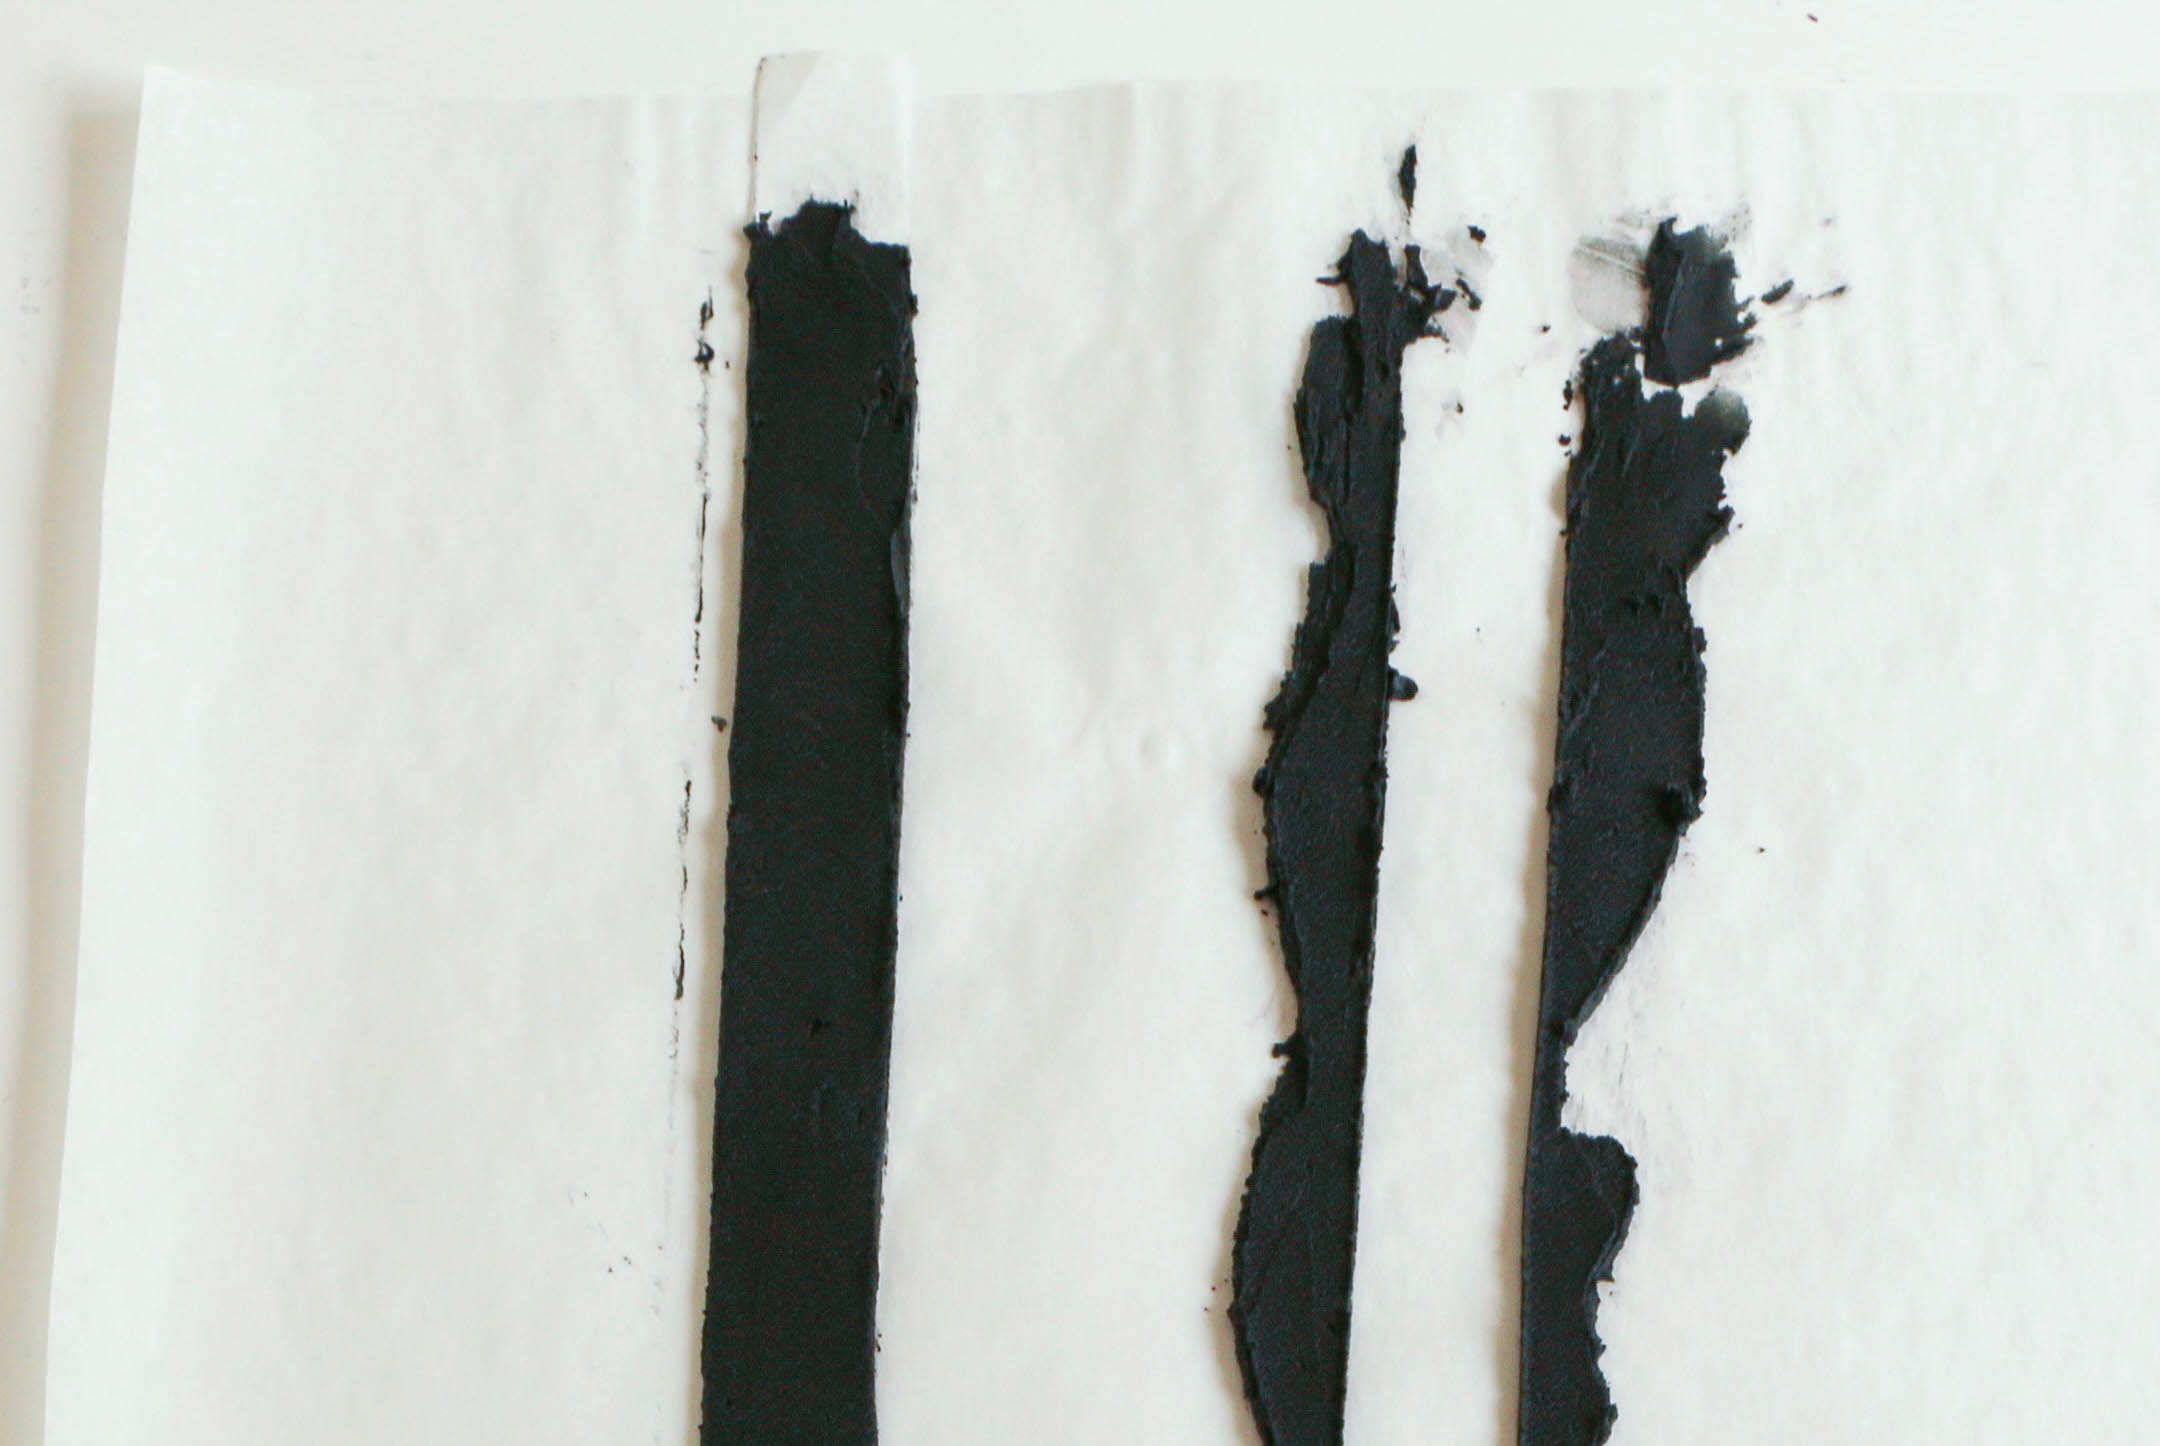
Use a small icing spatula to spread black buttercream onto the parchment strip, leaving a little empty space at the ends.
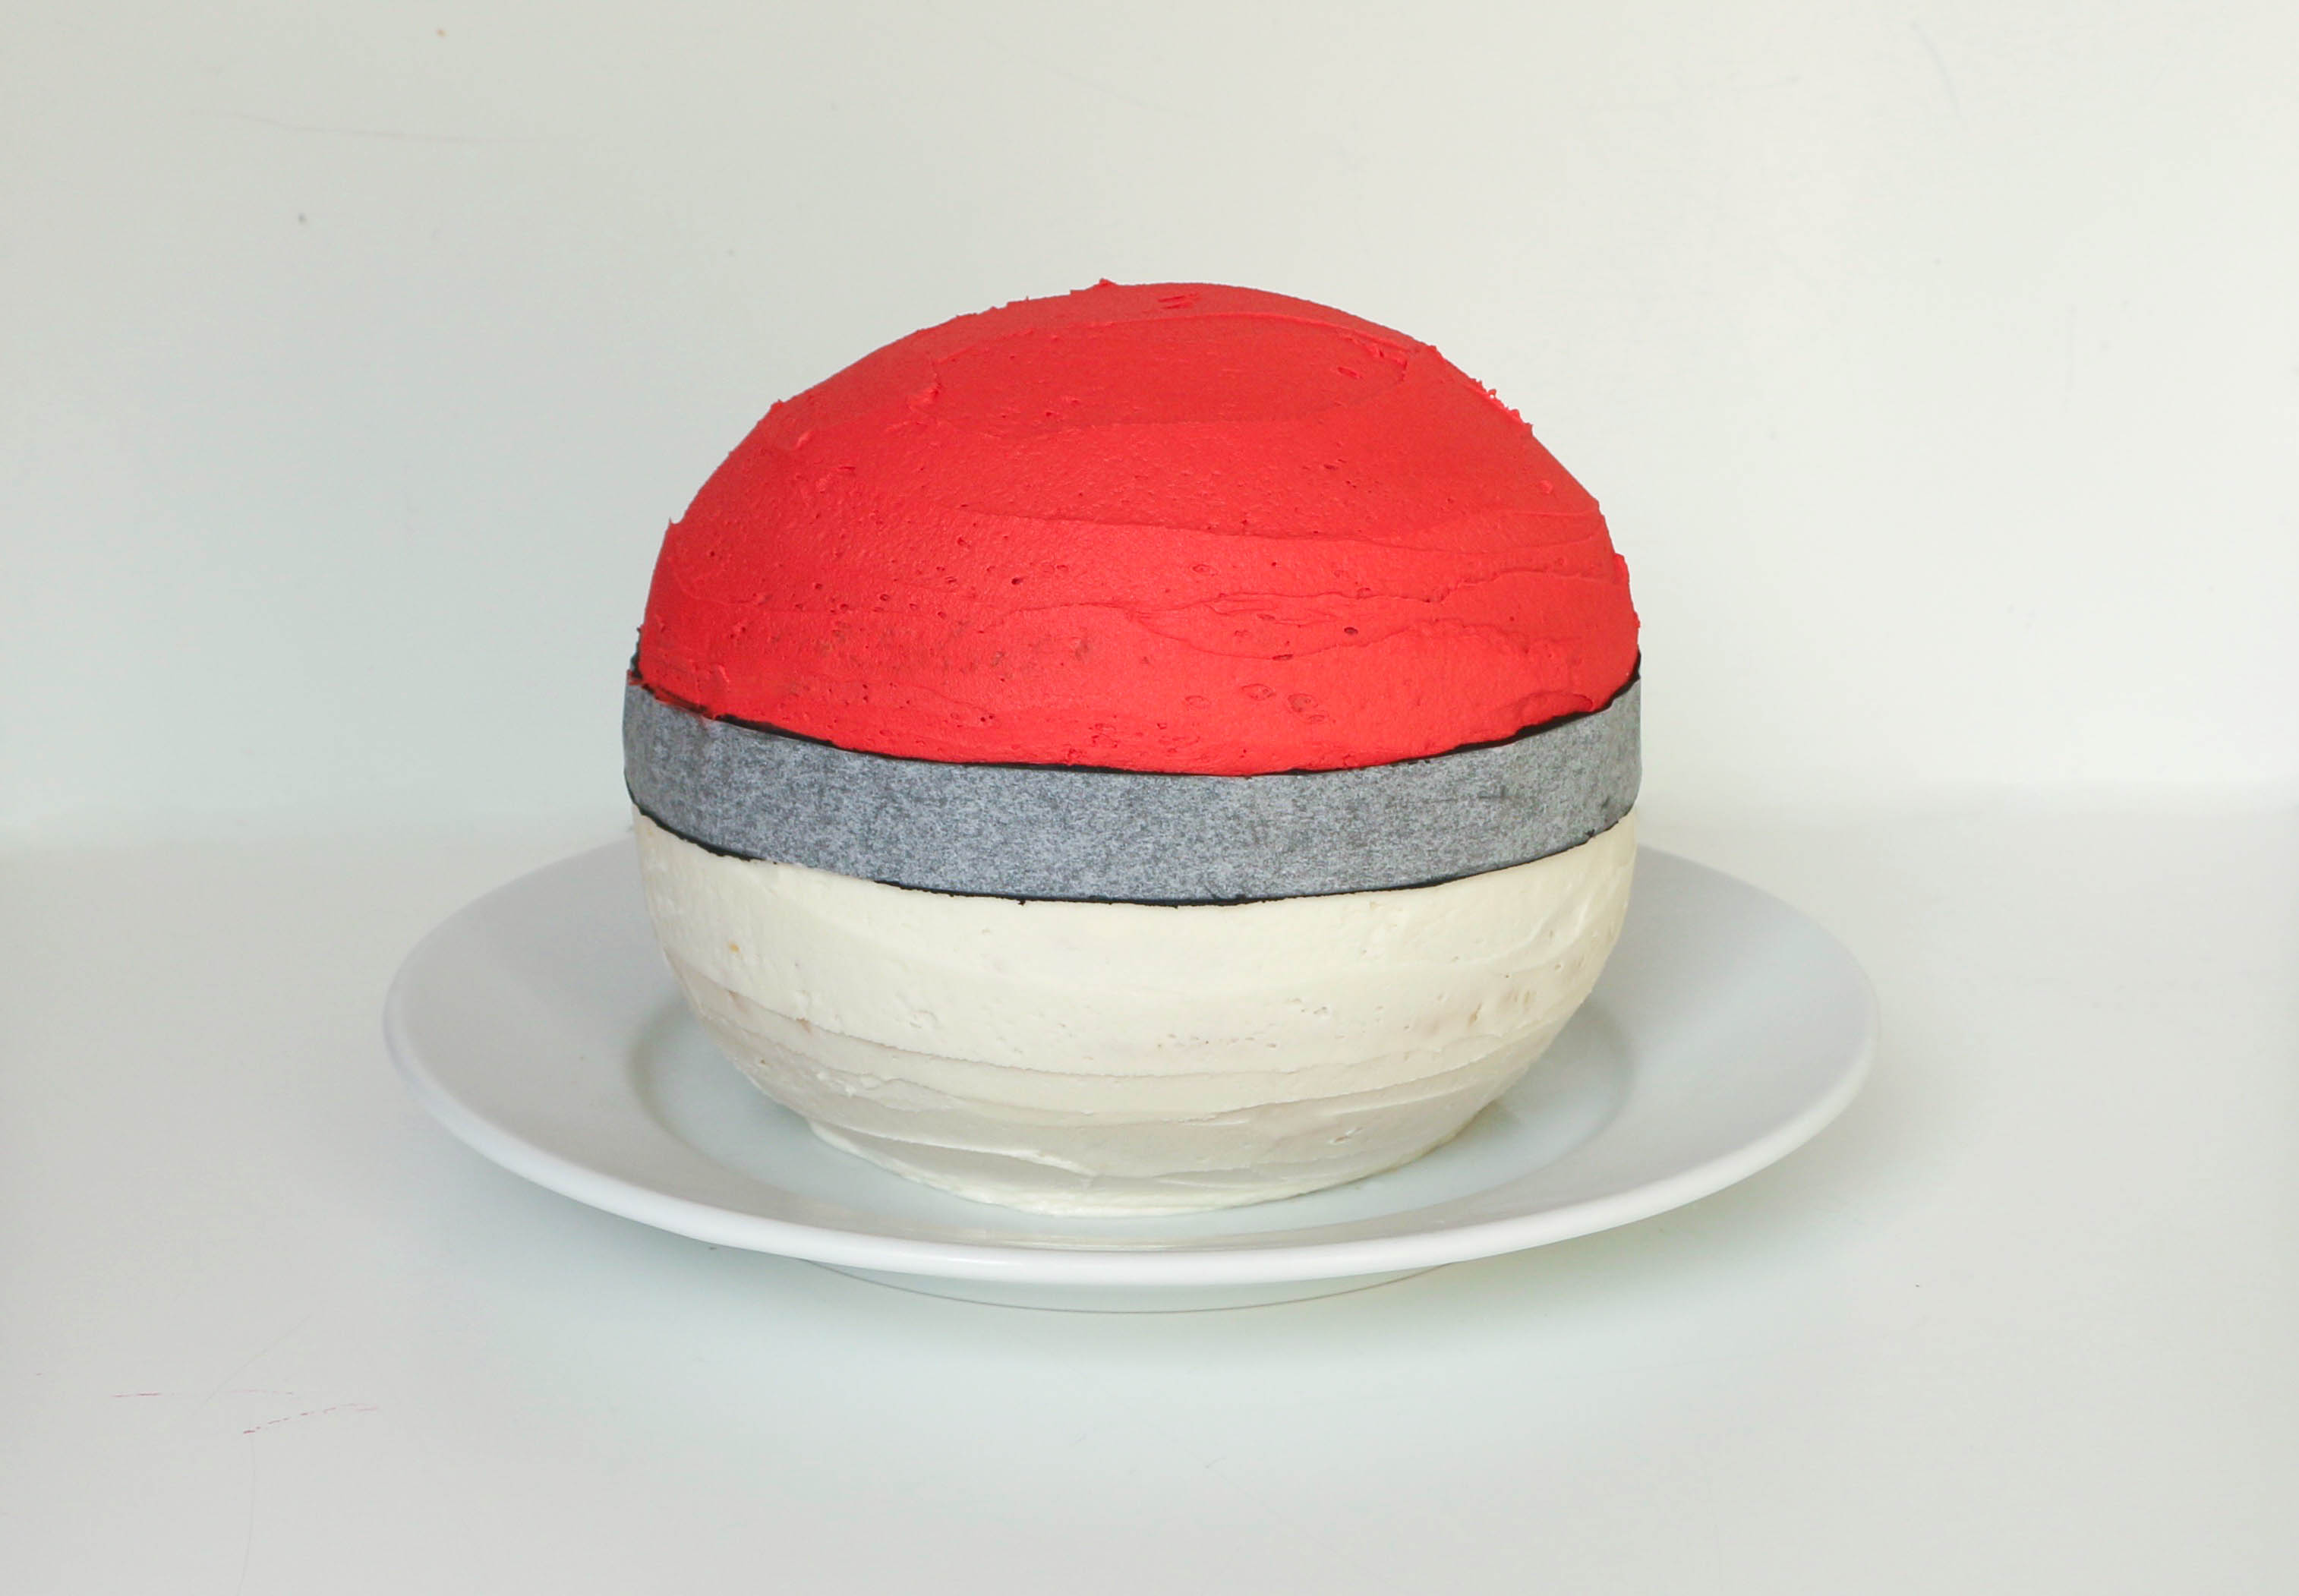
Use that empty space to lift up the strip of parchment and wrap it around the center of your Pokéball cake, overlapping where the red and white buttercreams meet.
Run your fingers over the parchment paper to ensure that all of the black buttercream makes contact with the rest of the cake.
Place the cake into the freezer for just about 10 minutes. The whole cake does’t need to freeze solid; it just needs enough time for the black strip to become completely firm. Be patient with this step and you’ll be rewarded with a clean, smooth buttercream stripe (without having to break out the piping bag — whoo hoo!)
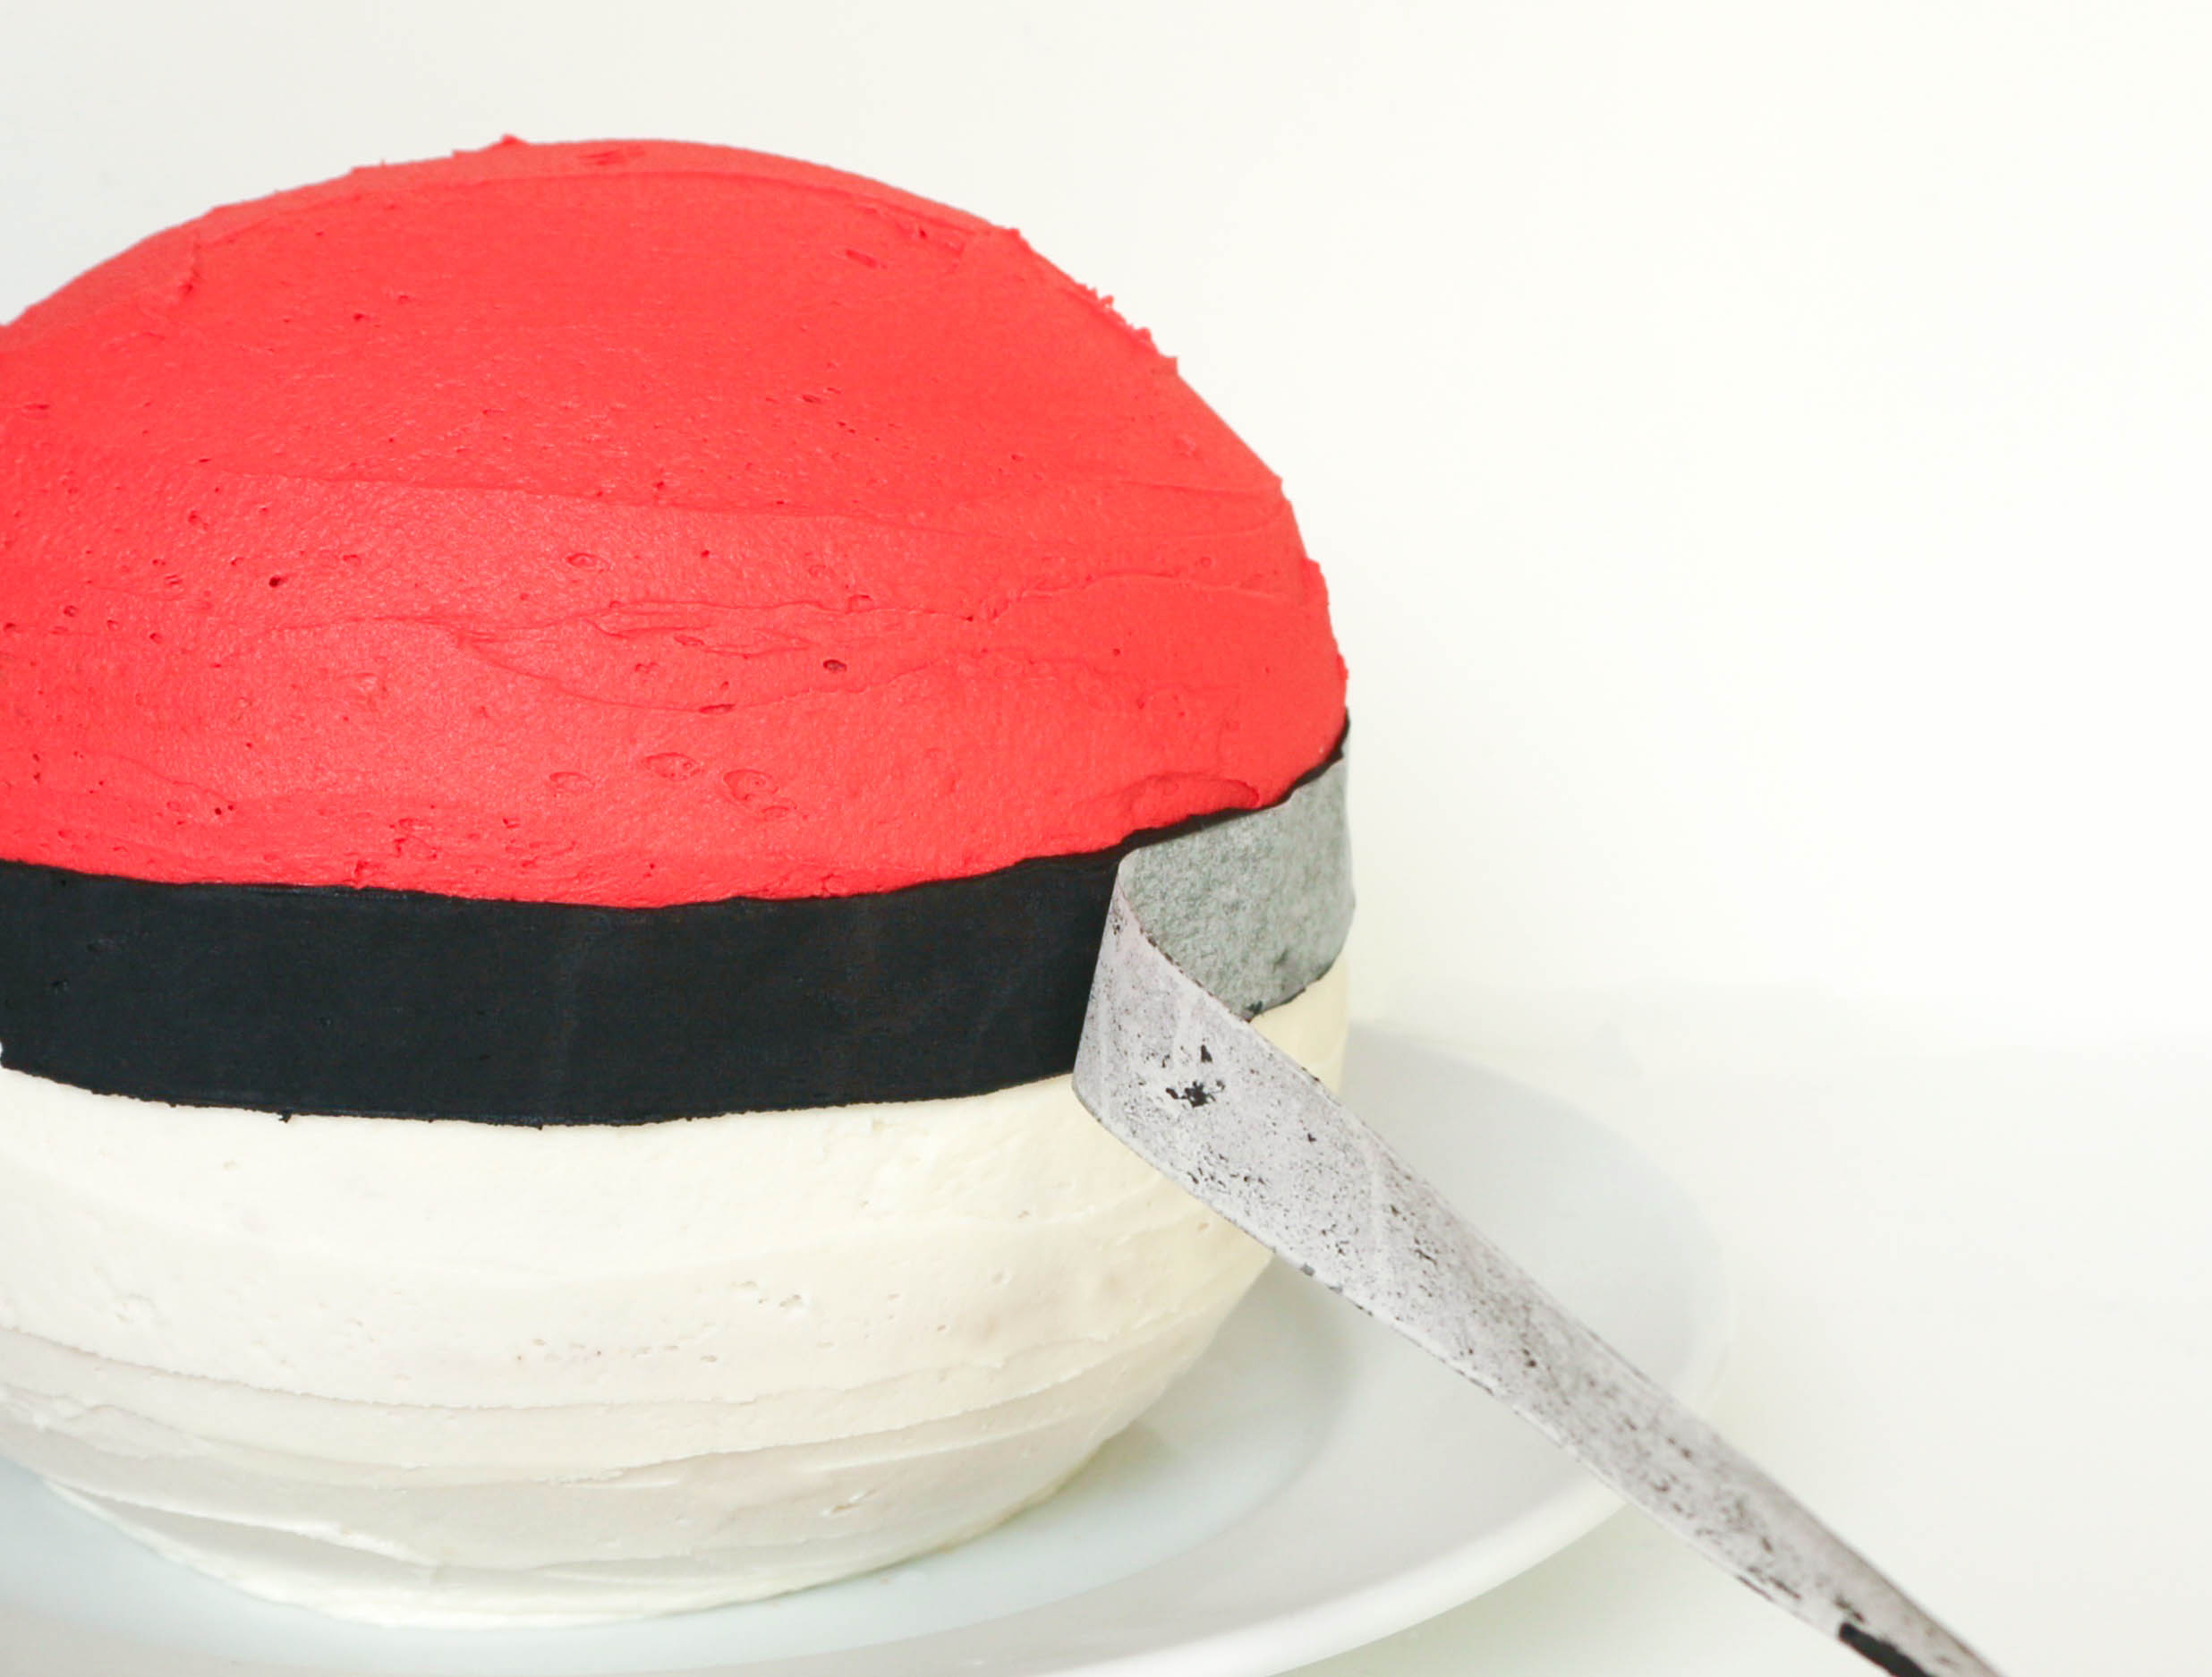
When the black buttercream is solid, remove the cake from the freezer and peel off the paper strip. Use an icing spatula to fill in any gaps.
Step 6:
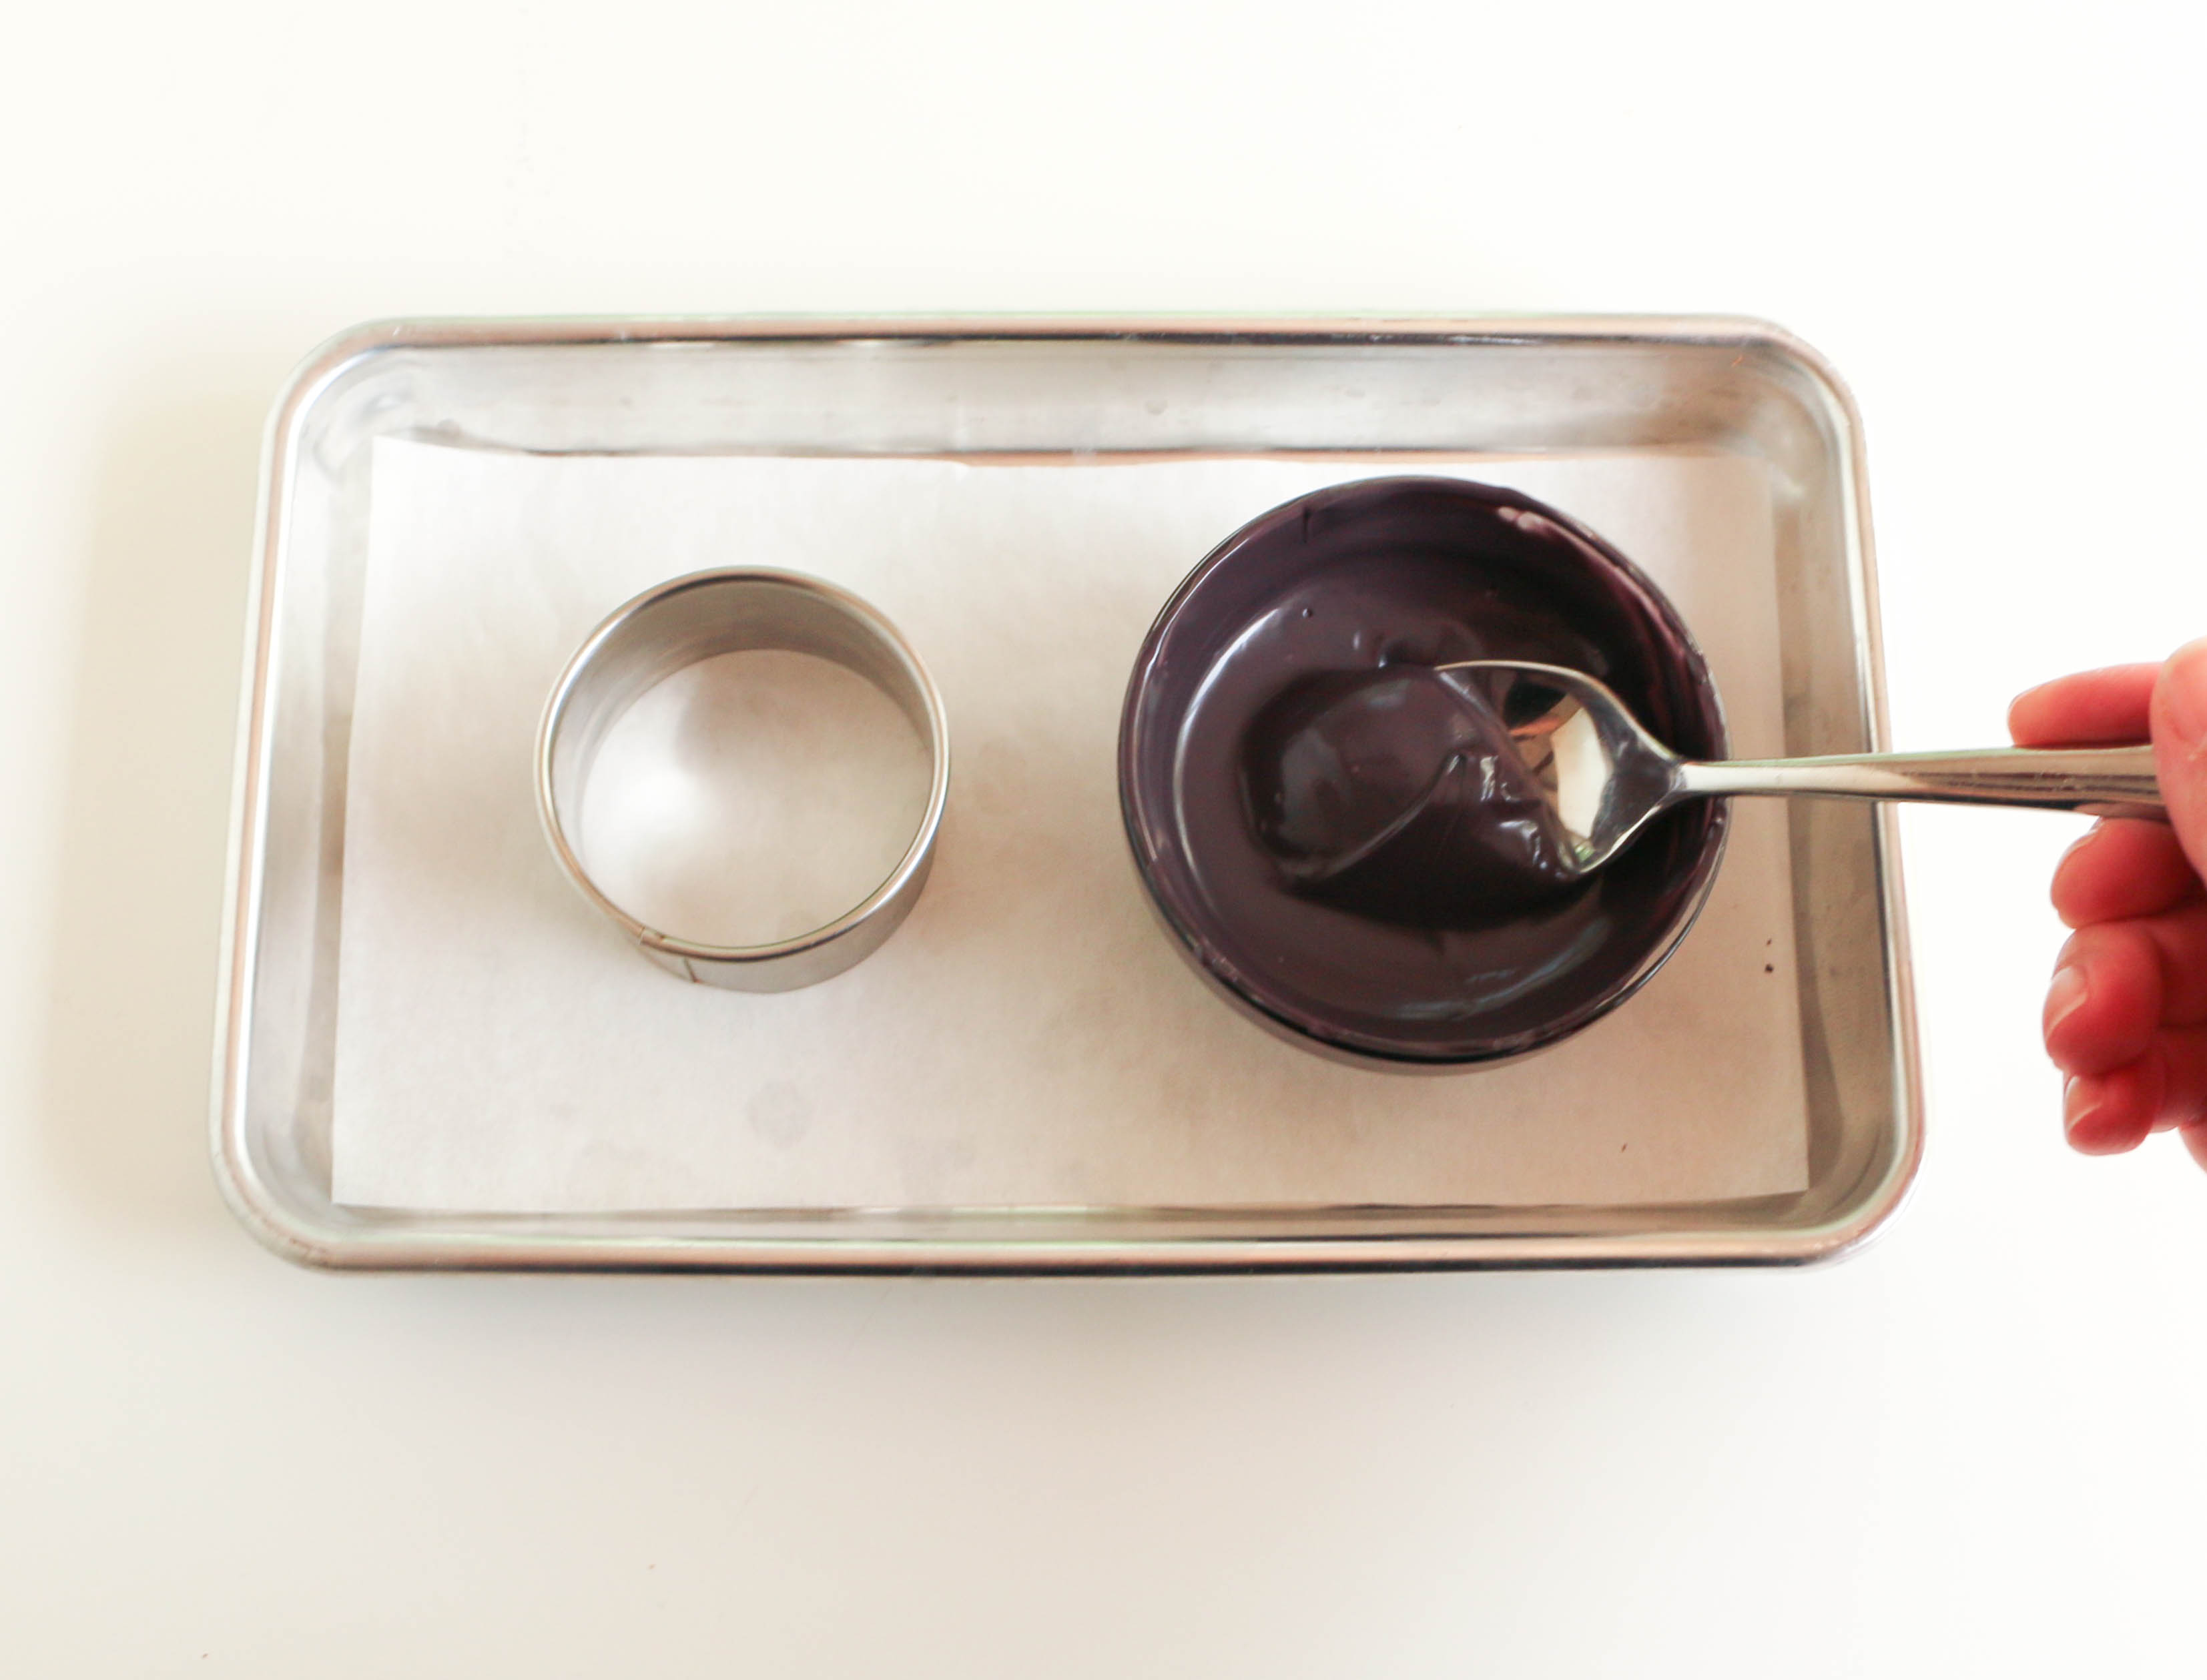
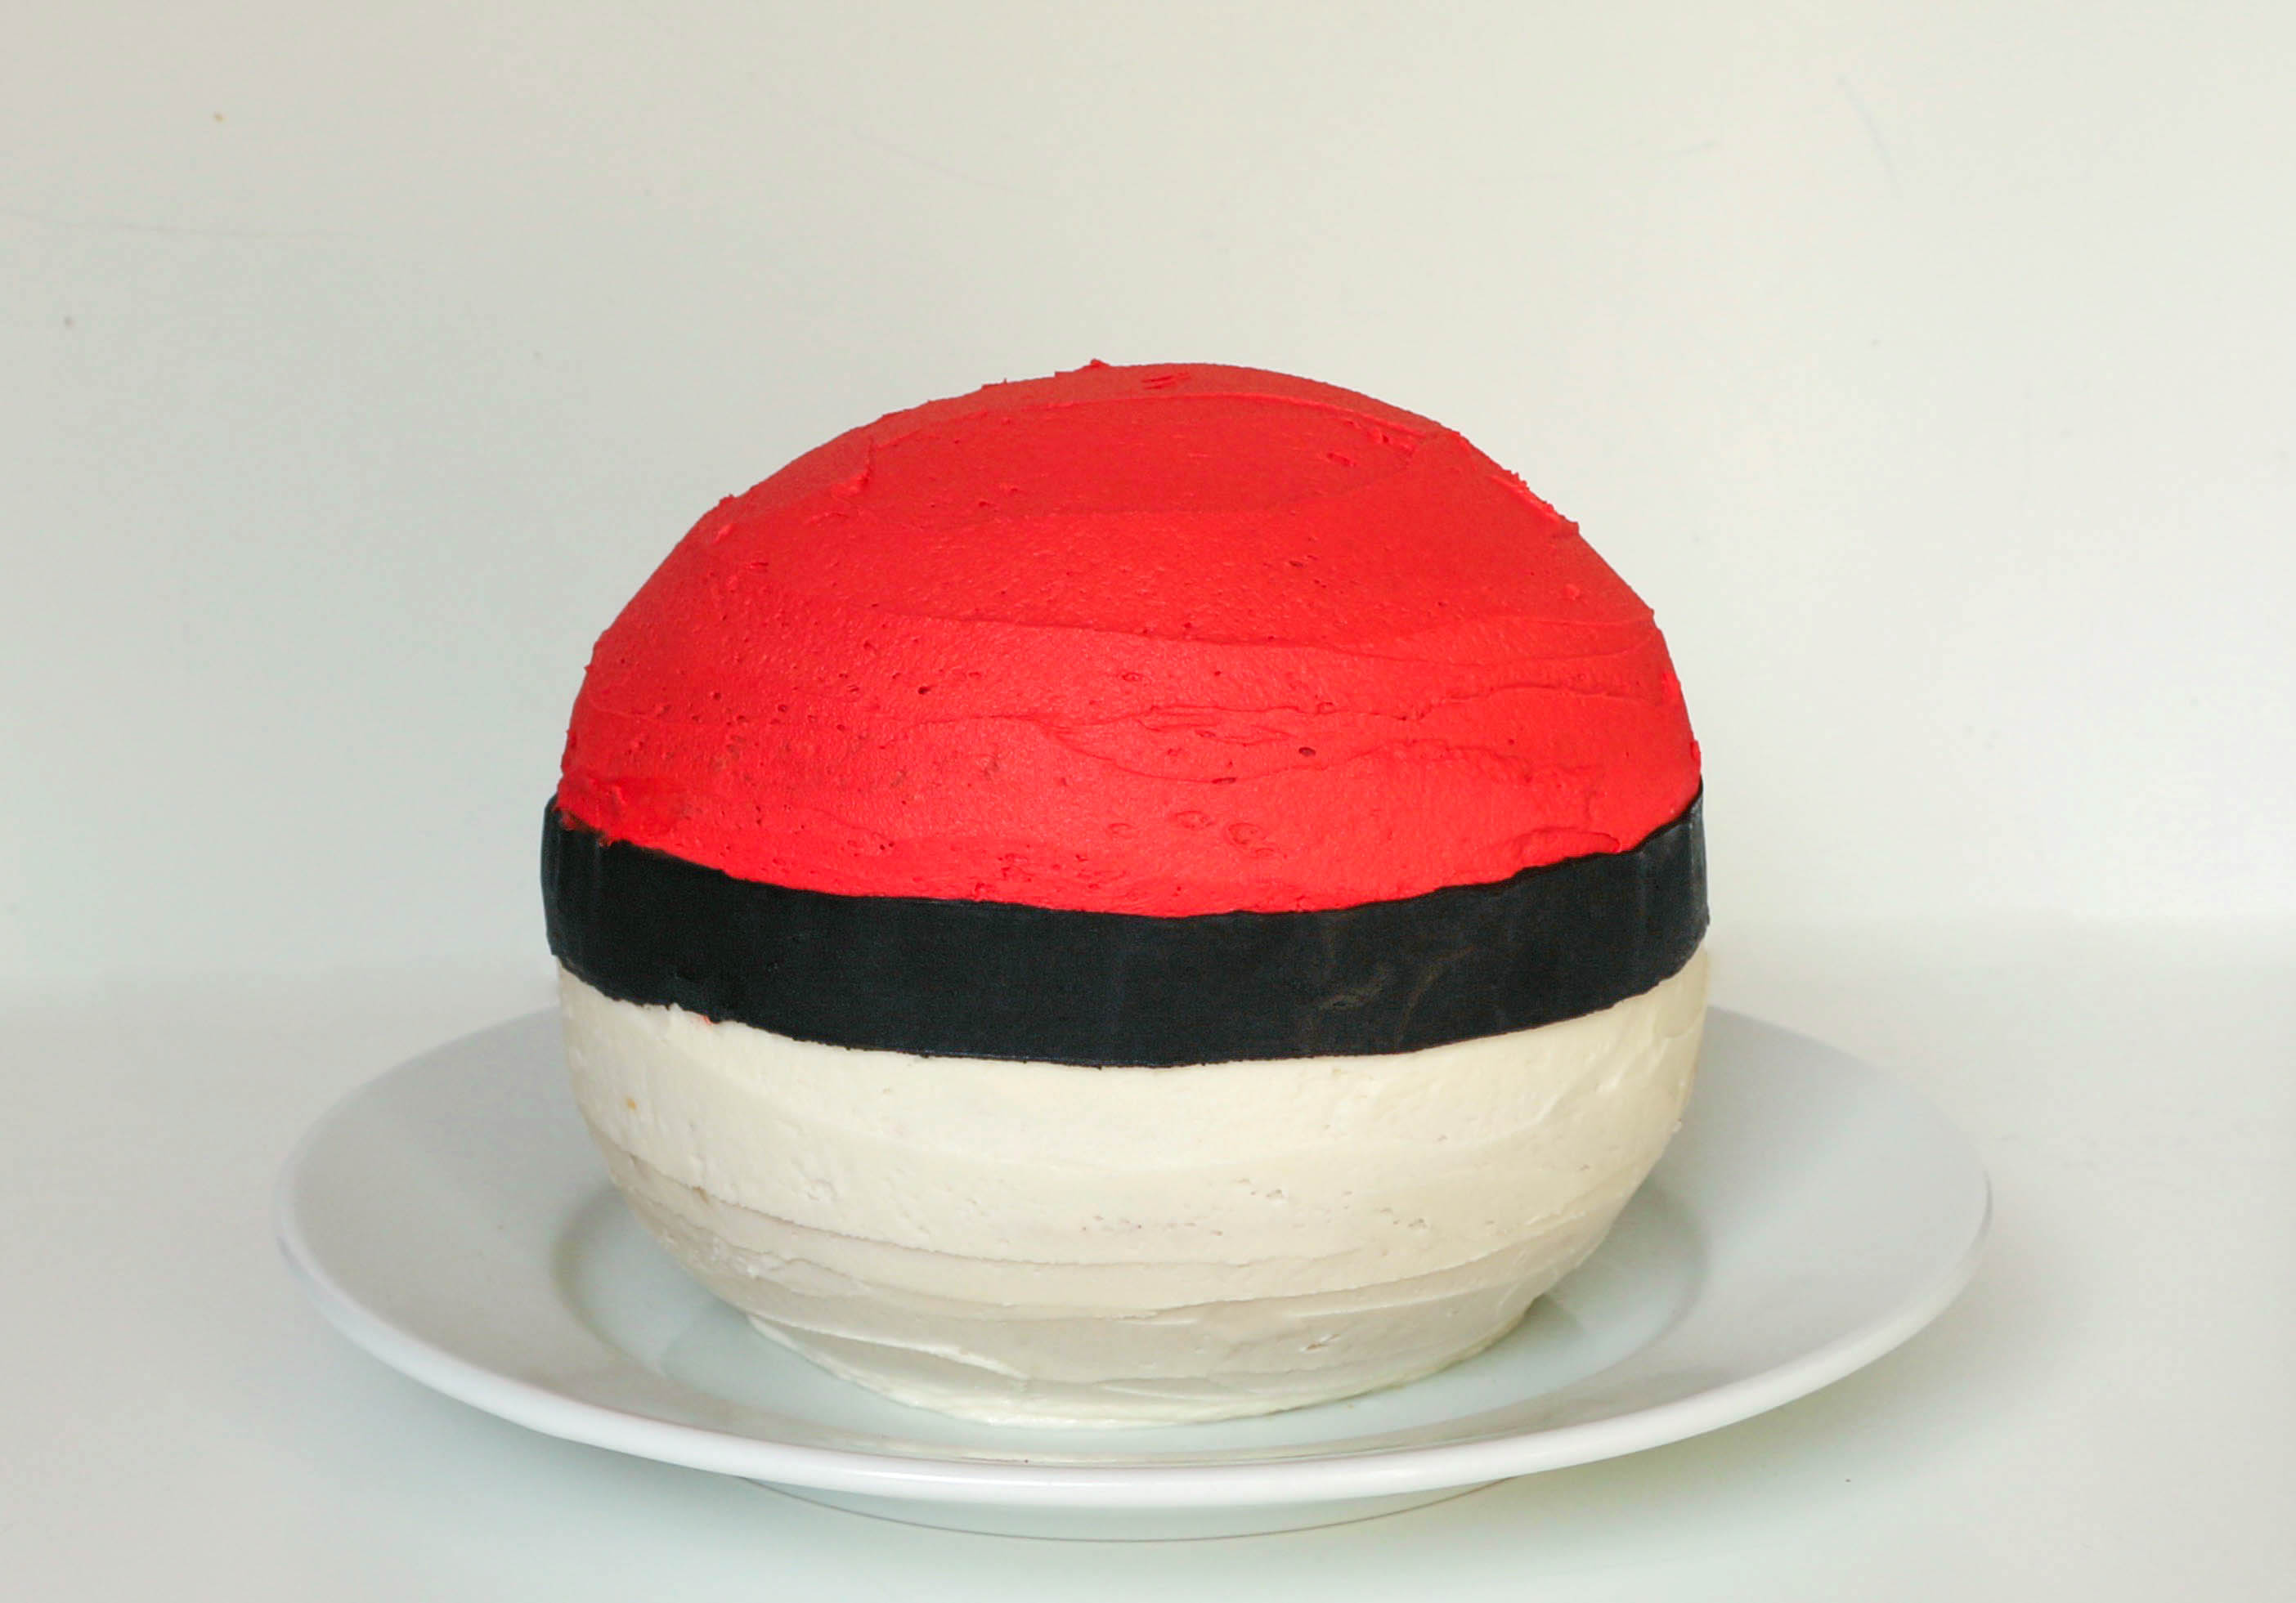
Melt black and white candy melts in separate bowls. Place a larger round cutter onto a parchment-lined cookie sheet.
Spoon in enough melted black candy to fill in the circle. Tap the tray against your countertop to smooth out the melted candy. Pop the tray into the freezer for just a minute or two.
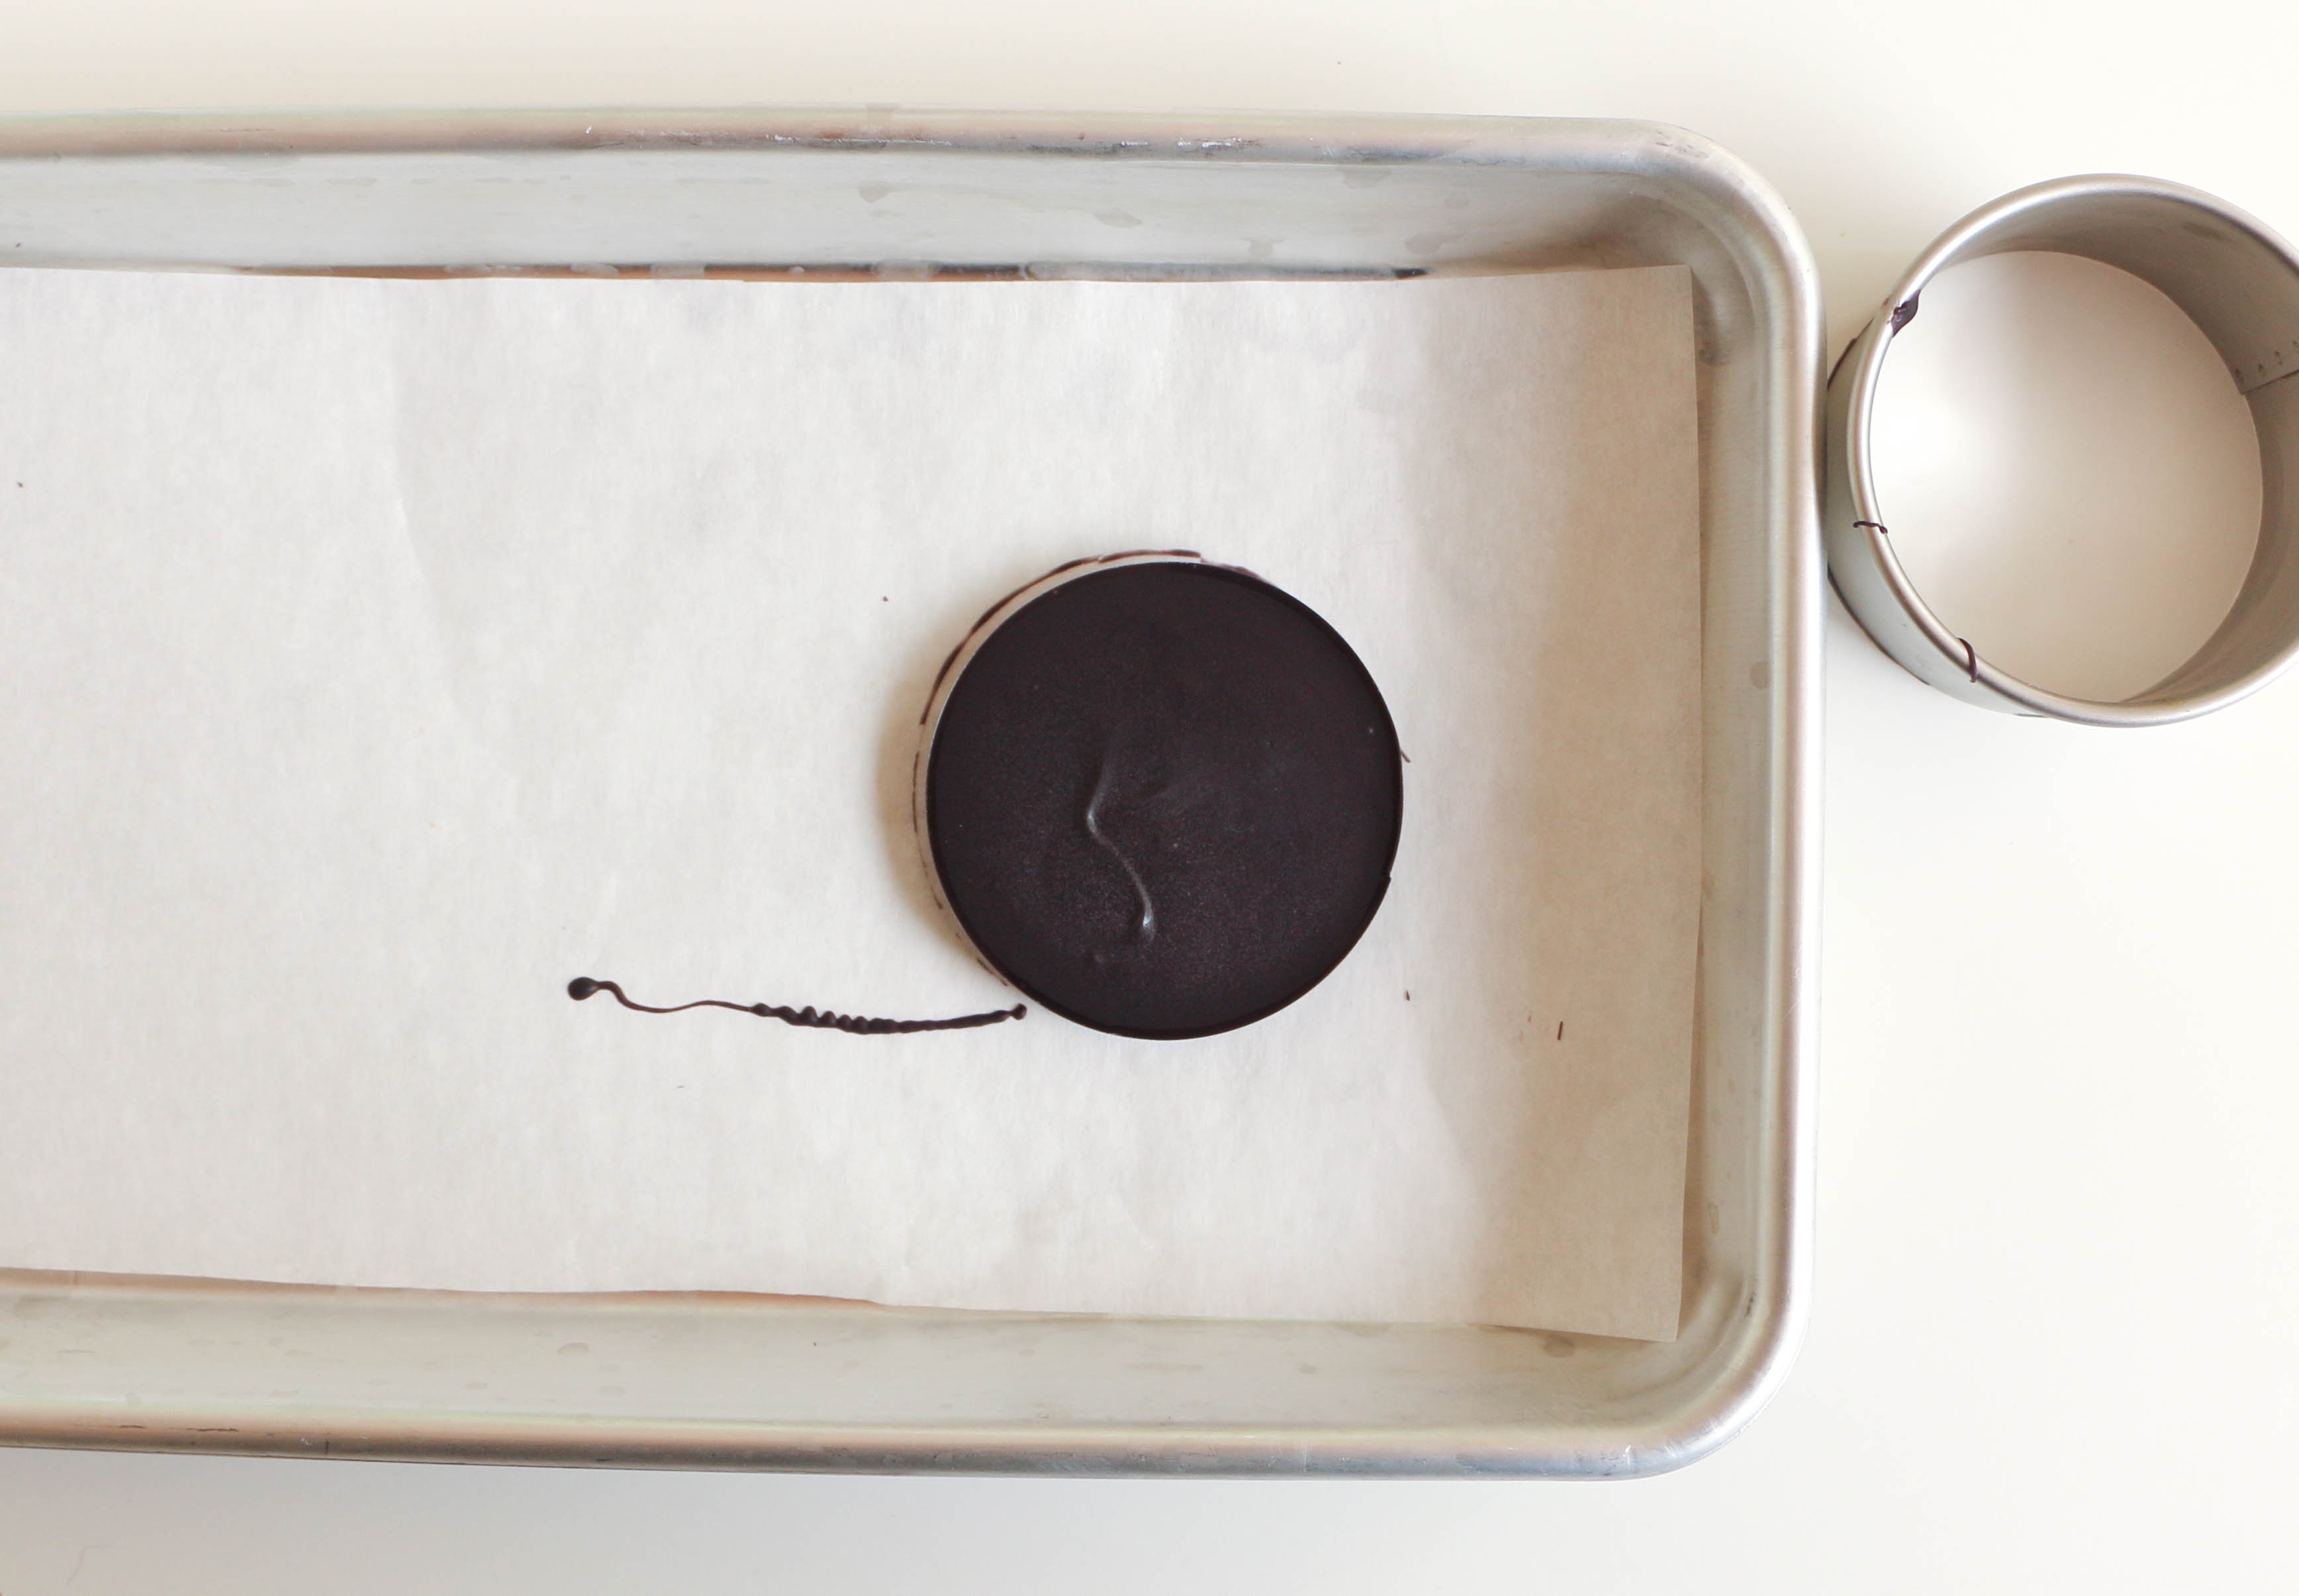
Remove the tray when the candy is set and take off the circle cutter.
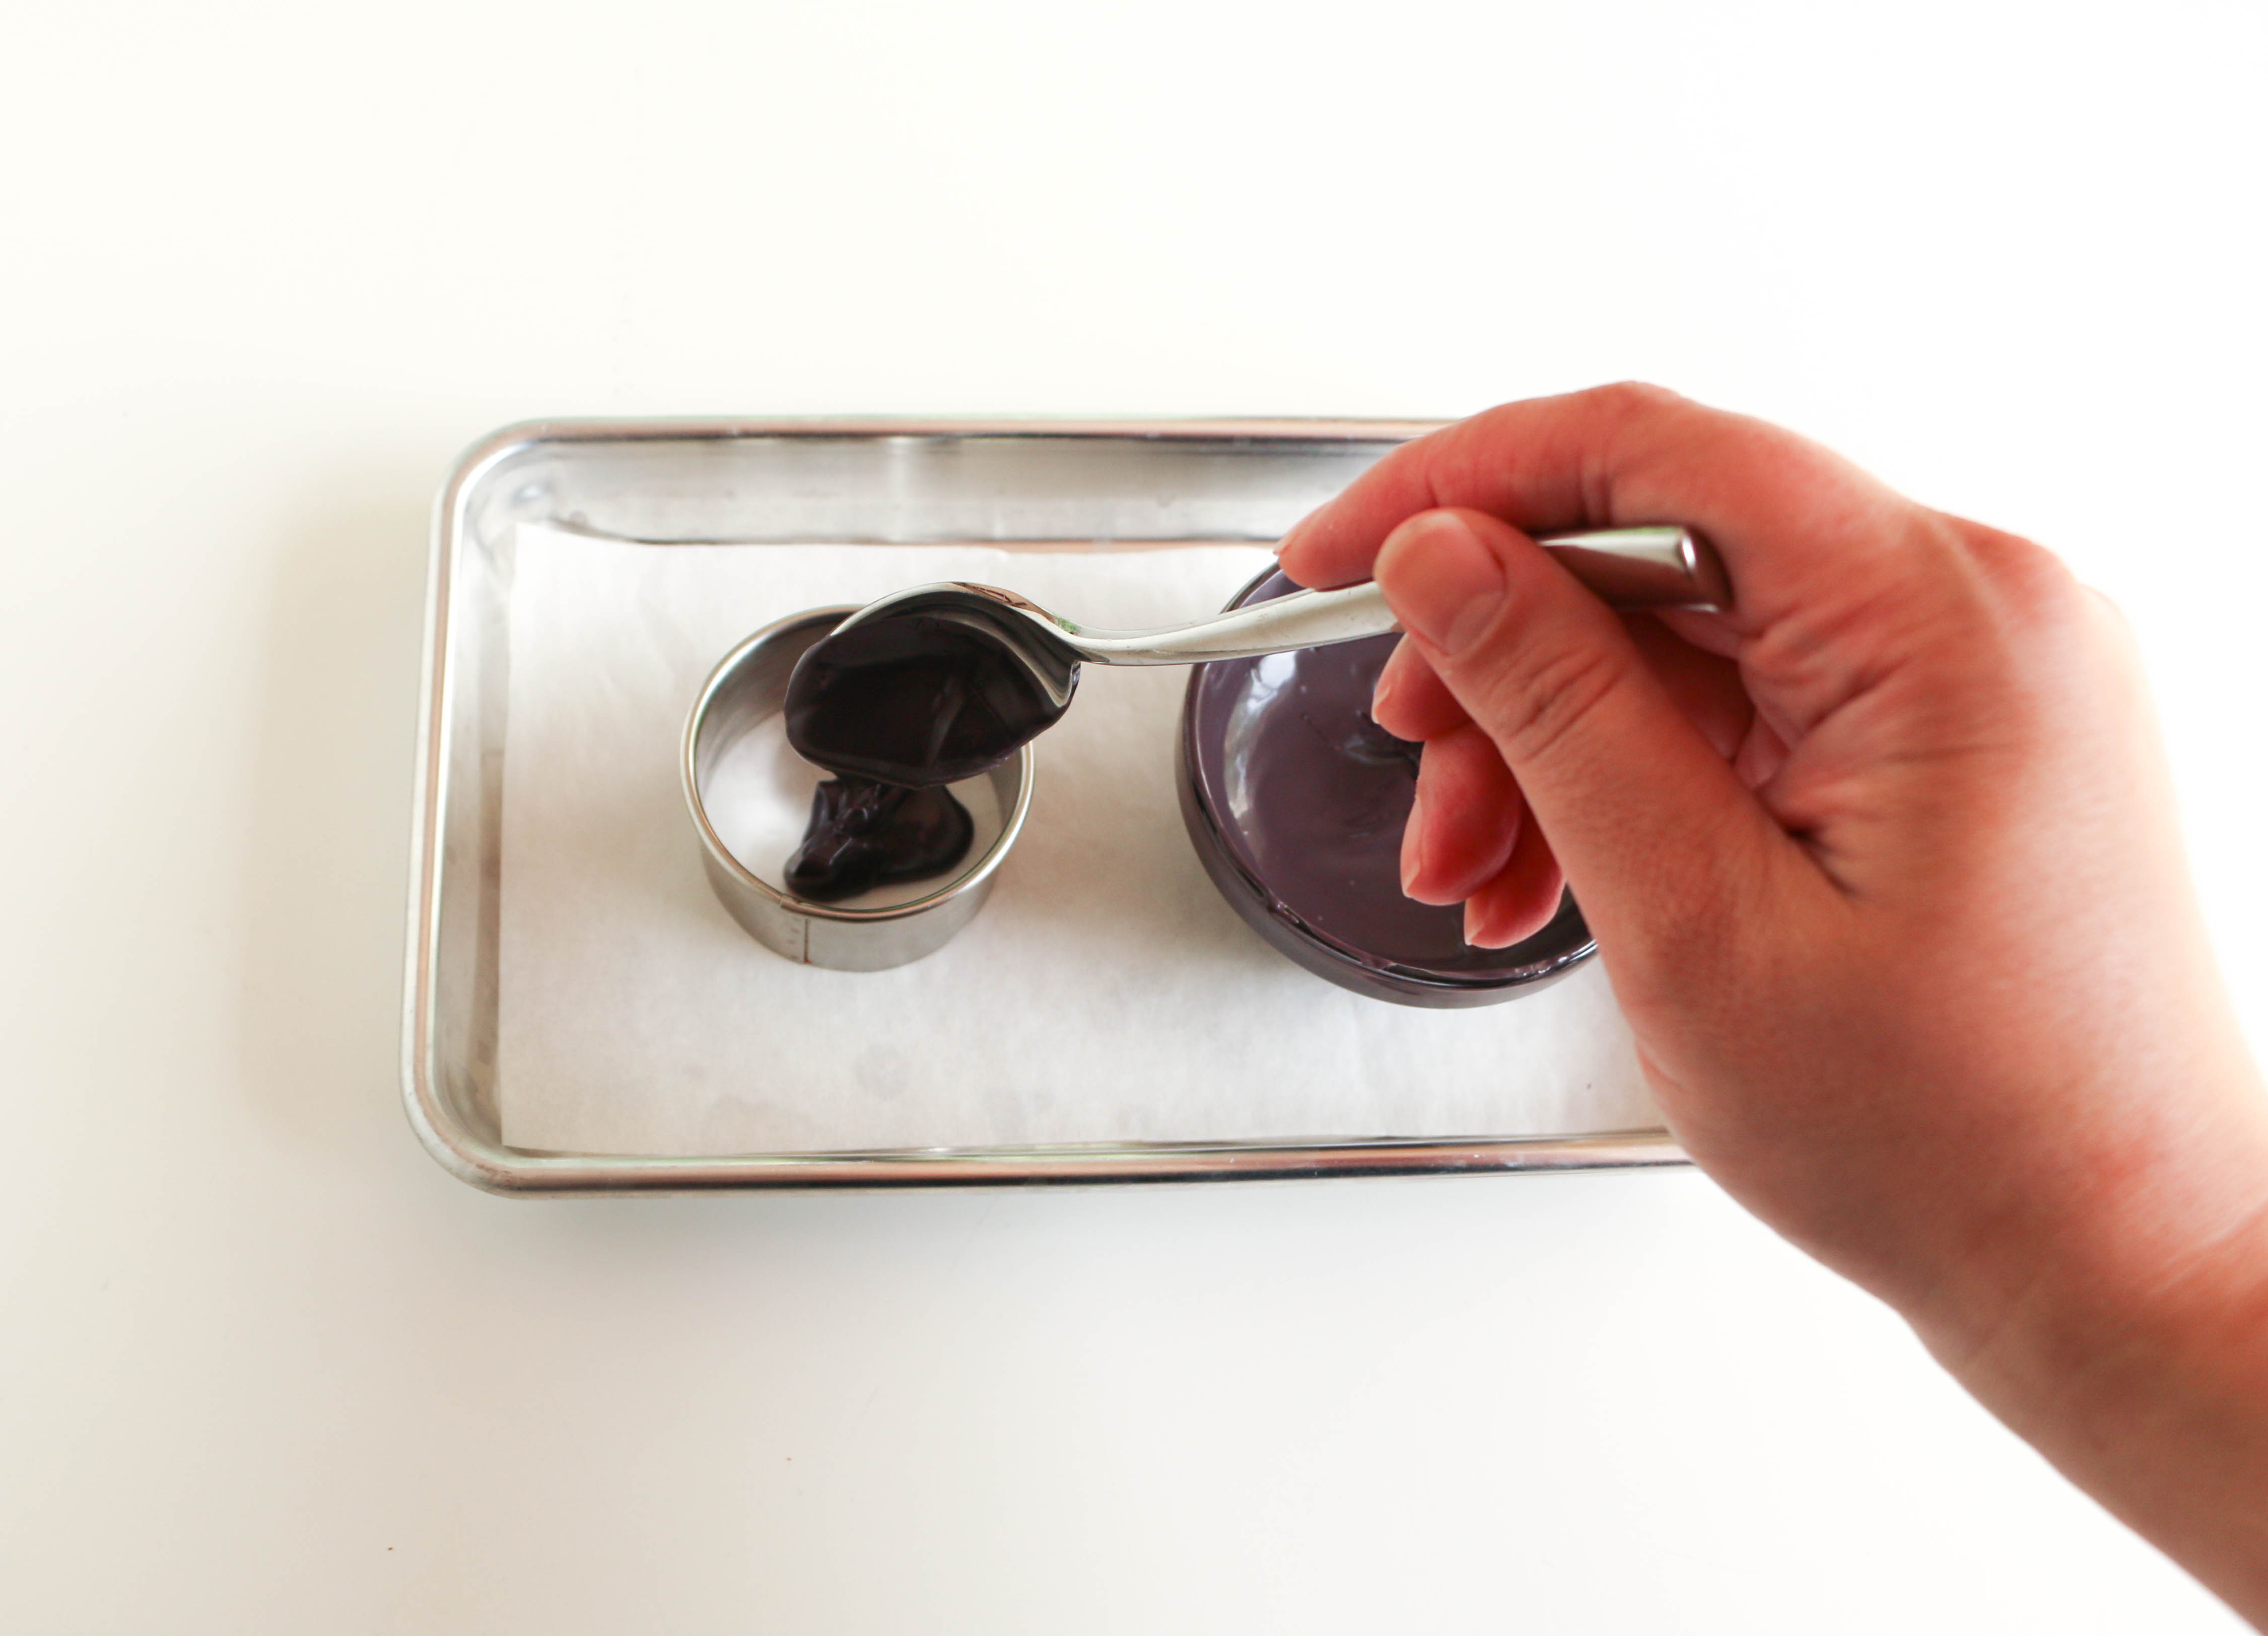
Place the smaller circle cutter onto the black disk. Fill that cutter with a thin layer of melted white candy. Tap the tray to smooth out the candy and pop it back into the freezer for another couple of minutes to set up.
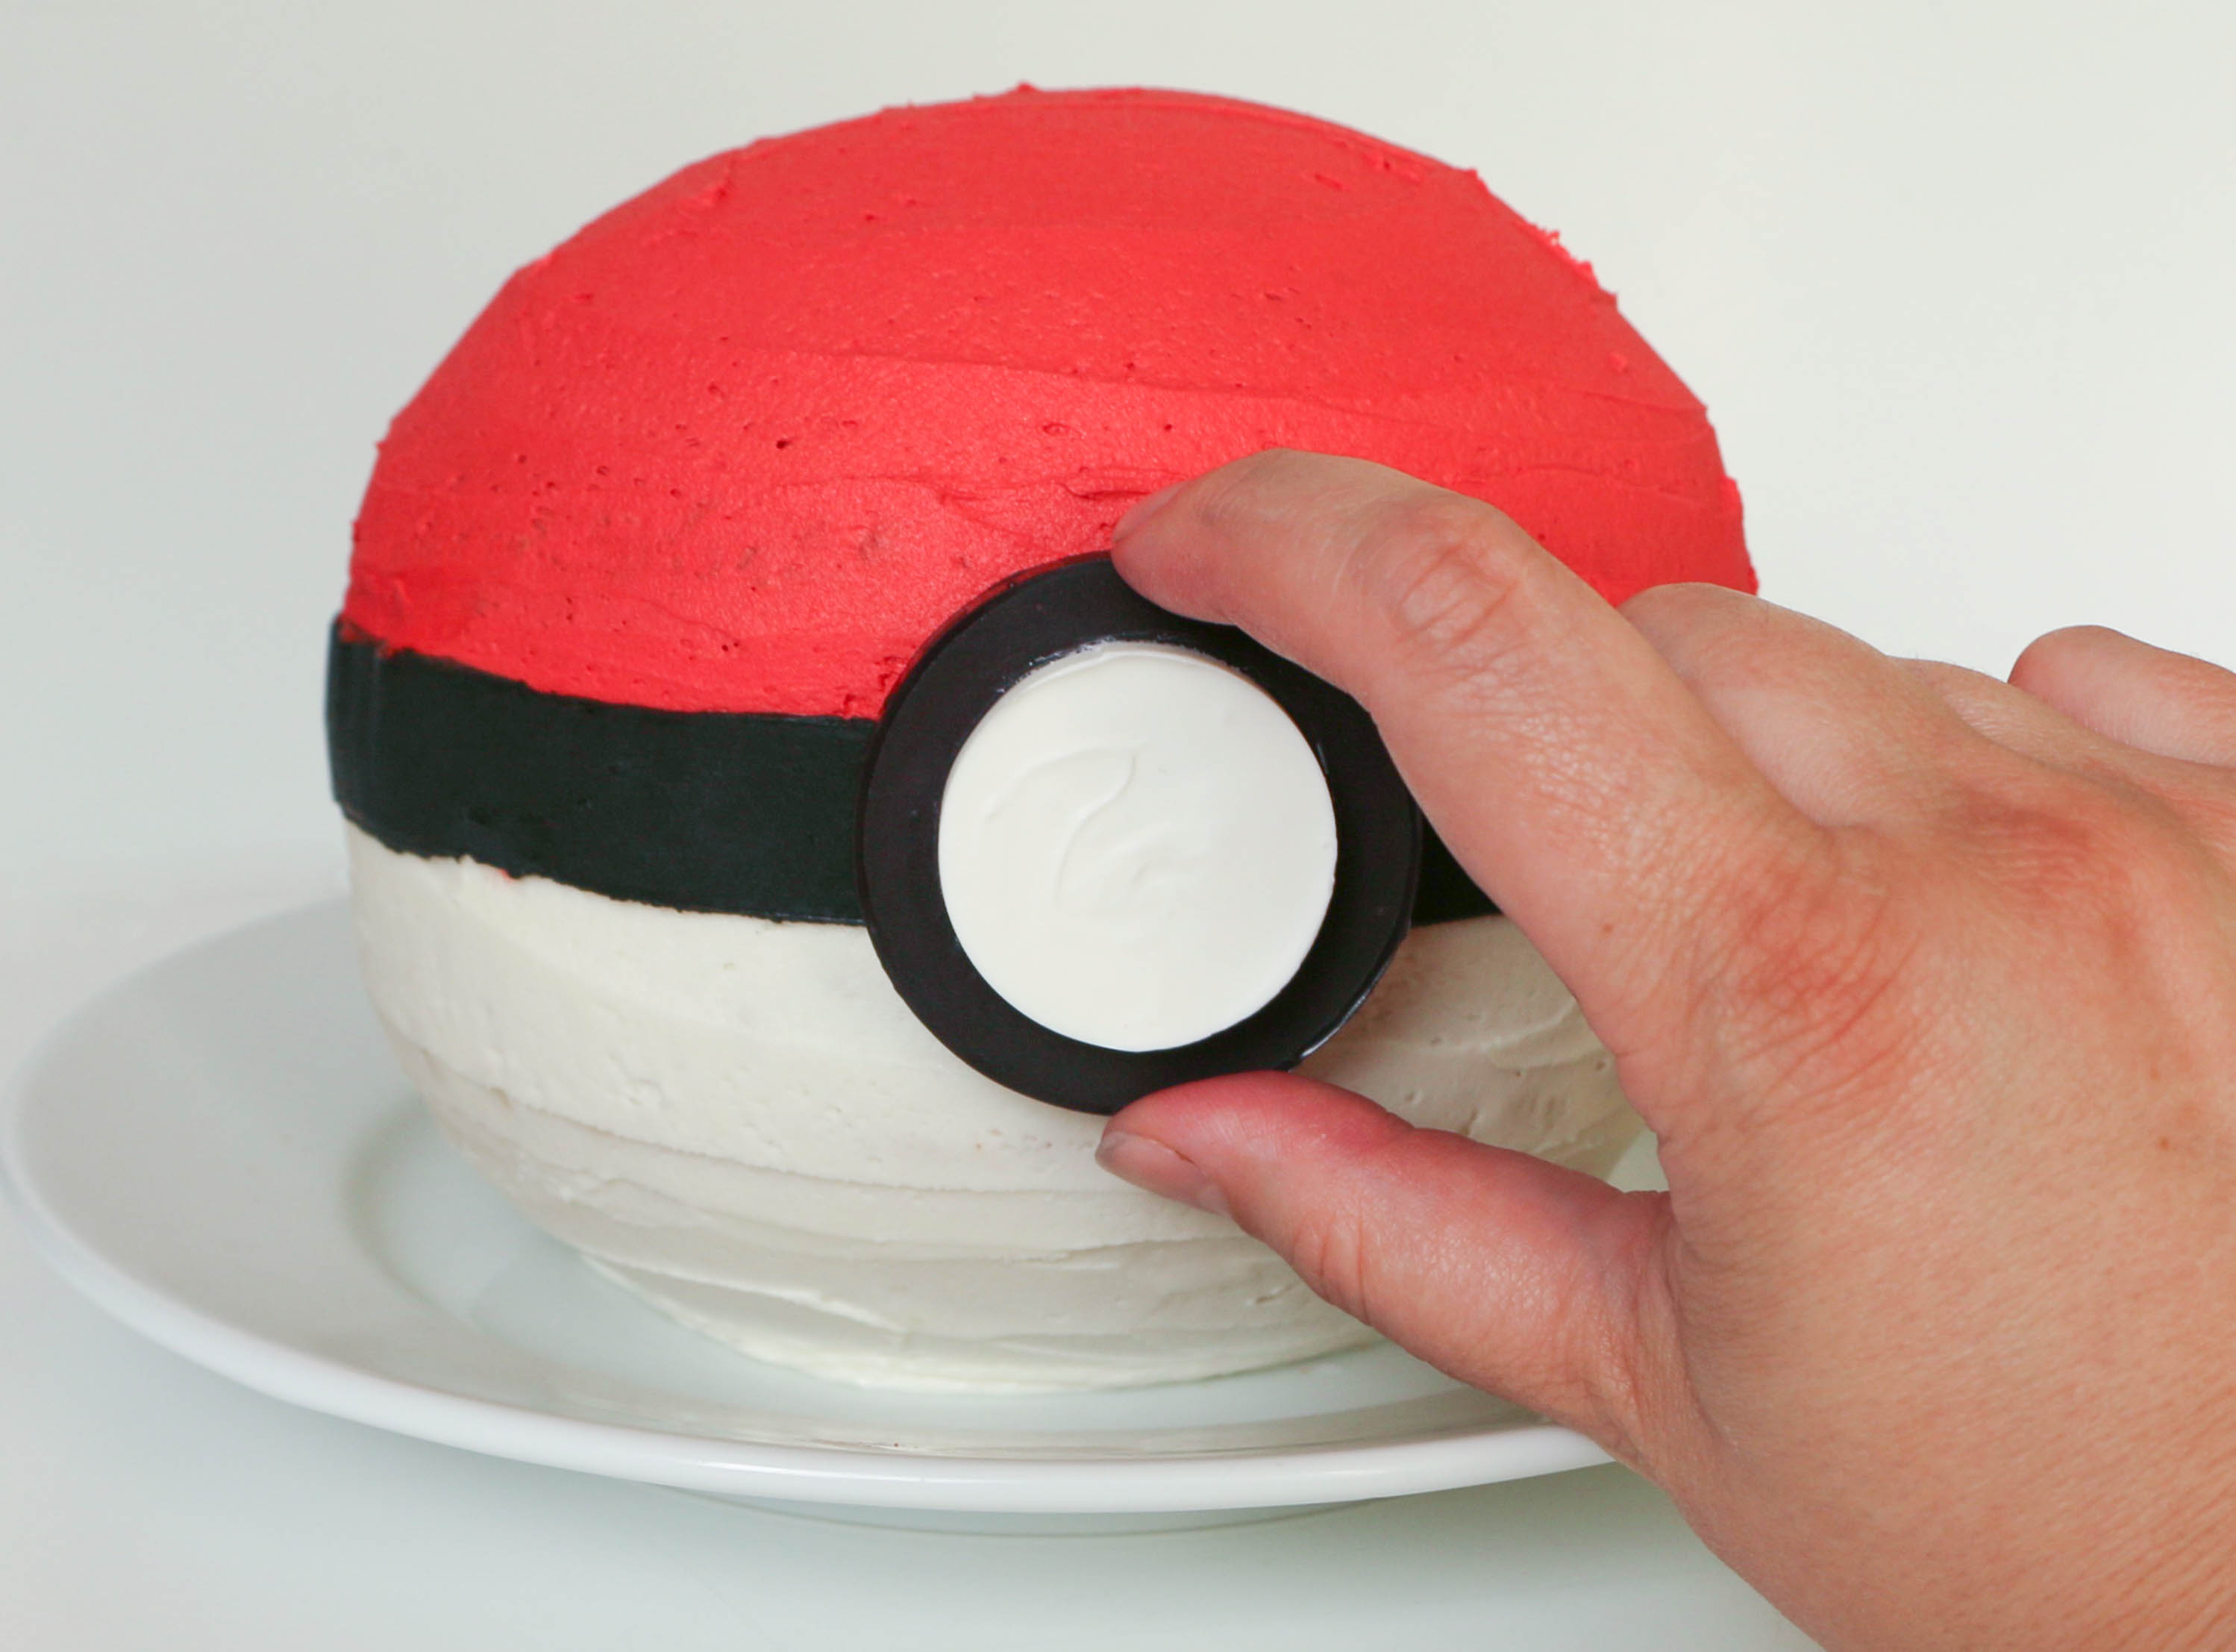
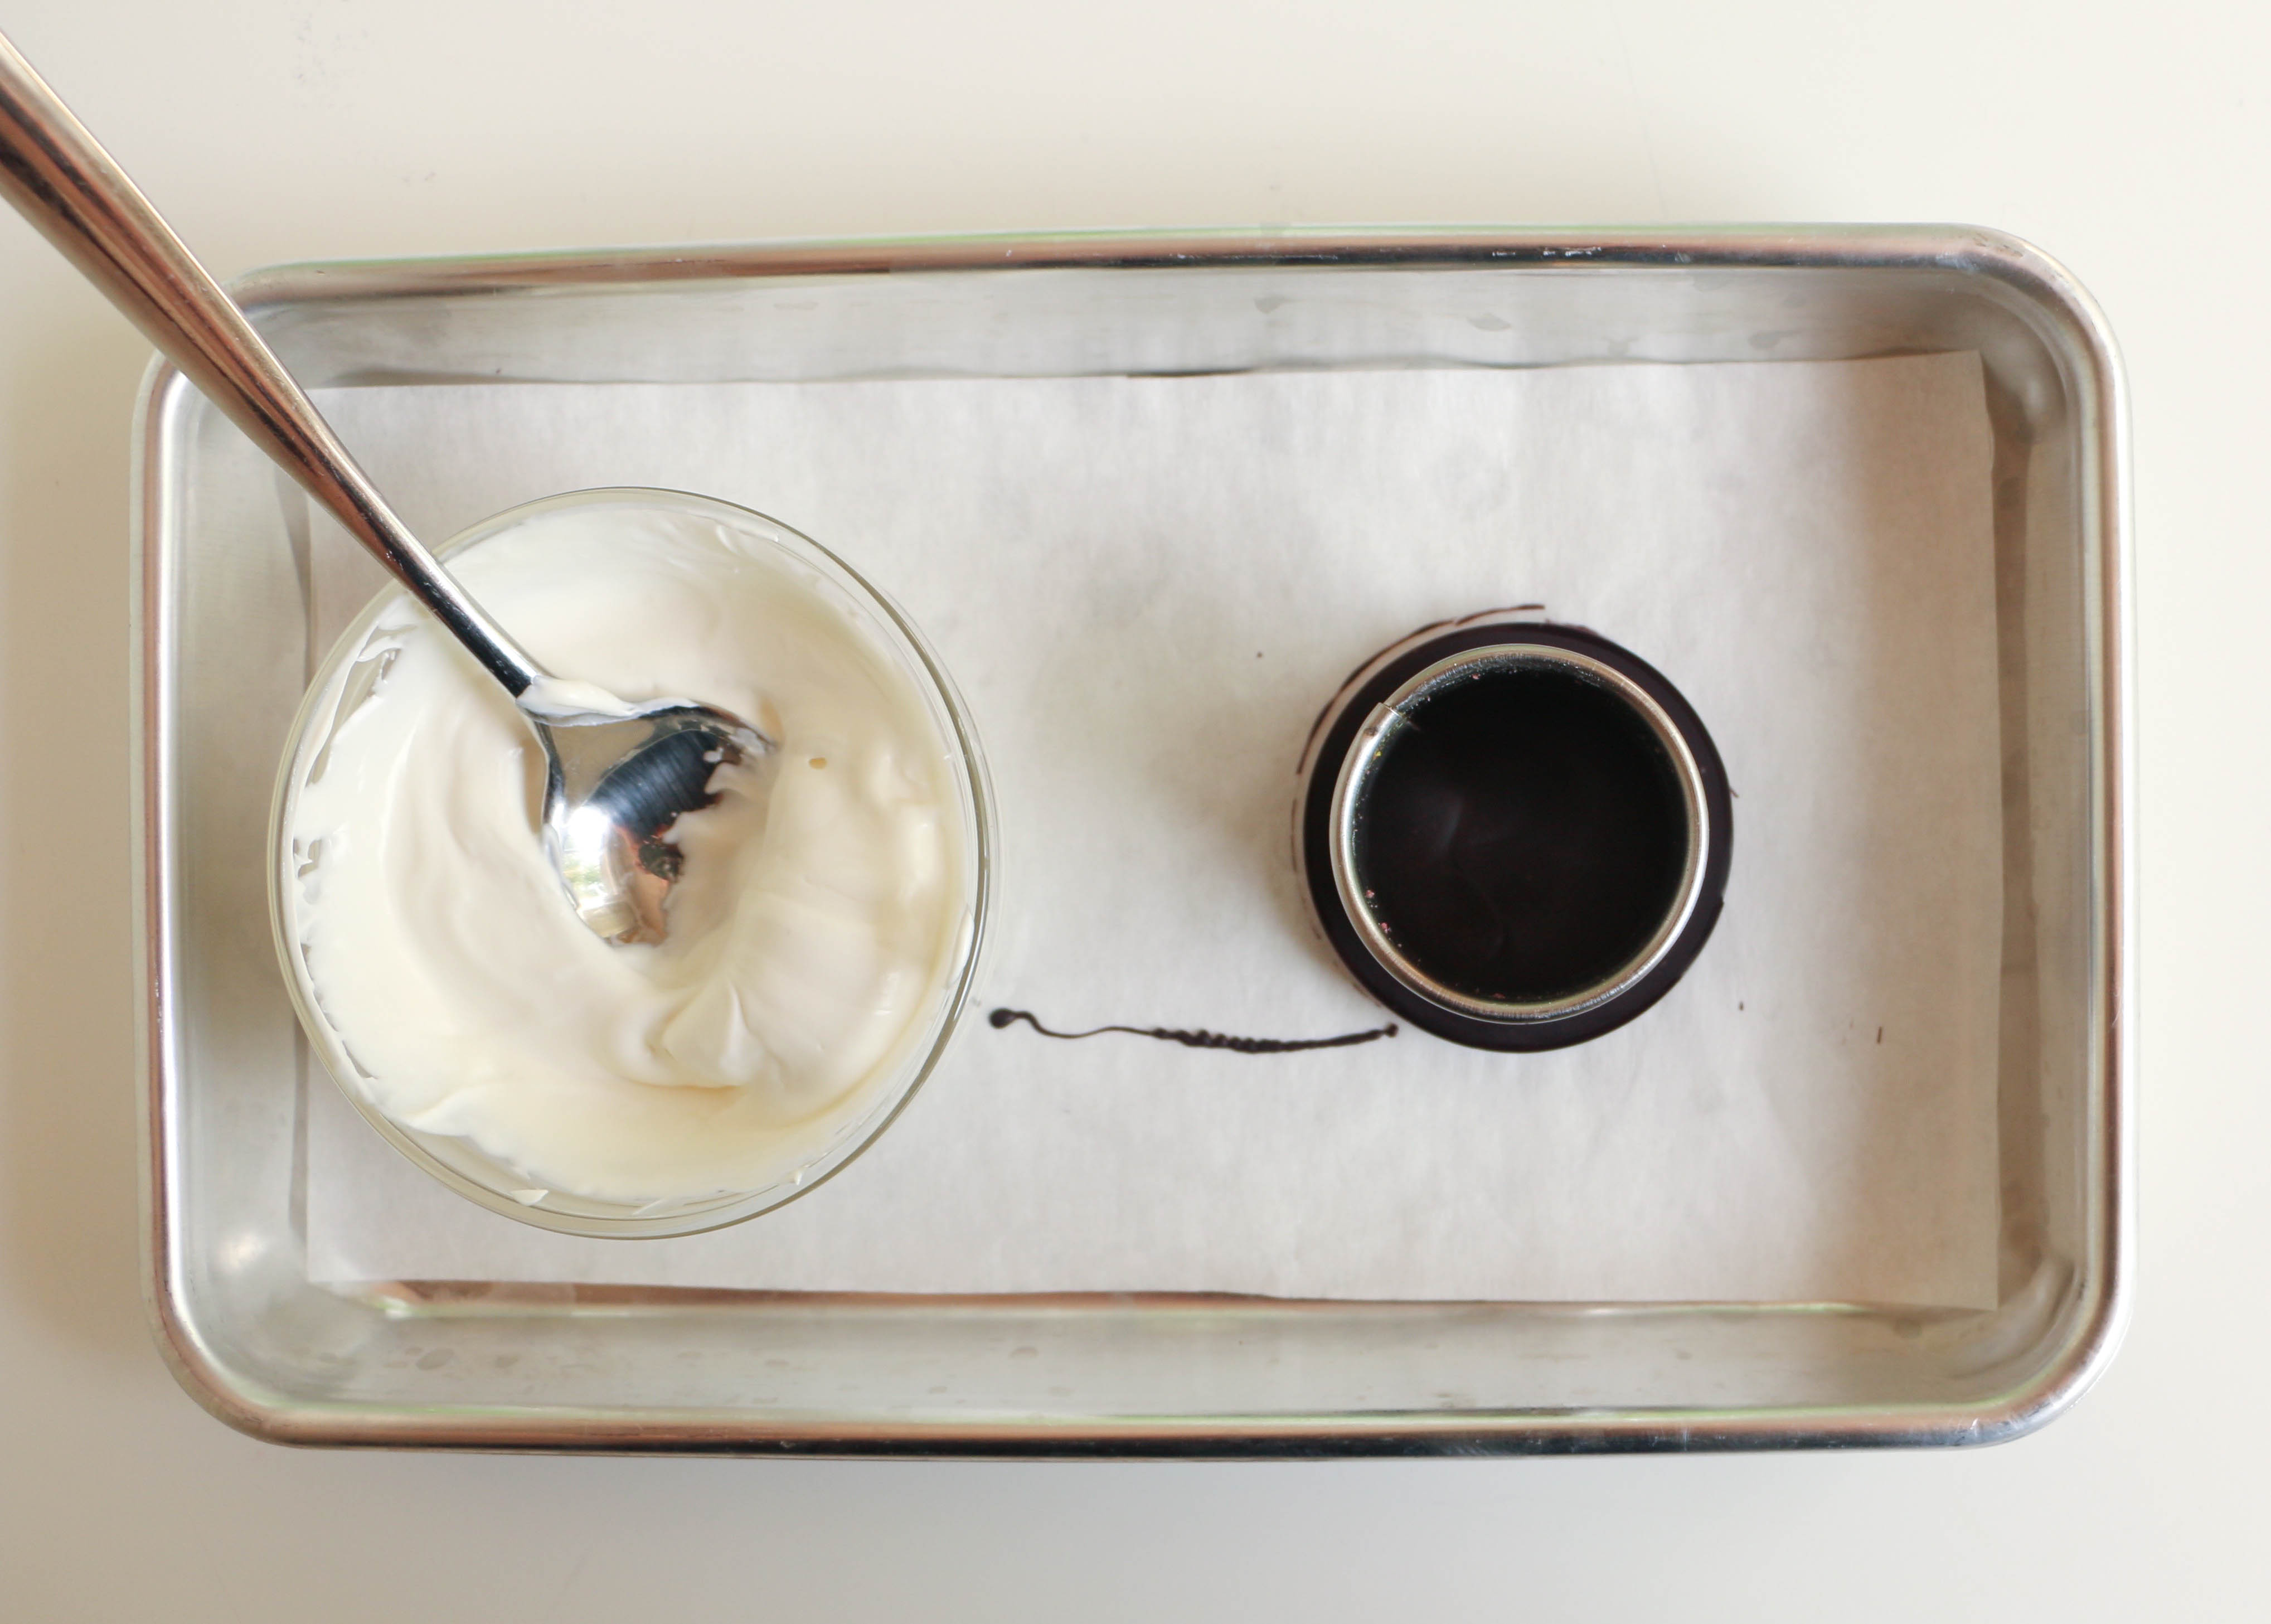
Remove the tray when the white layer is set and take off the small circle cutter. Attach the disk to your cake with a dab of buttercream. Now turn your kitchen into a gym, hatch a few eggs and catch yourself a Squirtle! (Or something like that…)
Disclaimer: The cake design featured in this post is for inspirational purposes only. Bluprint.com does not condone the purchase or sale of any design that could potentially infringe on any protected design or copyright.
Check out more inspiring, trendy designs on Bluprint!
5 Unforgettable Finding Dory Cake Creations
Make a ‘One in a Minion’ Cake With These Minion Cake Ideas!
The Death Star Strikes Back With These Star Wars Cake Pops!
Share tips, start a discussion or ask one of our experts or other students a question.
No Responses to “Catch 'Em All With This Buttercream Pokéball Cake!”