
Product photography is a large section of the photography market and knowing how to photograph glass is an important tool to have when working with products.
I think glass bottles are a good place to start because they are common items and you can do very cool things with them once you understand how to properly light glass.
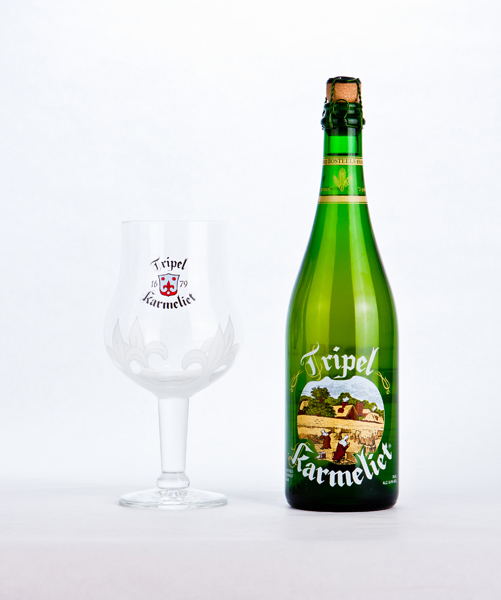
Two examples of glass are above — both a goblet and a bottle in various stages of fullness. Let’s start with the front.
Glass is an extremely reflective surface, so you will see pretty much everything that is in front of it. Since I did not want to see reflections of the room I was working in, I turned out the lights and only used two softboxes, one to the left and one to the right. It is important that you, the photographer, are not lit up! So stand behind the lights you are using. Otherwise, you will see your pretty face smiling back and you in your photo.
Look at advertisements for beer and wine. You will see some common shapes reflected on the bottle. They are usually lines that follow the curve of the bottle. In order to get something like this, your light modifier needs to be rectangular. Strip lights work very well, and in the example above softboxes worked just fine. A strip light would give you a skinnier reflection than the softboxes, but both follow the curve of the bottle and look really nice. Try using other shapes and see how it looks. Round modifiers give you a different look and grids will also create interesting patterns on your glass.
When you light a bottle from the front only, you can accurately capture the color of the glass. If it’s a dark glass, like a green, blue or brown, the bottle will appear just like the color of the glass if it were against a dark background, especially if the bottle is full of liquid. Bottles with dark liquid and colored glass often look black because you can’t see the translucent qualities without a backlight.
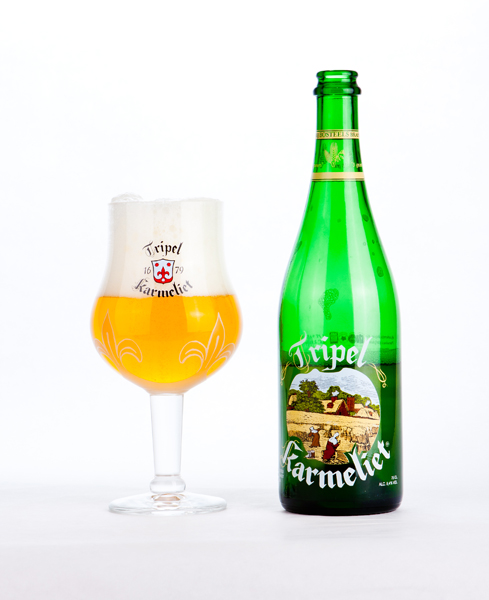
In order to add a little more visual interest and color to your glass shots, it helps to add a backlight.
The backlight lightens up the color of the glass and the liquid inside of it. In the example above, the backlight is simply reflected light off of the white backdrop. The backlight gives the beer in the glass a beautiful amber color and a bright green to the bottle. Note the difference between the part of the bottle with liquid in it and the part without. That changes the translucency of the glass, and in turn, the color that shines through.
The backlight is important so when you are not using a white background, you may have to get creative with your lighting. Some product photographers make a white cutout of the bottle and tape it to the back of the bottle so some light can be reflected back from the front lights. Some photographers take the cutout and place it at a 45 degree angle to the bottle so their backlight can be bounced in from above or from the side.
If you have the space, you can try shooting a backlight straight through from out of the frame. You could also use a colored cutout or reflector to change the color of your bottle.
Any way you look at it, this is a skill that must be practiced to fully understand how light reflects from the front, penetrates through the back, what intensities of light you need to show through different colors and thicknesses of glass, and what light shapers look best on which bottles.
The next time you crack open a cold one, take a few minutes to try some of these techniques for photographing glass bottles.
Share tips, start a discussion or ask one of our experts or other students a question.
No Responses to “Photography Friday: Photographing Glass Bottles”