
Pen and ink and collage are respectively wonderful ways of creating art, whether it’s a one of a kind mixed media creation or a series of illustrations intended for a picture book. But did you know that you can combine them to create truly one of a kind pieces?
Photos and illustrations via CakeSpy
[box type=”shadow”]
Explore endless creativity + get better at what you love, today, with online drawing classes from Craftsy!
Our curated collection of drawing classes dives deep into your creative passion with high-quality video lessons paired with expert instructors. Watch them, anytime, anywhere, forever — right from the comfort of your own home! And, for a limited time, you can enjoy an exclusive discount of up to 33% off select drawing classes! We guarantee you’ll love it or your money back!
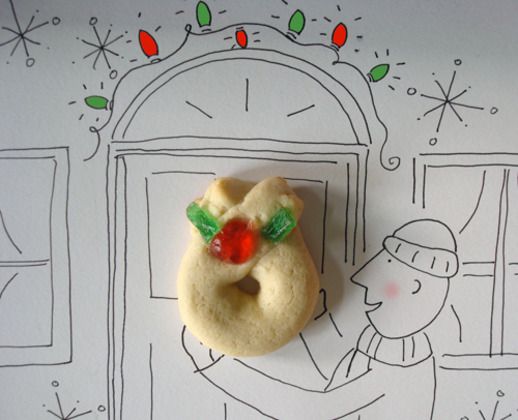
Incorporating collage into pen and ink work is a fun way to add intrigue to your art. It can add a sense of whimsy, like in this illustration featuring pen and ink surrounding a real-life cookie:
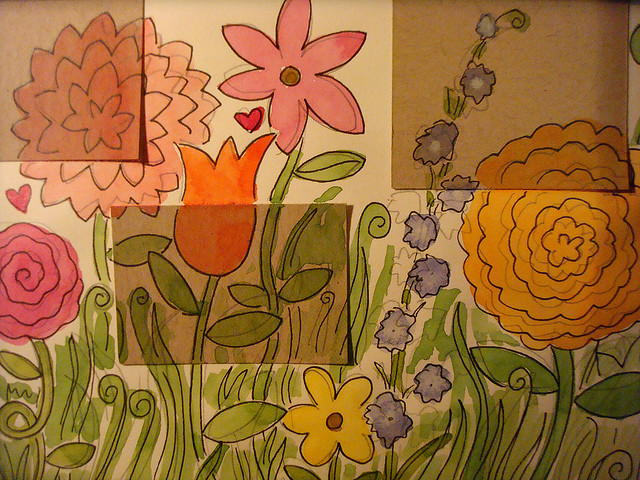
Or it can add texture and a little bit of funkiness to pieces, like this pen and ink illustration done on different layers of paper:
Collage is a fun and easy way to add a new dimension to your pen and ink work.
In this tutorial, we’ll explain an easy way to get started with collage and pen and ink creations.
How to get in the right mindset
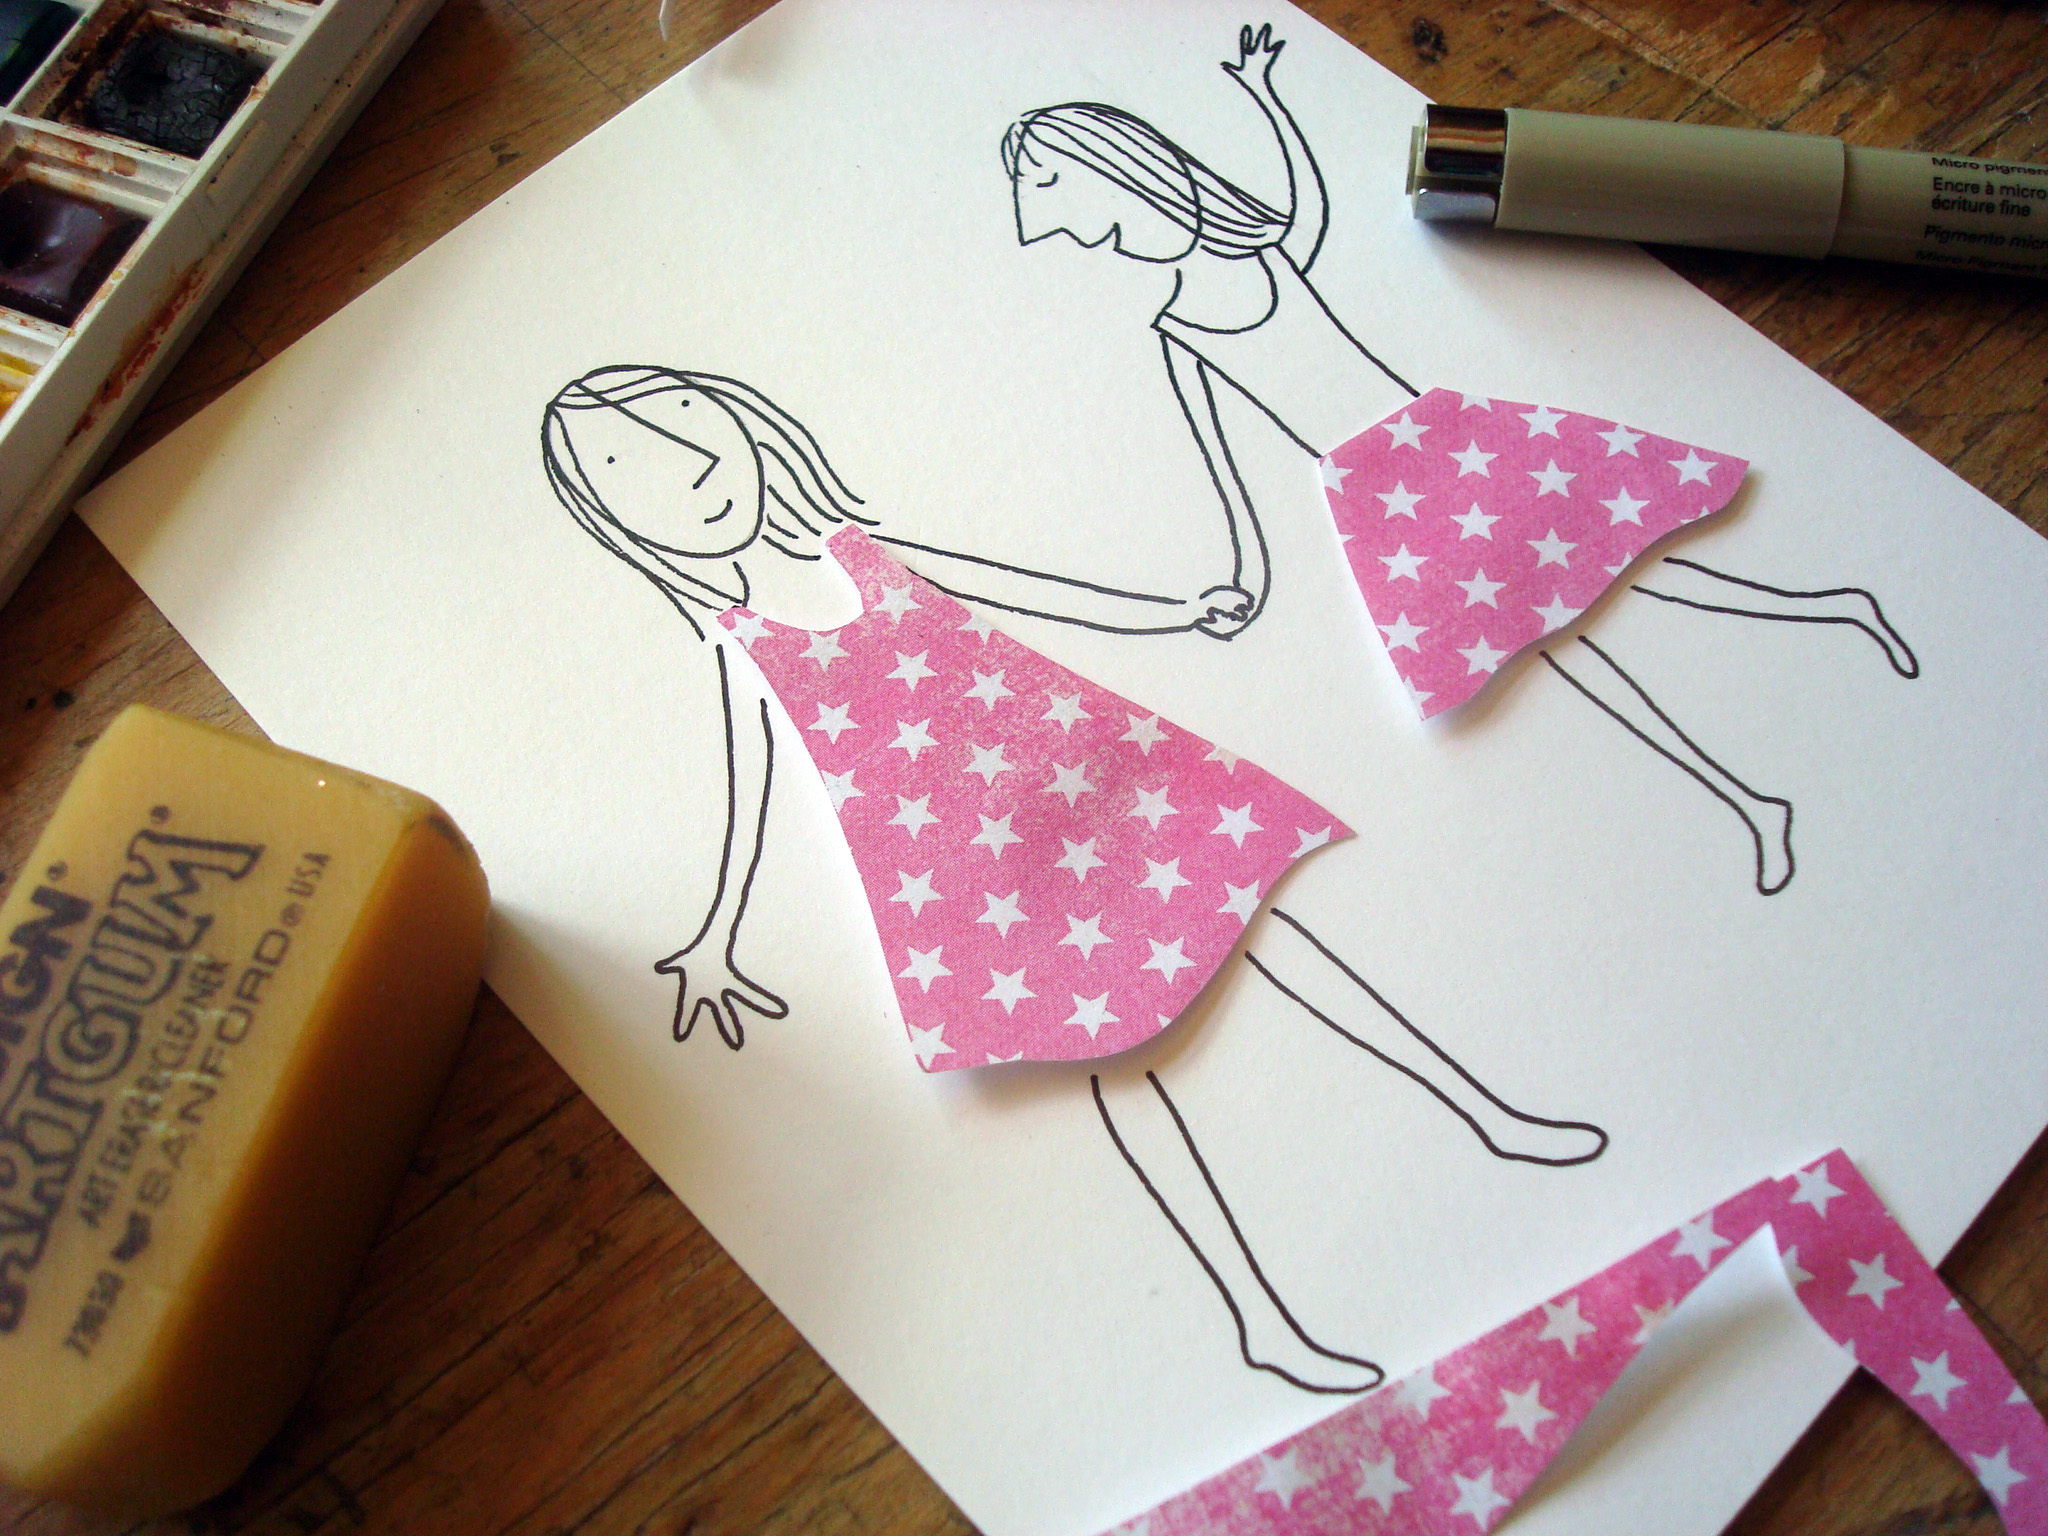
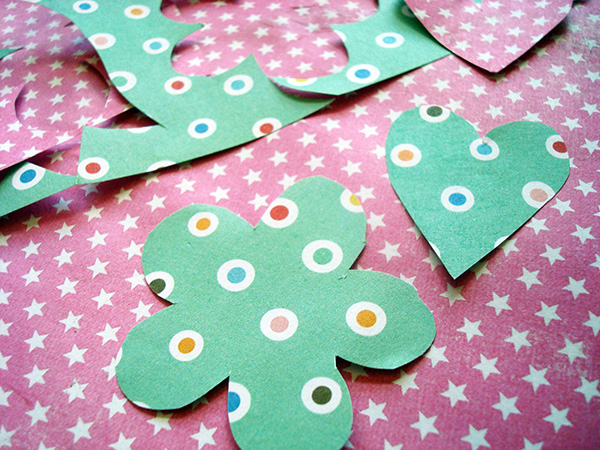
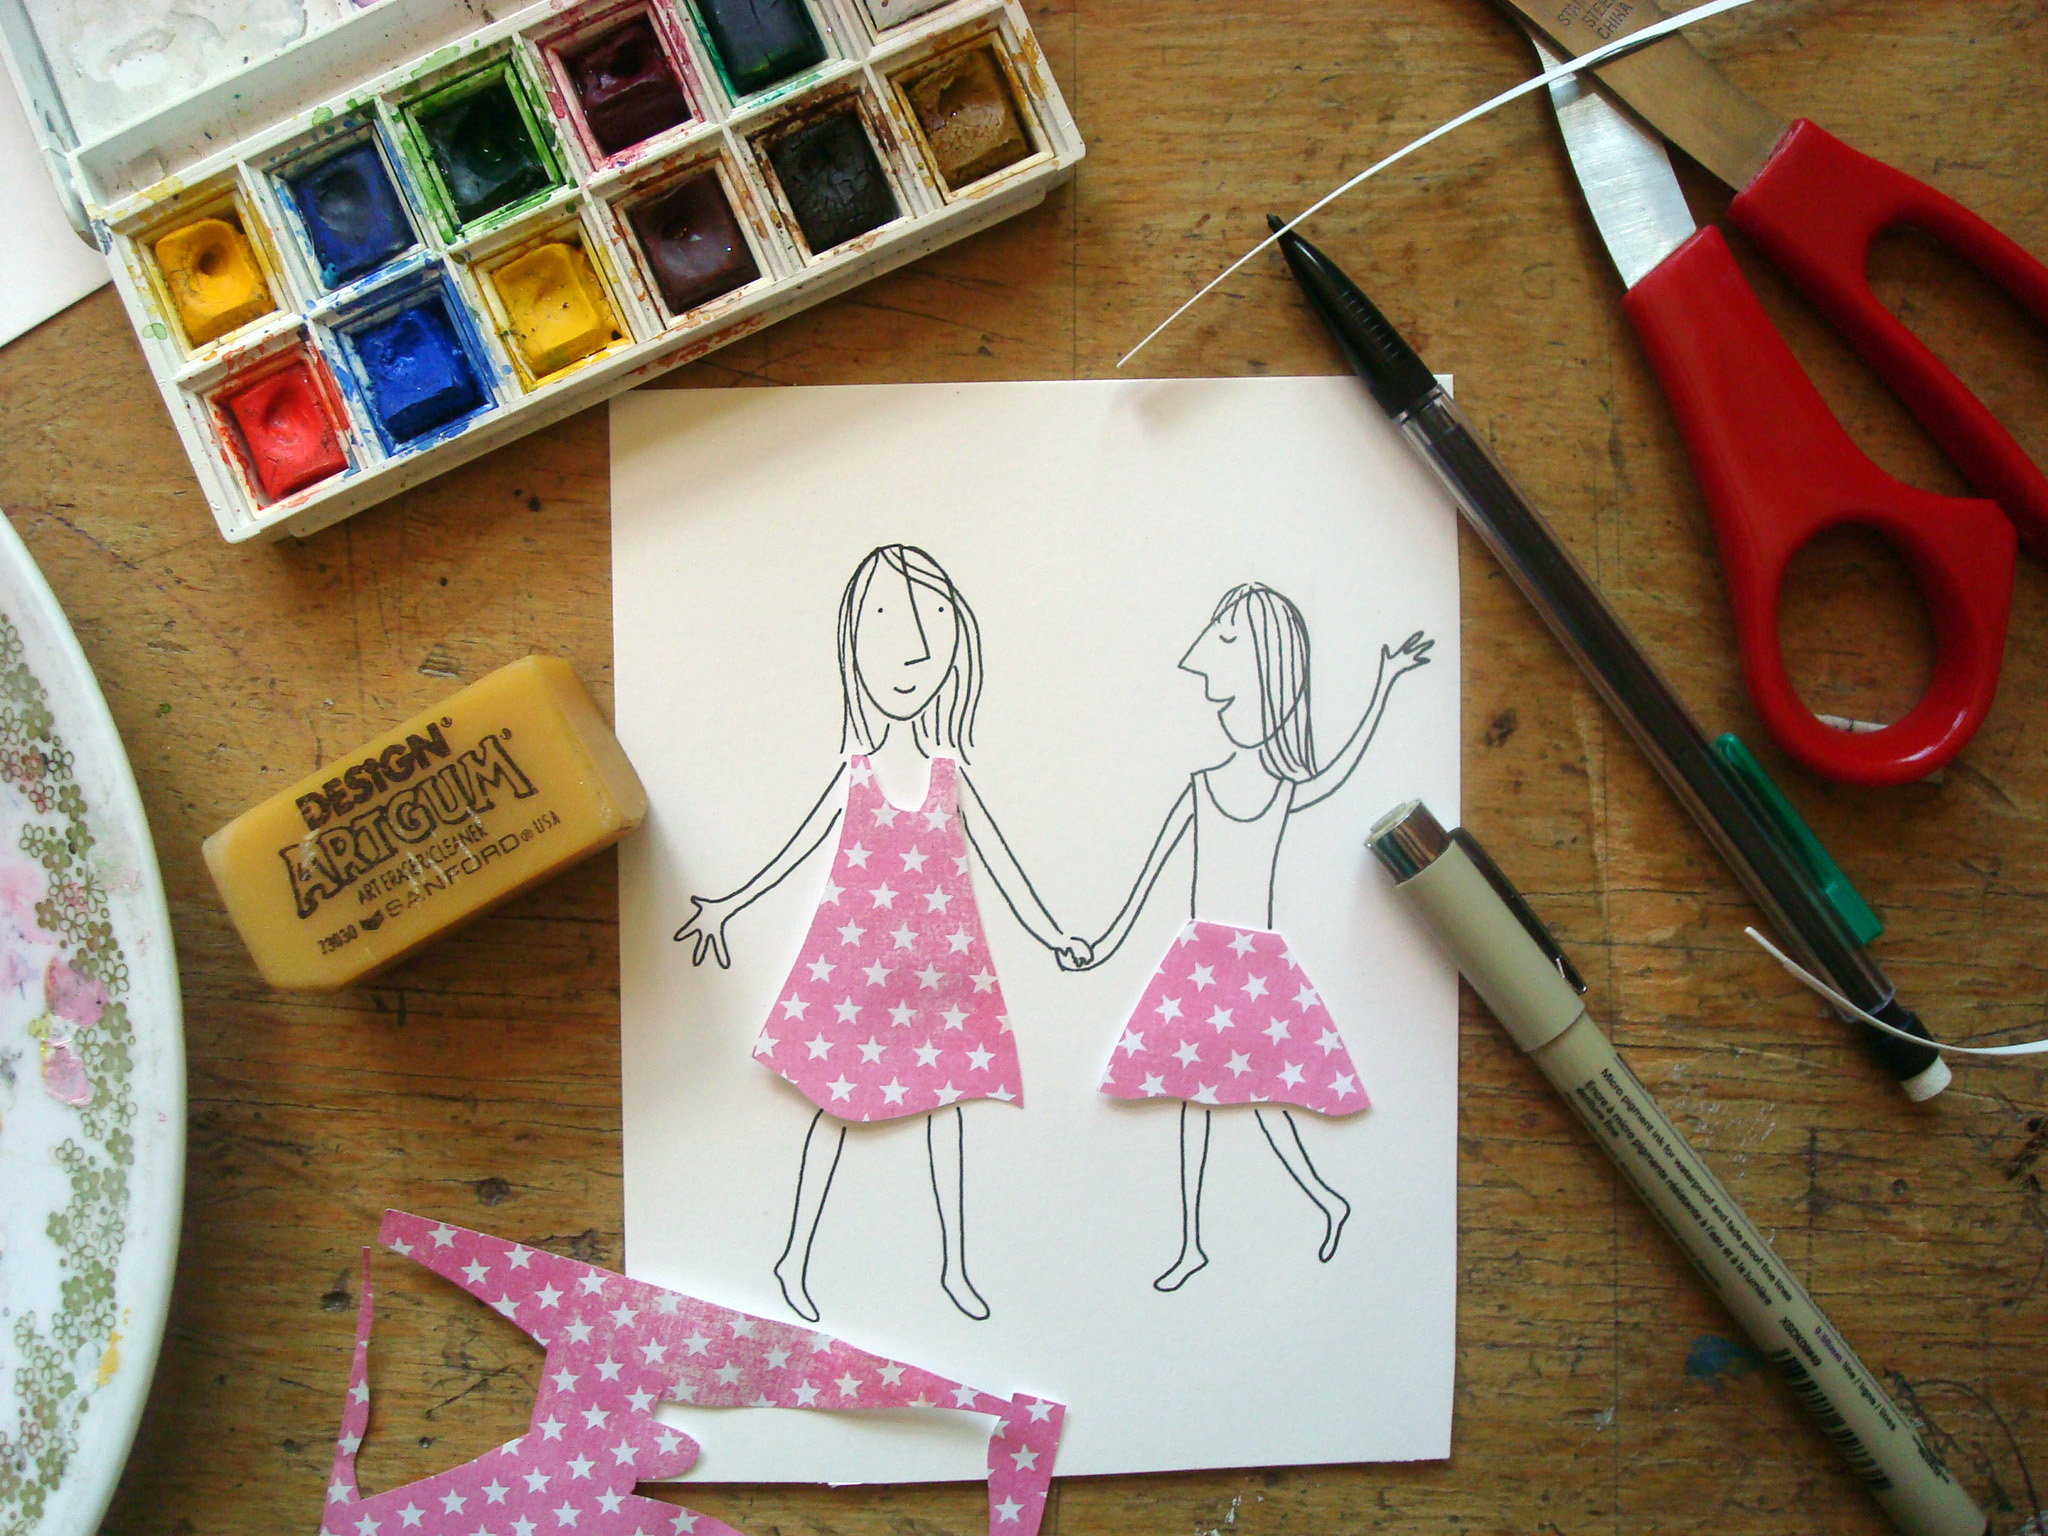
Here’s a fun little way to get your creative flow going. Use cookie cutters to cut out shapes from patterned papers. Cut them out and attach them to a piece of paper. Grab your pen and try to make something creative out of each one, or a drawing featuring all of them. As a side note, this is a fun game to play with friends or children, too.
What materials can you use for a collage?
While you can use more than just paper to collage, from fabric to 3-D objects, paper is the easiest entrée into the world of collage with pen and ink, so that’s what we’ll stick to in this tutorial. But feel free to take these concepts to the next level if you feel ready.
What kind of paper is best?
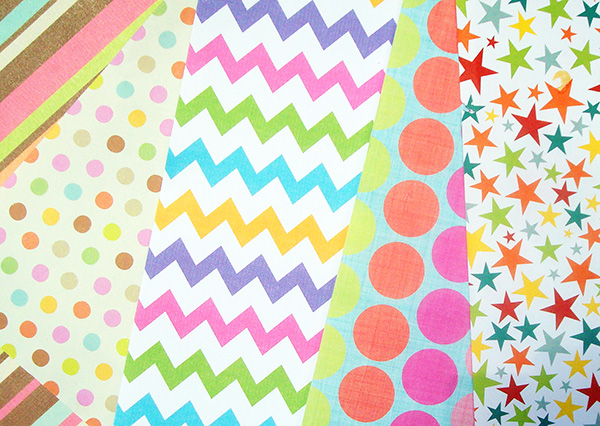
You can use virtually any type of paper: craft paper, patterned scrapbook paper, wrapping paper, even newspaper or magazine clippings. However, be certain that if you are using images which include other people’s likenesses or art, you get permission if the artwork will be issued for re-use.
As for the paper which you complete the piece on, use whatever type of paper you prefer to use with pen and ink.
Mixed media: pen, ink and collage
Materials needed:
- Paper
- Scissors
- Pen and ink
- Paper for the final work
Step 1:
Decide what you’d like to draw. You can do a sketch first to figure out what you’d like to create.
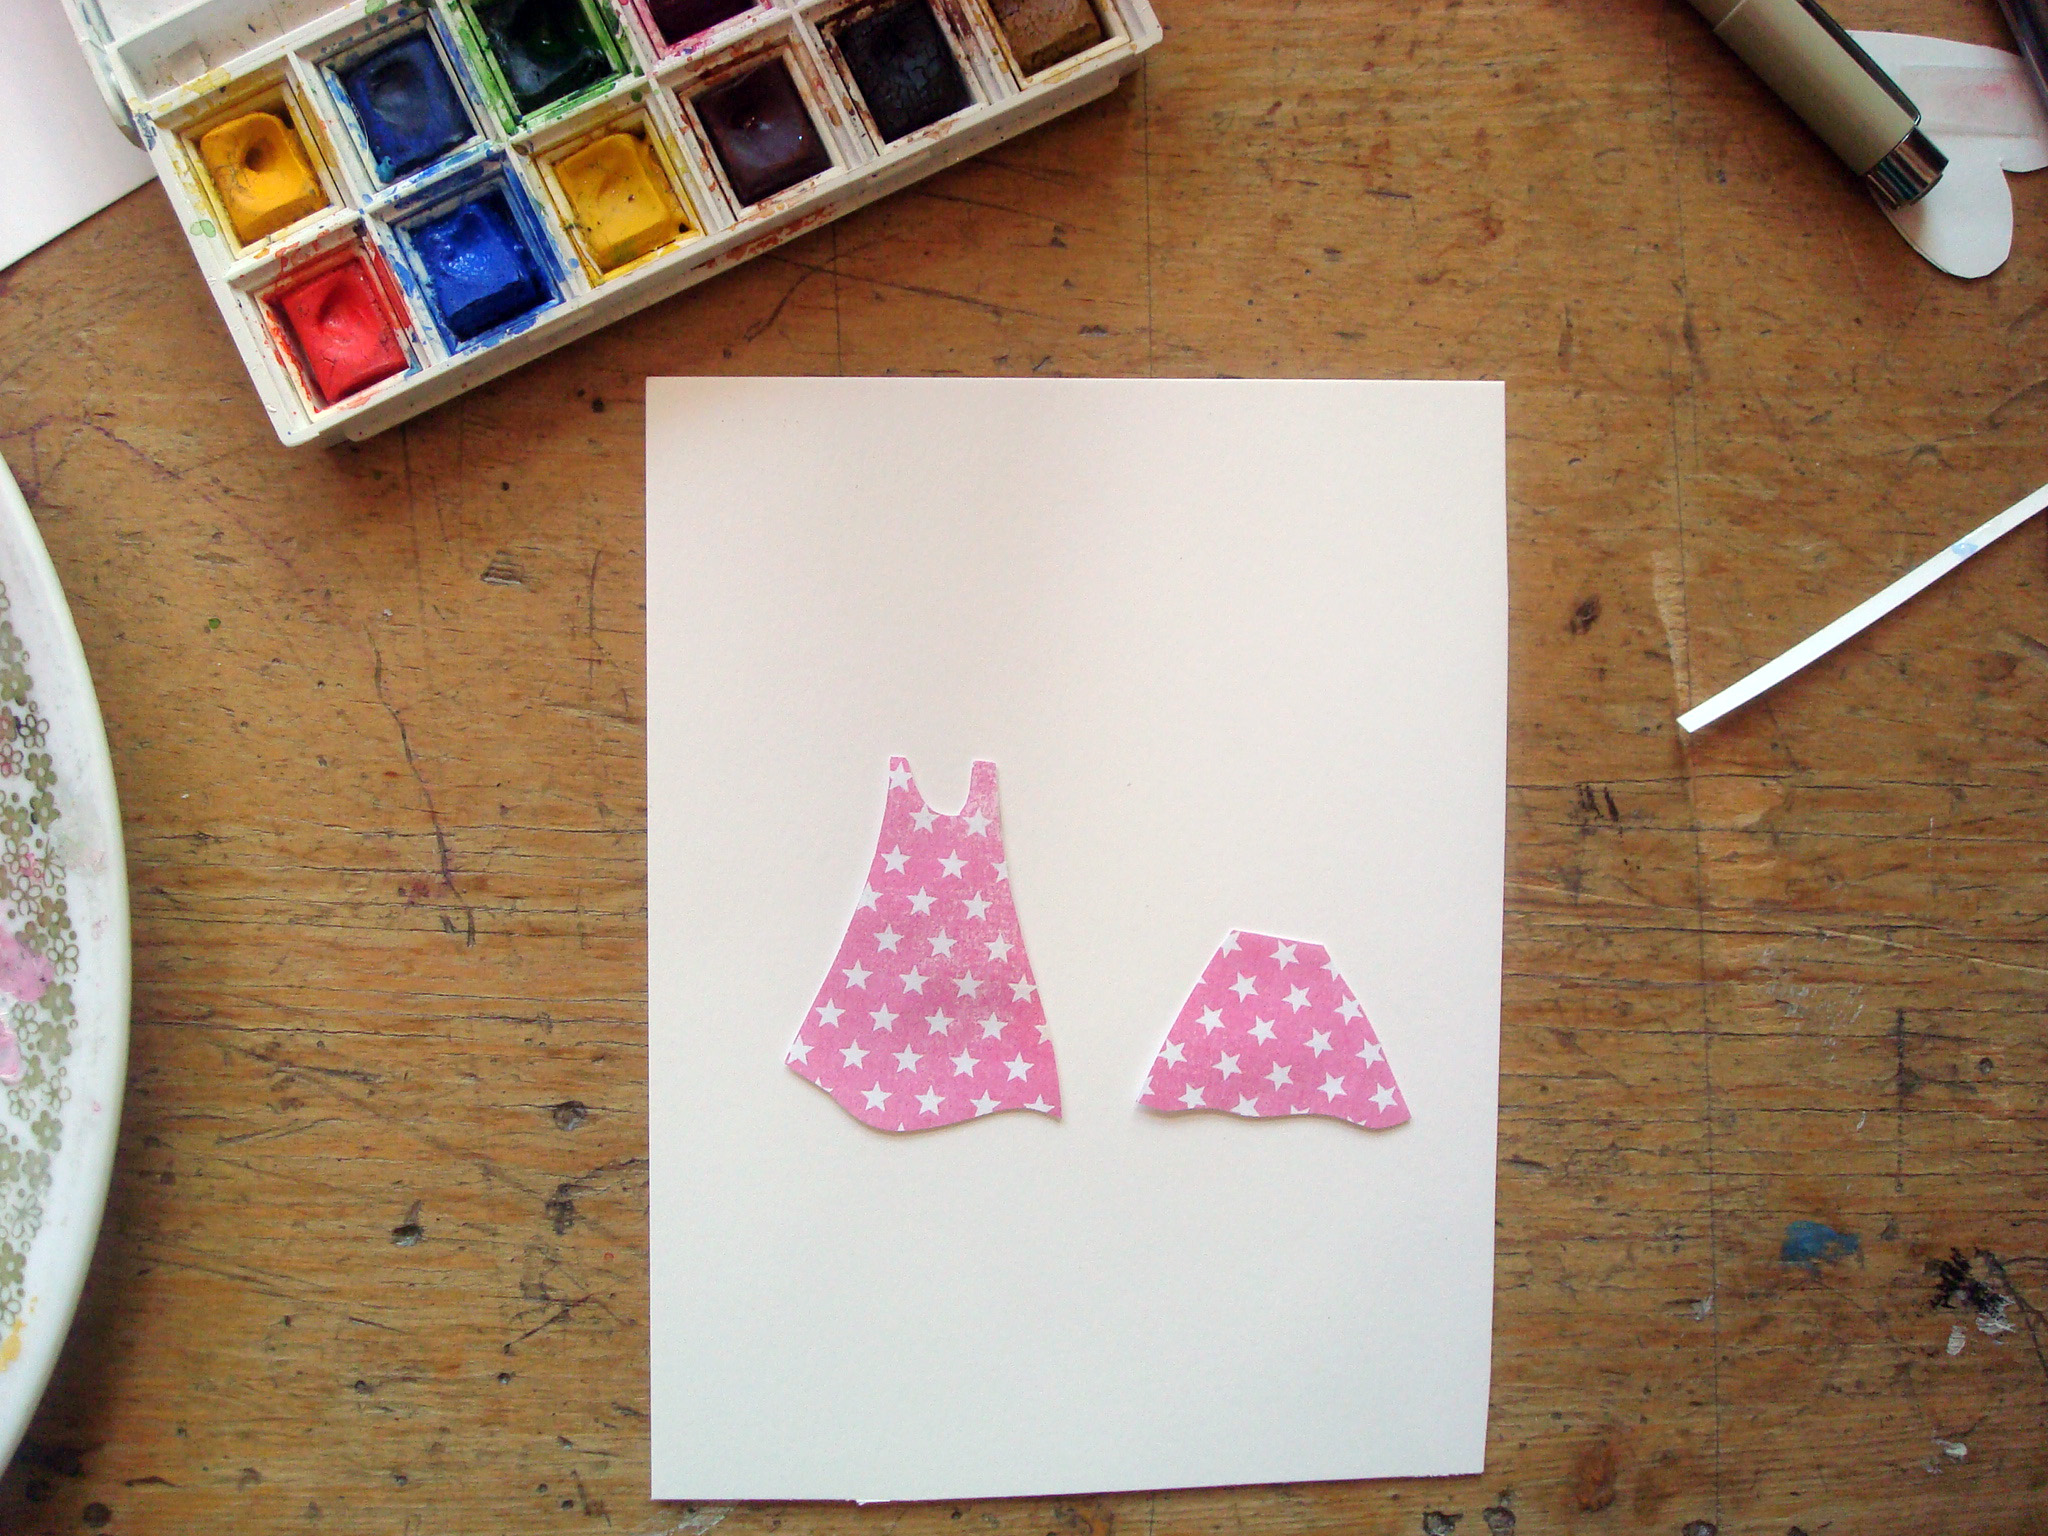
Step 2:
Pick out your paper. Cut out the shapes you’ll be using for your collage. If possible, trace the shape on the back side of the paper to cut out so that you don’t have lines showing on the paper.
Step 3:
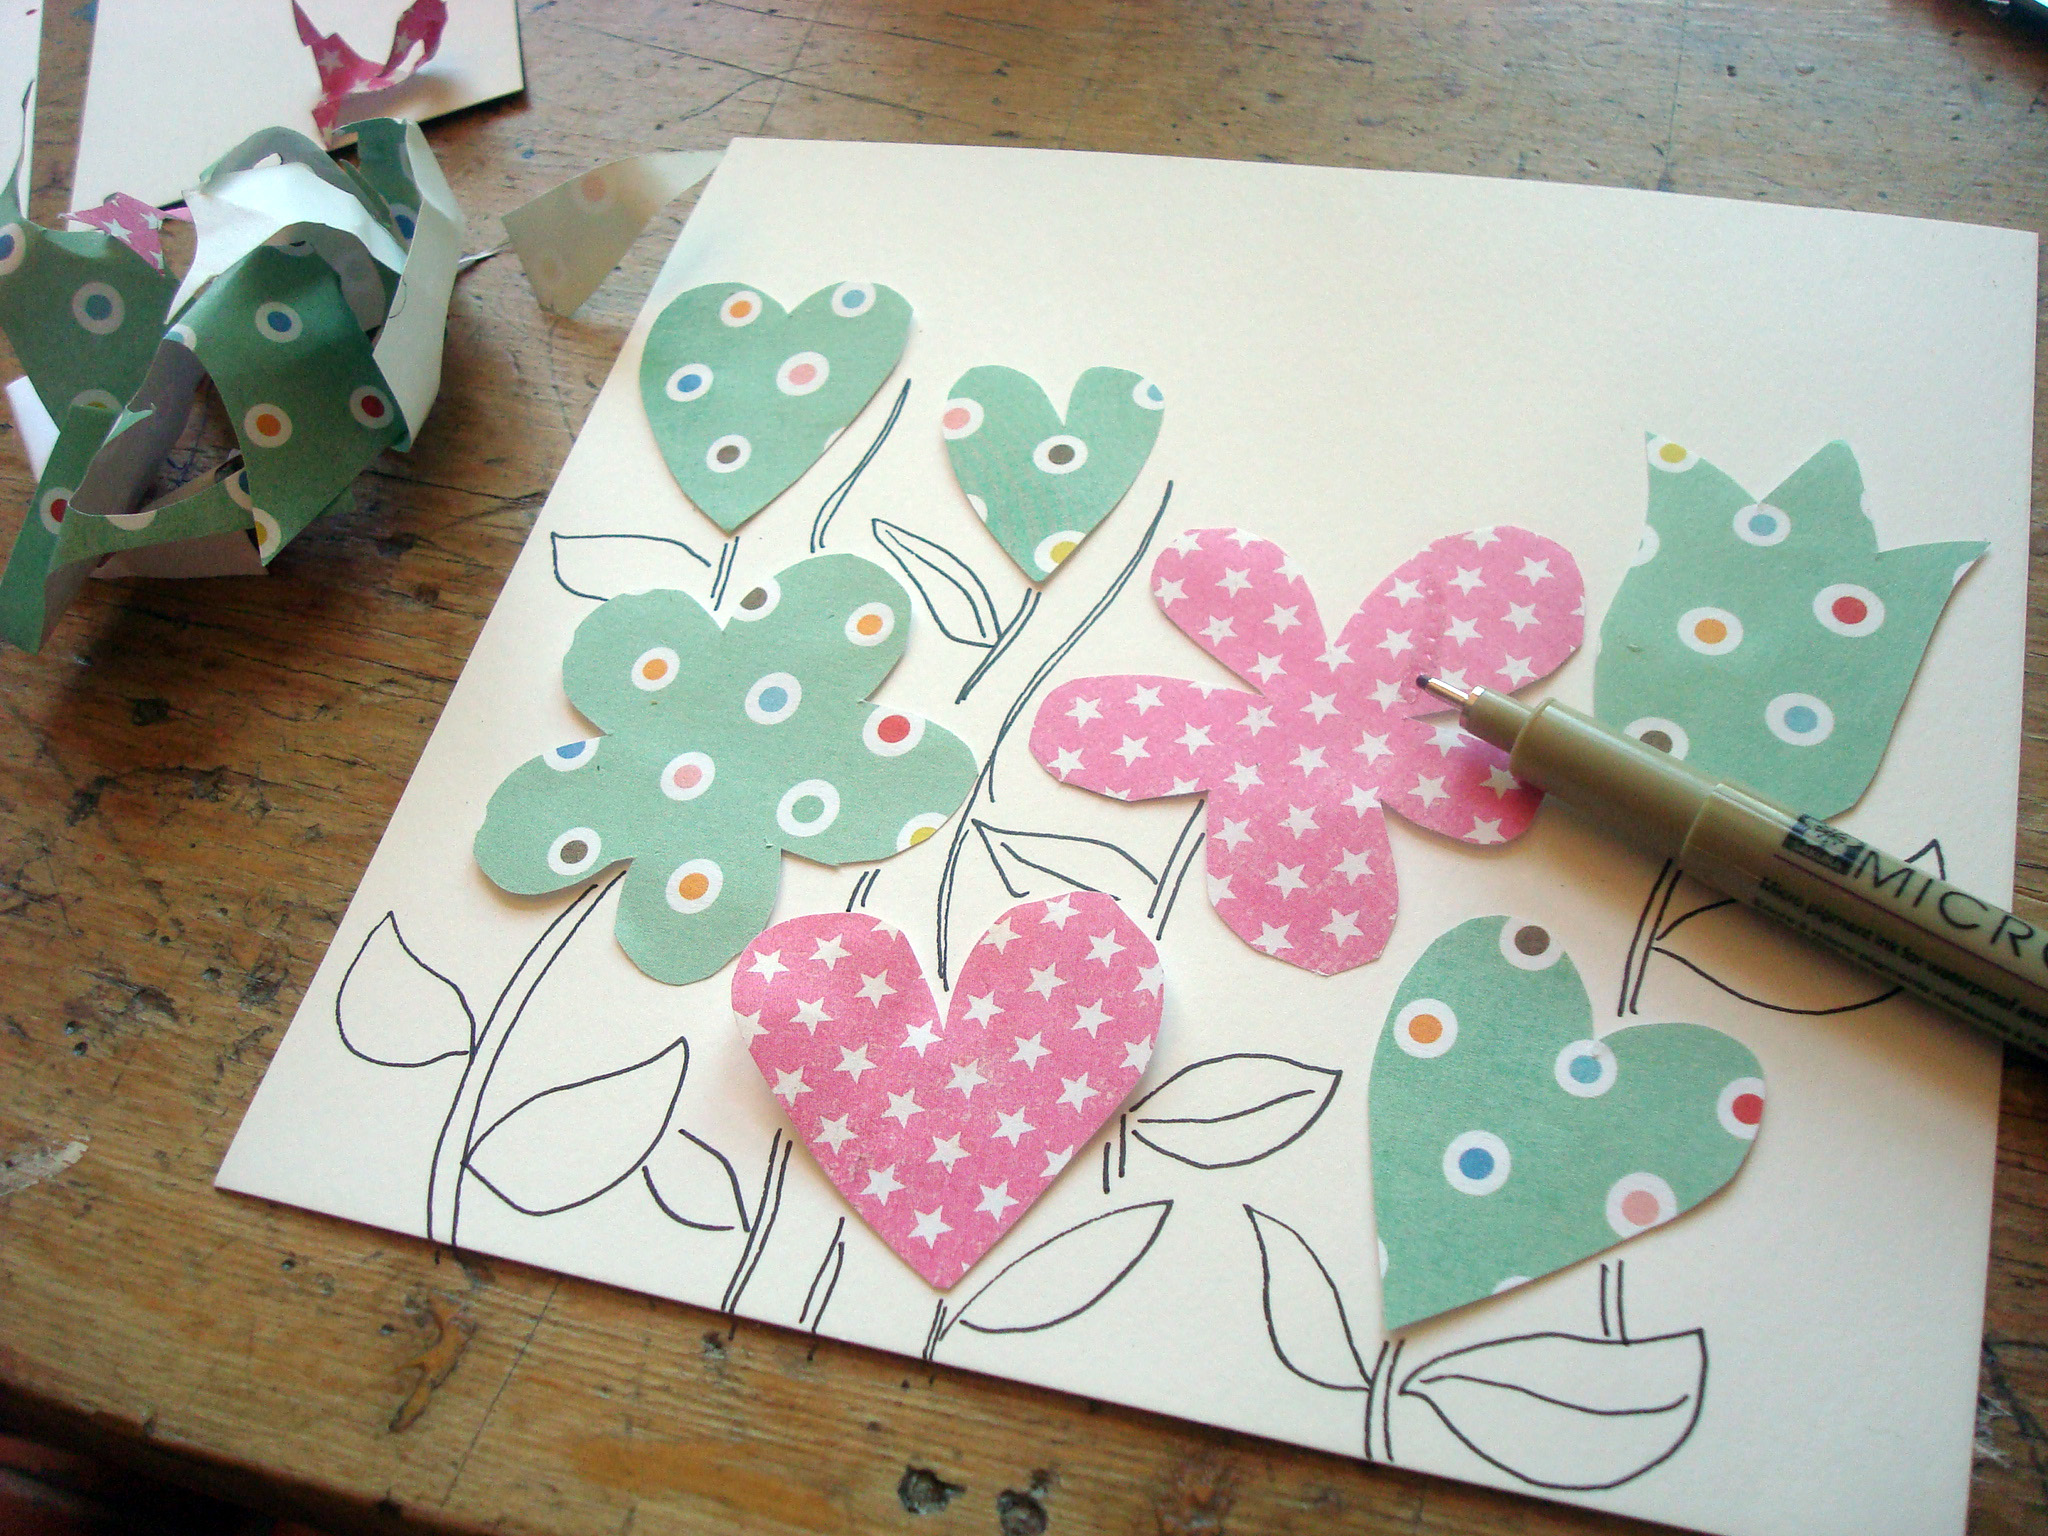
Place the cutouts on the paper where you’d like them to rest. Don’t glue them quite yet: Use a removable tape so that you can get a feel for the placement or alter it if needed.
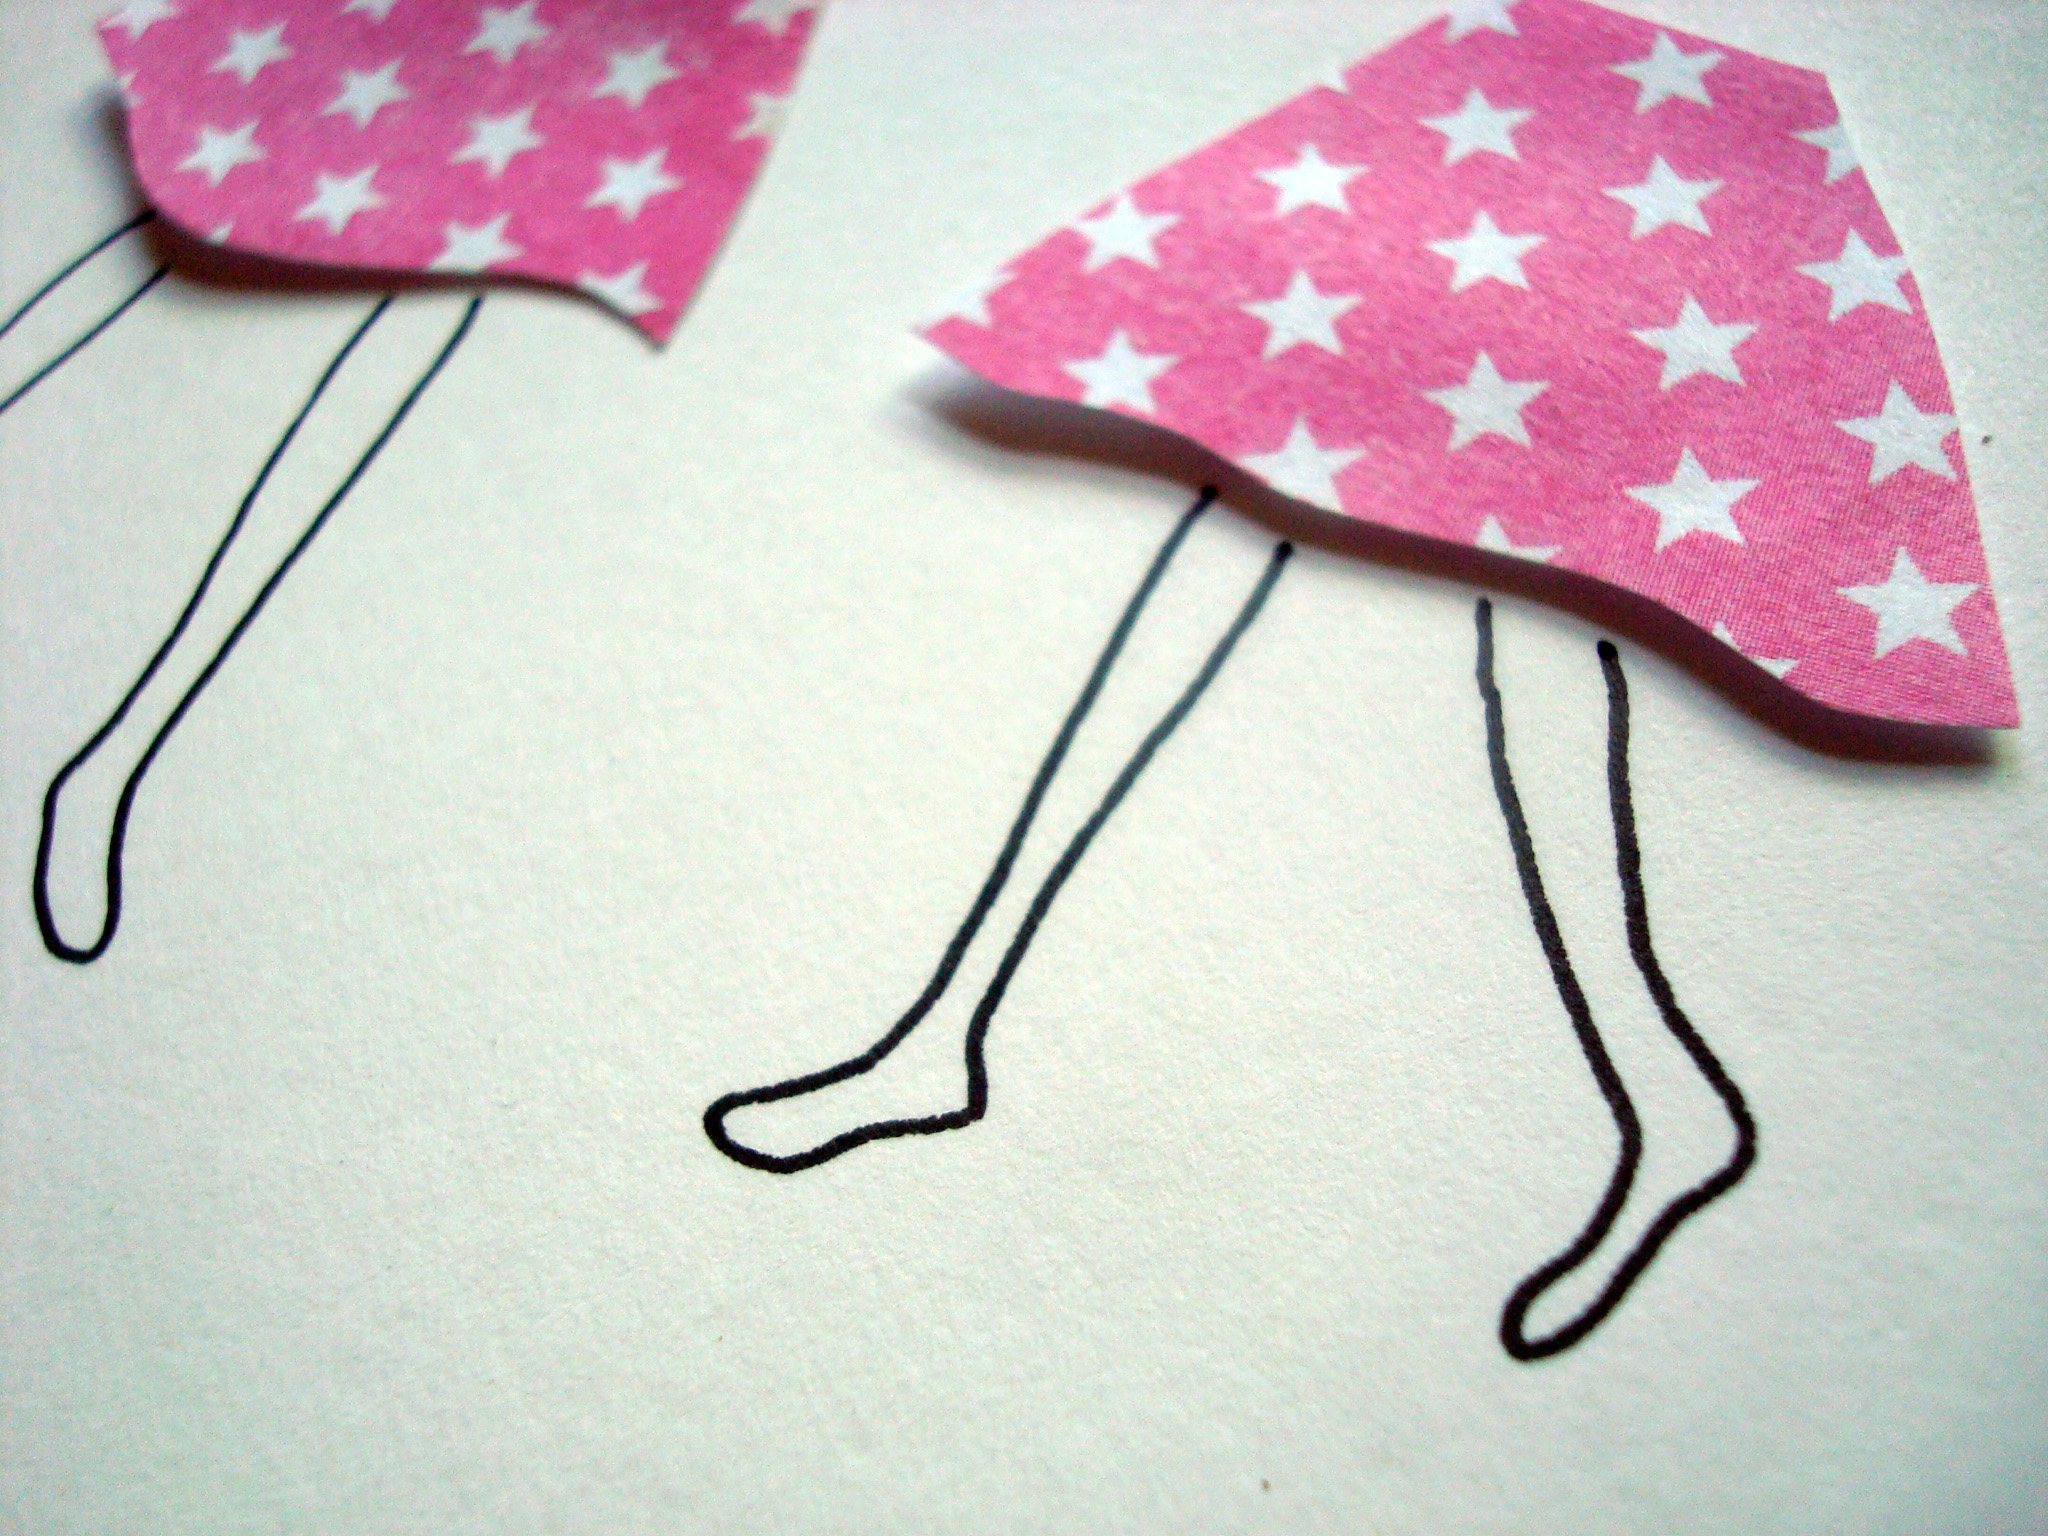
Step 4:
Draw around the collaged aspects, creating the scene from your sketch.
Step 5:
If you are going for a fairly straightforward pen and ink and collage aspect, you’re done. You can adhere the collaged aspects in a more permanent way.
However, if you are working on a piece where you’d like to add a watercolor wash or other color under the collage, follow these optional additional steps.
Step 6:
Remove the collage aspects so that you can paint under where they will be, and so that they will not get in the way. You can take a picture of where things should be You might think you’ll remember, but the drawing looks mighty strange with those aspects removed:
Step 7:
Paint in whatever colors you’d like to add to the background.
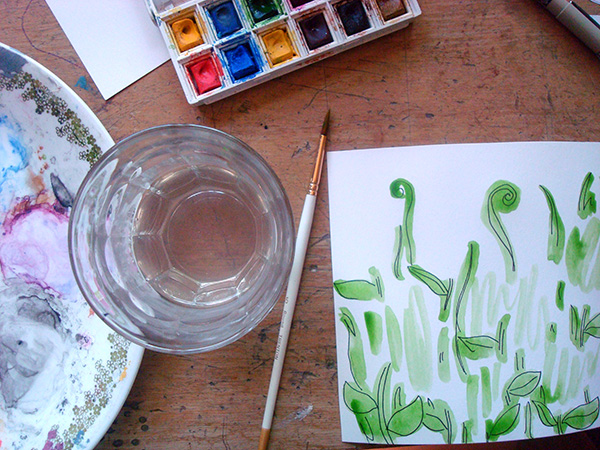
Step 8:
Once you’ve done whatever other work you want to on the piece, re-attach the collaged aspects. Make any final touches you’d like, including adding more detail or layered paper.
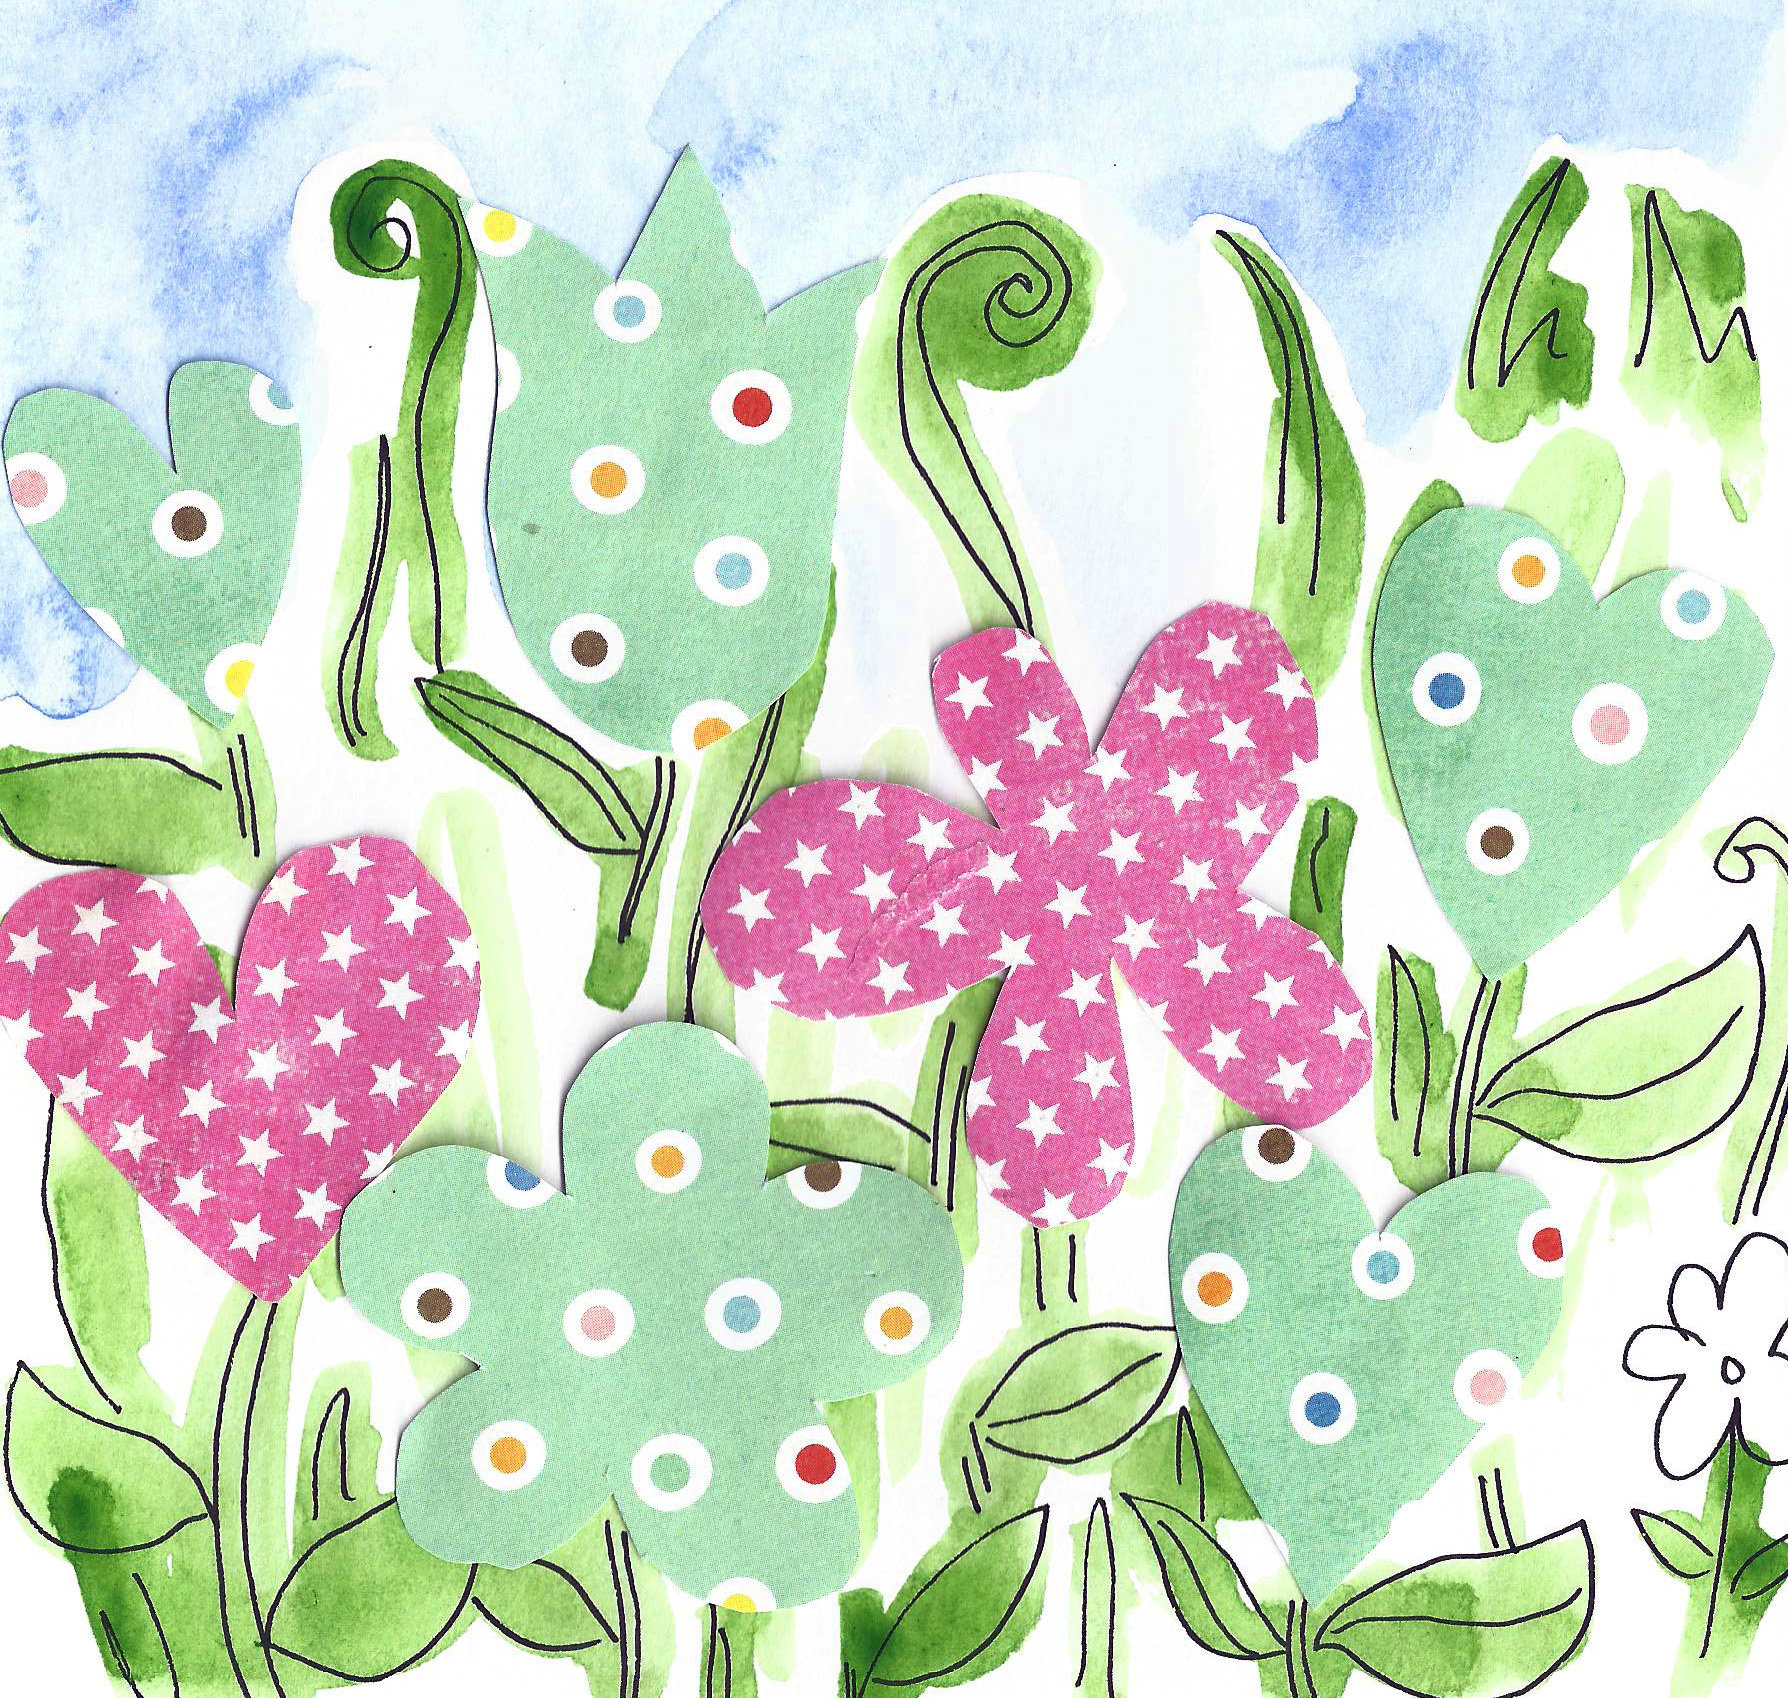
This is one method of creating pen and ink and collage work, but really, the sky’s the limit. Perhaps you would prefer to create a background with collage and then superimpose pen and ink illustrations on top, or draw both on and below the printed paper aspects. That’s the wonderful thing about incorporating different media into your pen and ink work: It can really challenge you and help you go to new artistic places.
Share tips, start a discussion or ask one of our experts or other students a question.
No Responses to “Crafty and Creative: How to Use Pen and Ink + Collage To Make Amazing Art”