
Painting portraits can be a particularly intimidating sector of fine art. Capturing the colors, shapes and expressions that make up a human subject can seem elusive, even to established painters.
These helpful oil painting portrait tips take some of the fear out of creating realistic, dynamic likenesses. By breaking down each step of portrait painting with simple yet helpful tips, the process becomes far more accessible for all levels.
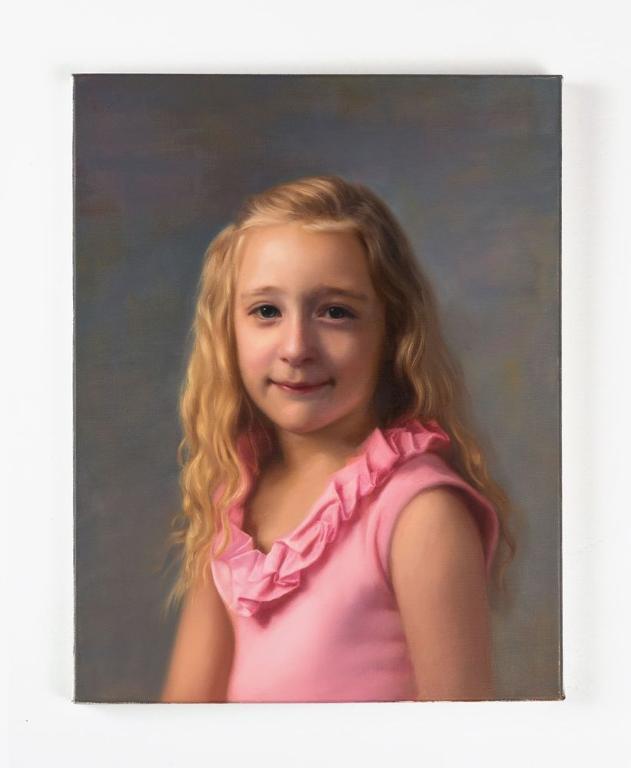
Child’s portrait via Craftsy instructor Nanette Fluhr
Start with a great reference image
No portrait is ever going to come out brilliantly without an excellent reference image. You have plenty of options: you can use a photograph, a live model or even a mirror.
Many consider it helpful to start with a photograph, which you can be sure won’t move or shift. However, sometimes painting from photographs can result in static portraits that don’t seem to lifelike.
Even if you are working from a photo, be sure to refer to a live person (you or someone else; it doesn’t even have to be the subject of the portrait) to analyze the movements and shapes that make up a face.
Prime your canvas
Before you even begin to draw or paint, prime your canvas. A “primer” such as gesso will not only give you an ideal surface for painting, but it will also discourage the oil paint from degrading the fibers in the canvas over time. Let the primed canvas dry completely before painting on top.
Want to learn more about painting on canvas? We’ve got you covered.
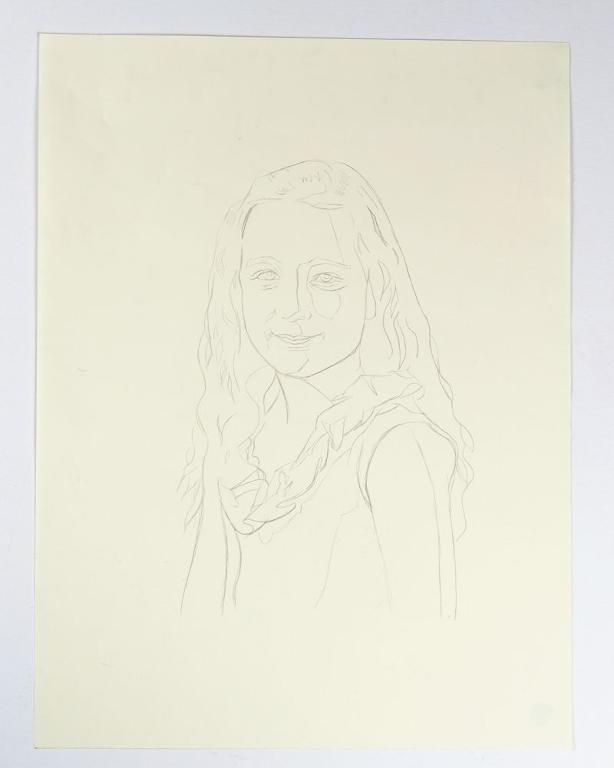
Line drawing via Craftsy instructor Nanette Fluhr
Make a sketch
Using your reference image, create a sketch. Better yet, make more than one on scrap paper. Not only will a series of sketches get you warmed up, but it will help you decide how you want to approach your subject matter. Sketching on paper will give you freedom to explore. It will also help you keep things clean. It is difficult to erase unwanted markings from a gessoed canvas, and while the paint will ultimately cover them up, sometimes it’s nice to warm up on scrap paper so that you can figure out how you want to approach the final sketch.
The face in particular is a part of portrait-painting that many find difficult, so that is a particularly important part of your sketch. Even though your piece will ultimately be in paint, think of this as laying down your foundation.
Craftsy free download Drawing the Human Face supplies information on how to draw a face. These drawing tutorials and tips are intended for artists newer to drawing the human face, as well as those who are looking to sharpen their skills. It covers facial proportions, proper placement of features, accurately portraying eyes and lips and incorporating shape and value into hair.
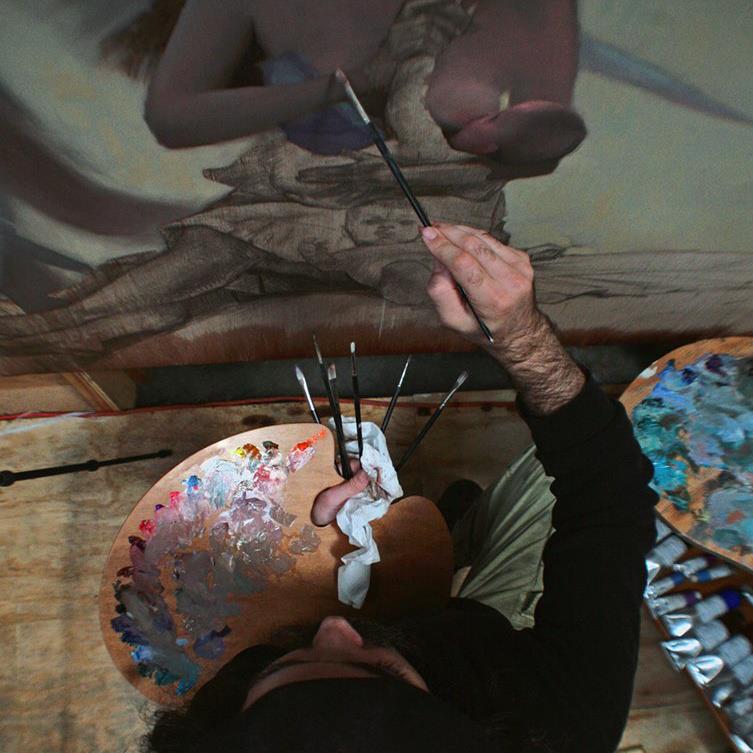 Photo via Craftsy blog
Set up your work station
Now that you are ready to begin painting, set yourself up for success by creating a clean and well-equipped work environment. Set your canvas on an easel, if desired, and evaluate what types of colors you will need for this project. Assemble your necessary oil painting materials<, including brushes, mineral spirits, oil paint medium and your paint. Create a palette with plenty of space for mixing. When choosing colors, keep in mind that skin tones are not always as obvious as you might think. Evaluate your subject for subtle undertones.
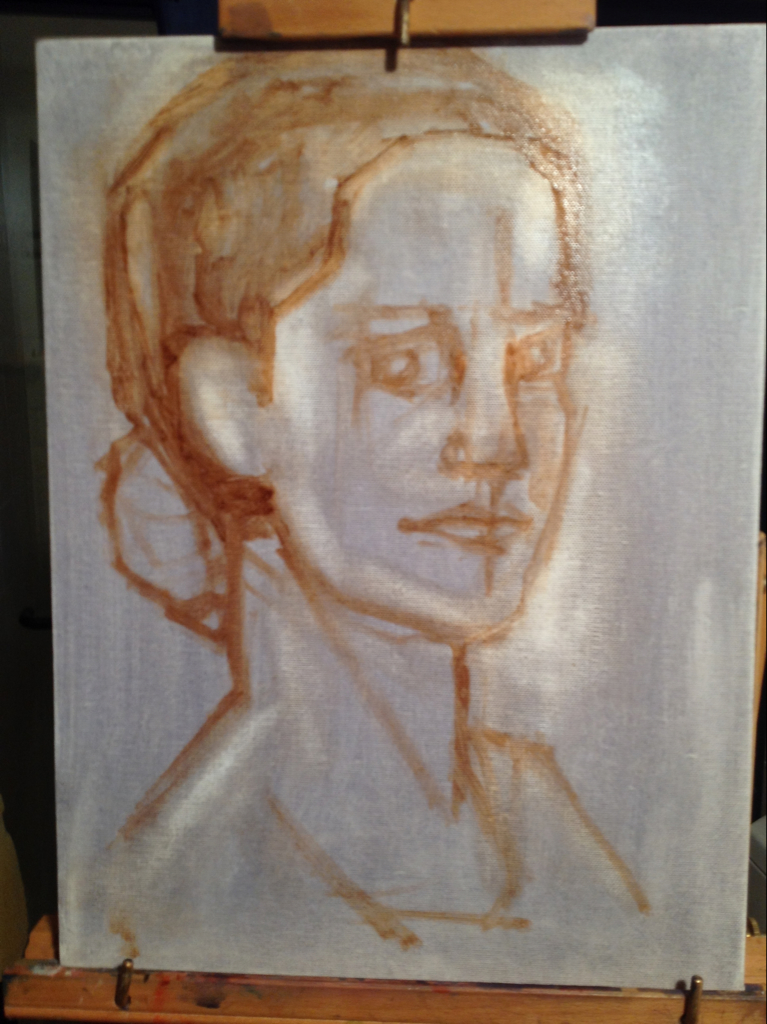
Underpainting via Craftsy member billiefaye
Create an underpainting
An underpainting will help inform your painting later, and it will also add depth to the finished piece. A contrasting color might look odd on the canvas, but it will make your finished piece more lifelike later. Craftsy course The Classic Self- Portrait goes into the process of underpainting in great detail.

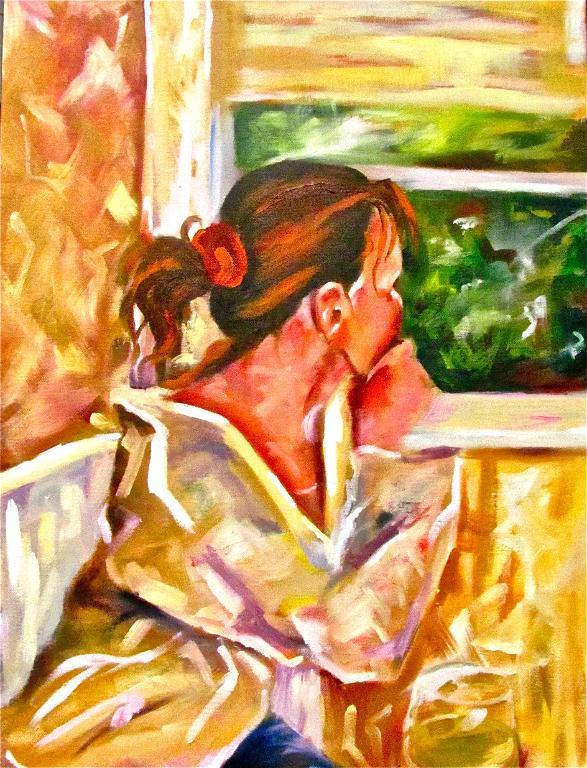
Adding color via Craftsy member Sharanicole
Build your painting in phases
By working in phases, you can begin to evenly build color on the face. First, you may want to lay down a base of each color you see in the face, blocking out the key portions of color. From there, you can work in phases to add highlights and shadows, which will make the shapes come together in a slow but steady form.
Many of the tips from this post about painting a portrait in acrylic hold true for oil paint. Craftsy blogger Sara Barnes suggests building in layers, focusing first on the prominent highlights and shadows in the chin, cheek, and nose areas, and then progressing to the more subtle highlights. By working on these areas in stages, you’ll see the shapes and forms of the face begin to come together.
Pay extra attention to the eyes, nose and mouth
So much of an expression can be found in the eyes, nose and mouth. Be sure to bring extra attention to these areas to make sure you’ve adequately captured the expression. Be careful not to overdo it, though. A portrait with overdone eyes, where the rest of the painting doesn’t match the level of detail, can be distracting.
Portrait via Craftsy member Kreative Kandy
Don’t forget the hair
Even though the eyes go to the face of the portrait subject first, poorly rendered hair will be distracting or just look like a helmet. Like the skin tone, you may detect unexpected undertones or colors in the hair. Be sure to pay attention to mid tones and shadows in the hair color. Highlights can be added last. Get a full tutorial for painting hair here.
Share tips, start a discussion or ask one of our experts or other students a question.
No Responses to “Accessible Art: Oil Painting Portrait Tips”