
It seems like everywhere you look these days, wedding cakes are stripping off the frosting and going naked! Since Christina Tosi, the chef, owner, and founder of Momofuku Milk Bar, originated this style with her deliciously decadent cakes, brides everywhere have been asking bakers for this rustic-chic style.
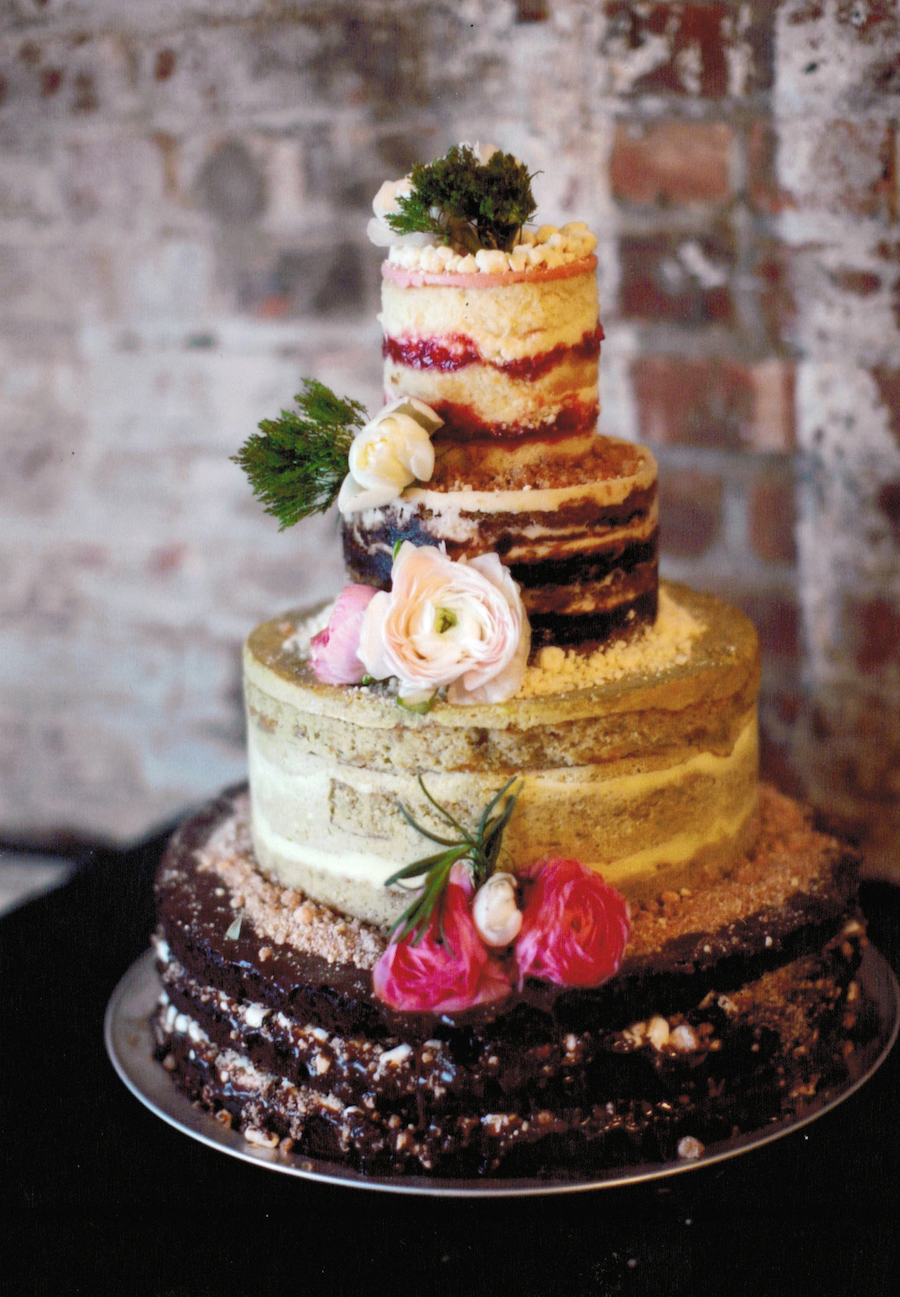
Image via Milk Bar
But, going naked doesn’t have to be all that scary after all! With a little planning, prep and patience you’ll be ready to confidently tackle one wedding cake trend that doesn’t seem to be going away — the naked cake.
Psst! Want to make a semi-naked cake? We have tips for that, too!
10 steps to building a better naked cake
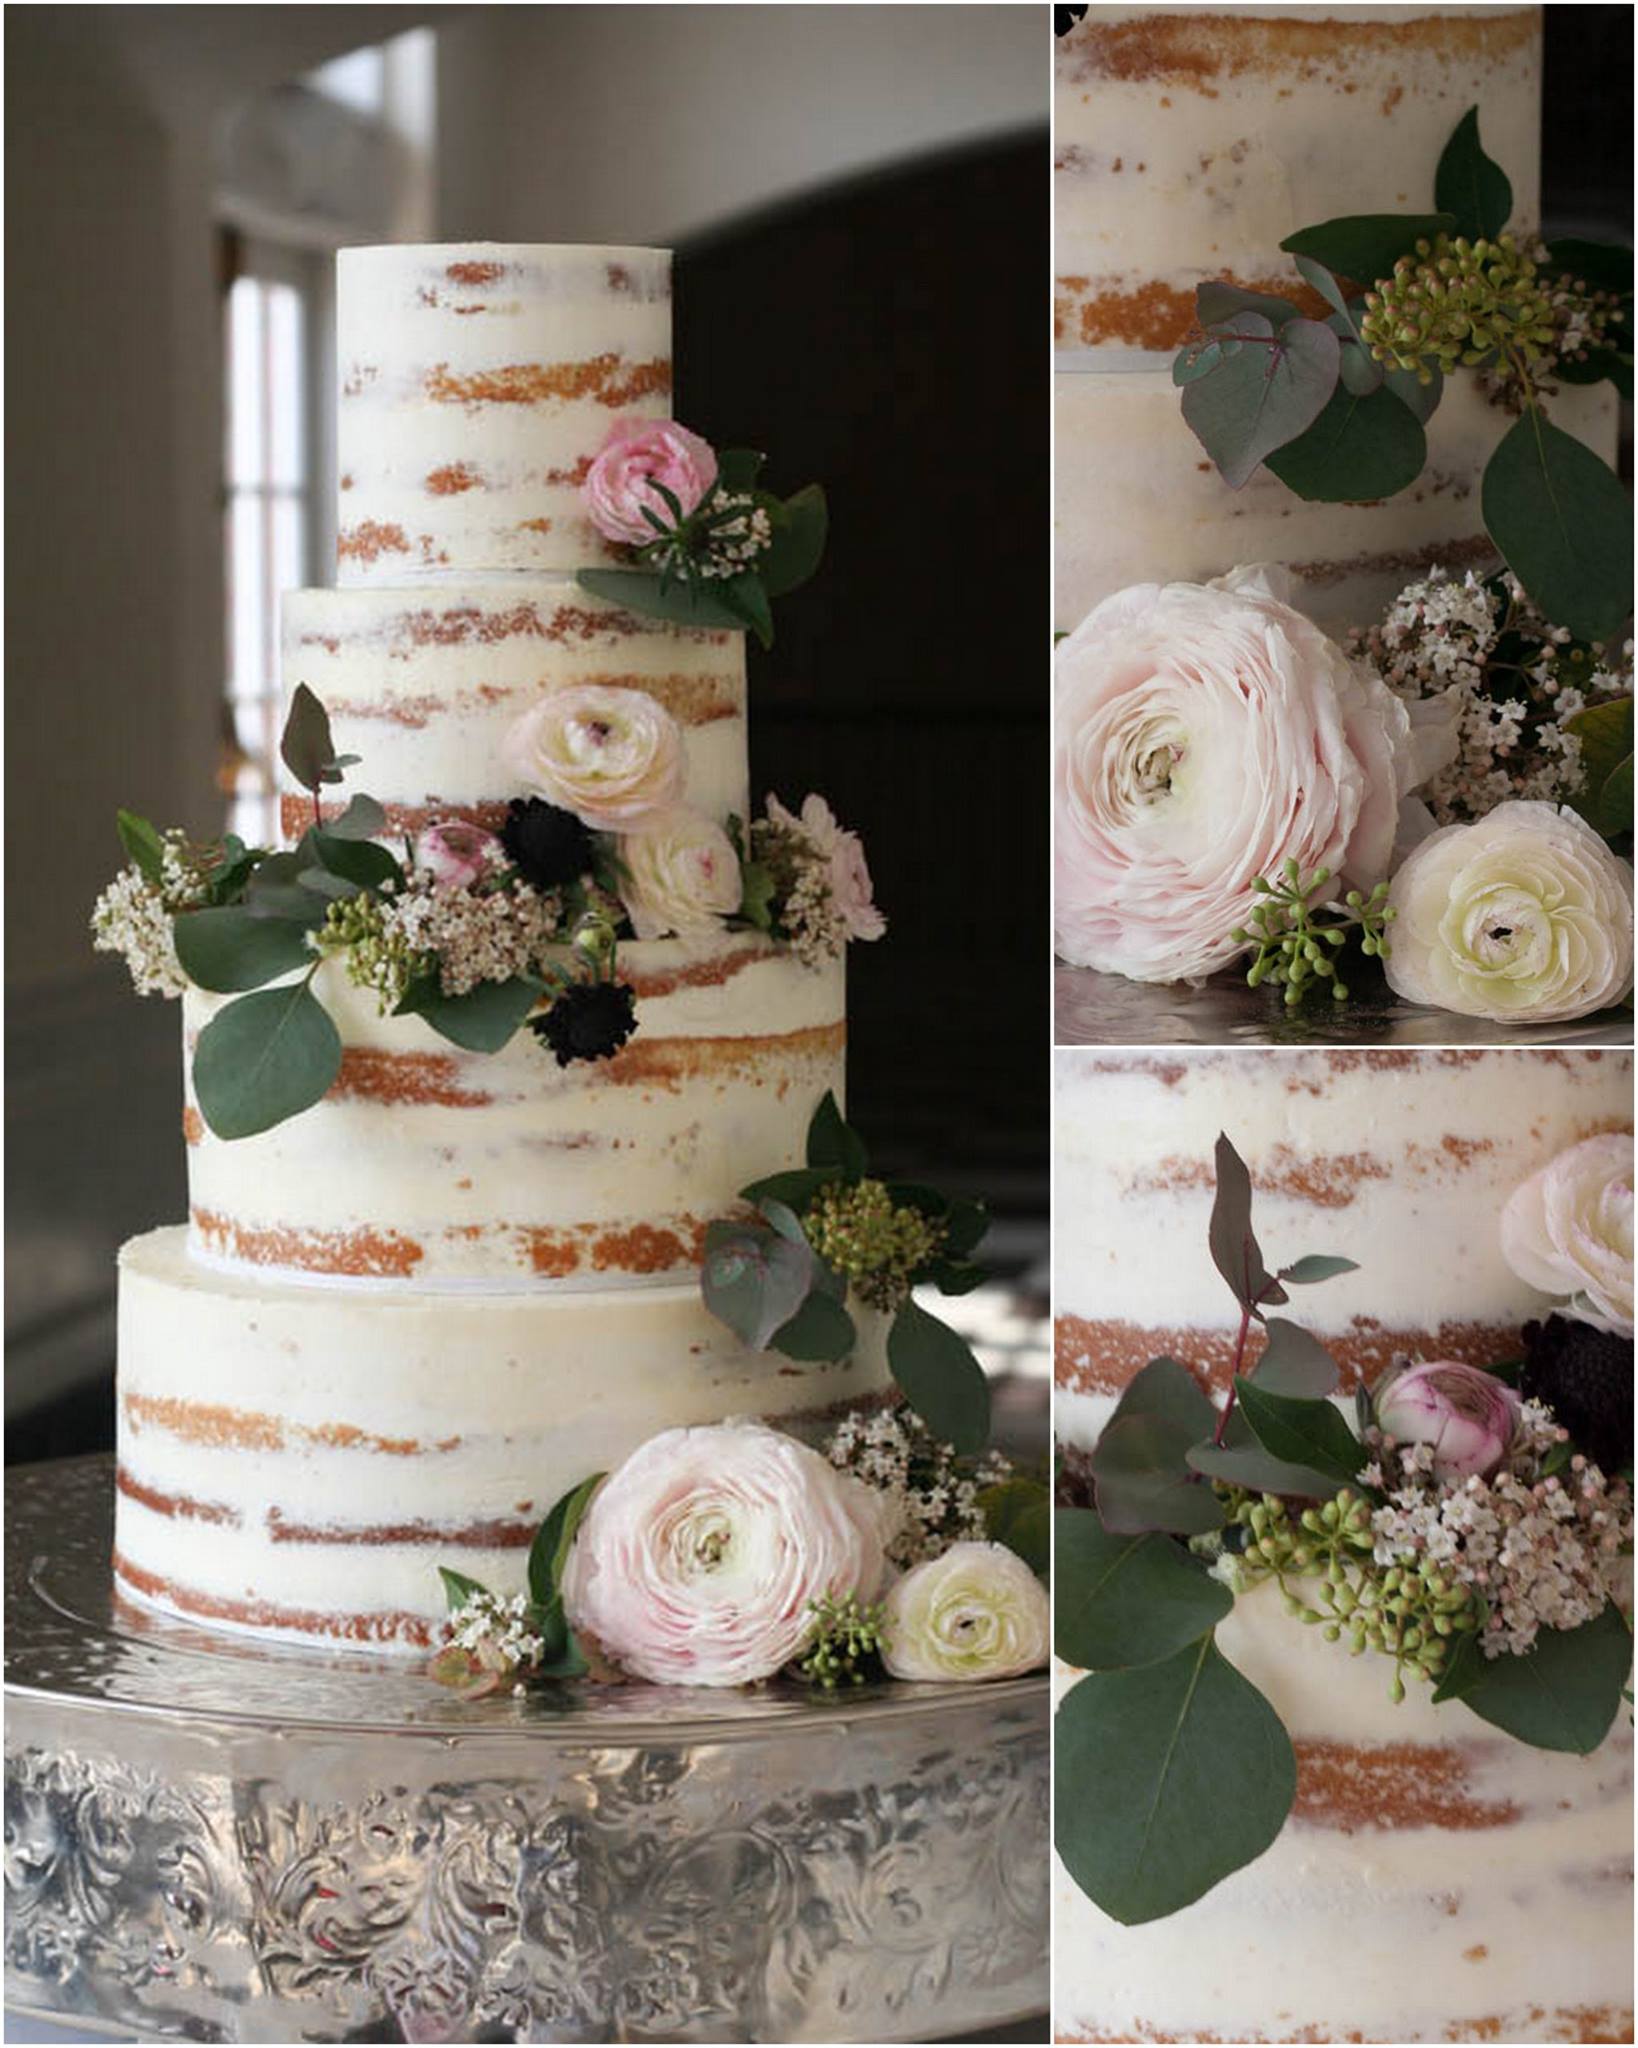
Image via Bluprint instructor Erica O’Brien
1. Make a plan
With traditionally finished cakes, most cake designers will bake three to four days ahead of the event to leave plenty of decorating time. Since naked cakes lack the outer layer of frosting, sealing in freshness and moisture, it’s a good idea to bake as close to the event date as possible, ideally the day before.
2. Prep your pans
Grease up those pans so they’re nice and slick! Without frosting or fondant to hide any baking imperfections, you’ll need those beauties to slide out of their pans in one piece.
Take a FREE Online Buttercream Class!

Learn how to achieve a perfect buttercream finish every time with 5 HD video lessons led by cake decorator Joshua John Russell.Enroll FREE Now »
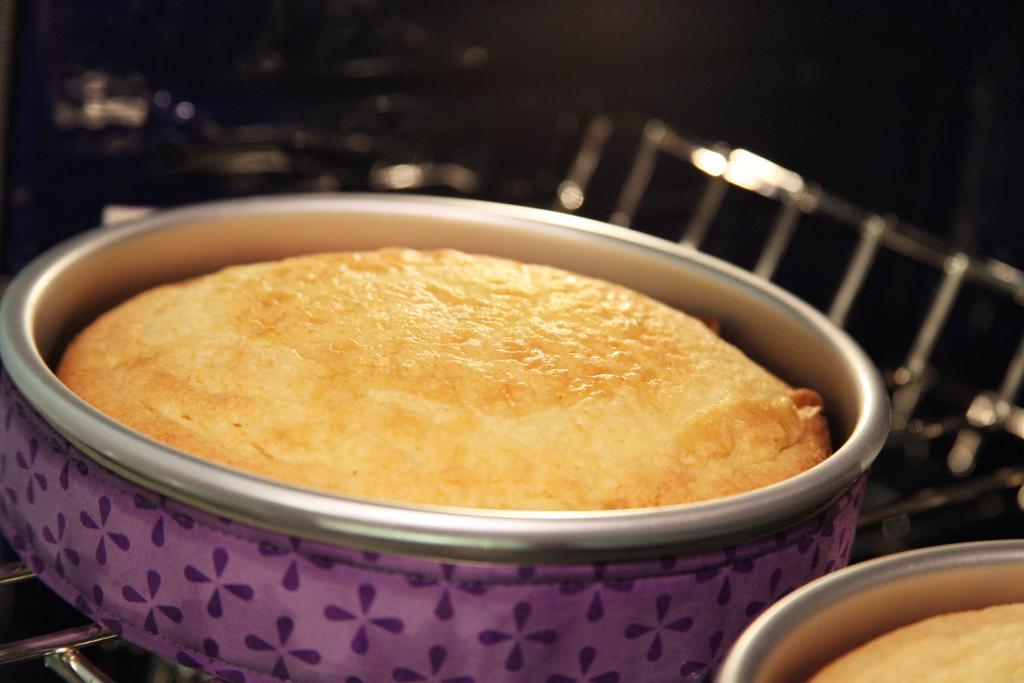
Image via Bluprint Instructor Beth Somers
3. Distribute batter evenly
This is something that most pros do already, but it’s especially important when making a naked cake. Your layers take center stage in this kind of design. Measuring batter carefully ahead of time will make your job easier when it’s time to cut and fill.
4. Measure twice, cut once
You’ve slicked up those pans, carefully filled them and baked your cakes to perfection. To keep your naked cake looking straight and beautiful, take the time to measure your cakes before cutting. Even layers don’t only look beautiful; they also add stability to your finished cake.
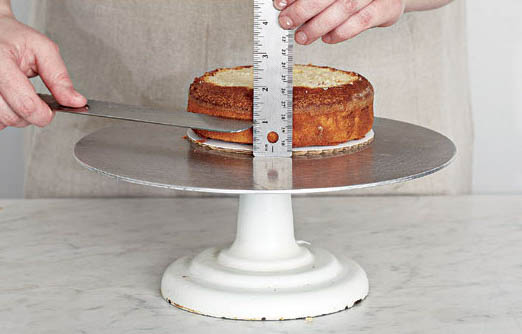
Image via Great Cake Decorating
5. Take a soak
One of the biggest concerns with naked cakes is keeping the cake from drying out. To help prevent this from happening, add a cake soak. Brush on a plain simple syrup to add moisture without changing the cake’s flavor, or get creative! Adding liquors, coffee, tea and more to your cake soak will add moisture while complementing the flavors of your cake and icing.
Use a light touch when adding your cake soak. Too much can make your cake mushy or unstable. A little brush of syrup goes a long way.

Image via Bluprint member Zahra Ali
6. Choose stable fillings
As much as I love a good pastry cream or a light and airy mousse, a naked cake may not be the best place for this kind of filling. Especially if the cake is going to be presented and eaten outside! Use your best judgement when deciding what to use to fill your naked cake. Swiss meringue buttercream, ganache and American buttercream all make for great filings that firm up nicely. You may want to steer clear of a softer French buttercream or cream cheese frosting to prevent any oozing or shifting once the cake is assembled.
If weather is not an issue, you may still want to keep your softer fillings to single-tier naked cakes. Even under perfect circumstances, the weight of a tiered cake may still prove to be too much for a soft, squishy filling.
7. Grab a piping bag
Using a piping bag fitted with a large round tip will help keep those layers nice and even while also preventing your filling from marking up the sides of your cake. Piping a dam of buttercream around the edges of your cake is essential if you plan on adding another softer filling like jam or mousse. When piping your filling, give yourself a little lip (about 1/4-inch) to allow for it to spread a little when the other cake layers are added.
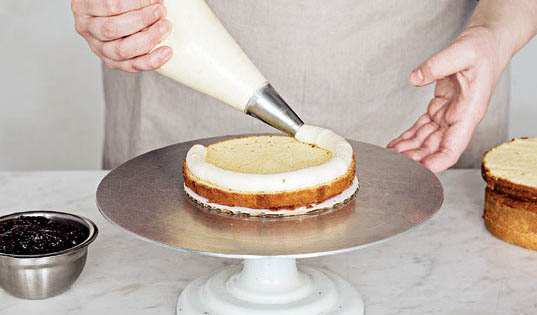
Image via Great Cake Decorating
Once your cake is filled, you can switch up to a star tip and go back in to and add detail, like with this beauty from The Sugar Suite.
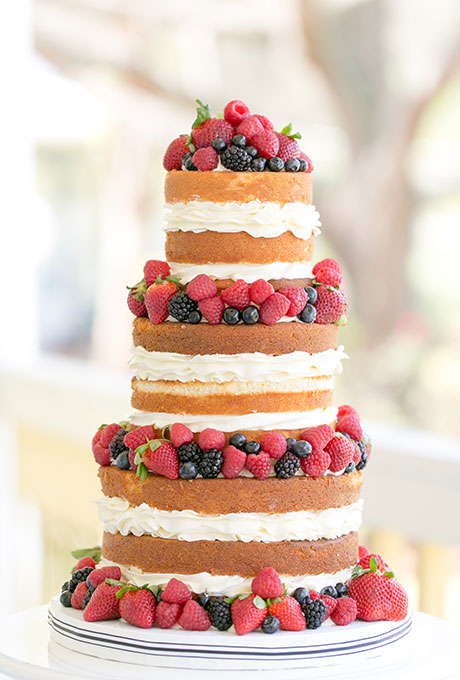
Image via The Sugar Suite
8. Chill out
After all of that hard work to keep your cakes and fillings clean and straight, give your naked cake some time to chill out before moving or serving. Letting your cake chill until the fillings are completely set will help keep your creation stable as it comes to room temp at the party.

Image via Bluprint member SweetWhisk
9. Center dowel
Crumb coats and fondant finishes add shape and stability to a tiered cake. With a naked cake, it’s a good idea to add an extra level of support with a center dowel. It’s a small step to take to prevent any slip-sliding and for added piece of mind.
10. Finishing touches
Hooray! Your naked cake is stacked and filled, now all it needs are a few final touches. The sides of your naked cake are the star of the show. They’re also not well suited for adding any more decoration. Most naked cake designs take advantage of the tops of the cakes to add any embellishments or design details.
Keep the season in mind when choosing your cake’s decor. Natural elements, like fresh florals & foliage, feel right at home with the cake’s rustic appearance.
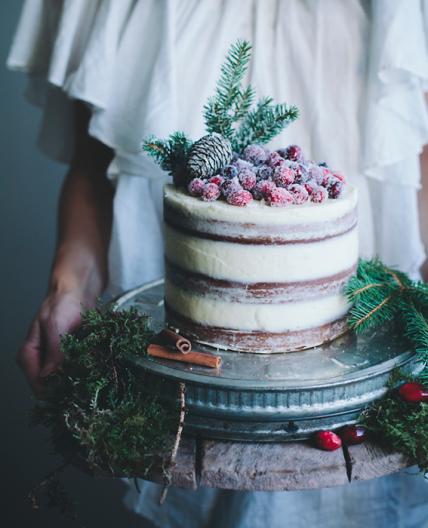
Image via Linda Lomelino
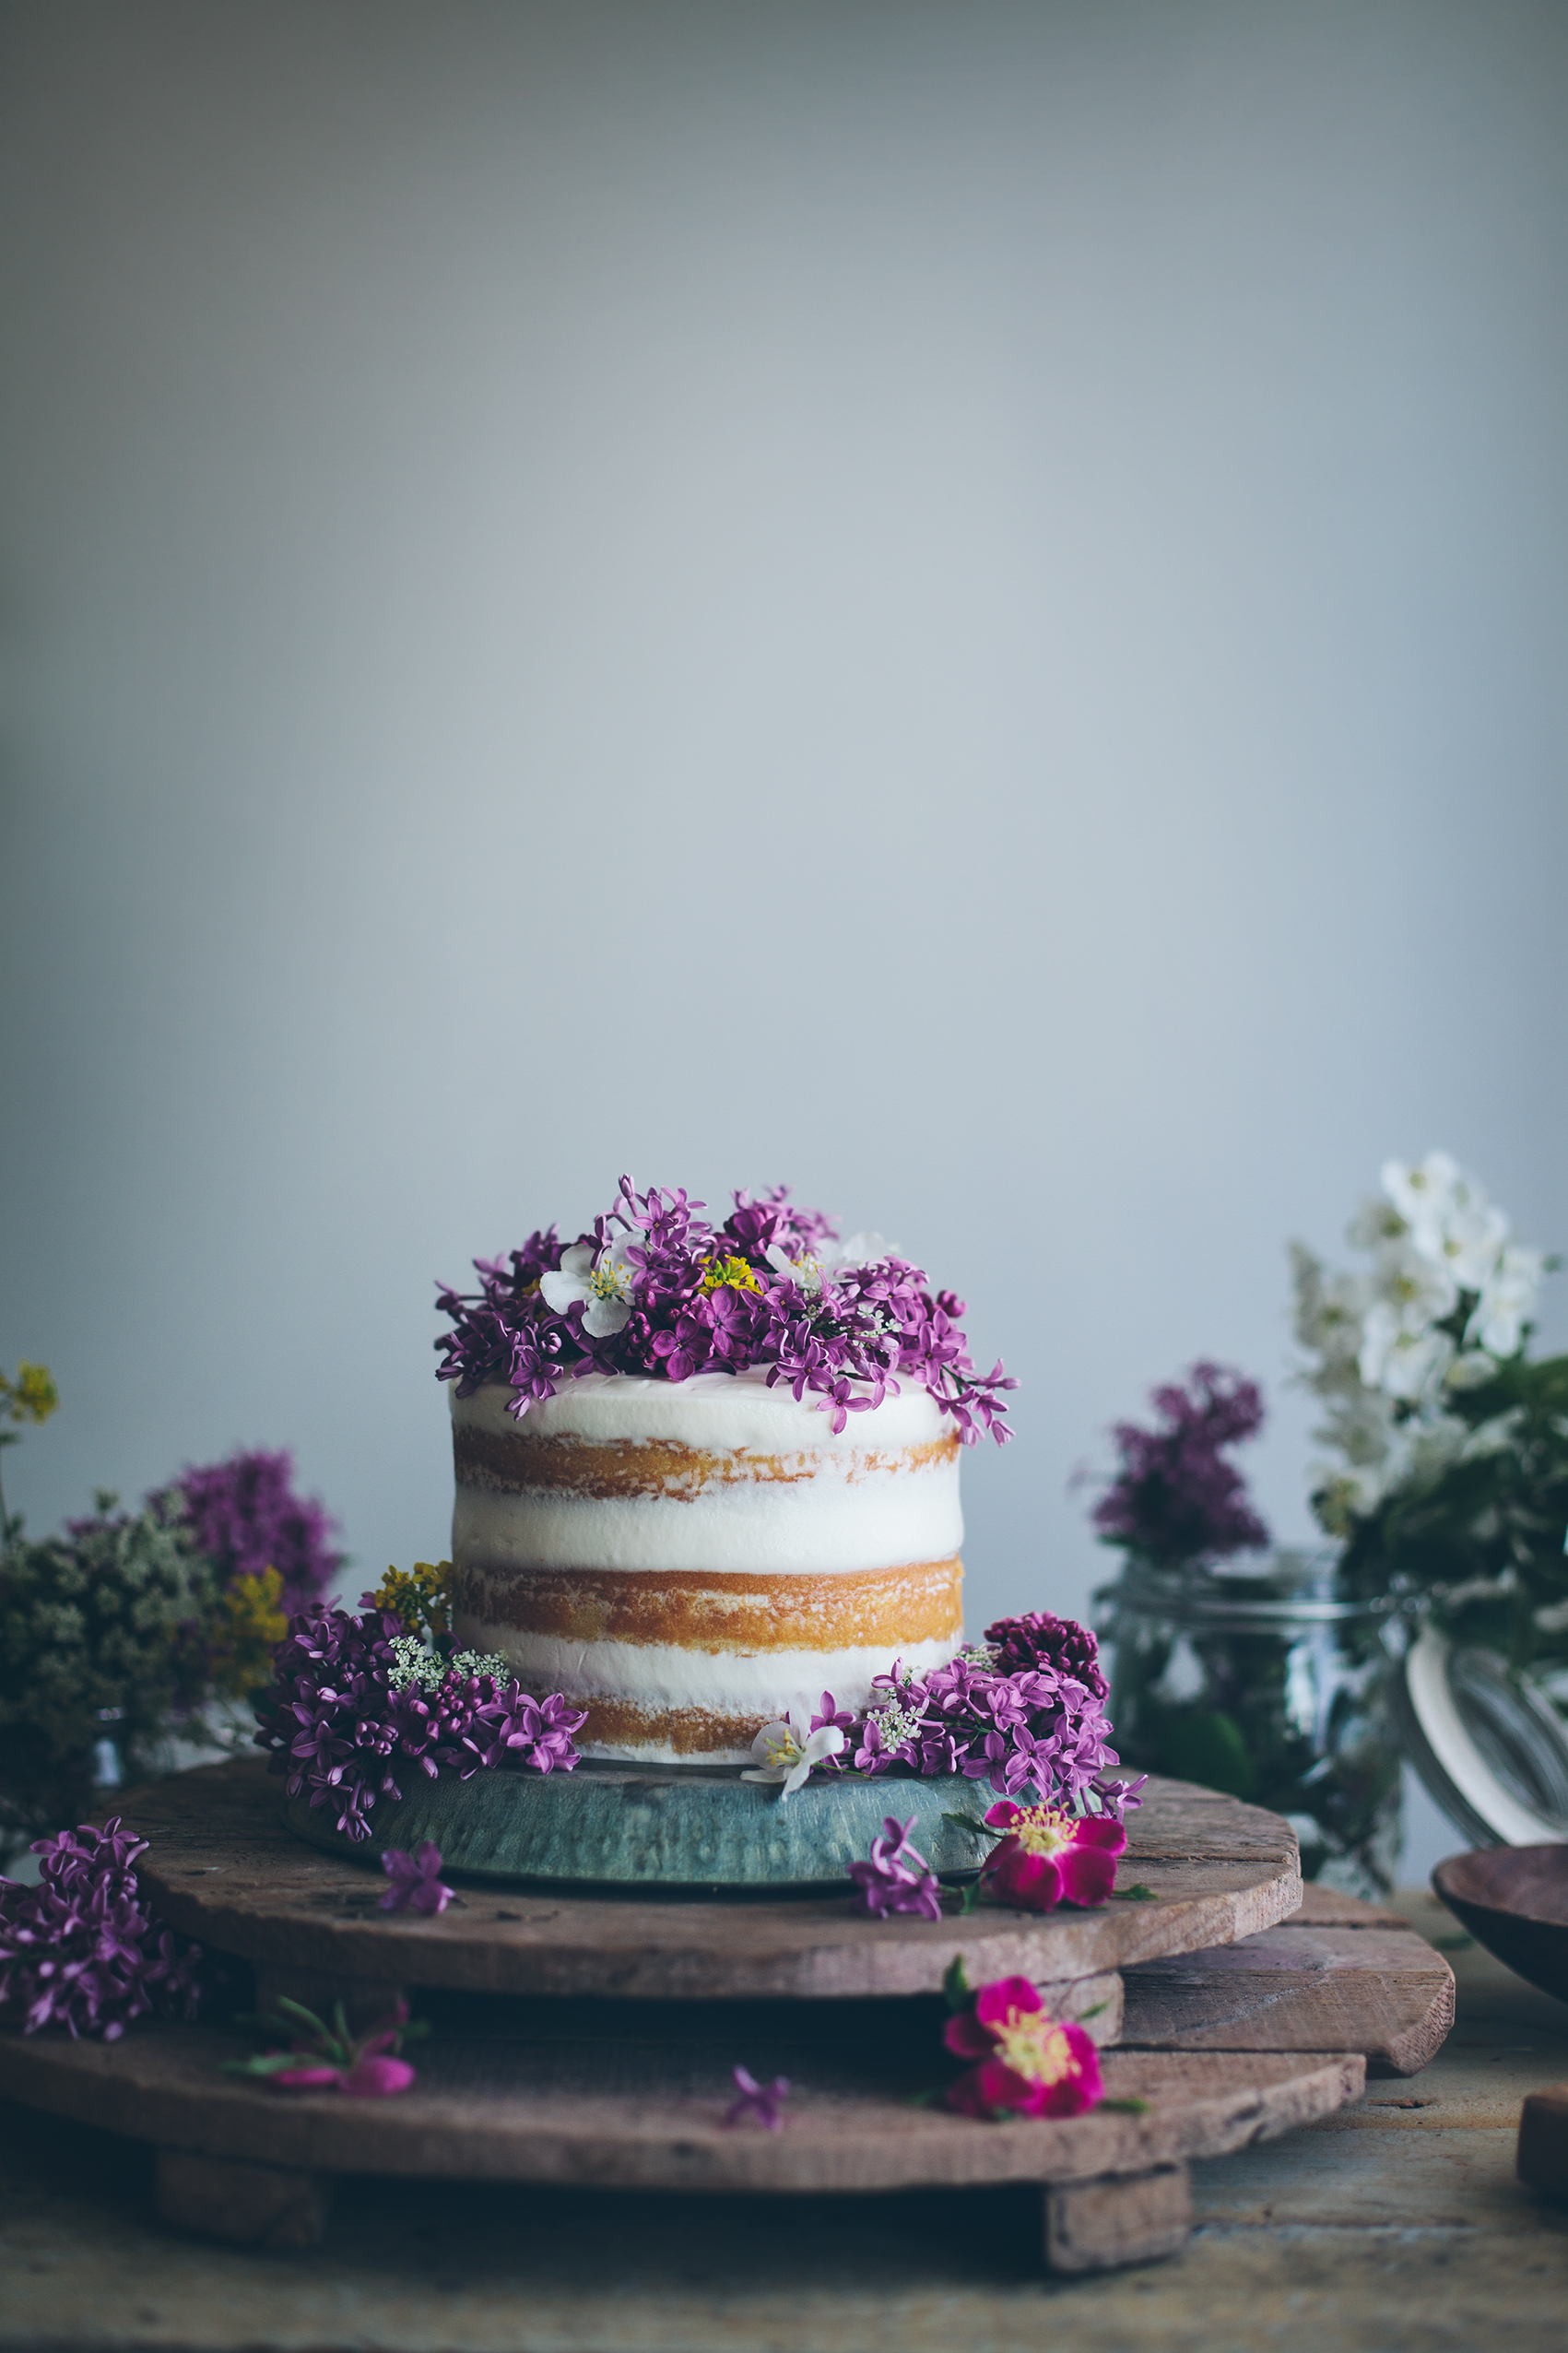
Image via Linda Lomelino
If fresh flowers aren’t your thing, or you’re not able to use them in your area, this is the perfect opportunity to add a few sugar flower blooms.

Image via Bluprint user SweetWhisk
Decorating with the flavor in mind is also a fun way to go, adding chocolate shavings, nuts, sauce drippings, or fresh fruit.
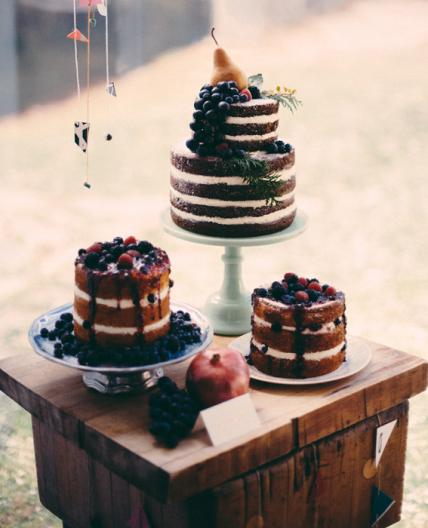
Image via Alana Jones Mann
Reviews for Modern Buttercream
“I can’t believe how much I learned during the Modern Buttercream class. I’m impressed with the convenience, instructor’s expertise, chatting with fellow students and seeing pictures of what others have achieved. Well done … I love this learning platform.”
— Bluprint member flowerp
Share tips, start a discussion or ask one of our experts or other students a question.
No Responses to “Revealed: 10 Steps To Building A Better Naked Cake”