Whether it is for a picnic, a cornucopia, or a delicious snack, fruit is nature’s own dessert. Maybe that is why fruit goes so well with cake! And now, instead of just filling our cakes with fruit, we can also top our cakes with realistic sugar fruit. Modeling chocolate is the key to firm, well shaped, and realistic looking fruit. Enjoy the step-by-step tutorial below for making your own!
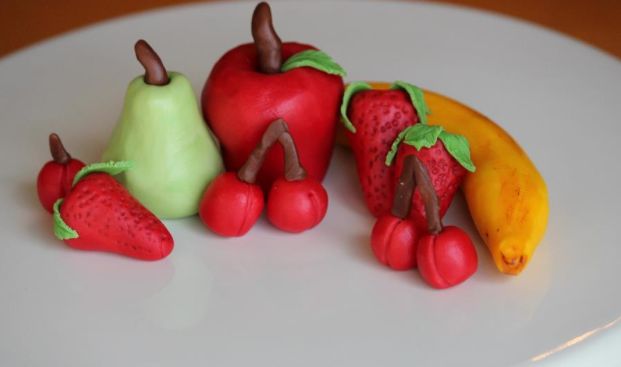
Materials:
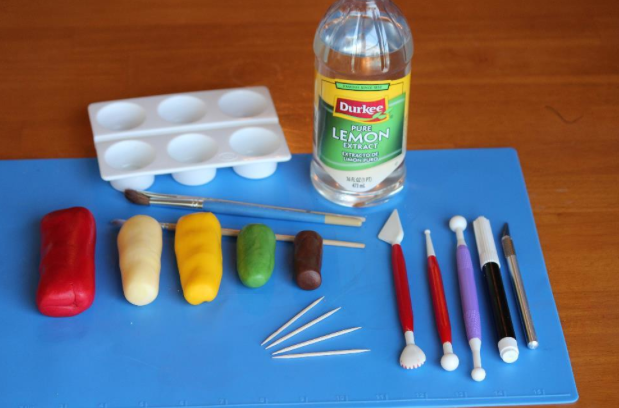
- A mat
- Modeling chocolate (Colored to match the fruit and don’t forget green for the leaves!)
- Lemon extract
- Food coloring for painting
- Lemon extract or vodka
- Ball tool
- Toothpicks
- Black edible marker
- Assorted paintbrushes
- X-Acto knife
To make fruit, we will be using modeling chocolate. Make your modeling chocolate and color it all ahead of time. You can use gel pastes, just like when working with fondant.
How to Make Modeling Chocolate Leaves
First, we want to work on our leaves, this will give them a little time to set while we work on the rest of fruit.

Step 1: Using an X-Acto knife, cut small tear drop shapes. If you have small leaf cutters you can also use those as well.
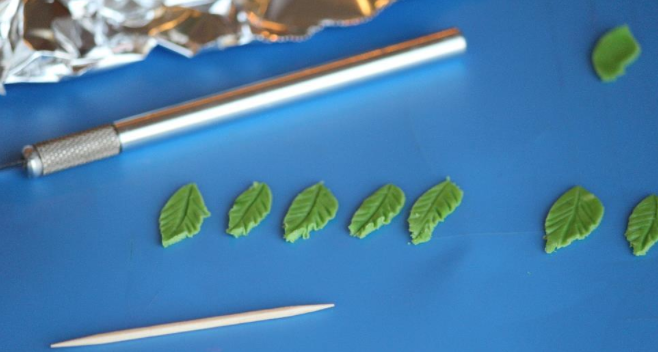
Step 2: Once you have cut all of your leaves, remove the excess modeling chocolate. Then use a toothpick and score each leaf down the center, as well as off to each side to create life-like texture. Set these aside to add to the fruit as we go.
How to Make Modeling Chocolate Apples
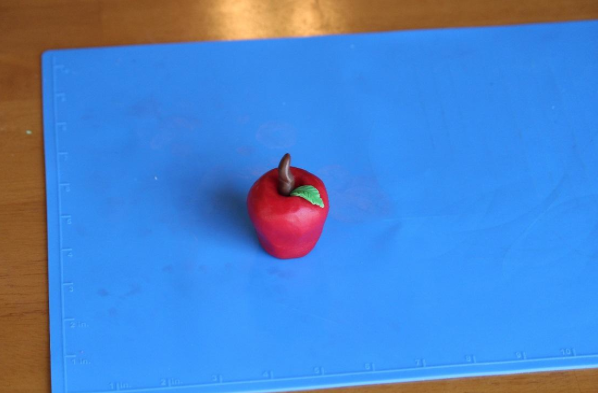
I have sectioned off my red modeling chocolate pieces and formed them into balls. The largest ball is for the apple. To make the apple we will also need the ball tool.
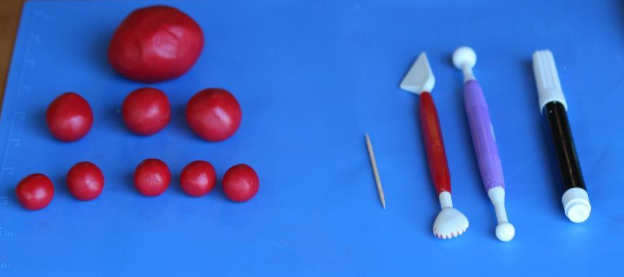
Step 1: Start by forming the modeling chocolate into a plump tear drop. Then turn it over so that the plump side is on top.
Step 2: Using the large side of the ball tool make an indentation on the top. With your finger, gently smooth out the indentation to give the top a smooth look.

Step 3: Add a tiny piece of chocolate modeling chocolate for the stem and a little leaf to finish it off!
How to Make Modeling Chocolate Strawberries
The next fruit we will make are the strawberries; these little cuties are fast and easy! You will also need the ball tool and the black edible food marker. If you do not have an edible food marker, you can use a toothpick to make the indentations. I like using the marker, because it also adds a small amount of the black color for the seeds.
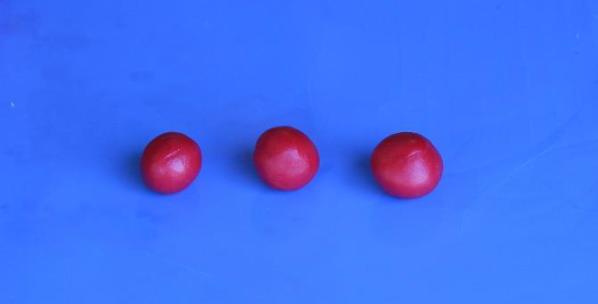
Step 1: Start by forming each ball into a tear drop shape. Remember some of the fun in making fruit is that naturally fruit is not uniform. So let your strawberries look different from one another. This is one of those rare moments in cake decorating when perfection can be thrown out the window! Take advantage of this moment!
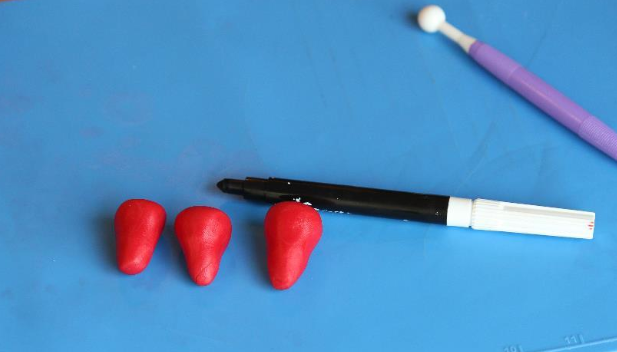
Step 2: Using the black edible food marker, make small indentations all over the surface of the strawberries.
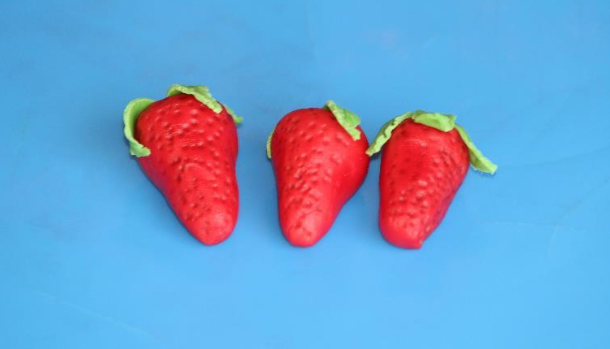
Step 3: Add a few leaves, and you have adorable strawberries!
How to Make Modeling Chocolate Cherries
You are going to be amazed at how simple and fast creating cherries can be.
Step 1: Start by forming your modeling chocolate into small balls, then using a toothpick, choose the top of your cherry and lightly stick the toothpick in the top.
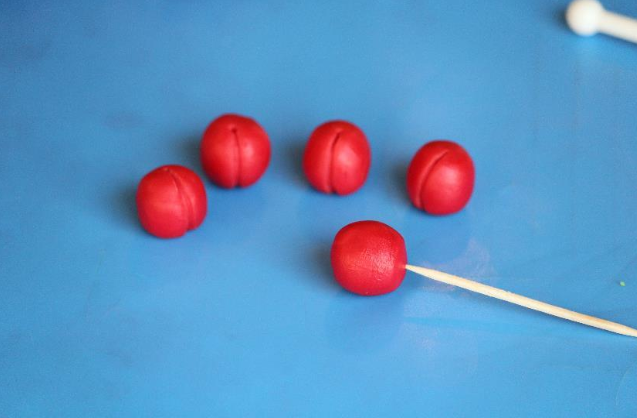
Step 2: Then, without taking the toothpick out, gently rotate the cherry, so the side of the toothpick makes a line down the center of the cherry- but only down one side.
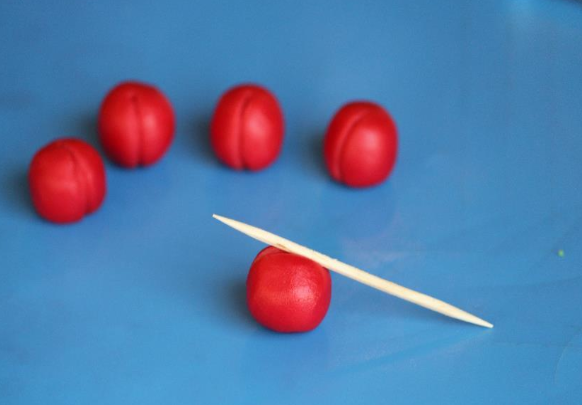
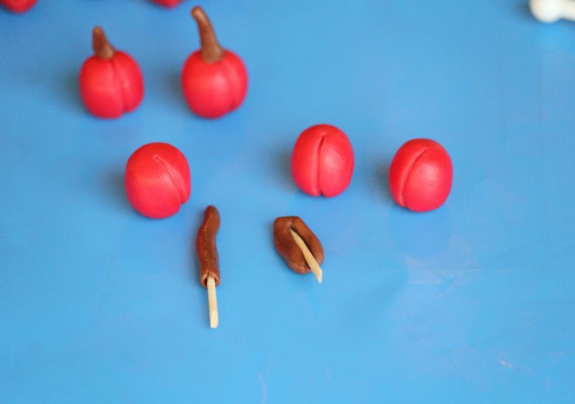
Step 3: Depending on the design of your cake, you can either make your stems only from modeling chocolate–which makes it difficult to get long thin stems–or for added support you can insert a toothpick covered in modeling chocolate as the stem.
How to Make Modeling Chocolate Pears
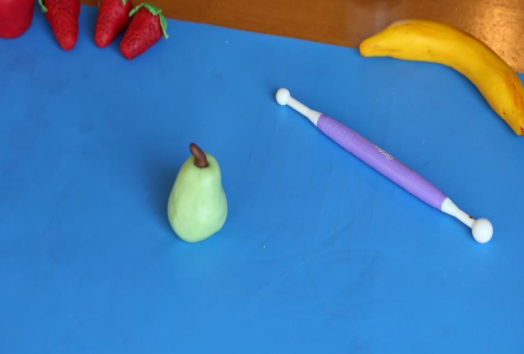
Pears can come in lots of shades from almost white to yellows to beautiful greens, so choose your favorite and go for it! I chose a light green.
Step 1: Start by forming your modeling chocolate into an odd shaped tear drop, this time with the skinnier side up.
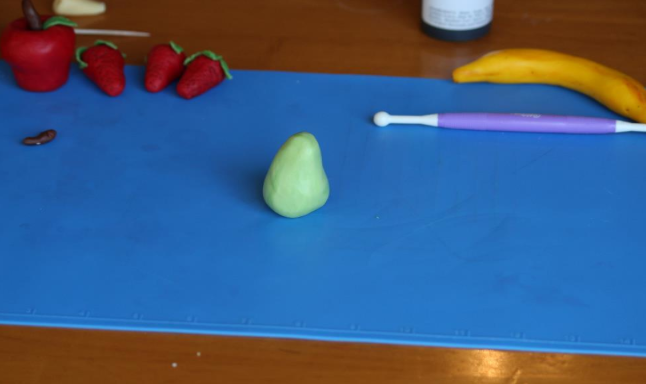
Step 2: Then using the ball tool, press an indentation in the top and insert a chocolate stem. You now have a luscious looking pear!
Bananas
Out of all of the fruits, bananas are the quickest and easiest to make, so we have saved the best for last!
Step 1: Start by rolling your modeling chocolate out into a plump snake.
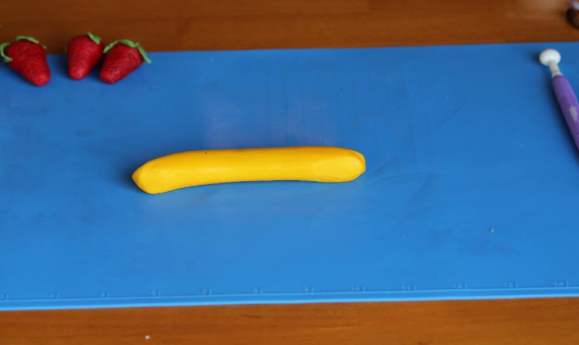
Step 2: Then using your fingers pinch and roll the ends to taper them. Bend the banana just a little.
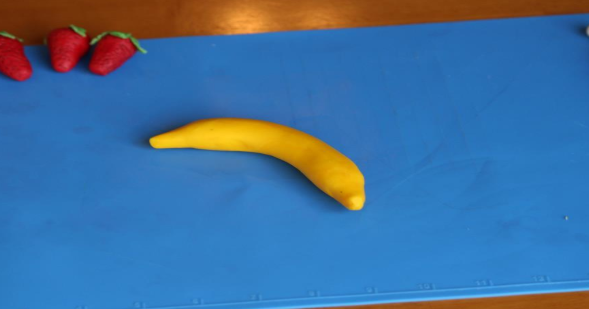
You now have a banana, it just needs a little color!
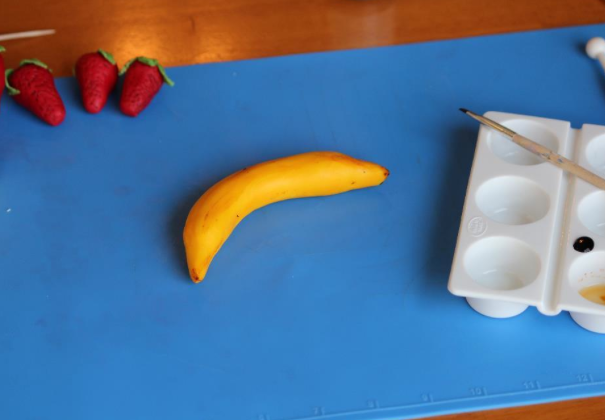
Step 3: To color the banana, or any of the fruit, pull out the lemon extract or vodka and the food coloring of your choice. I used Americolor Ivory food coloring gel paste. These gel pastes are so concentrated that a tiny bit goes a long way when you are painting. I just dabbed the ends of the banana with a paintbrush. Then I added a small amount of the Ivory to some lemon extract to thin out the color, and brushed that color on in a few places to bring life and depth to the banana.
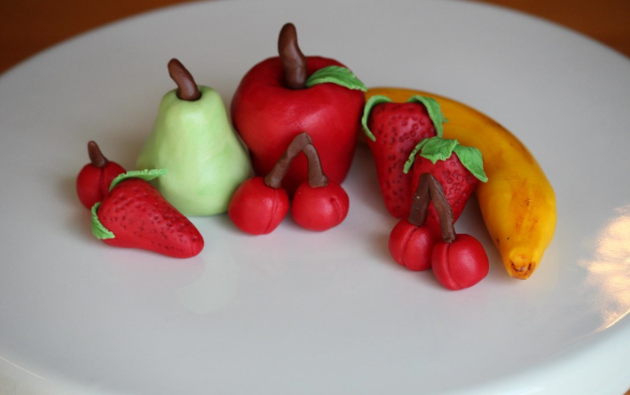
So fill your basket, or top your cake or cupcakes with a beautiful array of fruits this summer! They are fun and easy to make and a perfect addition to any summer event!
To learn more about modeling chocolate check out Craftsy’s class, Intro to Modeling Chocolate with the amazing Lauren Kitchens!

Share tips, start a discussion or ask one of our experts or other students a question.
No Responses to “Making Food from Modeling Chocolate: Apples, Cherries & Bananas”