
Ever wondered how to get the enclosed back yoke on a shirt? Well, here are steps you need in order to achieving a garment that looks as good on the inside as it does on the outside. It is often called the “burrito method” and results in a yoke facing that’s completely enclosed at the shoulder seams!
Here are the steps to making a clean-finished shirt yoke facing.
Step 1: Sew the yoke at the shoulder seams.
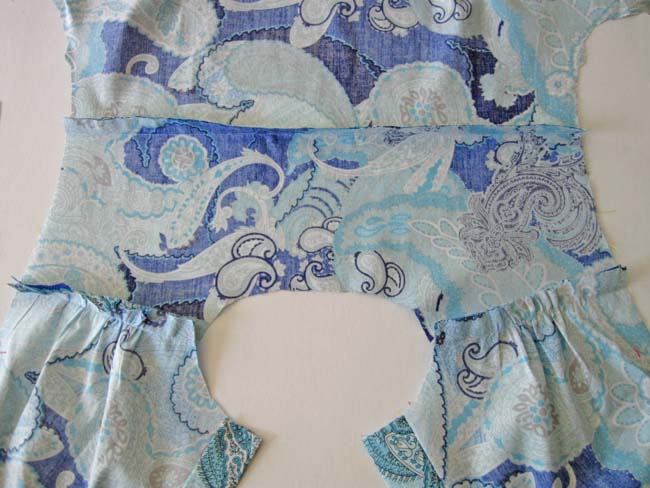 Complete the shirt back by attaching the shirt yoke to the shirt back, and then sew the shoulder seams of your shirt.
Step 2: Sew the shirt yoke facing
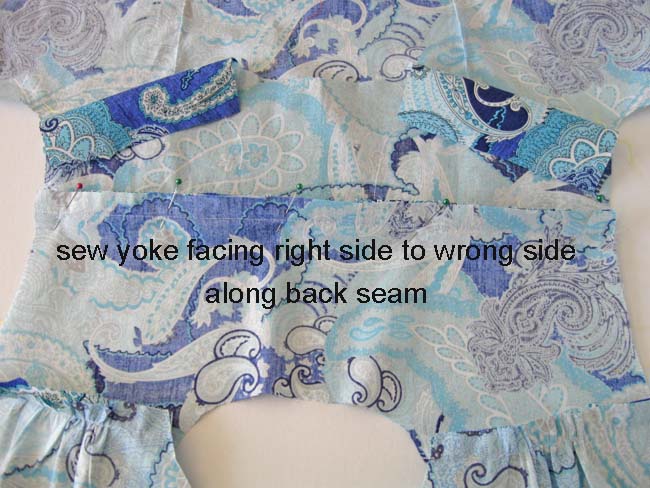 Attach the yoke facing along the horizontal seam line, being sure to place the right side of the yoke facing against the wrong (inside) of your shirt. When flipped up then the right side will be visible on the inside of your shirt.
Step 3: Trim the yoke seam
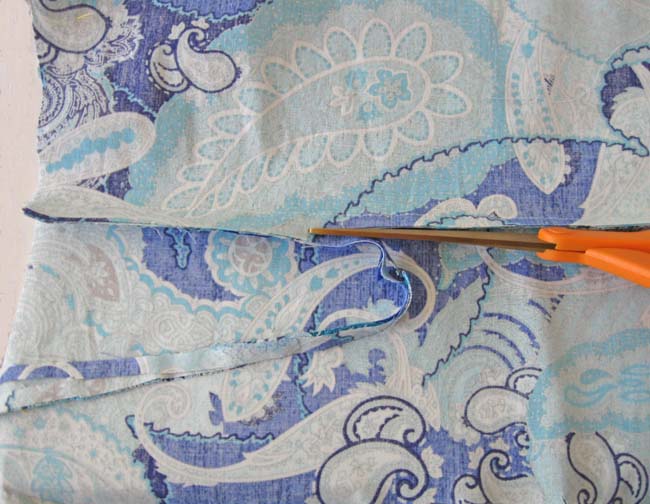 If you want to reduce bulk across the horizontal time, then trim this seam.
Step 4: Press horizontal seam
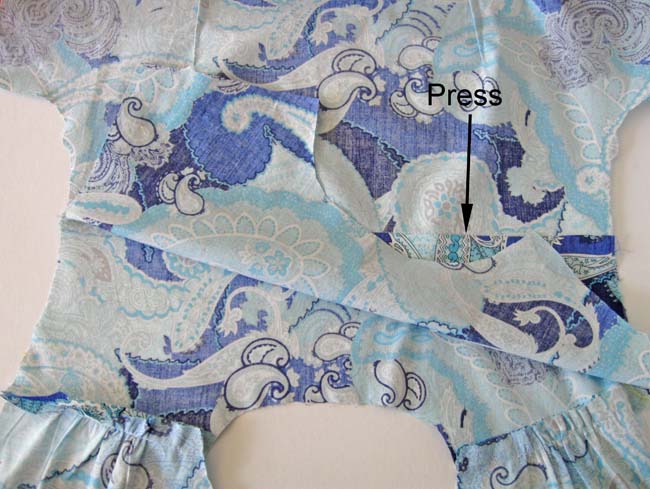 Press the horizontal seam upward. You can press when the process is completed but I find it is easier to get a crisp press on the bottom of the yoke and yoke facing before the shoulder seam is attached.
Step 5: Roll front and back
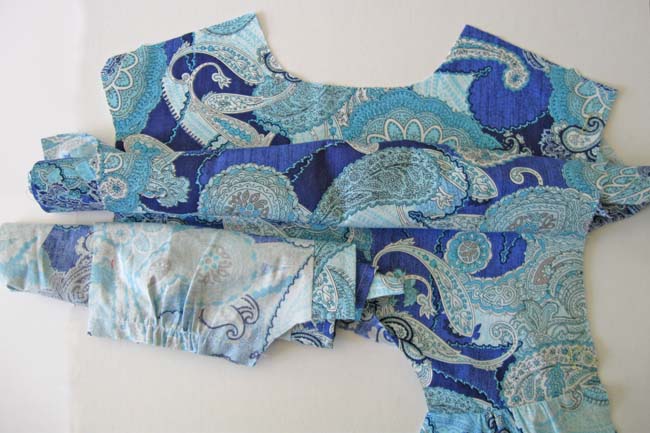 Lay the shirt on a flat surface and pull the yoke facing away from the yoke so it is open like the pages in a book. Roll the shirt back upwards in a tight roll and leave it there. Roll the shirt fronts toward the shoulder seam so that seam is now exposed and you can match the shoulder seam to the yoke facing shoulder seams as seen above.
Step 6: Sew yoke and facing at shoulder seam
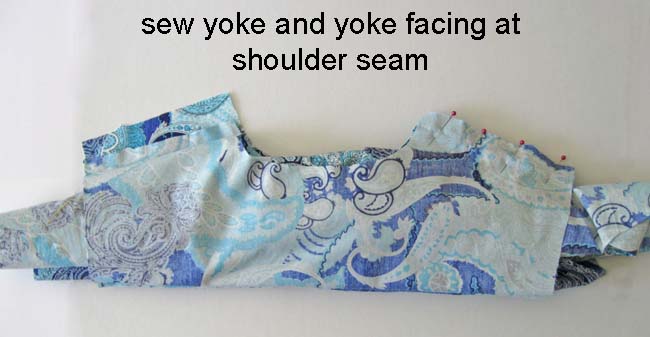 Time to sew the shoulder seams together. Bring up the yoke facing to the existing shoulder seam and sew together at the shoulder seams. Note that unlike most cases where you have to right sides together, the right side of the yoke facing will be against the wrong side of the yoke and shirt front. On the left you can see that right side of the yoke facing peeking out and on the right it is pinned together and ready to sew.
Step 7: Pull shirt fronts through at the neckline
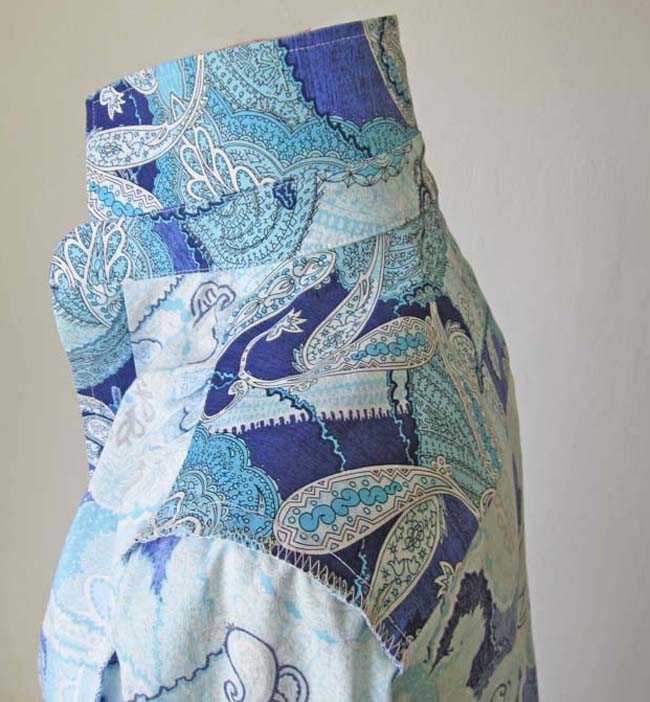
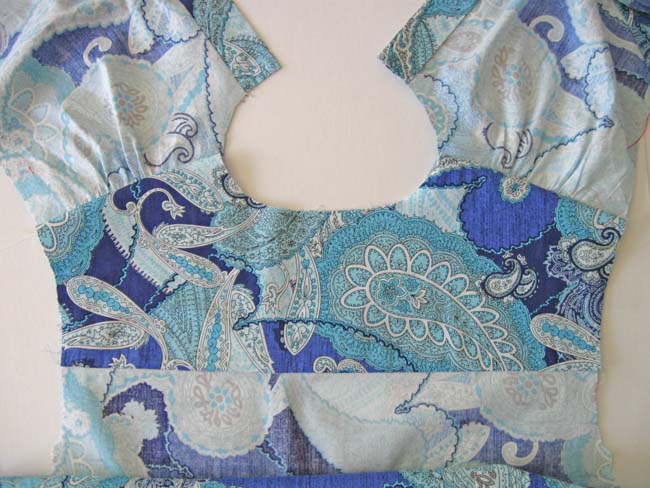 Once you have sewn the shoulder seams as shown in step 6, pull the shirt fronts through at the center neckline, and viola! Your shirt yoke is completely enclosed with no raw edges.
  This shirt pattern originally horizontal darts which were manipulated into shoulder gathers, explained in the Bluprint class One Blouse Many Looks.
Is there a downloadable version of this please?