
When you are sharpening your garment sewing skills, you will at some point need to know how to sew pleats. Sewing pleats can require a little practice because it’s easy to end up with slightly uneven and sloppy looking pleats. As you’re learning more about sewing texture, pleats are among the top textural elements with which to become familiar.
A pleat is a fold (or folds) in the fabric, where the fabric is doubled back on itself and sewn in place. Pleats allow the fabric to be full in one area and fitted in another, so like darts, they are a useful technique to use when tailoring garments.

Here’s more about the two common types of pleats you will use.
How to sew a box pleat
Box pleats are formed when two folds of fabric folded away from each other. They have a wide, flat area at the top of the pleat. You might sew a single box pleat on the back of a shirt, or sew a series of box pleats on a skirt.
Step 1:
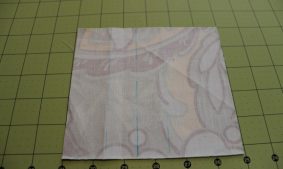
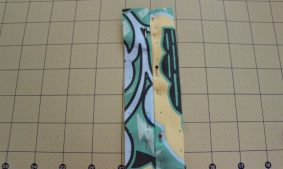
To sew a box pleat, begin by marking your fabric. Precise marking will help you get crisp, even pleats. For each pleat, you’ll have three marks: two fold lines and a placement line. When sewing a box pleat, I find it’s easiest to make my marks on the wrong side of the fabric.
Step 2:
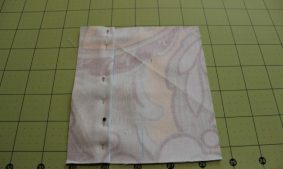
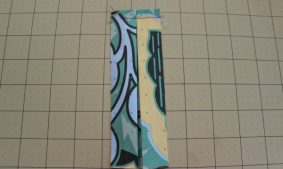
Working on the wrong side of your fabric, fold one of the fold lines in toward the placement line and pin in place. Repeat with the other fold line.
Step 3:
Machine baste across the top of the pleat to secure. Press. Depending on the construction of your garment, you can either leave the pleat as is, or topstitch the pleat (either partially or from top to hem).
How to sew an inverted pleat
An inverted pleat is basically the reverse of a box pleat. The two folds are brought toward each other, so the extra fabric is toward the inside of the garment versus the outside.
Step 1:
Just like sewing a box pleat, you’ll have three marks (the two fold lines and a placement line). Unlike when sewing a box pleat, you’ll want to be able to see these lines on the right side of the fabric. You can use tailor’s chalk or a water soluble pen to mark directly on the right side of the fabric. Another option, particularly if you are using a more delicate fabric that won’t respond well to chalk or pen marks, is to sew lines of basting stitches. If you are sewing a series of inverted pleats, use two different colors of thread: one for the fold lines and one for the placement lines.
Step 2:
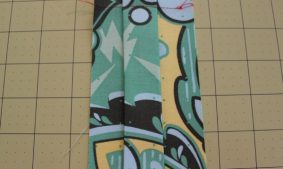
Once you have your marks transferred, on the right side of your fabric, fold one of the fold lines in toward the placement line and pin in place. Repeat with the other fold line.
Step 3:
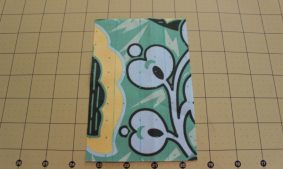
Machine baste your pleat in place. Press the pleat.
A tip for pressing pleats:
Set pleats with a 1:1 solution of water and white vinegar. Spray the solution onto a press cloth, then place the press cloth over the pleats and press until almost dry. Allow the garment and the press cloth to dry completely before pressing the next pleat.
There are a few other types of pleats you might come across:
- Bias: This simply refers to pleats made in fabric cut on the bias; these pleats tend to be very drapey due to the cut of the fabric and are usually not pressed
- Crystal: These are very fine, sharply pressed pleats, like on a tuxedo shirt.
- Godet: These are hollow, tubular pleats; you might sew them on the bottom of a gown.
- Knife: These pleats are about an inch apart and all face the same direction; kilts are a good example of knife pleats.
Pleats are a great way to create texture on your fabric. You can explore more ways to add texture to your sewing projects in
Share tips, start a discussion or ask one of our experts or other students a question.
No Responses to “Perfect Pleats: How to Sew Pleats”