
Cracked, lumpy, dry or torn fondant is an absolute nightmare when all you want is for things to go smoothly (pun intended). So many different factors from humidity and environment to an unfamiliar brand of fondant can work against you when it comes to covering cakes.
With our top tips for working with and preventing fondant disasters, your cake decorating experience is bound to be less bumpy!
Read on for our tips on repairing and preventing fondant disasters!
1. Focus on structure
From Rachael Teufel’s Covering Cakes in Fondant: Round, Square & Shaped
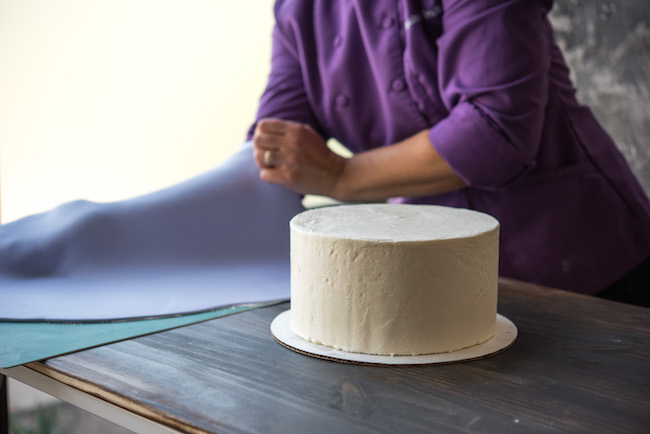
One of the first — and possibly most important — tips we can offer to avoid any fondant mishaps is to get your actual cake structure perfect. For super sleek covered cakes, you need super sleek crumb coated or ganache-covered cakes.
Make sure to use high-quality bench scrapers, turntables, palette knives, cake pans, and ingredients! Working with fondant is so much easier when you master the basics first.
2. Find your favorite fondant
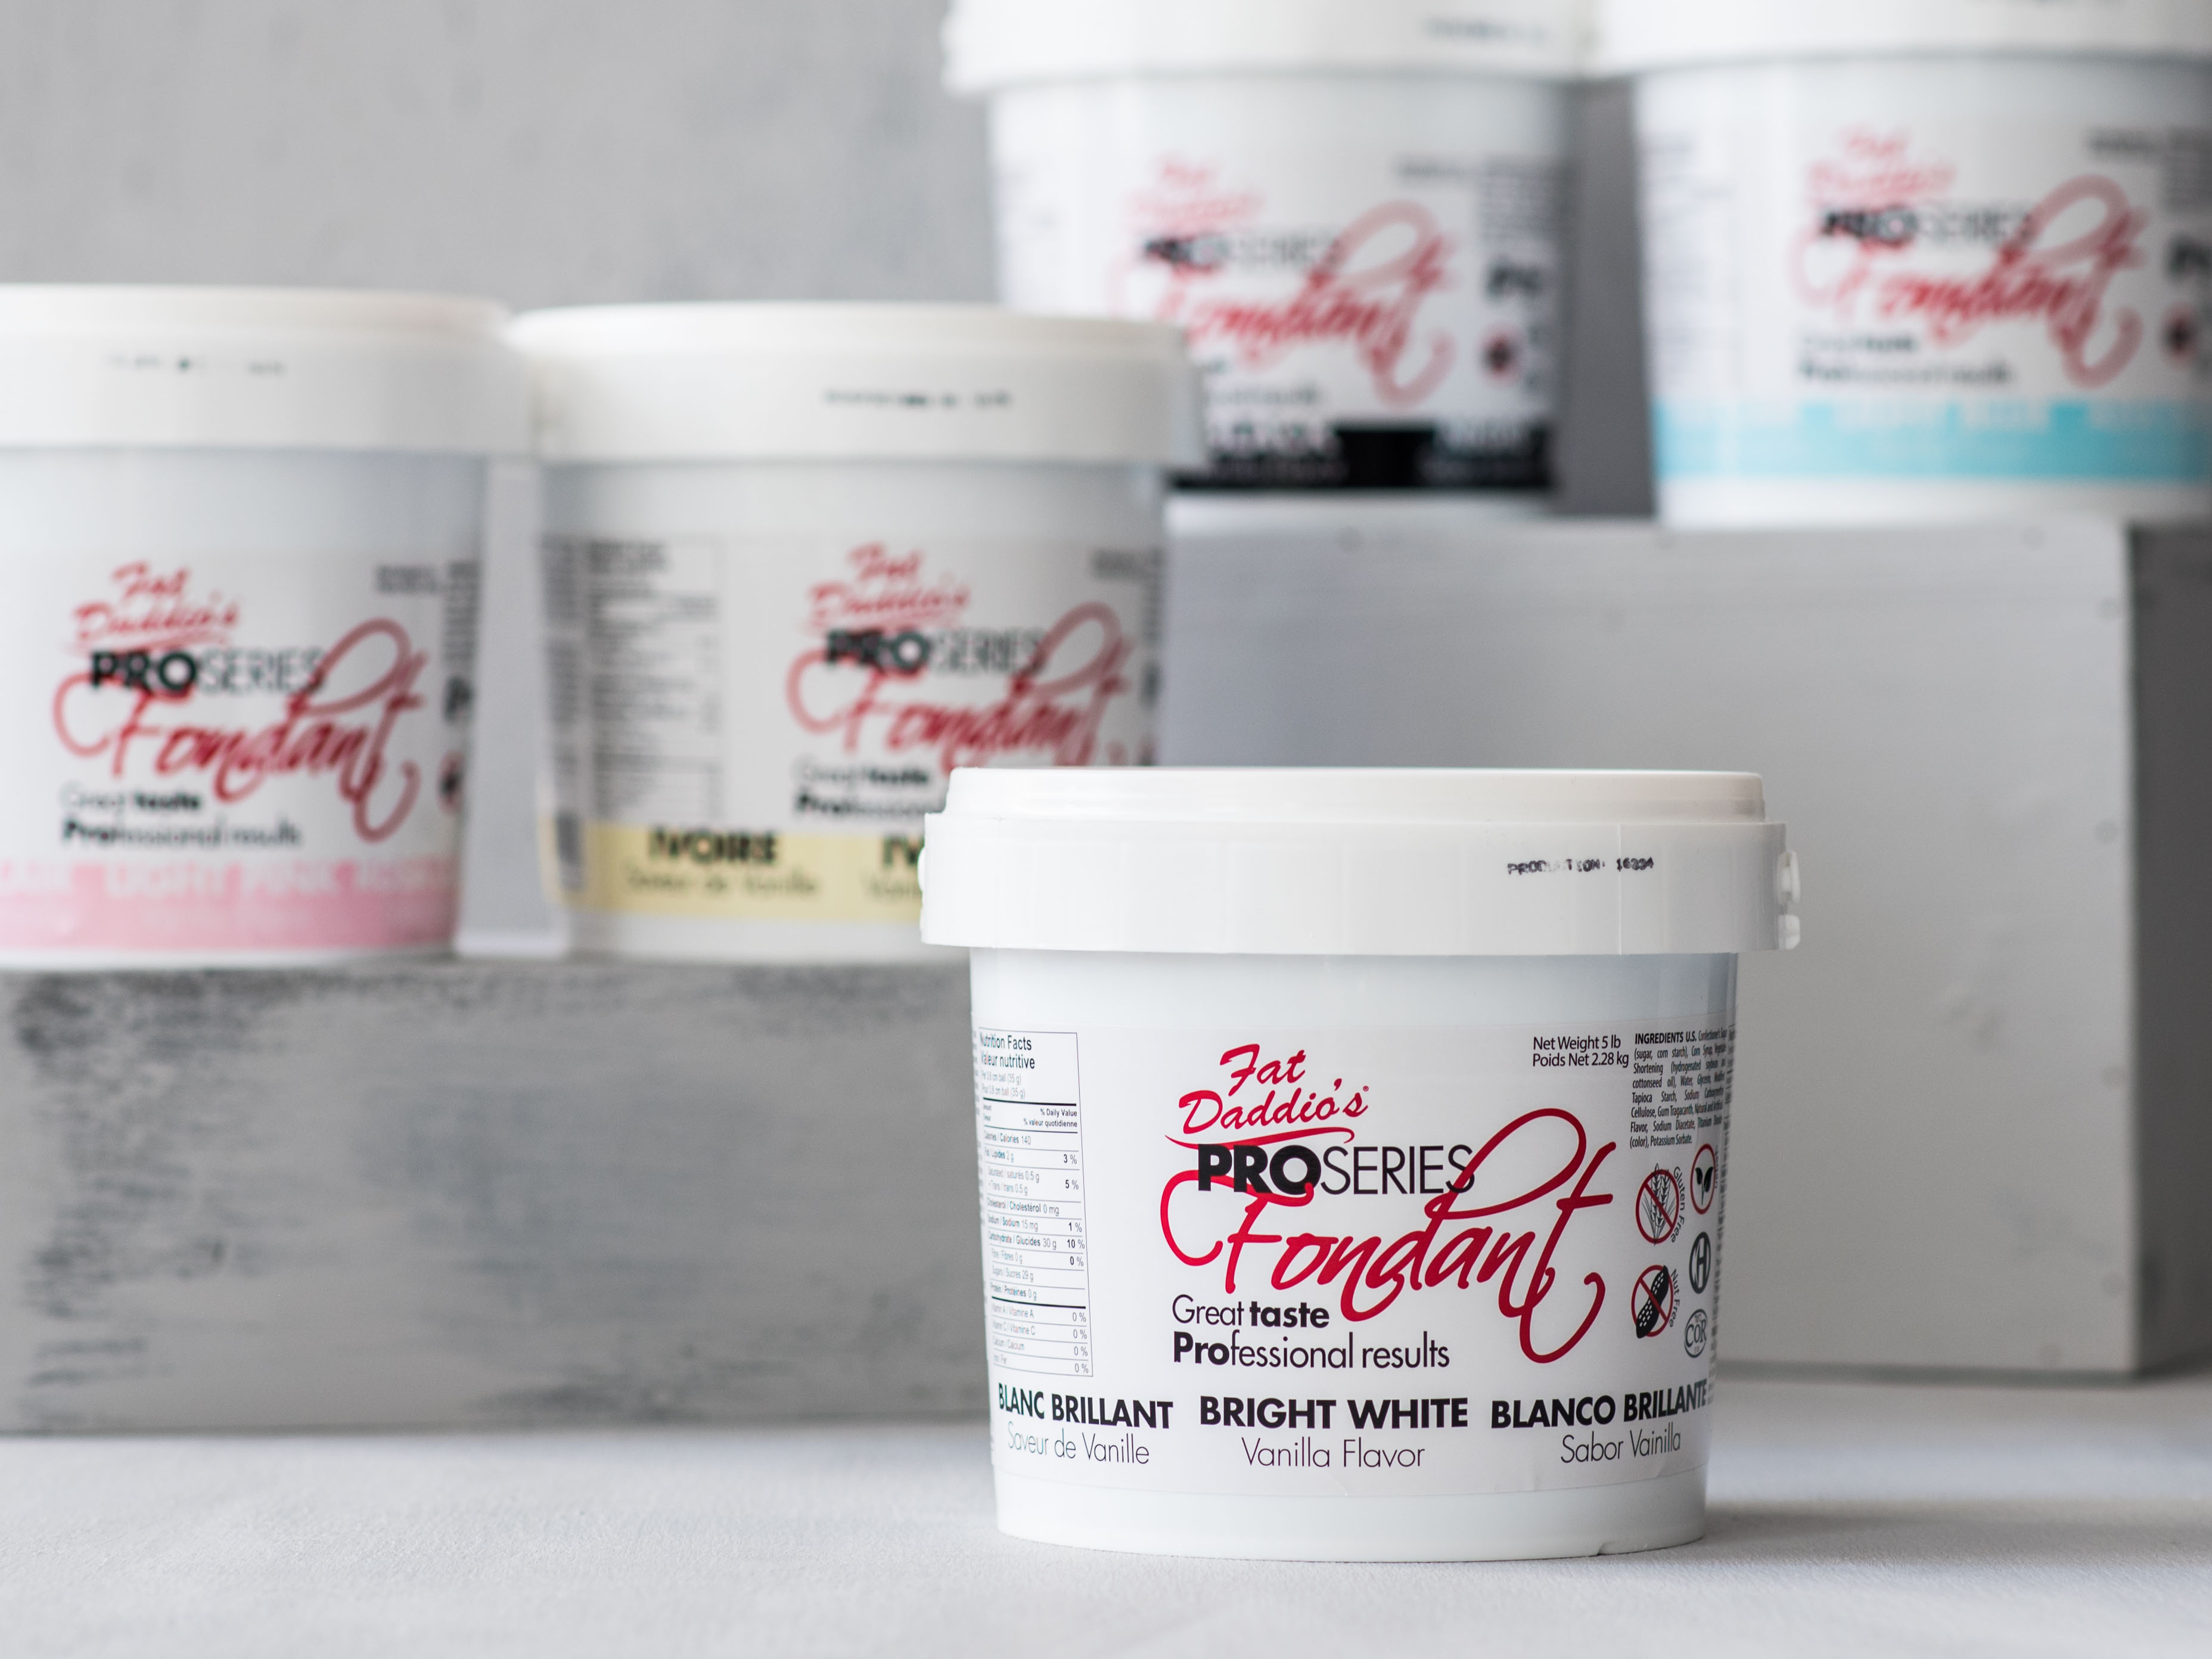
Different decorators prefer different qualities in their fondant, so test out lots of different brands and recipes. Once you find your favorite, stick to it.
Sometimes it’s unavoidable if you’re out of ingredients, time or if your usual brand is out of stock, but be prepared! The texture of fondant is very important — test fondant based on taste, appearance, texture, cost, ease of use, how it takes color and consistency.
3. Fix those cracks
A common fondant annoyance is finding your otherwise perfectly covered cake has unsightly cracks around the edges. This happens when your fondant begins to dry, due to either being overworked or being unprotected from the elements.
Here are a couple methods for preventing cracked fondant:
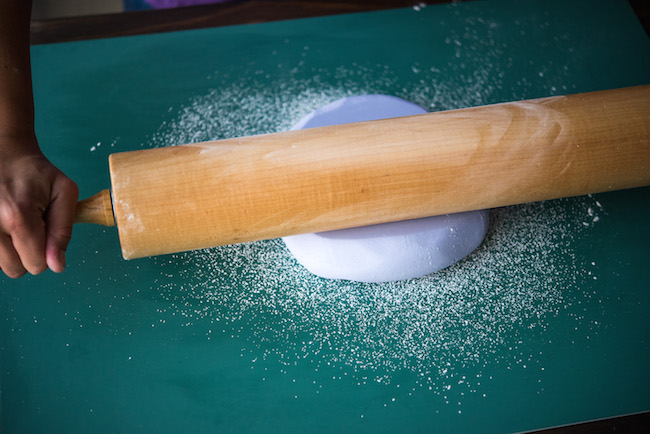
- If you usually dust your surface with powdered sugar, swap to cornstarch or shortening, as these dry out fondant much less. Or try a non-stick fondant rolling mat.
- If you need to add moisture into dry fondant before you’ve kneaded or rolled it, add either shortening or glycerine into the fondant.
- Get creative and re-think your design. Sketches are easier to whip up than an actual finished cake, so take a little creative license and think on your feet. Add a fondant border, change the positioning of a floral spray or think about working your fondant misadventure into an attractive fondant texture (like quilted fondant!).
4. Rub it in
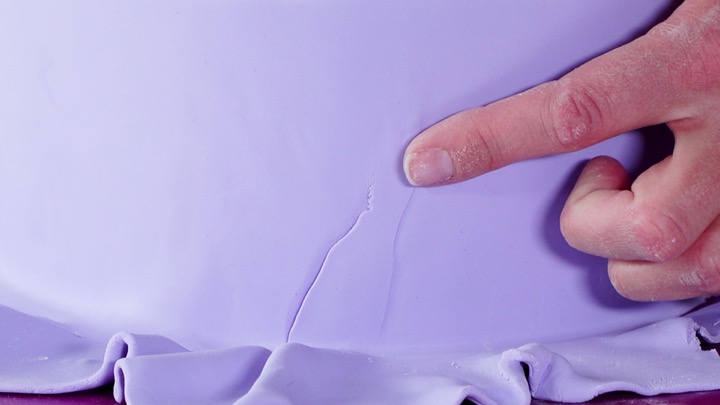
If your fondant has small cracks and you cannot recover your cake, try lightly rubbing the cracks in the opposite direction of the rifts. The heat from your fingers can make the fondant pliable enough to smooth over. Always smooth the fondant on the sides of your cake upward, not downward!
If you’re working on a white or ivory cake, you can lightly disguise the splits with a bit of vegetable shortening. Square cakes are notoriously harder to cover with fondant due to the super sharp corners.
5. Use more fondant than you need
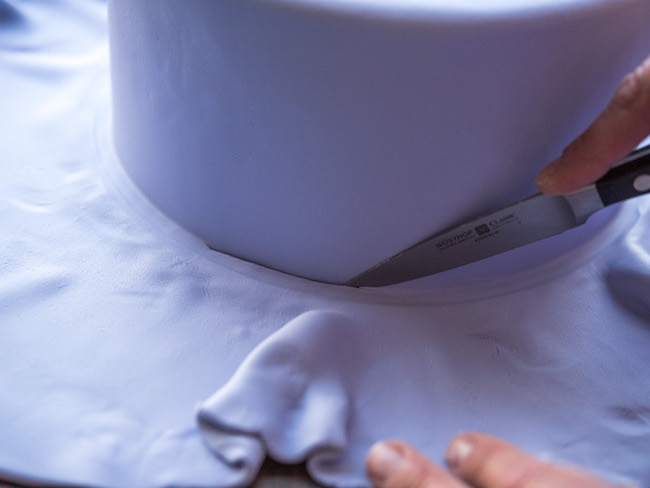
Bumpy and awkward pleats creeping around the cake’s bottom can totally ruin a design. One great way to avoid this is by using more fondant that you really need. Imagine icing a cake and finding that you have 3″ more fondant than you need — and then imagine how neater your bottom edge with be because of this!
Pleats tend to happen when you see how little fondant you have around the perimeter of the cake before you’ve even really smoothed it to the sides. If you have more fondant rolled out and ready, you have more to play with.
Making sure that you roll out and use more fondant than needed is especially important with covering taller tiers. With larger tiers, rolling out a larger area of fondant is like a helping hand!
Practice Makes Perfect!
One of the best and most important pieces of advice we can offer is the age-old saying that practice makes perfect. Using dummy cakes is a good start due to the sharp corners and convenience, however, nothing will quite prepare you for covering cakes quite like a real cake!
Hopefully, with these essential tips, your cake decorating experience will become a smoother experience!
Trying to cover my cake but it's not stretchy
I would request you to share the recipe and process for fondant to avoid cracks
Thank you very much I really appreciate
Thanx fir the tips.I wish fo subcsribe
how can l soften fondant