
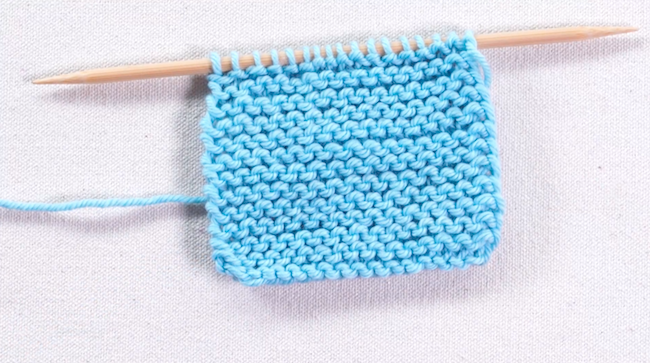
Every now and then, our Bluprint members write to us with the knitting problems that are driving them nuts. One common issue? A messy knit edge stitch.
One of our Bluprint members asks: “The first stitch in every row is loose and sloppy. What did I do wrong and how do I fix it?”

There are many ways to remedy a sloppy knit edge stitch. There are even a few solutions that might help out our more seasoned knitters.
Check out four go-to ways to neaten a messy knit edge stitch.
Solution 1: Tighten
This solution might seem obvious to everyone except beginning knitters. Before you try anything else, be conscious about giving your first and last stitches of each row an extra tug before continuing to knit. Sometimes those first and last stitches are loose simply because we don’t tighten them before moving on.
Here’s how:
After you knit that very first stitch of the row, give that yarn a tug and hang on to it while you’re knitting the second stitch.
When you reach the end of the row, check the last stitch before and after turning to make sure it didn’t loosen. Pull the yarn tightly before beginning the next row.
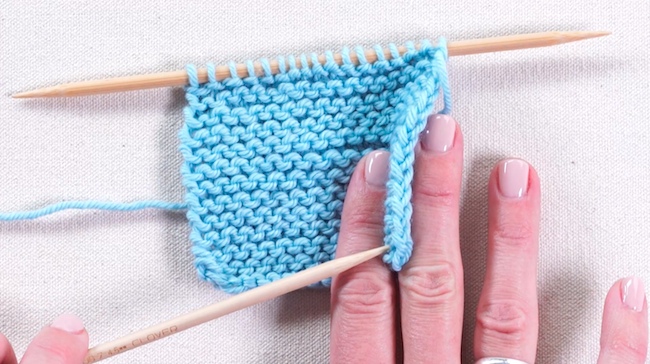
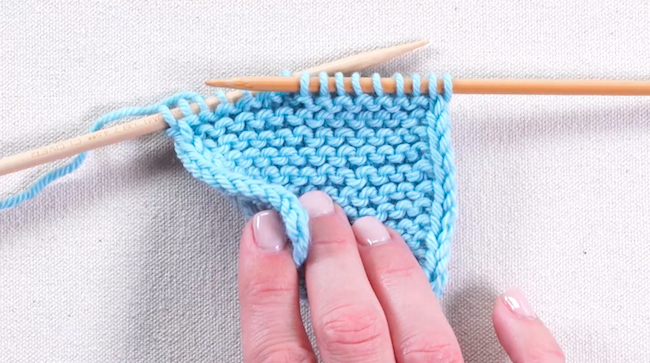
Solution 2: Slip the first stitch.
This is one of the simplest solutions: Just slip the first stitch of each row. Slipping will stretch the edge stitches out over two rows, getting rid of any loose ends and sloppy edges that you may see.
Here’s how:
For right-side rows, slip the first stitch with the yarn in front. For wrong-side rows, slip the first stitch with the yarn in back. Always slip the stitch purl-wise so you don’t twist the stitches. This way, you end up with a neat, tidy edge that looks the same on the front and the back.
Not sure how to slip a stitch? Read more about slipped stitches here.
Solution 3: Chained Edge
Even if your pattern asks you to work in, say, stockinette stitch, you can customize the pattern to make a chained edge. This will result in a nice, neat braid that runs up and down each side of your knitting. It’s a great technique to use on scarves and other flat knitting projects to give it an even edge.
Here’s how:
Right side rows: Slip the first and last stitch purl-wise with the yarn in front.
Wrong side rows: Knit the first stitch of the row through the back loop. Knit the last stitch of the row.
Solution 4: Two-stitch I-cord
In garter stitch, the super simple two-stitch I-cord gives a really polished look.
Here’s how:
Knit to the last two stitches. Slip the last two stitches purl-wise with the yarn in front. Turn the work, and knit as normal. (It may seem like the yarn is in an odd place, but that’s how it keep the edge so neat.)

A Knitter’s Guide to No-Fuss Finishing
Learn essential finishing techniques you can use to bring out the true beauty in any knitting project.
Did you know Bluprint’s YouTube Channel is full of free, quick video tutorials?
Check out this one on how to knit a scarf, which features top tips for perfectly finished edges from instructor Stefanie Japel.
See more on Bluprint’s YouTube Knitting Channel.
Share tips, start a discussion or ask one of our experts or other students a question.
No Responses to “Knitting 911: How to Neaten Up a Sloppy Knit Edge Stitch”