
Post or stud earrings are an important staple in any jewelry wardrobe. They can be dainty and understated for everyday wear, dazzling and glitzy for that special night on the town or anywhere in between. If you’ve hesitated making your own because you thought they were too difficult, think again.
Post/stud earrings are probably one of the easiest jewelry designs to make. With almost infinite design possibilities, it’ll be tough to run out of ideas.
Follow this step-by-step tutorial to learn how to make stud earrings!
One of the simplest styles to create is just a plain swirl post earring.
Step 1.
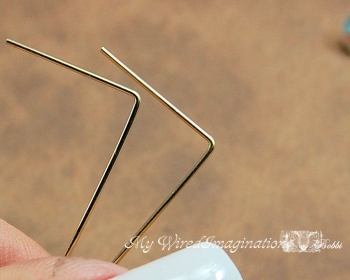
Start with 2 straightened pieces of 22 or 20ga half hard round wire, each 2 inches (5.1cm) long. Bend both pieces to a 90-degree angle about 20 mm from one end.
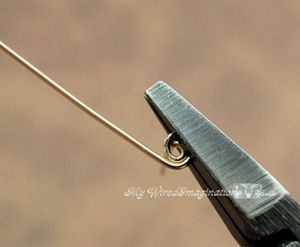
Step 2.
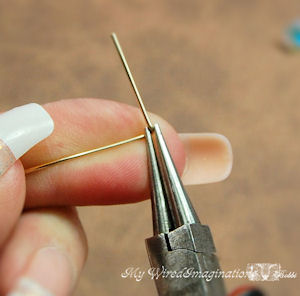
Hold one of the wires, in your non-dominant hand with the short end of the wire (this will be the earring post) pointing away from you. With round nose pliers, grasp the long side of the wire just to the left of the bend.
Step 3.
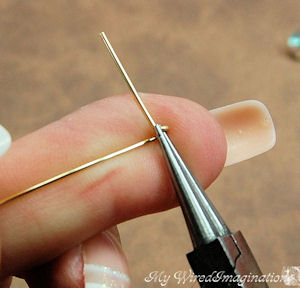
Form a small loop in the wire by turning your pliers towards your non-dominant hand. Use your index finger as I am, to help stabilize and control the wire. Keep the post wire perpendicular to the long wire as you form the loop.
Step 4.
With chain or flat nose pliers in your dominant hand, grasp the loop you just formed. With your non-dominant hand, curve the wire towards the right to start forming a spiral. Keep your pliers stationary — move the wire, not the pliers.

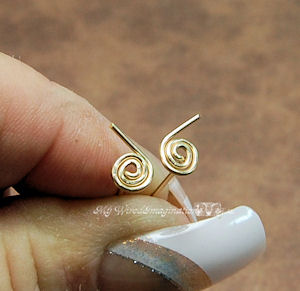
Step 5.
Continue spiraling the wire until you reach a size your happy with, then repeat these steps for the other earring. For the second earring, begin the loop in the opposite direction from the first earring to create a mirror image earring.
Step 6.
When you’ve finished the spirals to the size you want, trim the free ends of the wires to about 7 to 10 mm on both earrings.
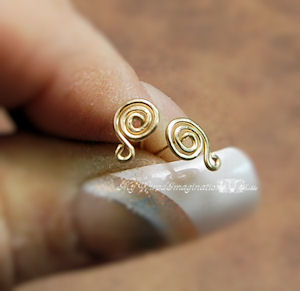
Step 7.
Use round nose pliers to form tiny loops in the opposite direction, in the free ends of the wires.
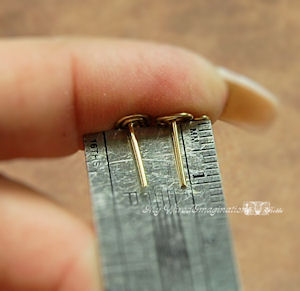
Step 8.
Place the base of the spirals against the edge of your ruler, and trim the posts to about 10 mm. Use a heavy duty nail file or wire rounder to smooth the sharp ends of the posts.
Step 9.
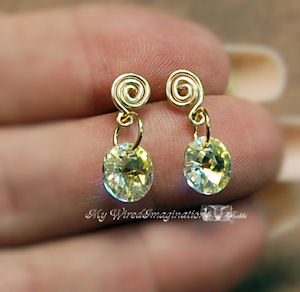
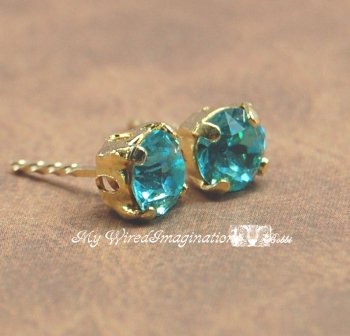
Use jump rings and pendant style Rivoli beads (or any top-drilled drop-style bead) to add simple sparkle to your new post earrings.
For more post/stud earrings designs, check out these wonderful earring patterns from talented Indie designers here on Craftsy.
Share tips, start a discussion or ask one of our experts or other students a question.
No Responses to “Easily Accessorize: How To Make Stud Earrings”