
It’s incredibly satisfying to make your own cheese. Okay, so I’ve really never ventured into the world of homemade cheddars, Parmesan and other more complicated types BUT I love making simple soft cheeses at home because I feel a bit “Little House on the Prairie” and as an added bonus; it’s quite a bit cheaper than buying them from the store.
If homemade cheese is intrigues you as it does me I’d recommend checking out an online class. Craftsy has a great online class available to teach you all the techniques for making incredible cheeses at home, Artisan Cheese Making: Chevre, Mozzarella & Cheddar. The class is taught by Mary Karlin, the author of Artisan Cheese Making at Home. I took a class from her in Seattle, and I walked away so inspired and ready to build a room dedicated to making cheese. Reality eventually got the better of me, but I have been slowly adding a few more cheeses to my repertoire. She is a great teacher and makes it all feel very doable!
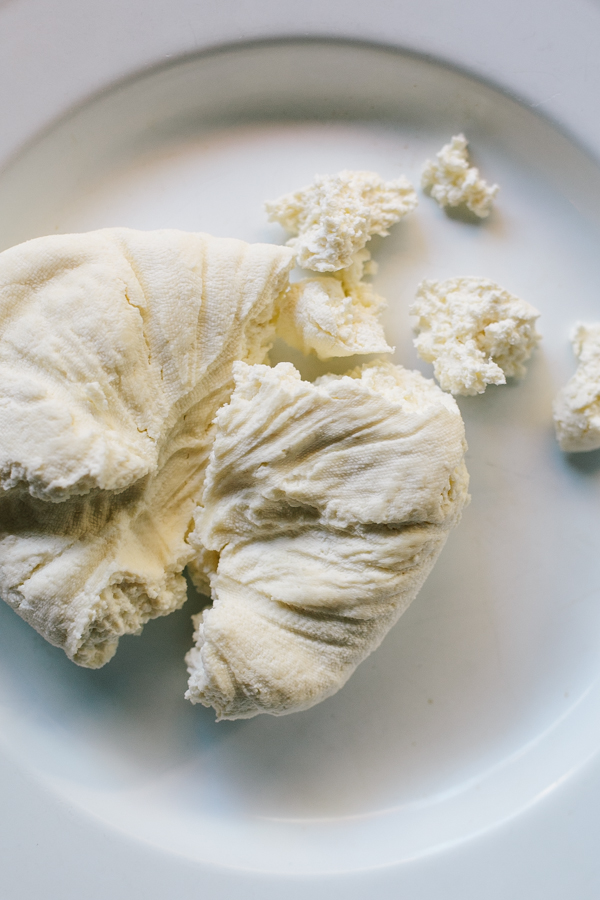
Queso blanco or fresco is a great cheese to start with. It is incredibly simple, requires no special equipment or ingredients and can be made and used in the same day.
Crumble your queso on soups, in tacos, over nachos or in salads. Just be sure you tell everyone that YOU made the cheese, because let’s be honest, that’s just really impressive.
Queso Blanco
Adapted from One Hour Cheese
Ingredients:
- 6 cups of whole or lowfat milk cow or goat milk– regular grocery store pasteurized is fine but NOT ultra or ultra heat pasteurized.
- 1/4 of apple cider vinegar
- 1/2 – 1 teaspoon sea salt
Tools:
- Large Pot
- Thermometer
- Colander
- Cheese Cloth (Butter Muslin)
Step 1:
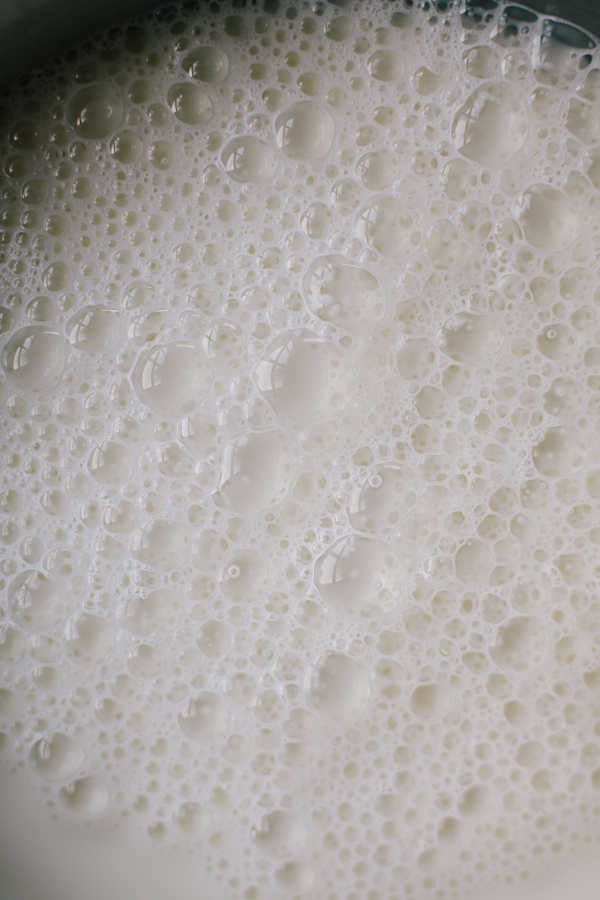
Heat the milk to a simmer. Watch the milk as it starts to simmer. Do not allow to boil or your cheese will taste cooked and will be rubbery. If you have a thermometer it would be between 180-195 F. Be sure to stir often to prevent scorching and do not walk away from the pot.
Step 2:
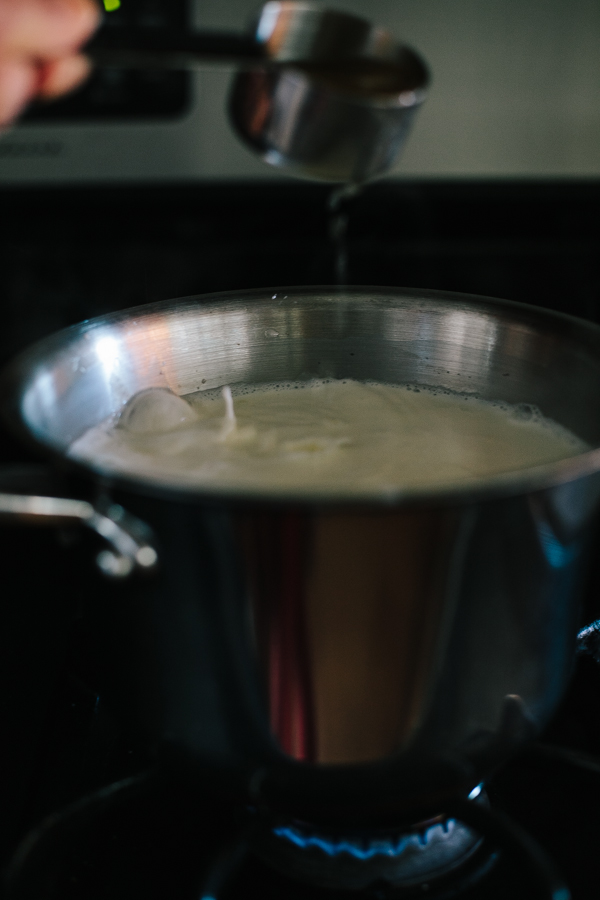
When you see steam and foam and a gentle simmer, turn the temp to low and slowly drizzle in your vinegar. You may not need it all before you start seeing the clear separation between curds and whey. When you notice the separation, stop the drizzle and cook for about 10 seconds longer.
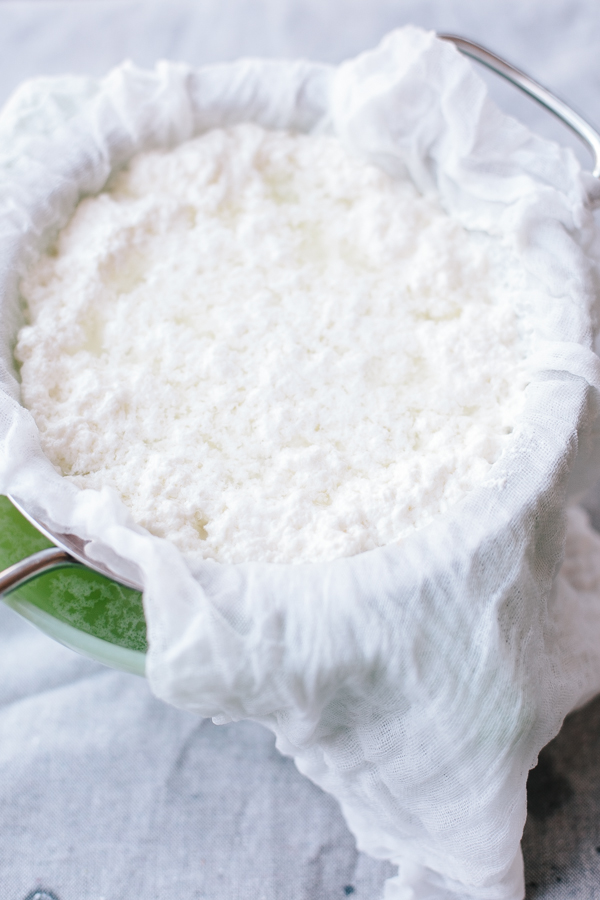
Step 3:
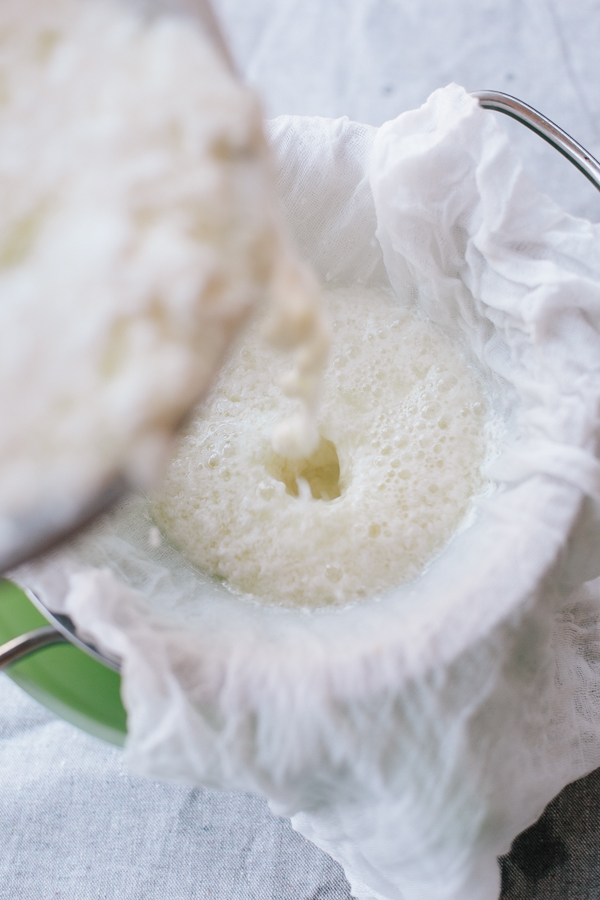
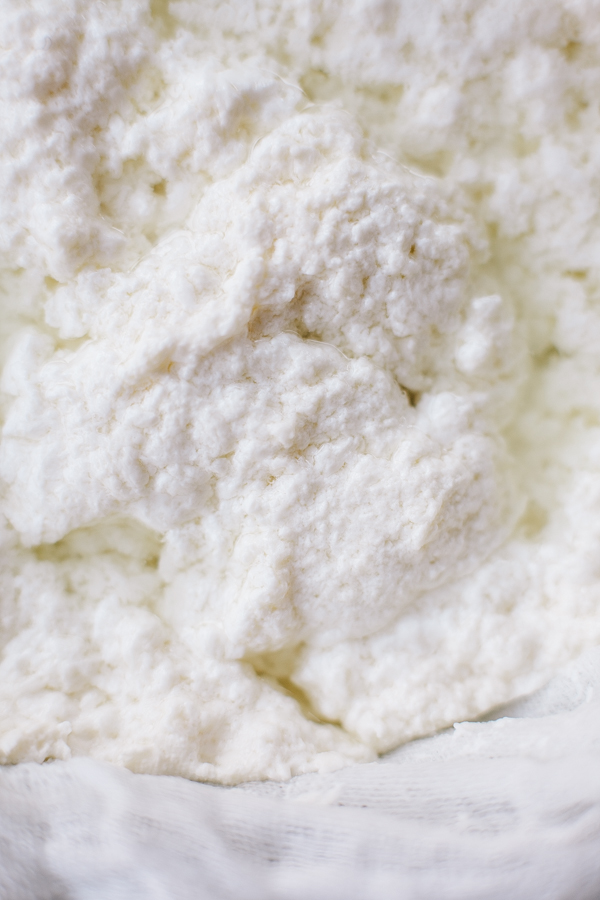
Turn off the heat and ladle or pour your curds into a colander lined with butter muslin or cheesecloth (or a boiled tea towel or even a large coffee filter, if you use regular grocery store cheesecloth, triple it at least, the holes are very large). Allow to drain for 20 minutes or so.
Step 4:
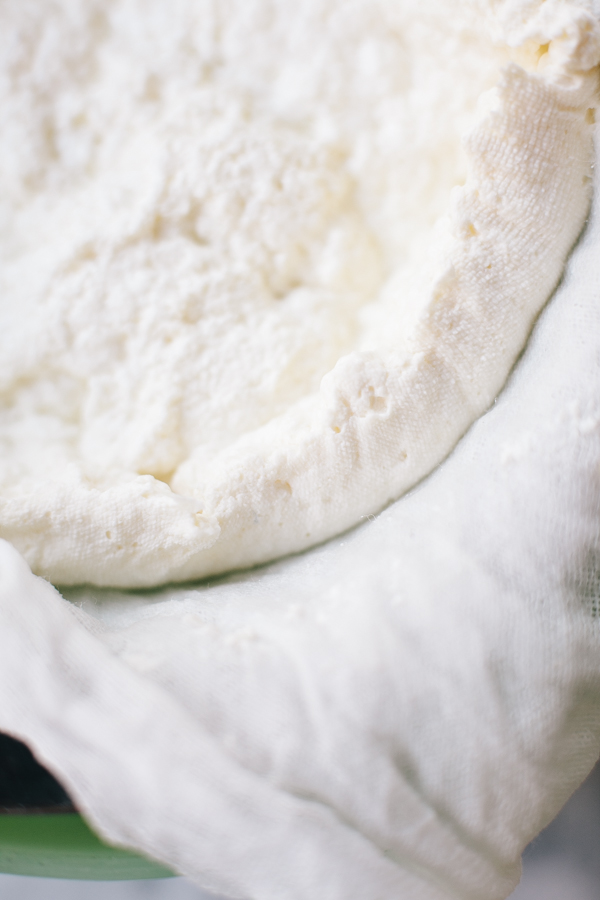
Take your cloth corners and gently twist more whey out of the bundle.
Step 5:
Open it up and mix in your salt. Stir it in evenly and taste until you like it.
More recipe tips:
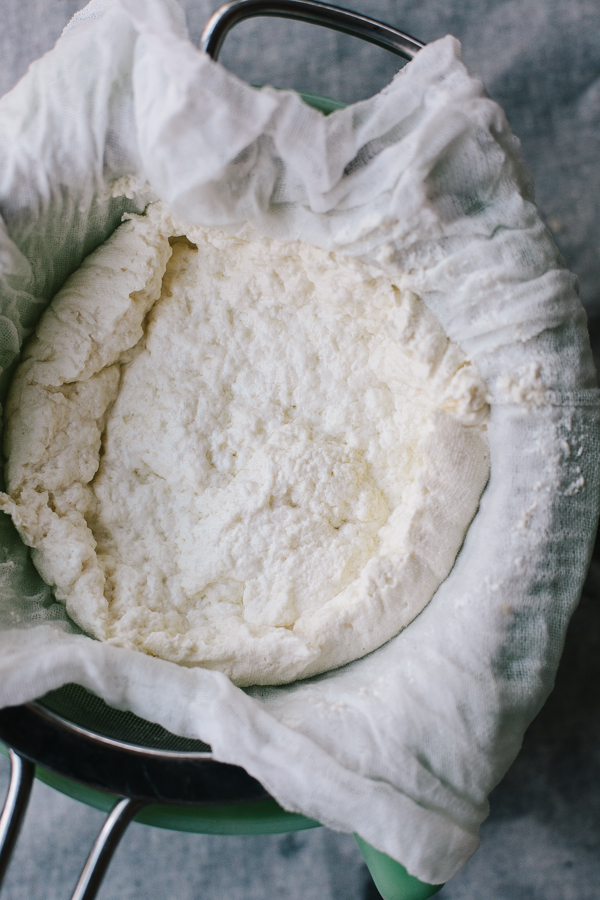
For a soft cheese:
Hang this from a hook or faucet and let it drain for another hour or so (place a bowl underneath to catch the whey).
For a firm cheese:
For a firm cheese that you can cut up and use as a meat replacement (like tofu), place the bundle back in the colander, put a plate on top of it and then fill the empty gallon of milk with water and use it as a weight on top of the plate.
Let this sit and continue to drain for 1 more hour or until the cheese is as firm as you like it. Then it’s ready to eat fresh and soft as is or cover and refrigerate. It firms up more in the fridge. Enjoy!
Hi, isn't this the same recipe as Paneer? (Indian cheese)