
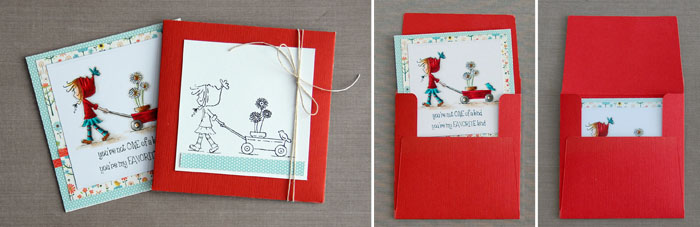
Delivering a handmade card in a handmade envelope adds an extra “wow”-factor to your work. It’s easy to do and the envelopes can be as fancy or plain as you’d like. Read on to learn how to make an envelope in just minutes!
How to make an envelope
Patterned papers work beautifully, especially those with prints on each side. If using cardstock, I recommend less than 100 lb. weight as a lighter weight paper will be easier to fold and adhere.
One basic formula is used to determine the paper size needed to create an envelope.
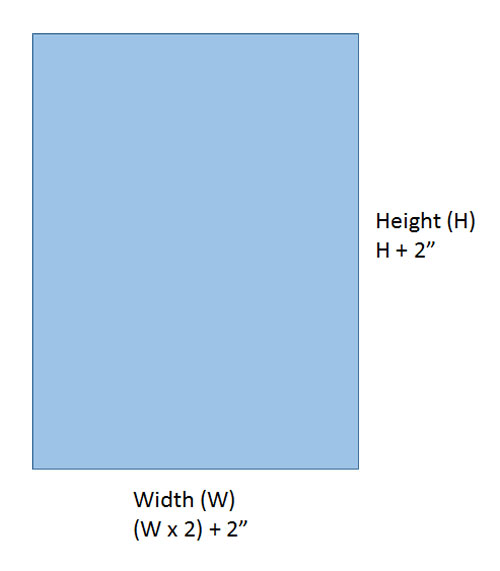
If your card measures 4.25″ x 5.5″ (Standard A2 size), you will cut your paper to 10.5″ x 7.5″. For a 5″ x 5″ card, your paper will measure 12″ x 7″. You can see that you are somewhat limited by the paper size you have on hand.
For this tutorial we will create an envelope for a 4.5″ x 4.5″ card.
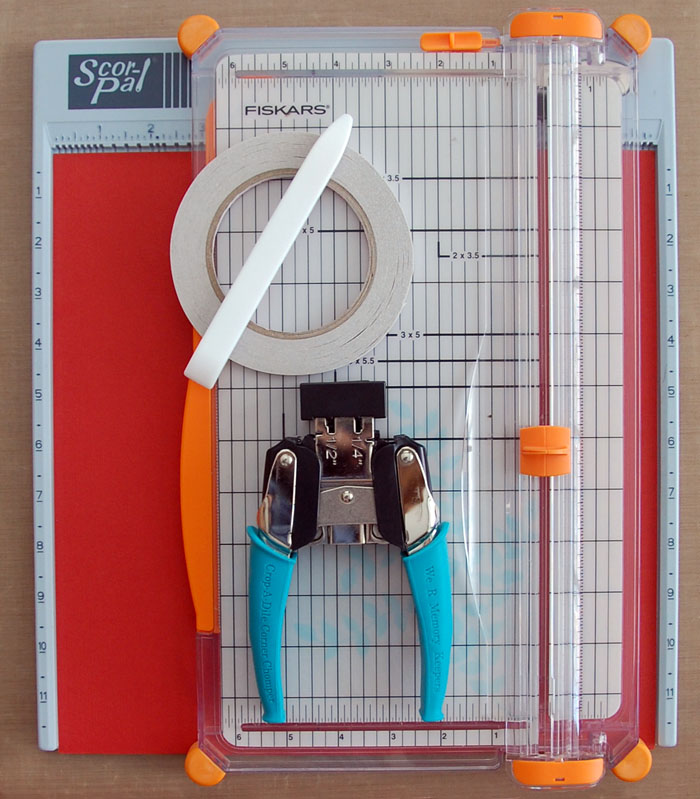
Supplies you’ll need:
- Cardstock
- Score board
- Scoring tool (bone folder)
- Paper trimmer
- Strong double-sided adhesive (I used X-Press It 1/4″ High Tack)
- Corner rounder (optional)

Step 1:
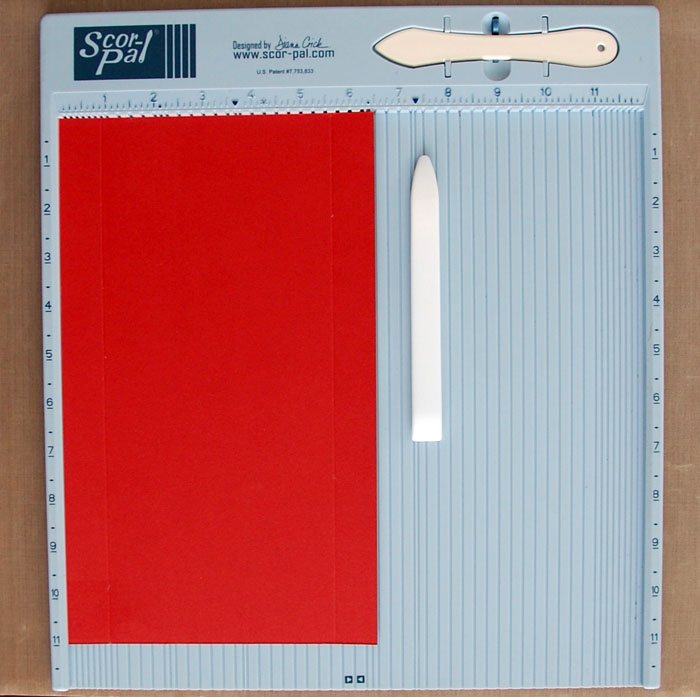
Cut card stock to 11″ x 6.5″.
Step 2:
With the short side of the paper across the top of the score board, score at 7/8″. Turn paper 180 degrees and score again at 7/8″.
If you don’t like to measure, you can center your card between the two sides (by “eye-balling it” or use a centering ruler) then score approximately 1/8″ from the left and right sides of the card.
This scoring measurement is the same no matter your card/paper size.
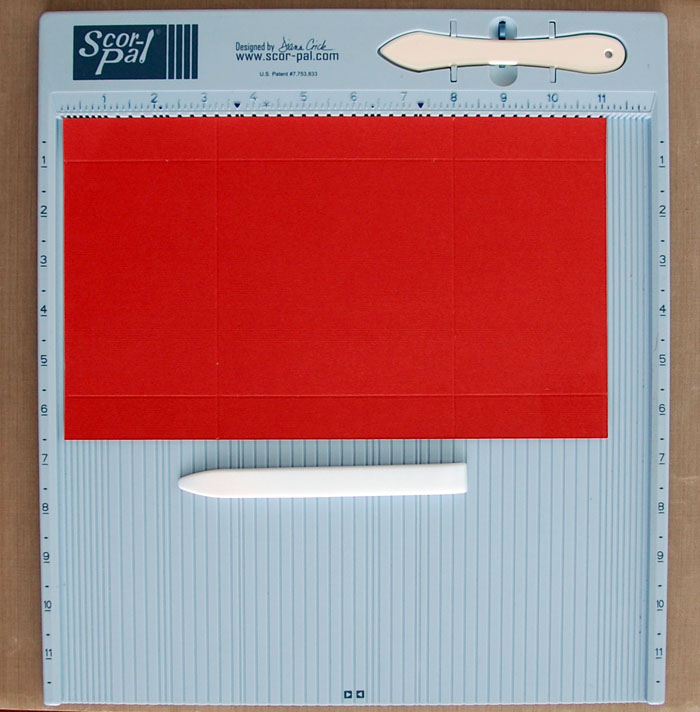
Step 3:
Turn paper so that the long side is across the top of the scoring board. This is where a little more math is involved.
Our paper measures 11″. The card is 4.5″. To calculate the score lines, take the length of the paper (11″) and subtract the width of the card (4.5″). The answer is 6.5. Divide that by 2 (so that we have equal folds on each side). The answer is 3.25. Since we want to score about 1/8″ to the left of that measurement, we will score at 3 1/8″, turn card stock 180 degrees and score again at 3 1/8″. Your paper should have score lines as shown above.
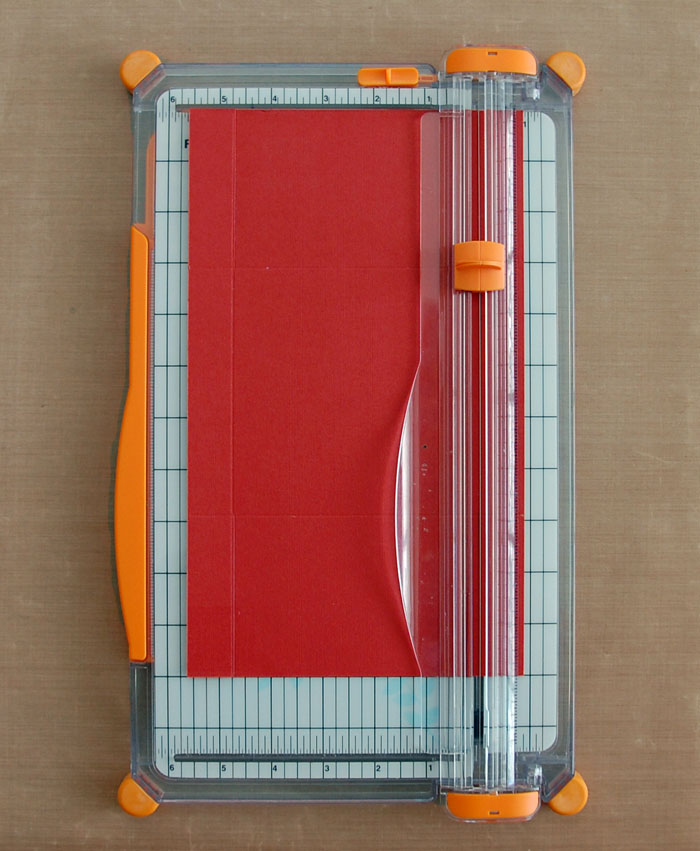
Step 4:
Remove the rectangles formed by the score lines in each corner. This can be done with a paper trimmer or scissors. Note that the cut lines will show once the envelope is formed so they should be as straight as possible.
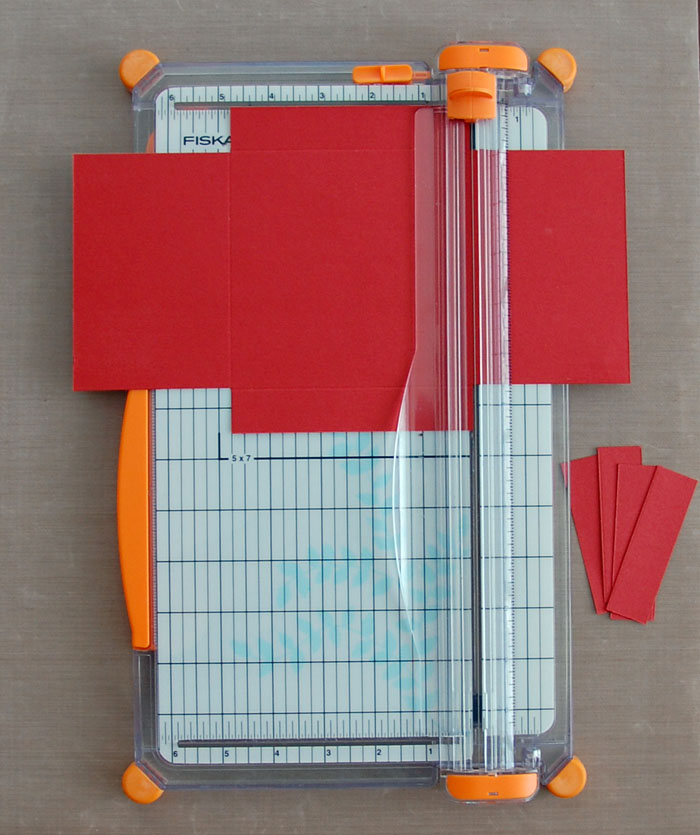
The photo above shows how your cardstock should look after removing each corner rectangle.
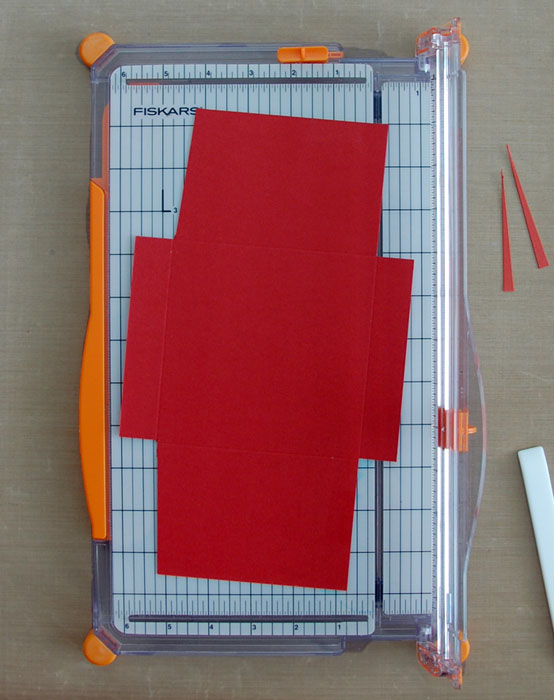
Step 5 (optional):
I like to angle the corners of my envelope flaps. This is easily done by aligning one corner (upper right as shown above) with the first grid mark to the right of the cutting path. Holding paper at that corner, “swing” bottom so that the cut corner aligns with the cutting path, then trim. By using this same method for each flap corner, your angles are assured to be equal.
Step 6 (optional):
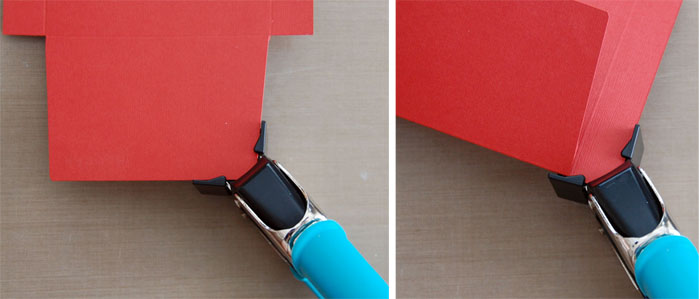
I also like to use a smaller corner punch (1/4″) to round each corner of my envelopes. The photo (above) on the left shows rounding a flap corner. To round the inside envelope tabs (side folds), fold up larger envelope flap so that side tab fits into punch.
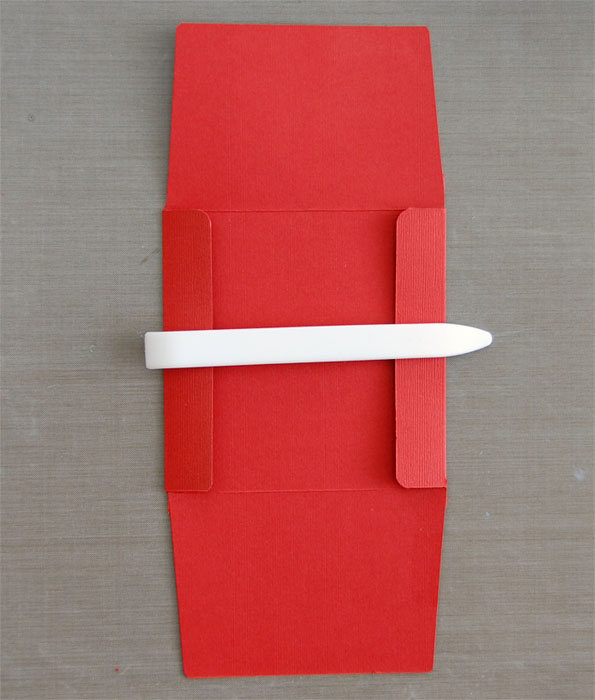
Step 7:
Fold in the two side tabs and firmly crease with bone folder.
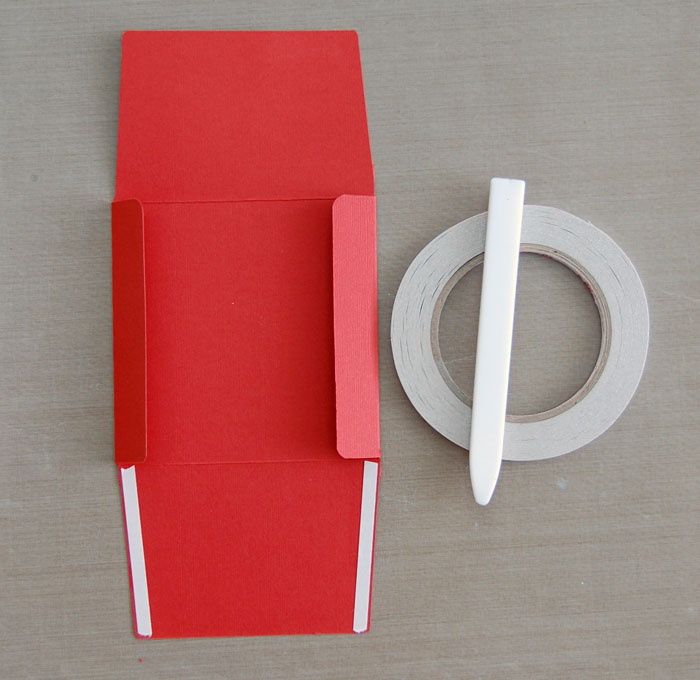
Step 8:
Apply double-sided tape to left and right edges of one flap. Remove adhesive liner and fold up to create the envelope.
 Step 9:
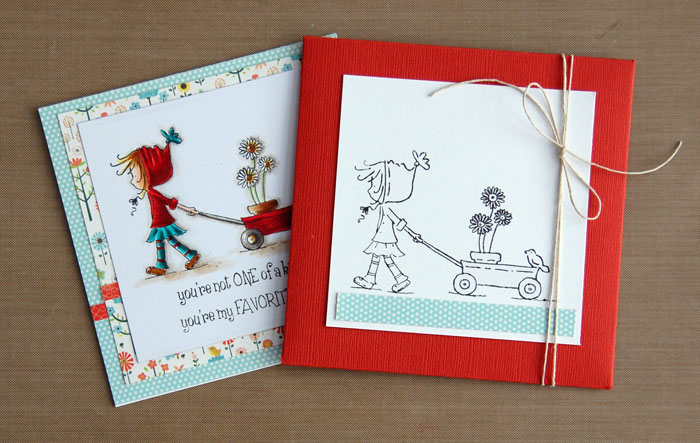
Finish as desired.
String, washi tape or low-tack stickers can be used to hold your envelopes closed, or there are several brands of “envelope glue” available in stores and online.
You might also enjoy our post on how to line an envelope with paper scraps.
Share tips, start a discussion or ask one of our experts or other students a question.
No Responses to “Simple DIY: How to Make an Envelope in Minutes”