
Sewing circles can be tricky, especially when it needs to align perfectly with your table to create the right impact. There are all sorts of little tricks you can use to make sure you get the finished result you’re looking for. I’ll teach you the steps for creating a perfectly round tablecloth that will make your dinner guests ooh and aah!
Follow along to learn how to make a round tablecloth!

Supplies
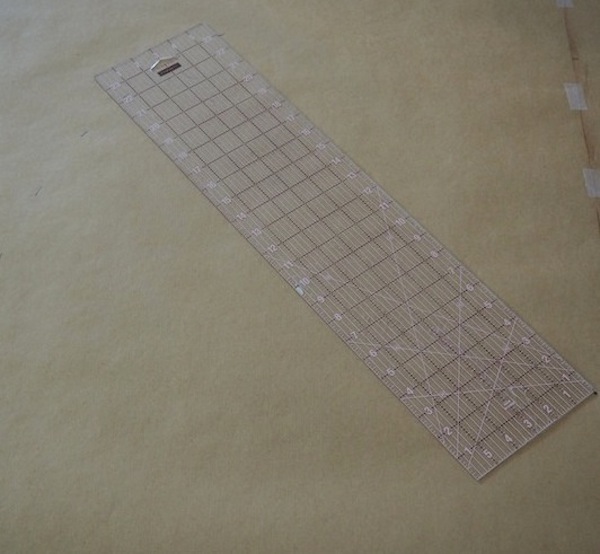
- French curve ruler
- A regular ruler (a yardstick might work best if your table is very big)
- Pattern paper (I find butcher paper works well for these sorts of big projects)
- Tape
- Paper scissors
- Rotary cutter and mat
- Wax tracing paper and tracing wheel (only if marking seams)
Ideally, you’re also working with a fabric that is quite wide, which most home decor fabric is. If you’re working with a smaller width like my example, I’ll give you some tips to create seams while still keeping your circle round.
Step 1. Measure the table
First, we need to get the dimensions of the table to make a pattern. Start by measuring the full length of your table, or the diameter. Then it’s time to do a bit of math.
Length of table/2 = Table radius
Table radius + overhang + hem = Tablecloth radius
Here’s an example: let’s say you have a table that is 45″ wide. You want it to overhang by 7″, and we’ll be using a 1/2″ hem.
45/2 = 22.5″
22.5 + 7 + .5 = 30″
Got it?
Step 2. Create the pattern
Now we can create our pattern. Using your butcher paper, mark a dot in about the center of the paper. Place one end of your ruler at the dot, and then put a mark at your tablecloth radius. In our example, I would mark at 30″. For my table, I created two separate pieces, so I only needed 23″.
You’ll want to put a mark every 1 1/2″ or so. You’ll likely have taped together the paper, so as you go, make sure you’ve got tape right by where your marks are so that doesn’t shift when you cut. Then you play connect the dots with your French curve ruler.
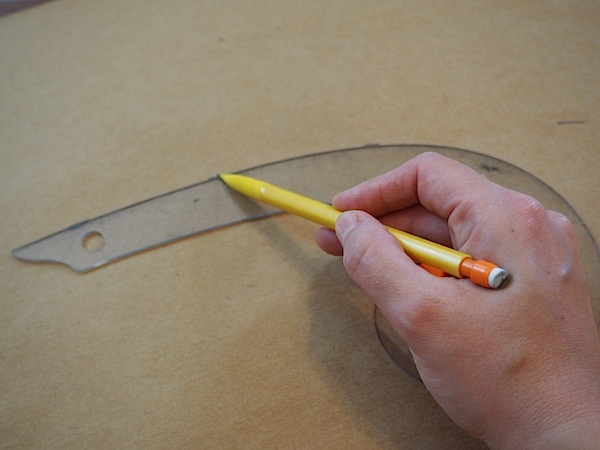
It’s a circle now! Cut it out and do a quick test to make sure it’s fits your table correctly before you move on. I created mine to only by 1/2″ longer than my table to account for a seam allowance. Mine looks a little short because I was using two pieces of fabric to create the full tablecloth.
So far so good!
Step 3. Cut your fabric.
Take your pattern and get to cutting with your fabric! I typically prefer regular sewing shears, but I find that a rotary cutter on a mat is more accurate on circles.
Now, you may find that you don’t have enough fabric to cover your entire pattern. You have two choices if this is the case:
- Chop your pattern into pieces to fit your fabric. Then you’ll need to add back a seam allowance. I like to use a 1/2″ seam allowance because it makes the math easier.
- Overlap the fabric ad hoc as you cut, and mark the seam line after everything is aligned to your pattern.
I chose the first option for my main yellow fabric, because it was a fairly large piece. For my donut-shaped checkered fabric, I chose the second because I needed several seams. I overlapped fabric as I cut, making sure that I would have enough to mark a seam line. Then I took wax tracing paper and a tracing wheel and marked that line.
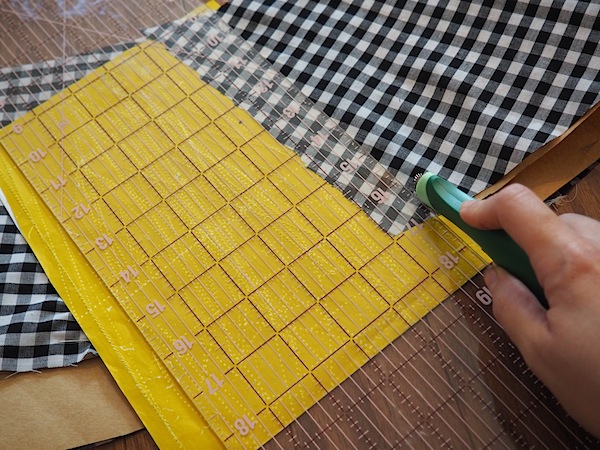
Then, when I sewed, all I had to do was match up those lines. Ideally, you’d also be able to pattern match. I certainly didn’t have enough fabric, though, and I still think the finished result is quite nice! So not a bother if you can’t.
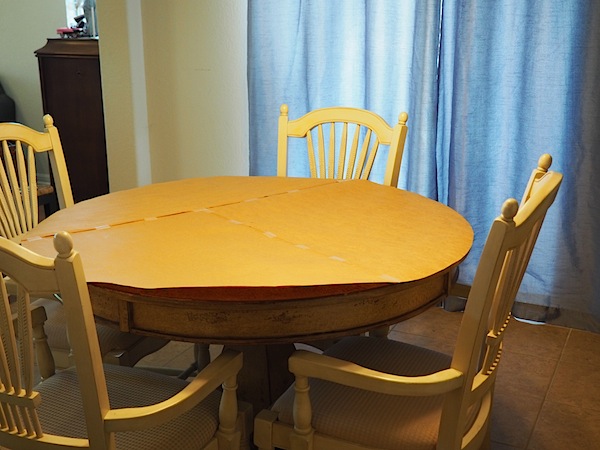
Step 4. Pause and let it hang
There’s no way a circle can be cut on the grain of fabric, so you’ll have lots of pieces that are on a bias. This can cause fabric to stretch out a bit, so you’ll want to pause and let the fabric hang so it can stretch out.
Put it on your table overnight so it has plenty of time to settle into shape. Then use your pattern to cut off any excess fabric that resulted.
Step 5. Sew the hem.
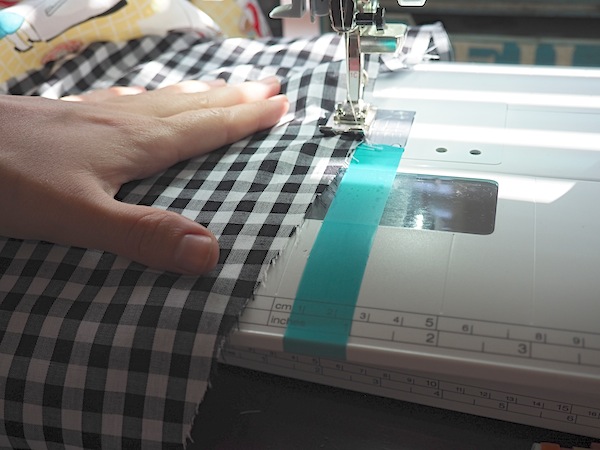
This can be the hardest part of sewing curves, but this method makes it very simple. Start by sewing 1/4″ from the edge of your fabric. You’re only sewing on a single layer here. It will act as a guide for your pressing later on.
To improve accuracy, you can also put a piece of tape down to line your fabric up against. You might also have a machine where the presser foot is 1/4″ wide, and you can use that as a guide.
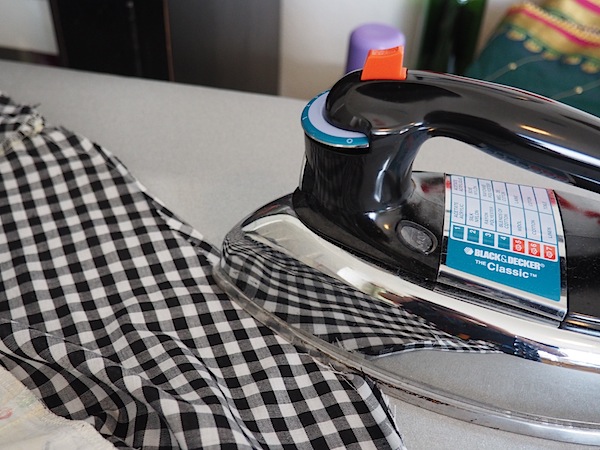
Turn to your iron and use the thread line as your marker to press under 1/4″. Then turn and press another 1/4″ to fully encase the raw edge.
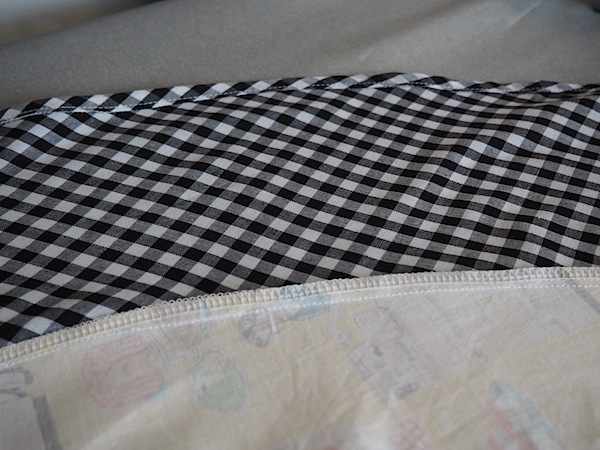
Now you can sew the final hem. I like to use my edge stitch foot for this step. Here’s what it will look like from the inside when you’re finished.
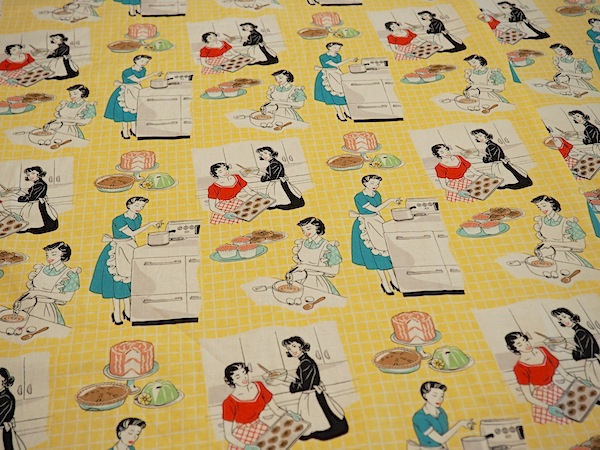
Not so terrible after all, right? In case you’re curious, here’s that fabric close up. It’s a wonderful retro baking theme!
Bon appetit!
Do you have any tricks you like to use for sewing circles?
Share tips, start a discussion or ask one of our experts or other students a question.
No Responses to “How to Make a Round Tablecloth in 5 Steps”