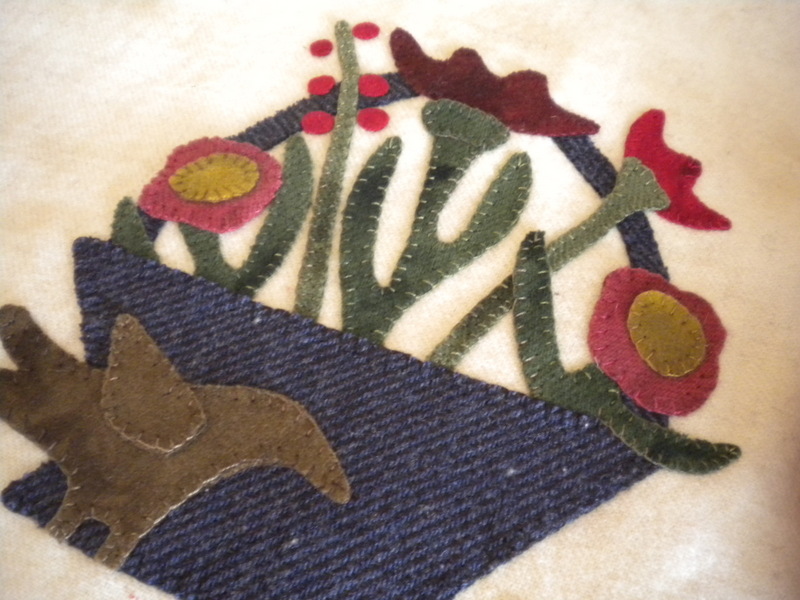
Appliqué with wool can be learned quickly.
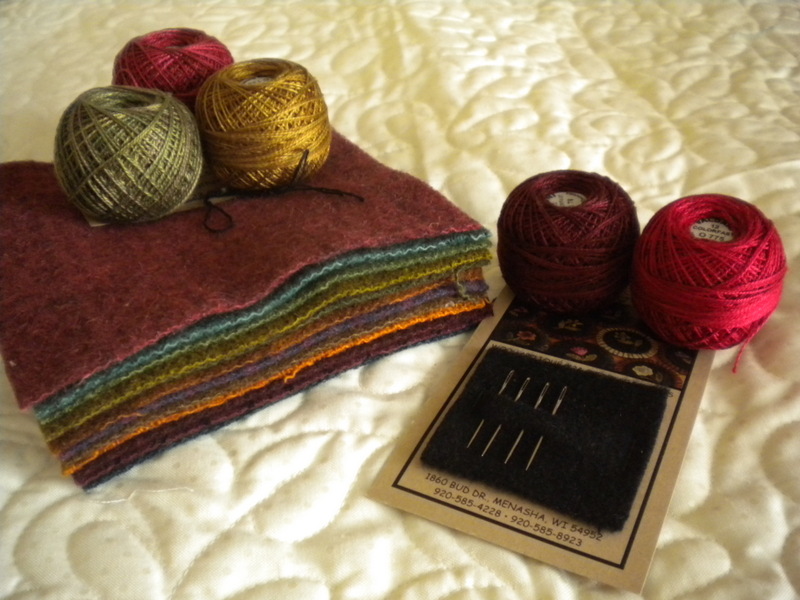
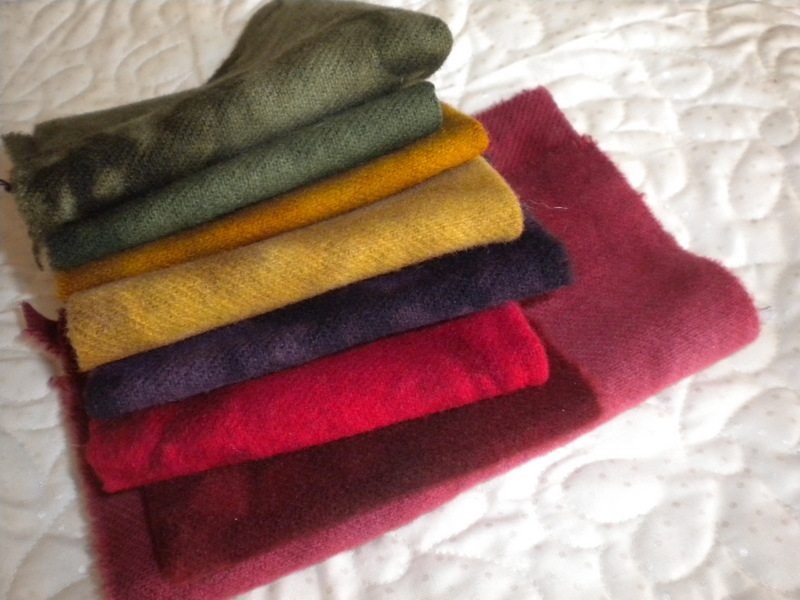
There are many different wool products available for use with wool appliqué. Beautiful hand-dyed pieces of wool come in a variety of colors and are sure to coordinate with any project you might be working on. It’s easiest to begin with a purchased wool appliqué kit. If you begin with a kit, you’ll have the wool you need for your project, allowing you to spend your time learning the technique rather than worrying about matching fabrics and threads.Supplies for appliqué with wool are minimal. You will need:
- Wool
- Background material – Cotton or wool are most commonly used.
- Cotton thread – Valdani #12 works well.
- Chenille needles, size 24
- A Lite Steam-A-Seam 2 – This lets you easily adhere your wool pieces to your background fabric.
 Step 1: Trace your patterns onto the backing of the Lite Steam-A-Seam 2. Many patterns will have the pattern pieces reversed for using with the Steam-A-Seam; however, in some cases you might have to reverse the pattern images yourself.
Step 2: Cut out each shape, leaving a little bit of room around the edge of each piece. Then fuse the Lite Steam-A-Seam 2 to the wrong side of the wool using a dry iron.
Step 3: You will then cut out the pieces from the wool, cutting exactly on the drawn lines on the Steam-A-Seam. Peel off the Lite Steam-A-Seam 2 backing paper and lay out your pieces on your background material.
Your pieces will be a little “sticky,” so they will adhere to the background material but will still be movable until you have the design arranged to your liking.
Be sure to overlap pieces as needed to cover other pieces as shown in your pattern directions and photograph.
Step 4: Once your design is placed correctly on the background, you will use the steam setting on the iron to fuse the pieces to the background fabric. Now your pieces will stay in place during the stitching process.
 Step 5: The classic buttonhole stitch is used to secure the wool appliqué pieces to the background fabric. Tie a knot in the end of your thread and come up from the back side of your background fabric to the top. Use a buttonhole stitch to appliqué around all wool appliqué pieces. When you need to tie off a thread end or start on a new section, pull your thread to the back, knot it off, and begin with a new thread. Continue the buttonhole stitch until all wool pieces have been stitched to the background.
You now have beautiful appliqué with wool that adds beauty and depth to your quilting project.

Share tips, start a discussion or ask one of our experts or other students a question.
No Responses to “How to Appliqué with Wool”